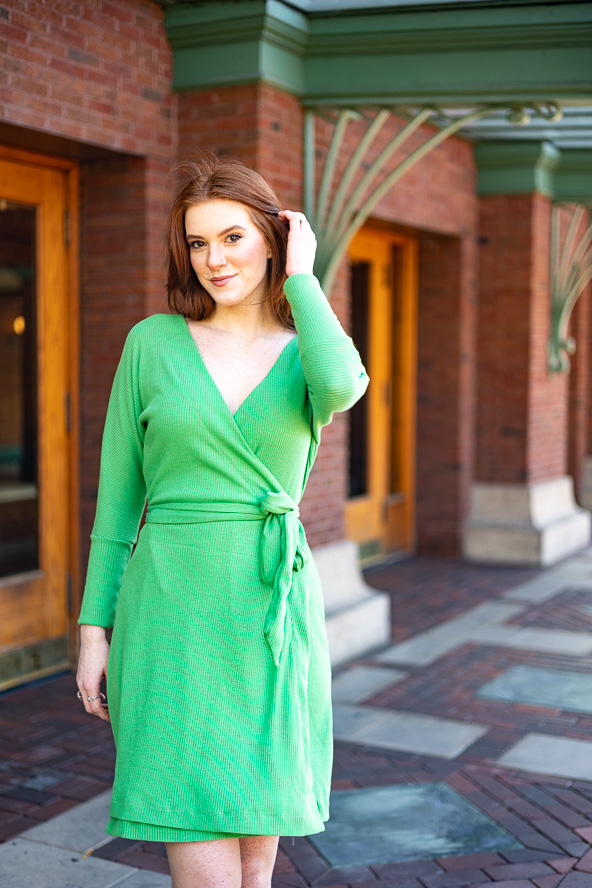
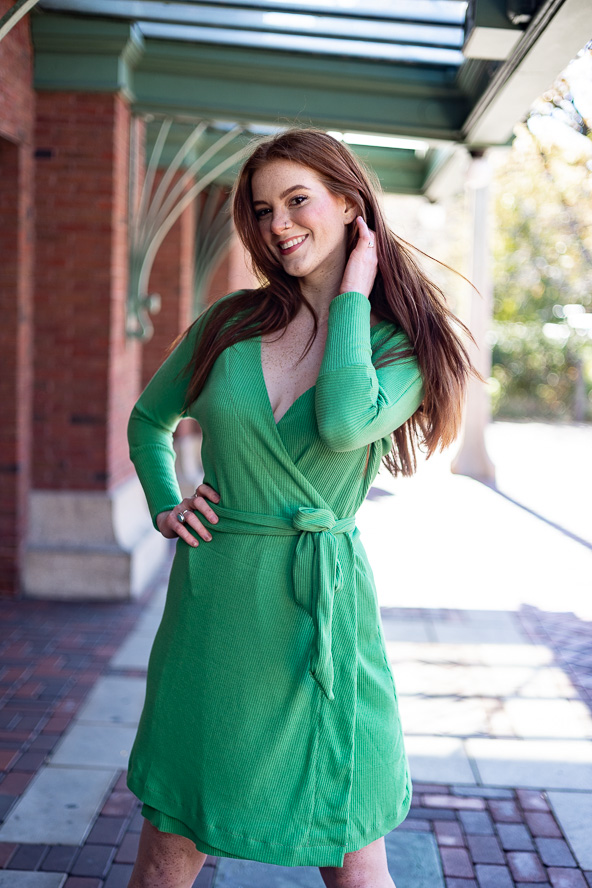
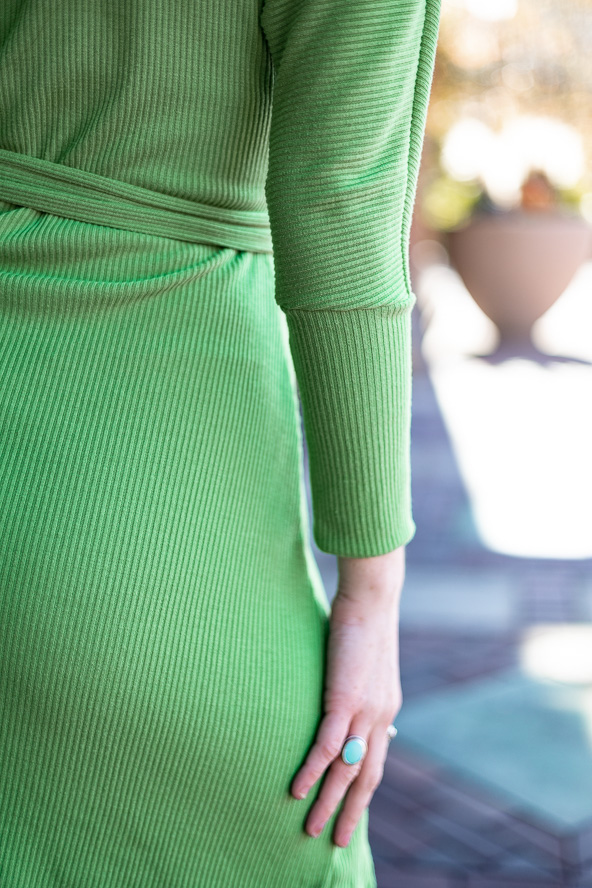
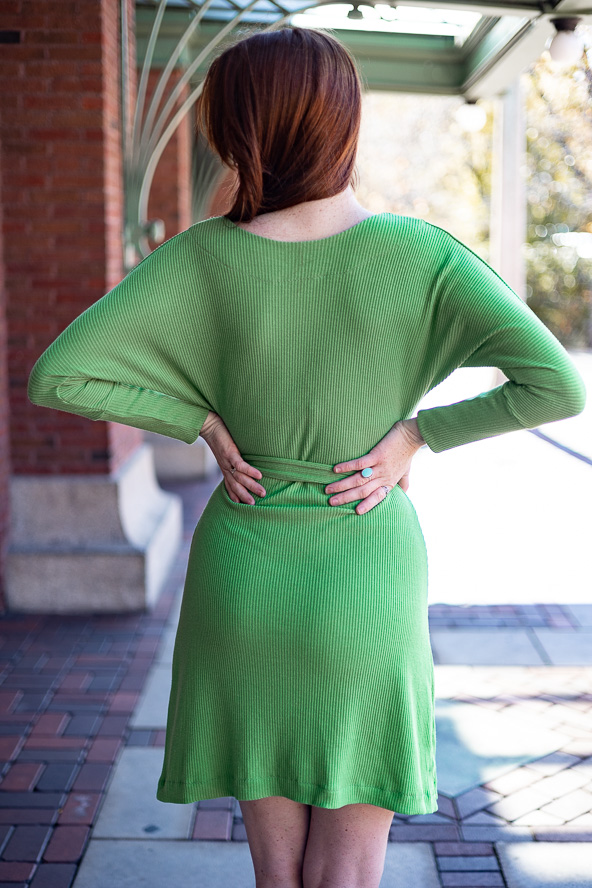
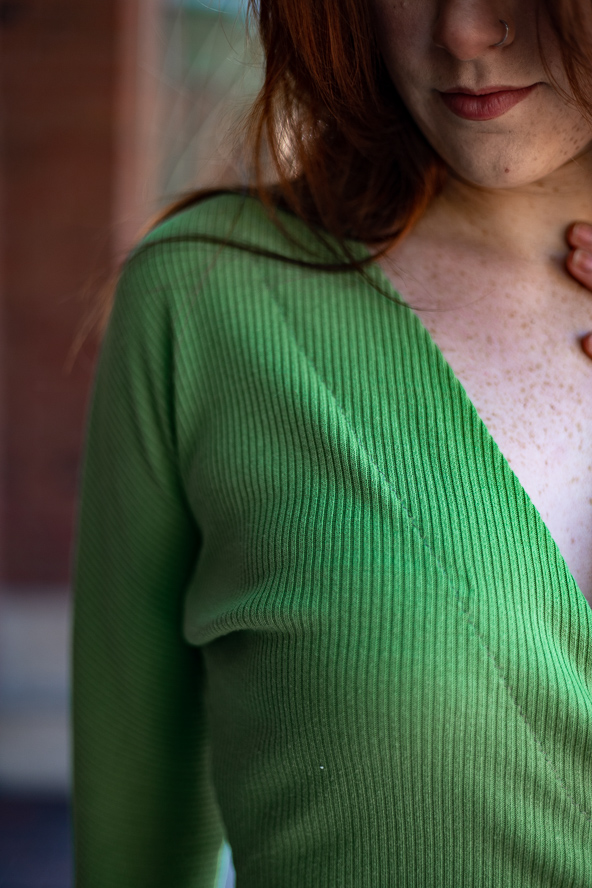
Start off the new year with a brand-new homemade dress! This chic, comfy wrap dress pattern is a fantastic garment to transition from cold winter weather to breezy spring days. Made in a beautiful vibrant green knit, this wrap dress pattern features both a tie closure and hook and eye at the wearer’s waist, as well as a flirty deep V neckline. Whether paired with boots and tights for winter or with a strappy pair of heels for a special date night out, this wrap dress is a total stunner.
Materials:
- Knit fabric
- Hook and eye
- Basic sewing tools and notions
- PDF Pattern – This is located at the bottom of this page. See printing instructions below.
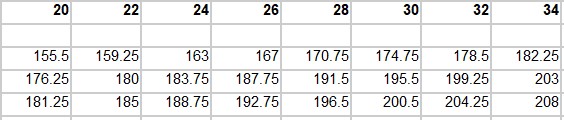
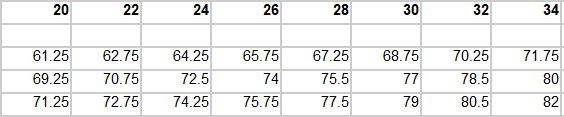
Finished Garment Measurements:


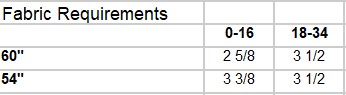
Fabric Requirements:
PRINTING INSTRUCTIONS:
To download the PDF pattern, click on the download button at the bottom of the page. We recommend opening your download using Adobe Acrobat.
DESIGNER NOTES:
- Seam allowance is 3/8” unless otherwise stated.
- All edges can be finished with either a zig zag stitch or serger.
Instructions:
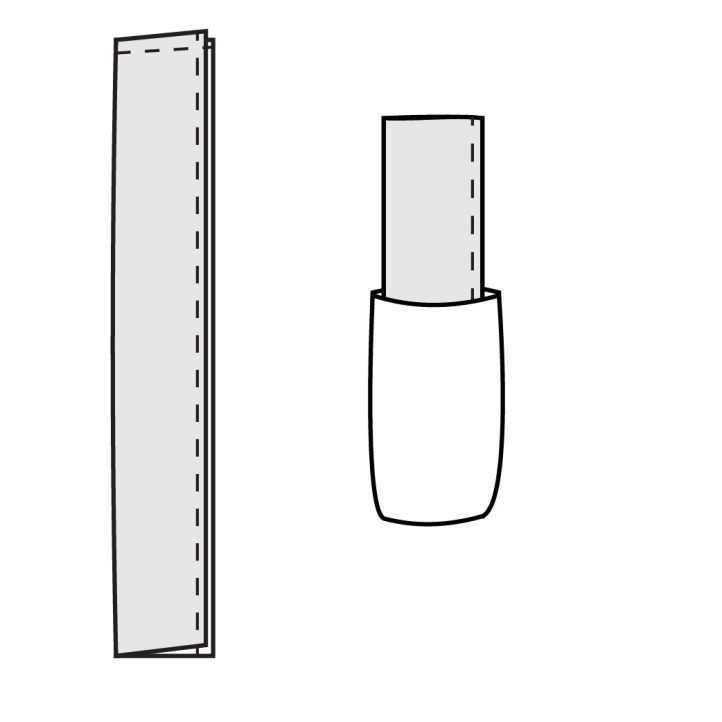
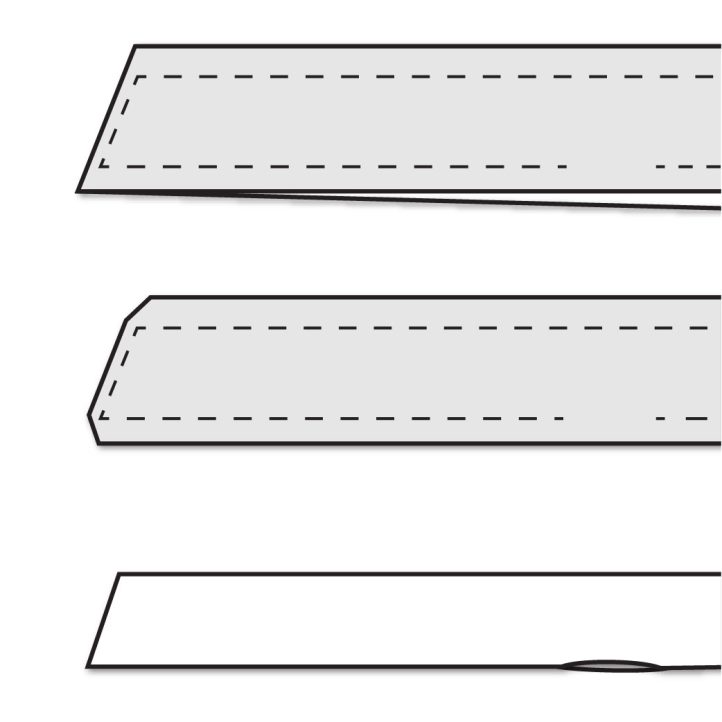
- Fold the waist tie in half with the right sides together, lining up the long raw edges. Sew together along one short edge and the long edge. Turn the tie right sides out, pushing the points out at the end. Repeat with the second waist tie.
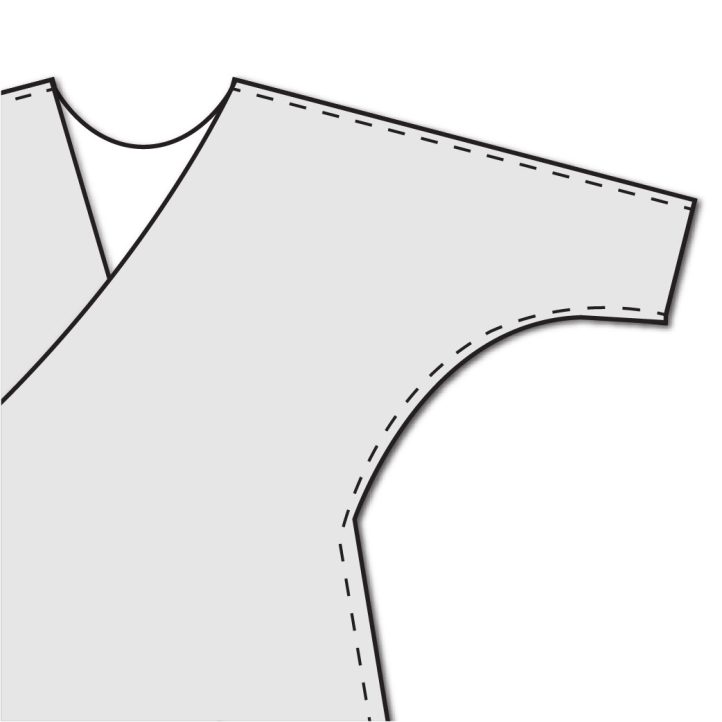
- With the right sides together, line up the front and back pieces along the shoulder seam, underarm, and side seams. Sew the front and back pieces together along the same seams.
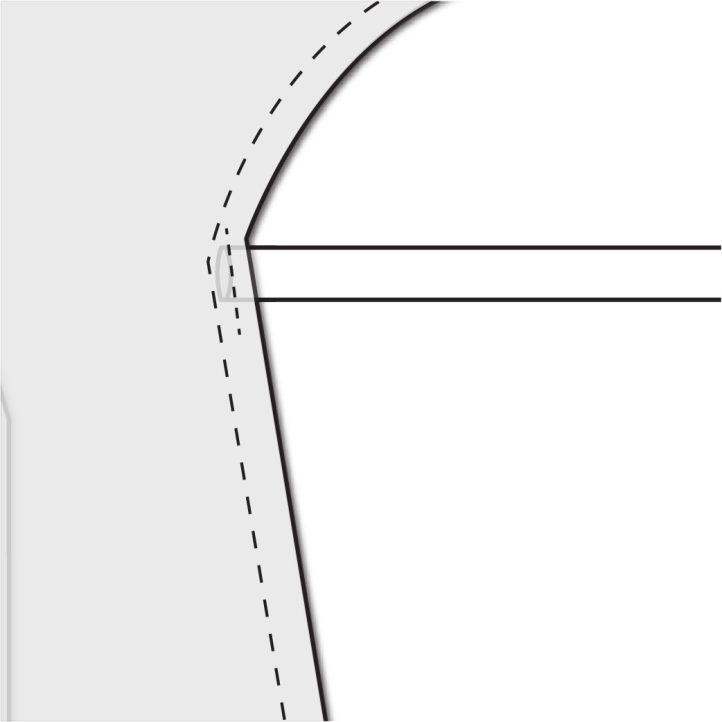
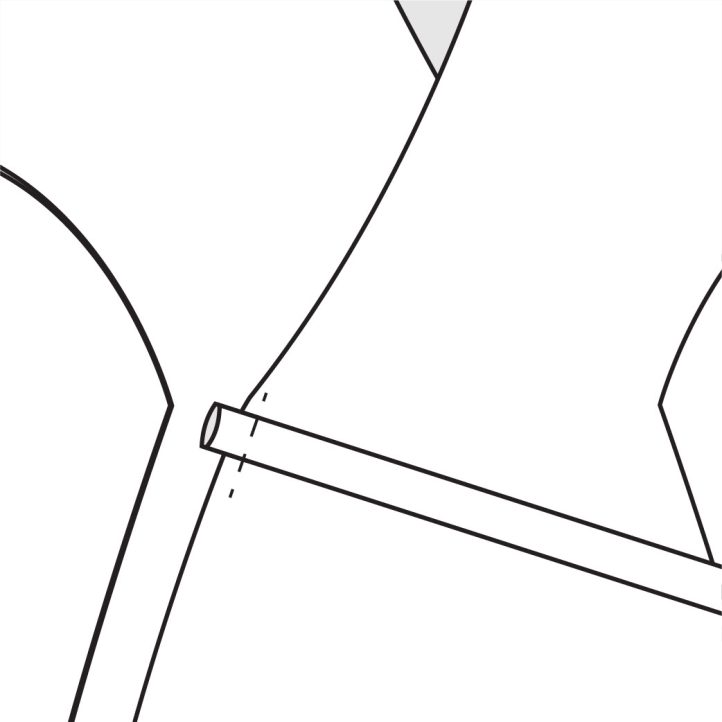
- At the side seam of the wearer’s right, slide the raw end of the waist tie between the two layers of the seam allowance at the notch, up to the seam from the previous step. Sew the tie in place, making sure to lock the stitches at both ends.
- On the wearer’s left front piece, place the second waist tie at the notch at center front with the raw edge extending beyond the piece by 1/2”. Baste the tie in place.
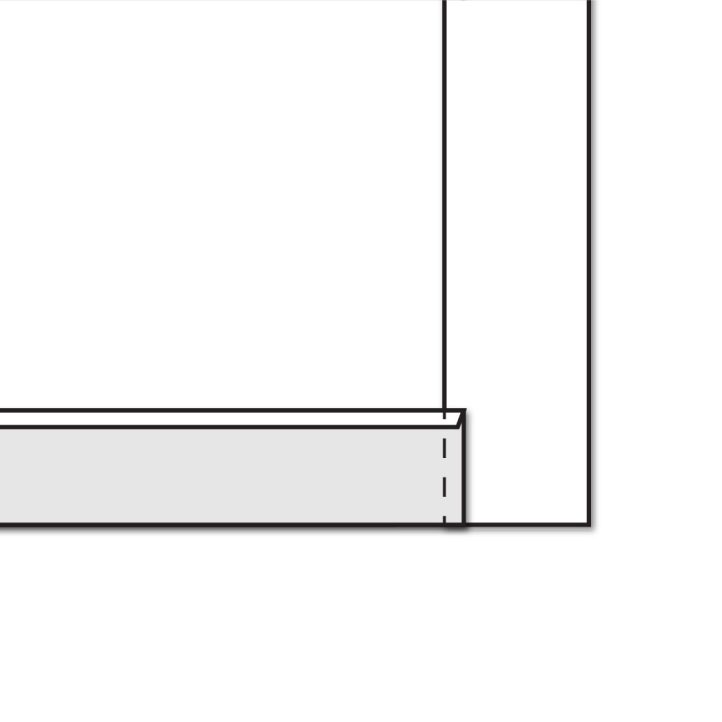
- Sew a basting stitch 1/4” from the bottom edge of the back facing. Fold the bottom edge of the back facing towards the wrong side along the basting stitch. Press well and remove the basting stitch.
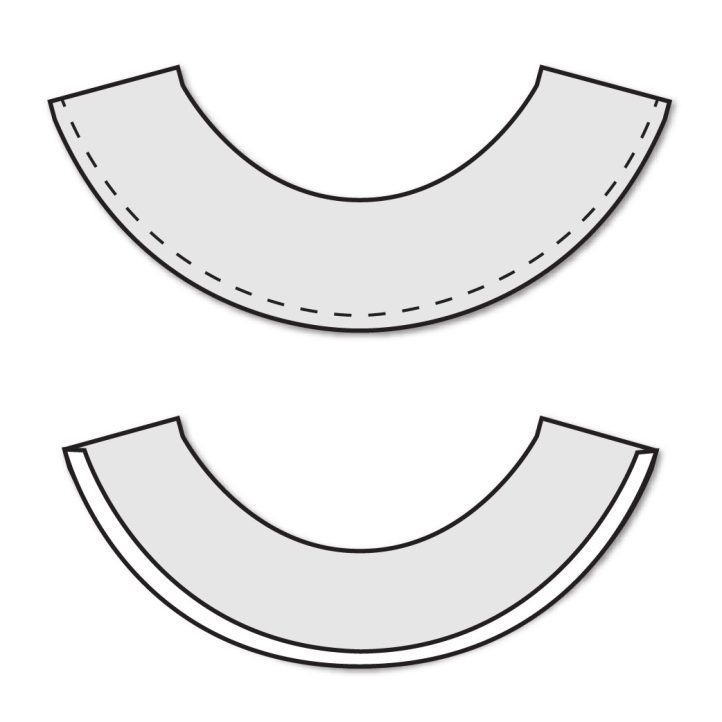
- Repeat Step 4 with both front facing pieces.
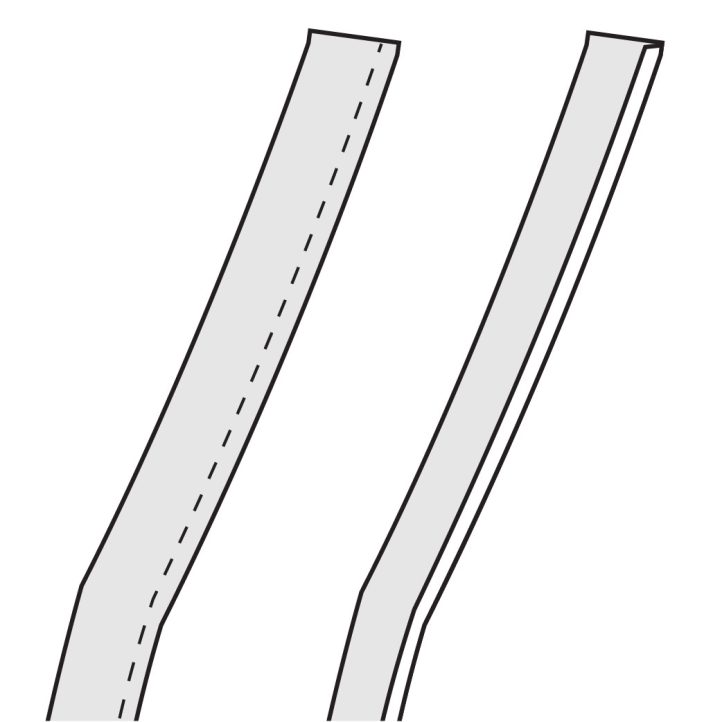
- Alternatively, you can finish the raw bottom edge of the facing pieces with either a zig zag stitch or serger and skip folding the fabric towards the wrong side. With the right sides together, sew the front and back facing pieces together along the shoulder seam. Leave the bottom fold intact when sewing the pieces together.
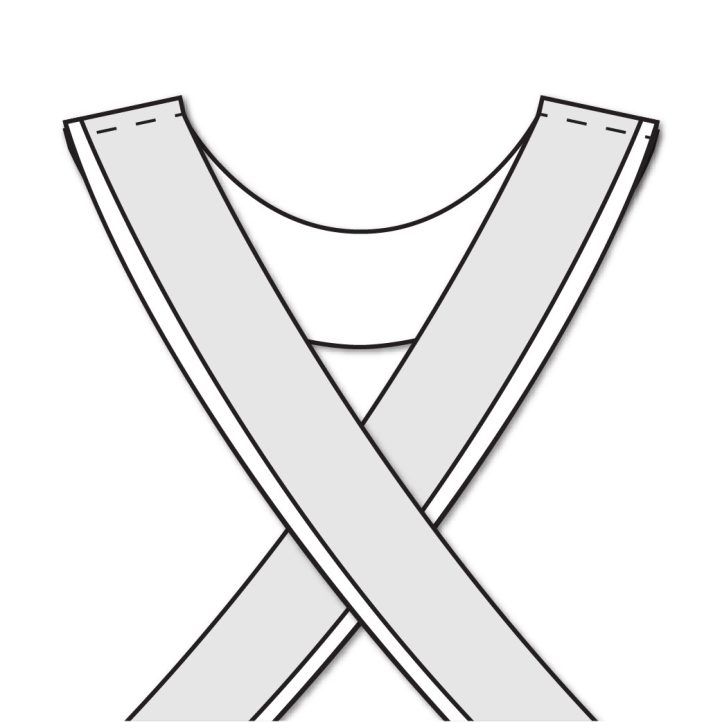
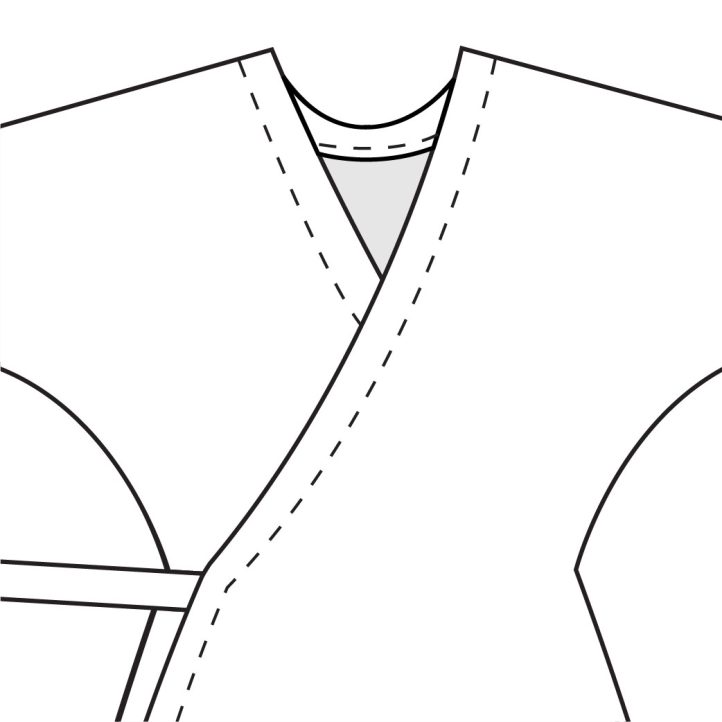
- With the right sides of the facing towards the right sides of the dress, line up the center back, shoulder seams, front notches, and bottom hem notch. Sew the facing in place along the inside edge.
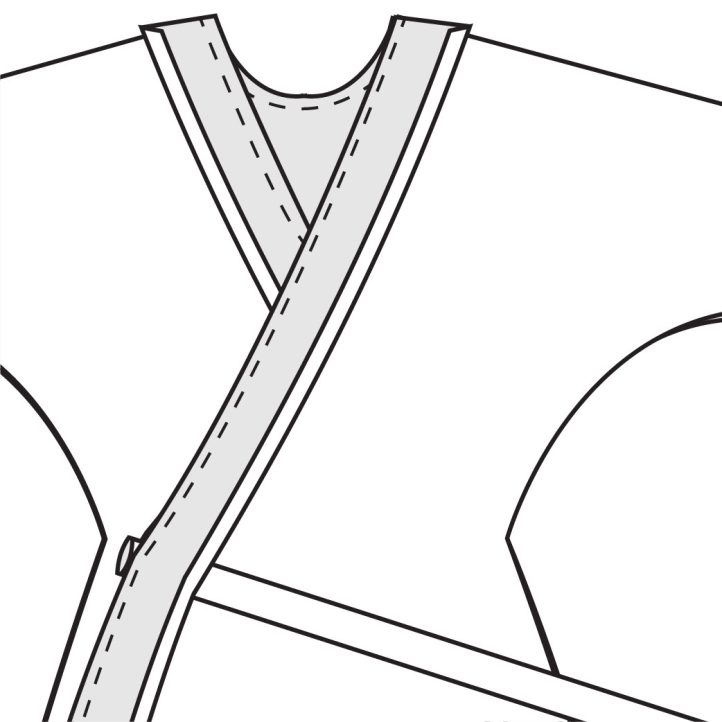
- Clip the back neck curve and the front notch point and press the seam allowance and facing away from the dress. Understitch the seam allowance to the facing 1/8” from the inside edge.

- Fold the bottom hem of the dress up 1 1/4” with right sides together. Fold the bottom edge of the hem towards the wrong side by 1/4” and press both folds well. Sew the hem to the dress along the vertical seam created in Step 7.
- Turn the hem and facing towards the wrong side of the dress and press well. Sew the hem in place 1/8” from the inside folded edge.
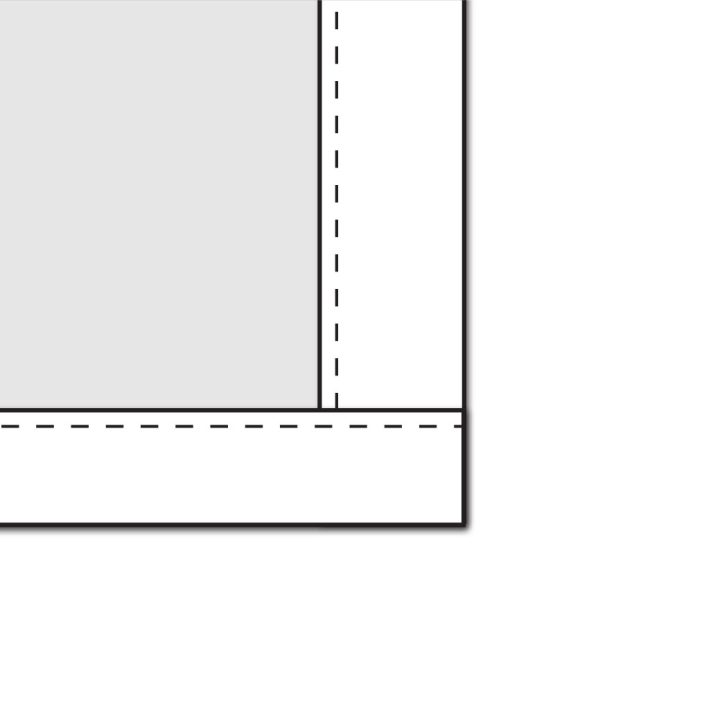
- Sew the facing in place around the entire dress 1/8” from the inside edge.
- Open the sleeve cuff piece that was cut on the fold. With the right sides together, fold the piece in half with the long edges matching. Sew the pieces together along the long edge. Press the seam allowance open and fold the tube over on itself with the wrong sides together, making sure to match up the seam.
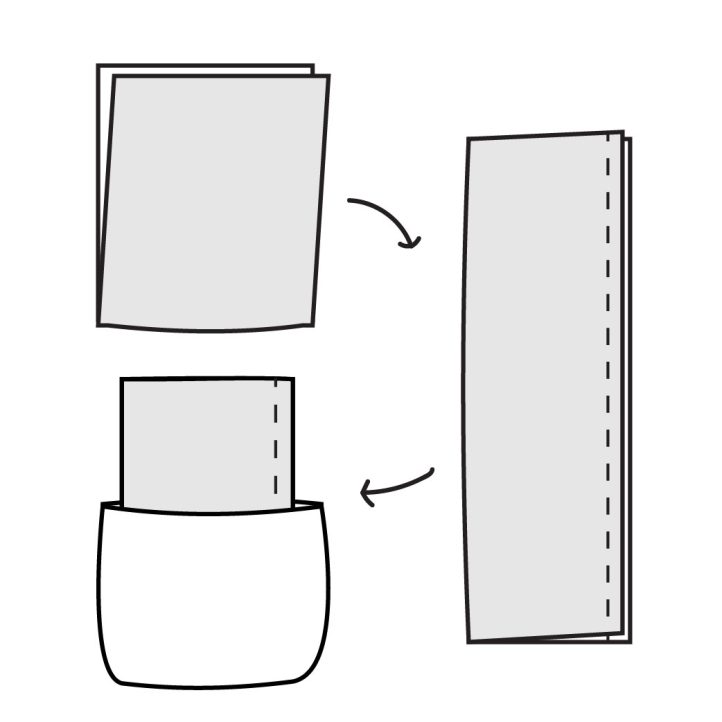
- Place the sleeve cuff over the sleeve, lining up the raw edges. The seam from the cuff will line up with the underarm seam. Sew the cuff to the dress stretching slightly to fit. The cuff is sewn with right sides to right sides.

- Repeat Steps 13 and 14 with the second sleeve cuff. With the right sides together, sew the two belt pieces along the outside edges, making sure to leave a 2” opening along one side. Clip the corners and turn the belt right sides out. Hand sew the opening closed.
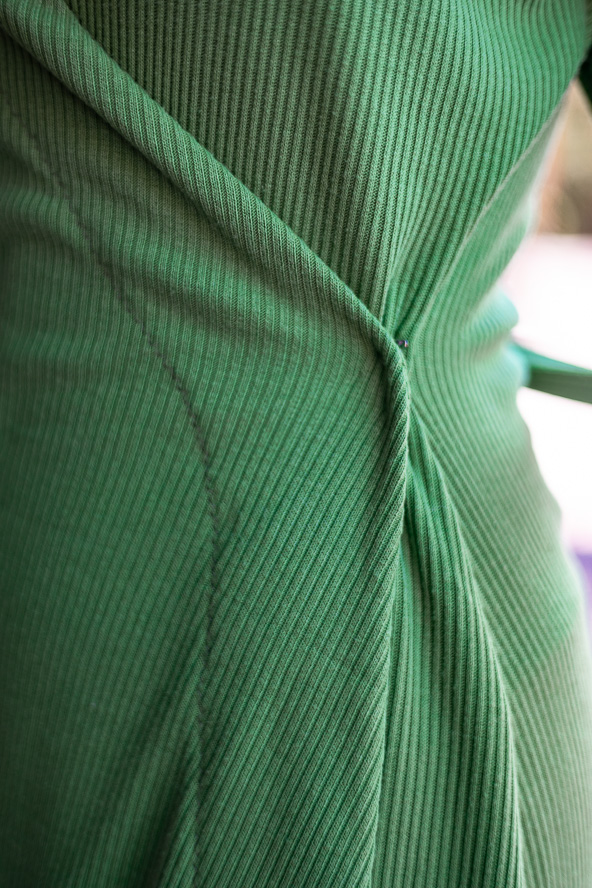
- Attach one part of the hook and eye to the wearer’s left side seam at the notch. Sew the other piece on the wrong side of the right front piece at the front notch.

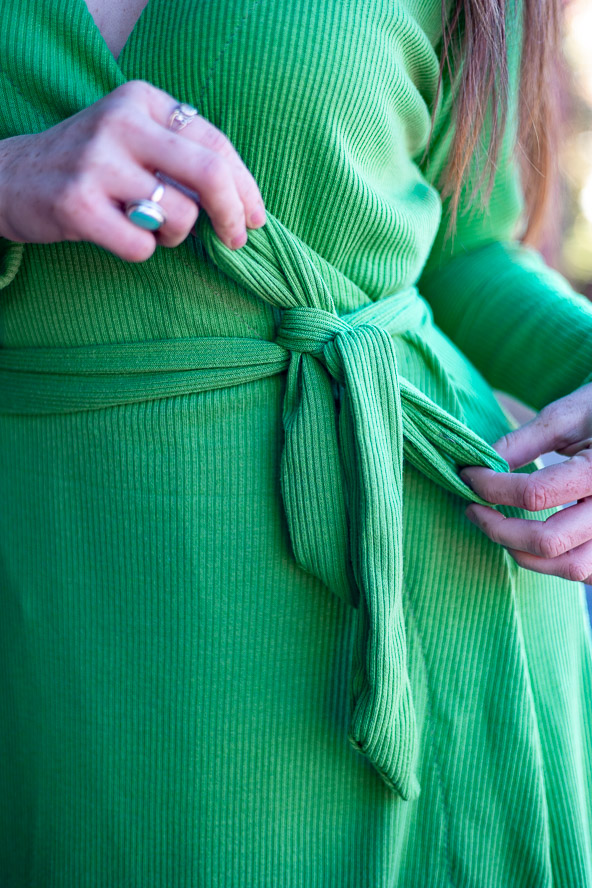
- To wear, tie the waist ties together and bring the right front piece across the body and secure the hook and eye. Tie the chunky belt around and slightly blouse the dress above the waist.
Spearmint Knit Wrap Dress Pattern
Spearmint Knit Wrap Dress Pattern
Hi, did the designer ever clarify these measurements please? I love the dress, but all the fabric I use for my “muslins” is woven, not knit. Also, should this be a stable or a stretch knit fabric? Many thanks
I’m wondering about the measurements also. They don’t look right to me
Hi Dorothy! We’re currently reaching out to the designer of this project for further clarification on the measurements. I believe what may be throwing people off is the wrap element of the dress, meaning more fabric is needed to wrap around the body. As soon as we have more info, we will update the pattern as needed. Thanks so much! – Ashley, WeLikeSewing
The measurements for the wrap dress in inches appears to be incorrect. Size “0” has bust of 46″, waist 54.25 and hips 56,25. Please advise. I am not shaped like a “pear”. I also checked jumpsuit measurements…strange as well.
Would appreciate knowing proper measurements before attempting to print out pattern.