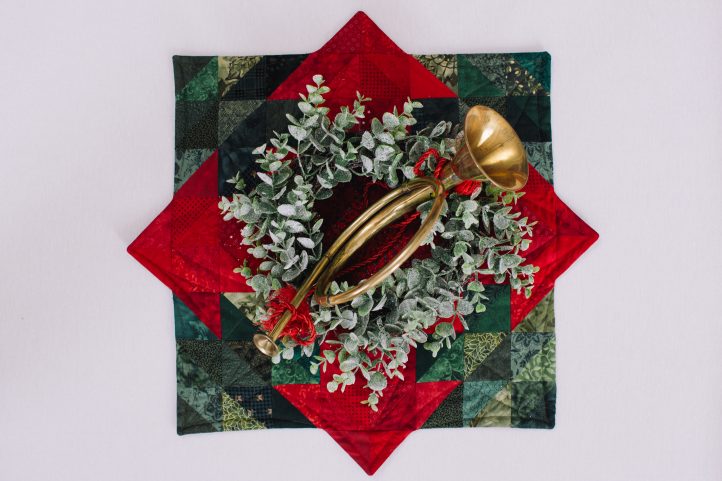
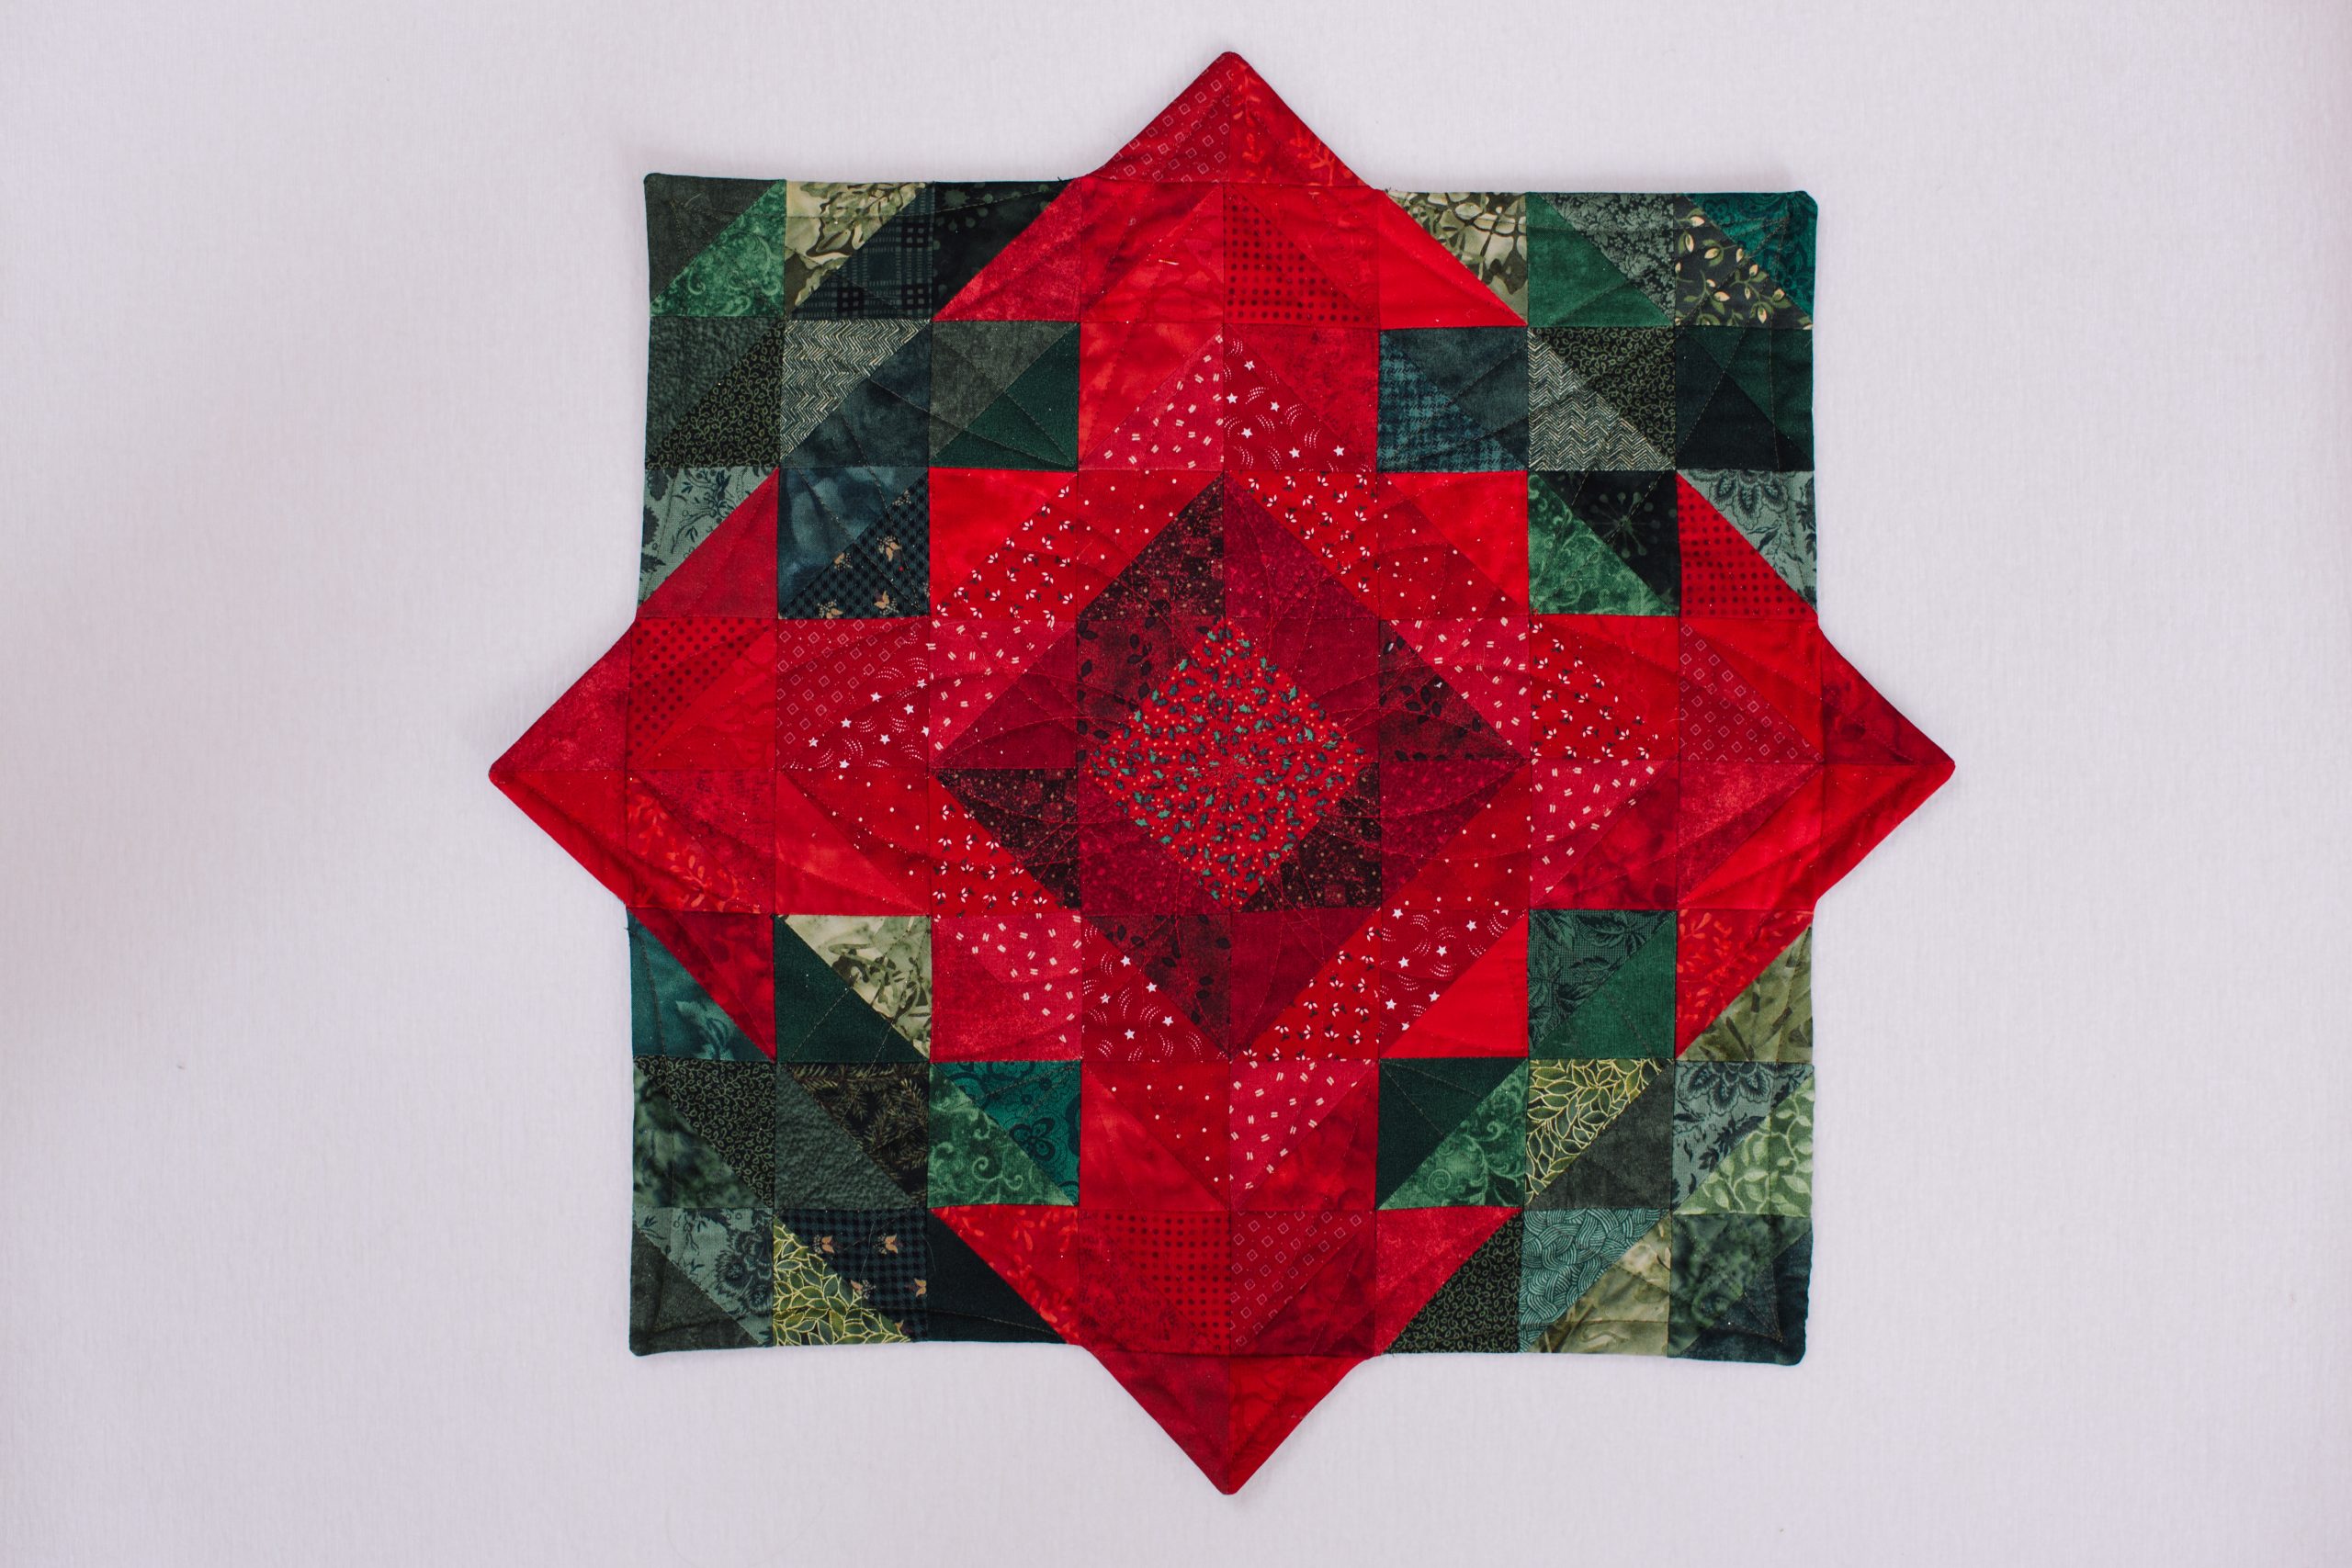
Complete your Christmas tablescape with a stunning quilted table mat with this pattern from Connie Kauffman. Originally featured in our sister magazine We Like Quilting, this Christmas quilting project is inspired by beautiful winter poinsettias, with a rich ruby center and alternating light and dark shades of green to create its leaf-like edges. This table mat pattern would make a gorgeous centerpiece for your Christmas dinner or an elegant display when paired with gold candles on a side table.
Finished Size: 20” x 20”
Designer Notes:
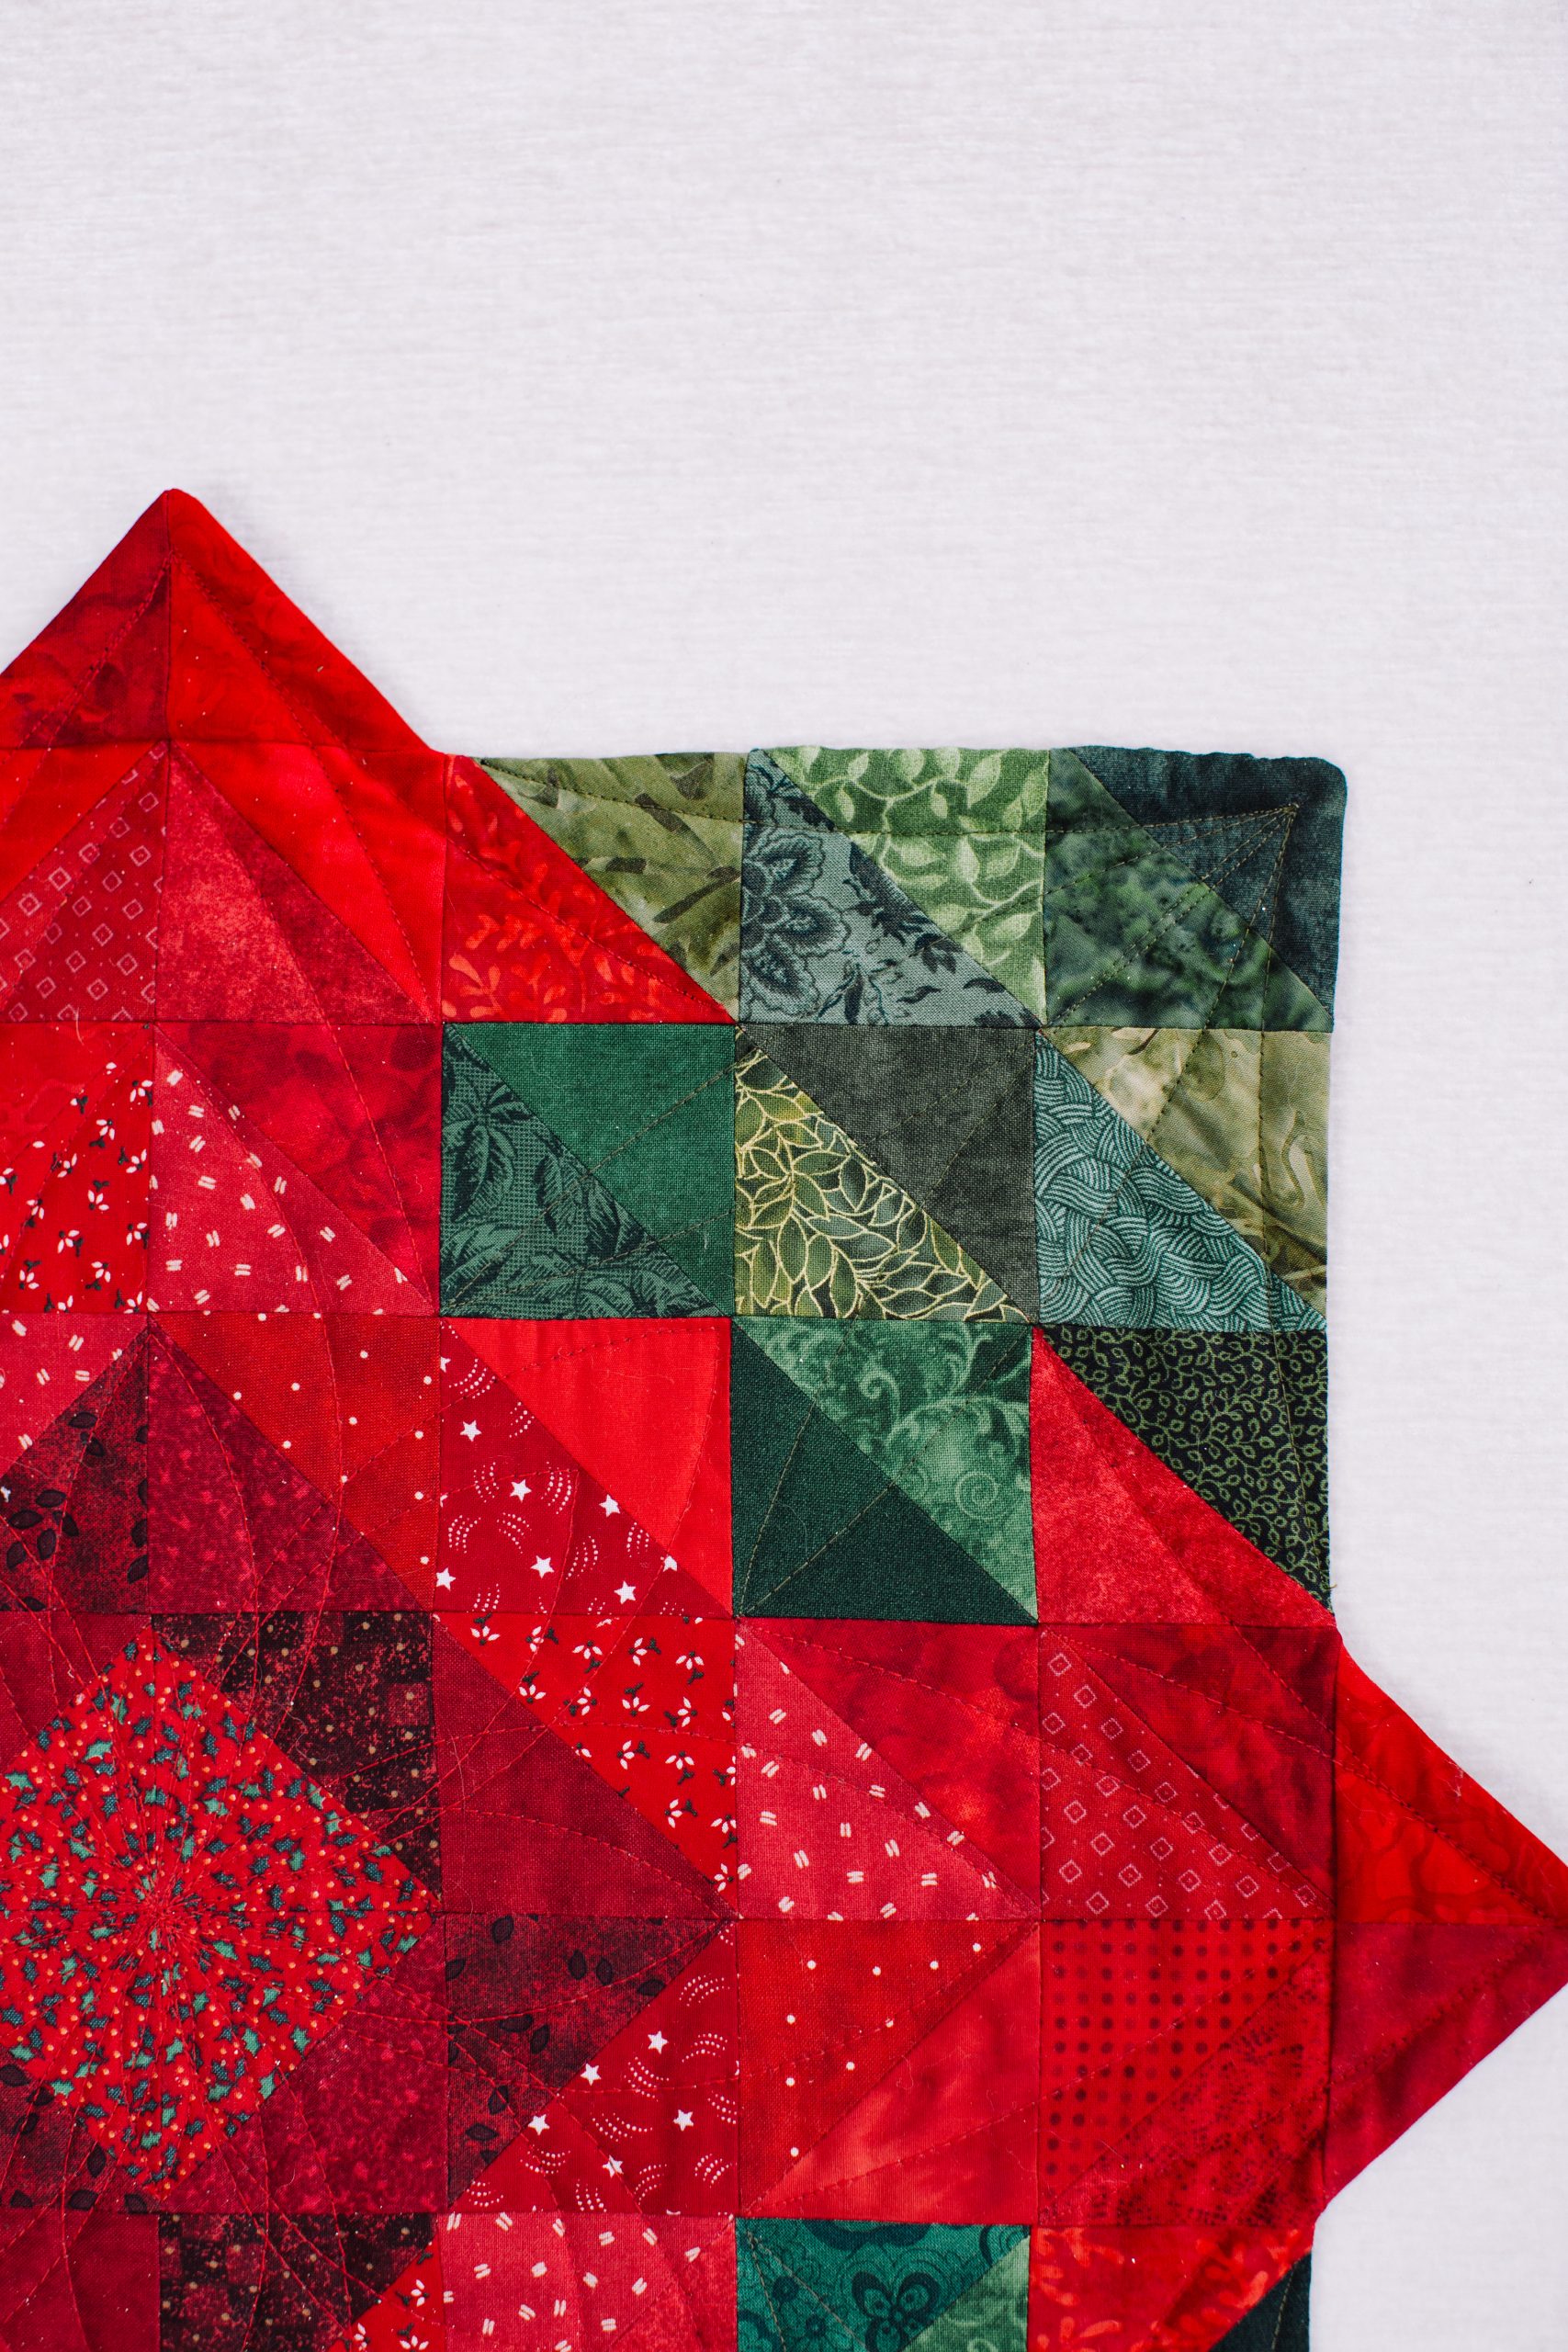
- This scrappy table mat is made using a variety of half square triangles that finish to 2” triangles. These triangles can be cut from a template, using a 2” finished Accuquilt Go! die, or using the EZ Quilting Mini Easy Angle ruler. These methods are all great for cutting triangles from scraps of fabric.
- This project is great for using up scraps and also triangles can be cut from leftover 2 1/2” strips of red and green. A great scrap buster!
Materials:
- 54 half square 2” finished triangles in a mix of dark greens
- 80 red half square 2” finished triangles in red
- 4 center reds in a red/green mix to look like the center of a flower
- 12 dark reds for the center border
- 20 medium reds with white dots or prints for second border
- 44 mix of brighter reds for the outside points of the flower
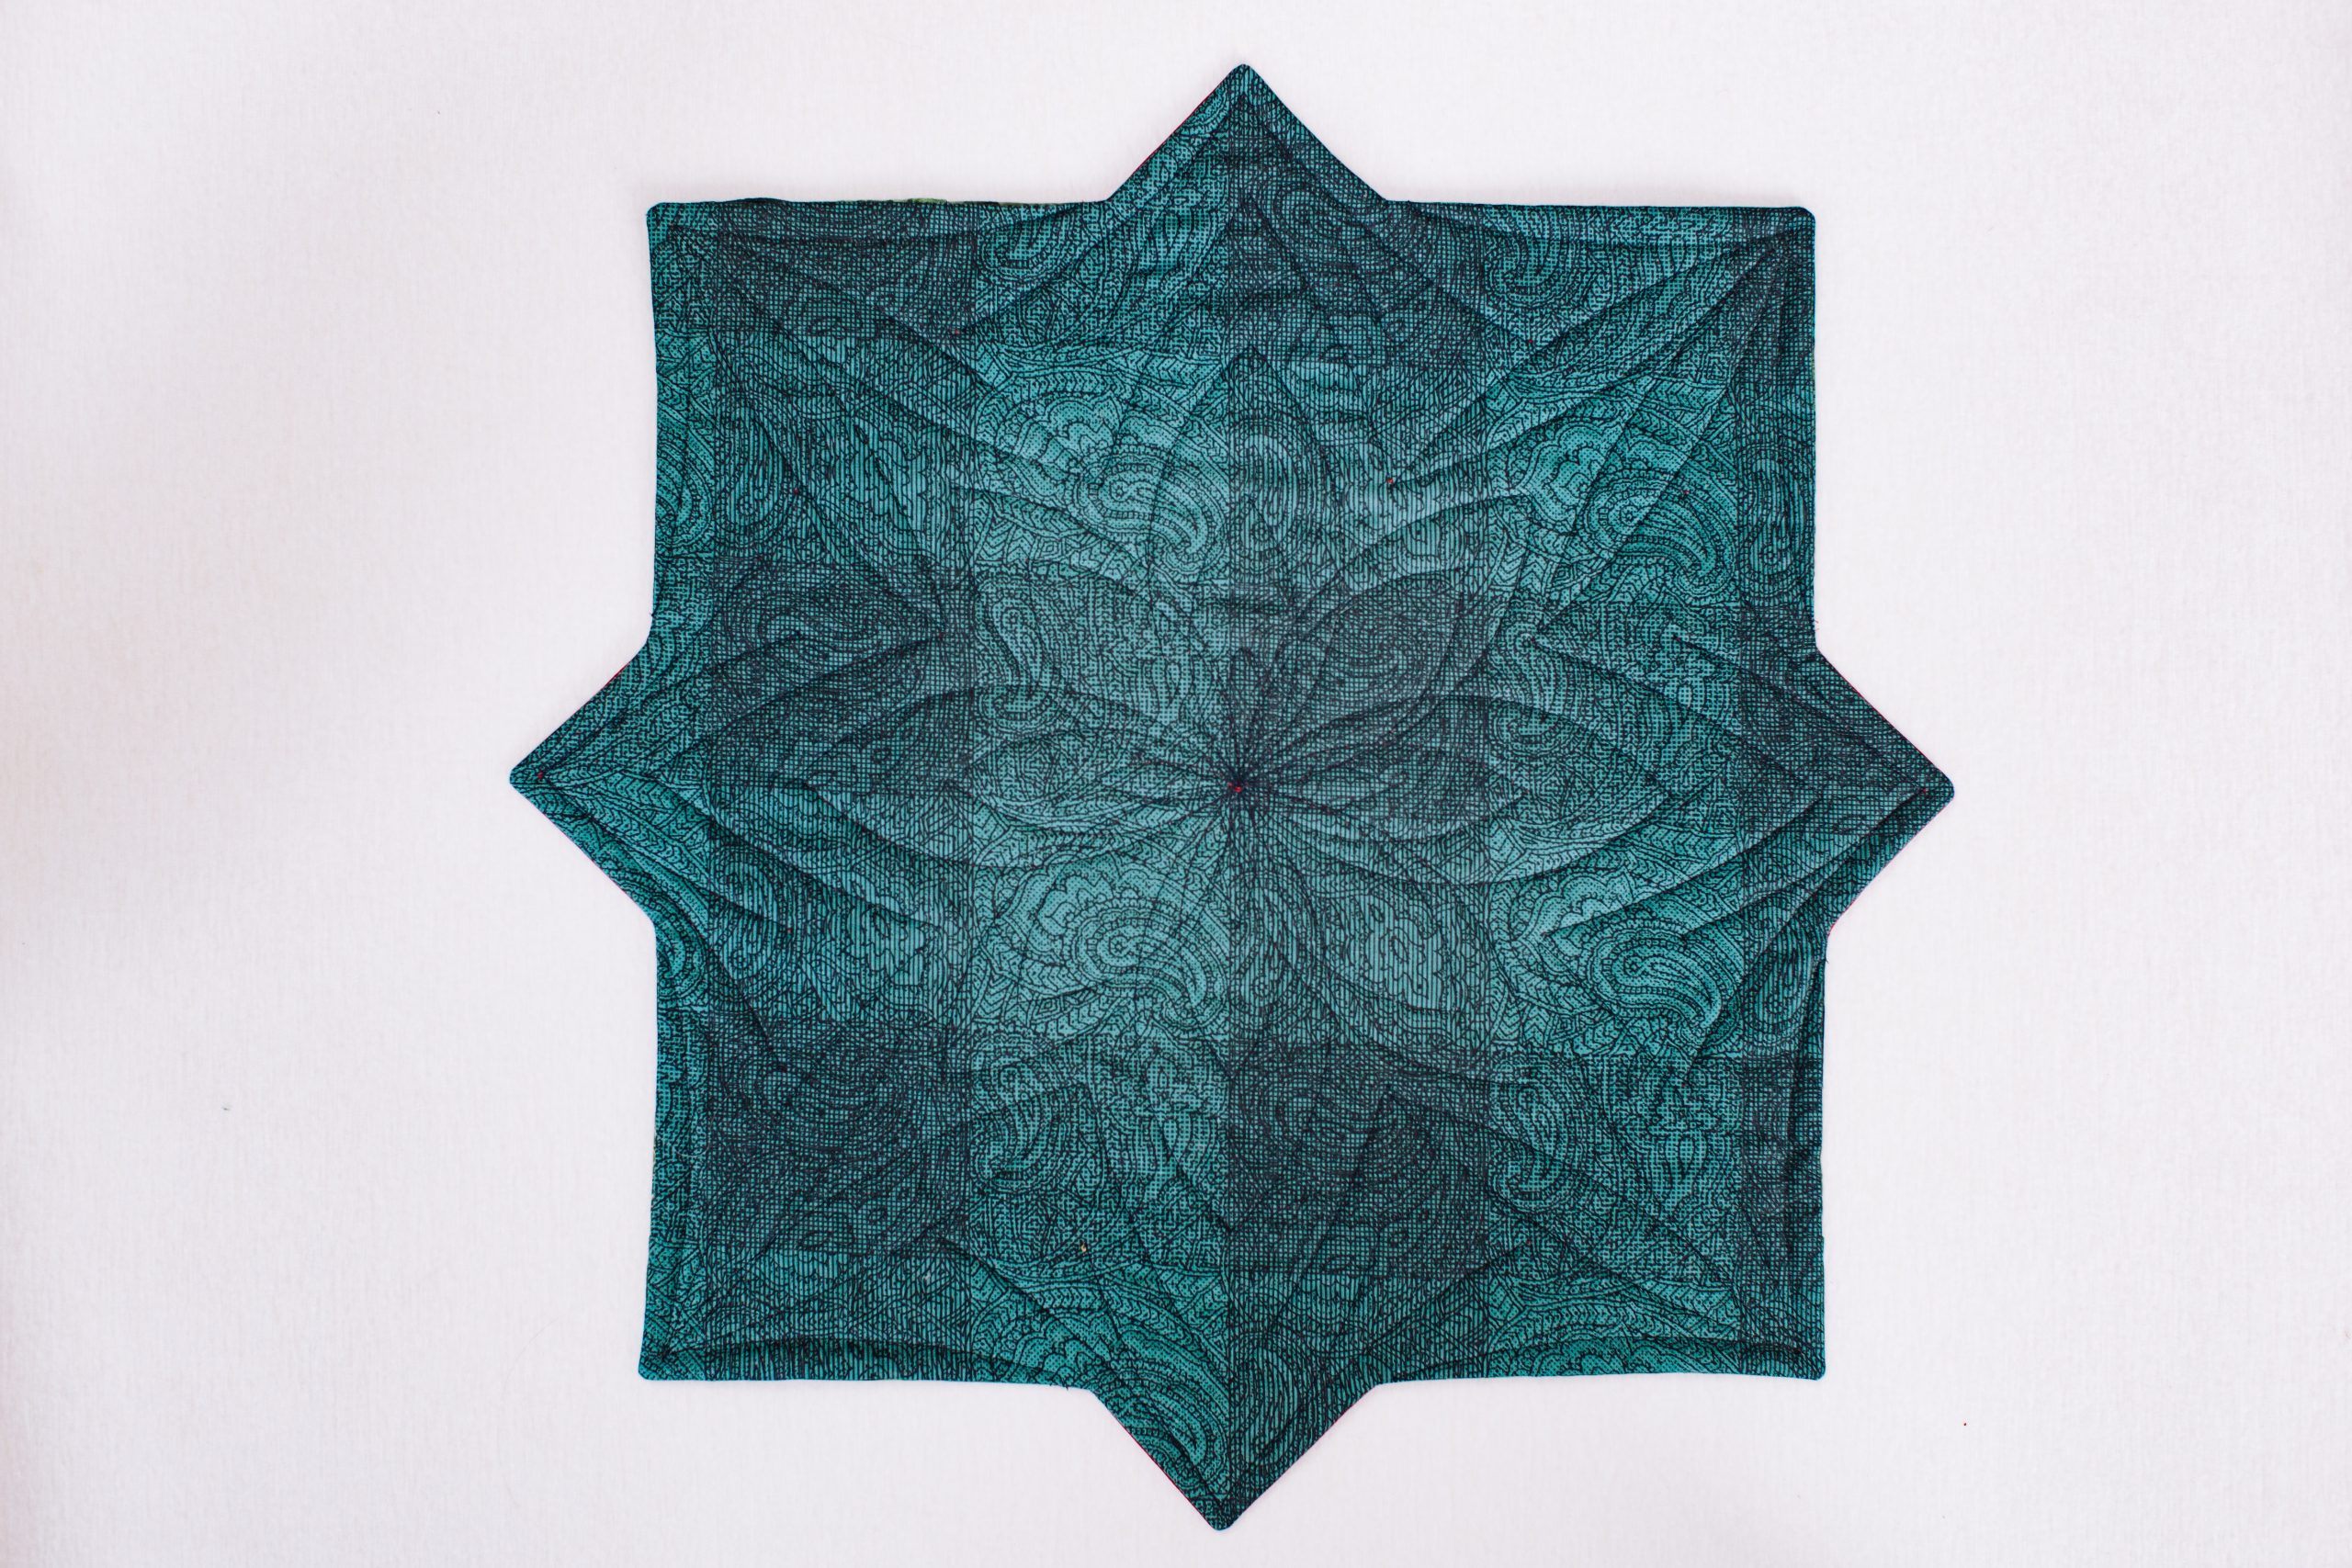
- 24” x 24” backing fabric
- 24” x 24” batting
- Red and green coordinating threads for piecing and quilting
Sewing Instructions:
- Sew together the following blocks:
- 24 mixed green/green triangles

- 8 mixed green/red triangles

- 4 dark red and center red/green mix triangles

- 8 dark red/dotted red triangles

- 12 dotted red/mixed red triangles

- 8 mixed red/mixed red triangles

- 24 mixed green/green triangles
- Lay out the squares as shown and sew into rows. Press seams open.
- Sew the rows together. Press seams open.
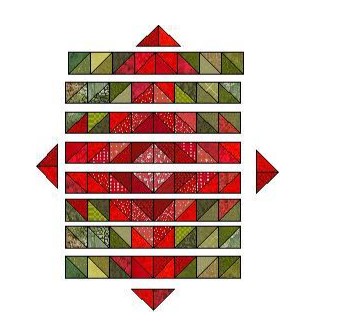
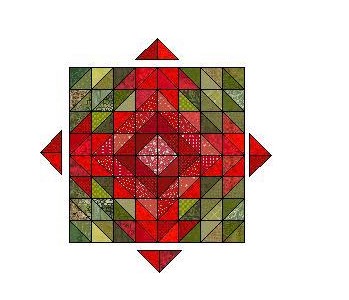
- With the remaining 8 red triangles, sew two triangles together to make points for the sides of the quilt.
- Then sew the red triangle points to each side.
- Press.
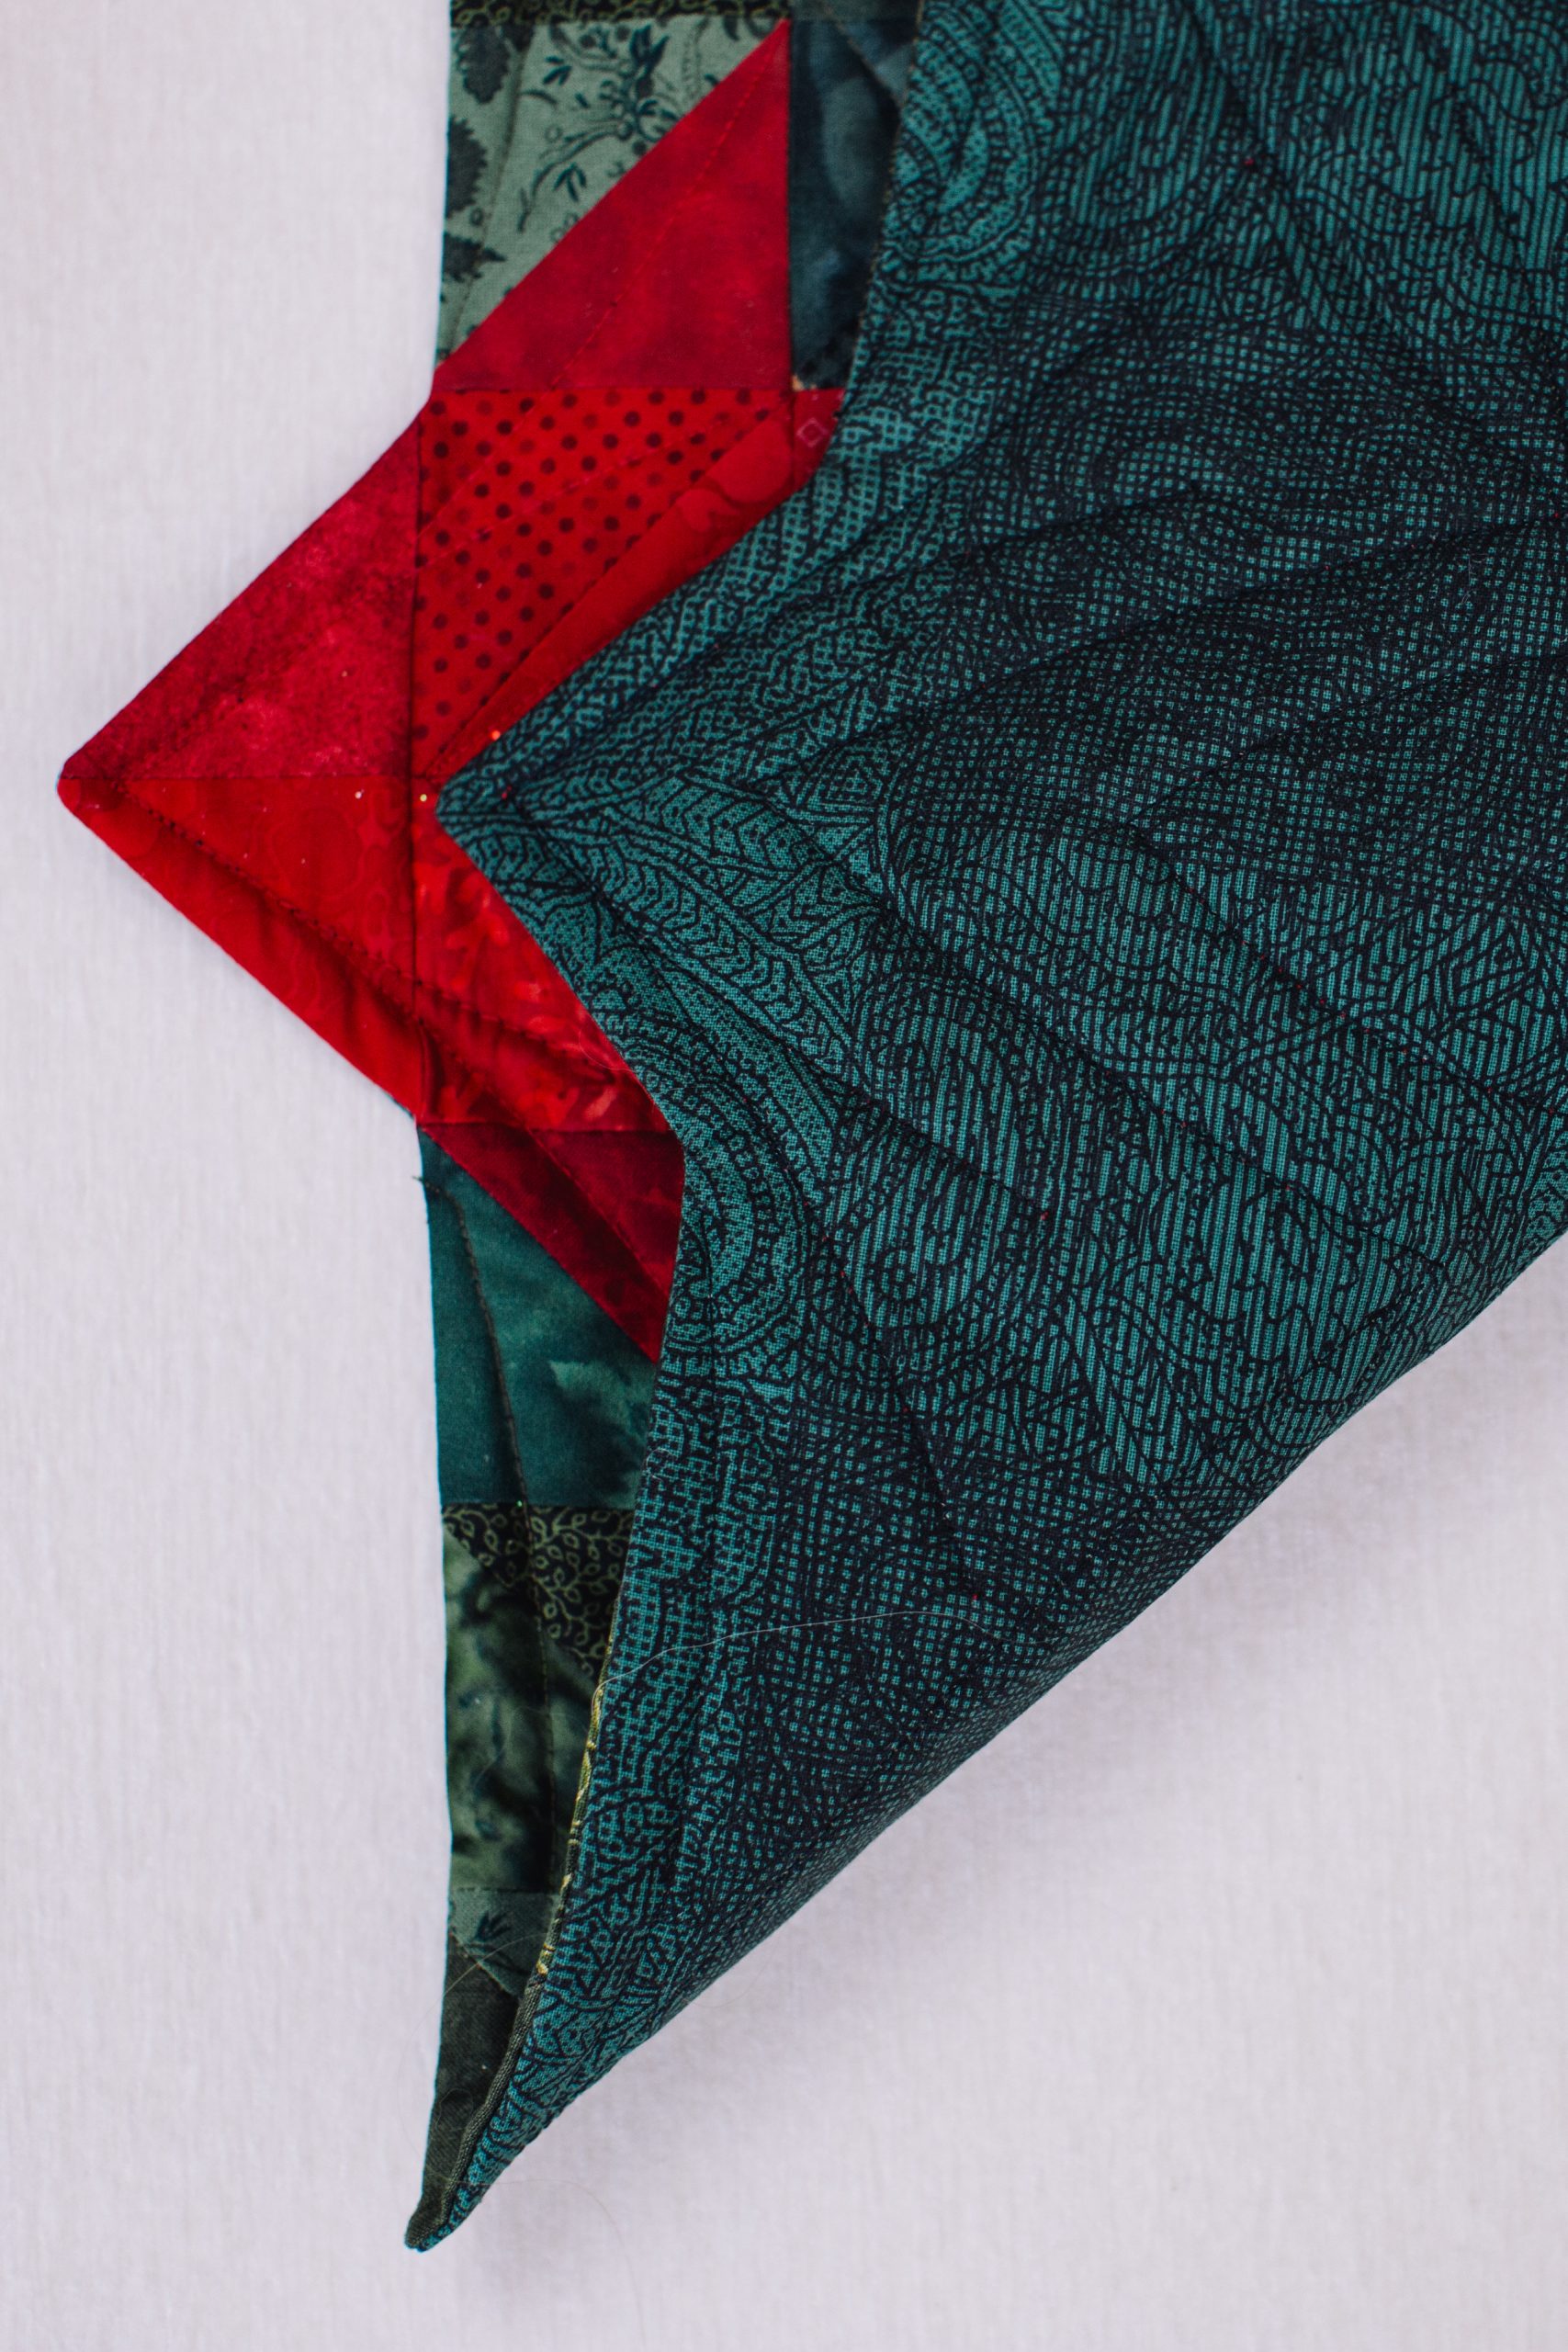
- Layer the batting, backing face up and quilt top face down and pin/baste around the outside edge.
- Sew 1/4” along the outside edge of quilt top, leaving an opening for turning.
- Turn inside out. Sew opening closed and press.
- Quilt as desired.

I can see doing this project as a placemat for a potted plant. Changing out the colors would make it match for different seasons.
Great idea, Suzanne! Thank you for sharing 🙂 – Ashley, We Like Sewing