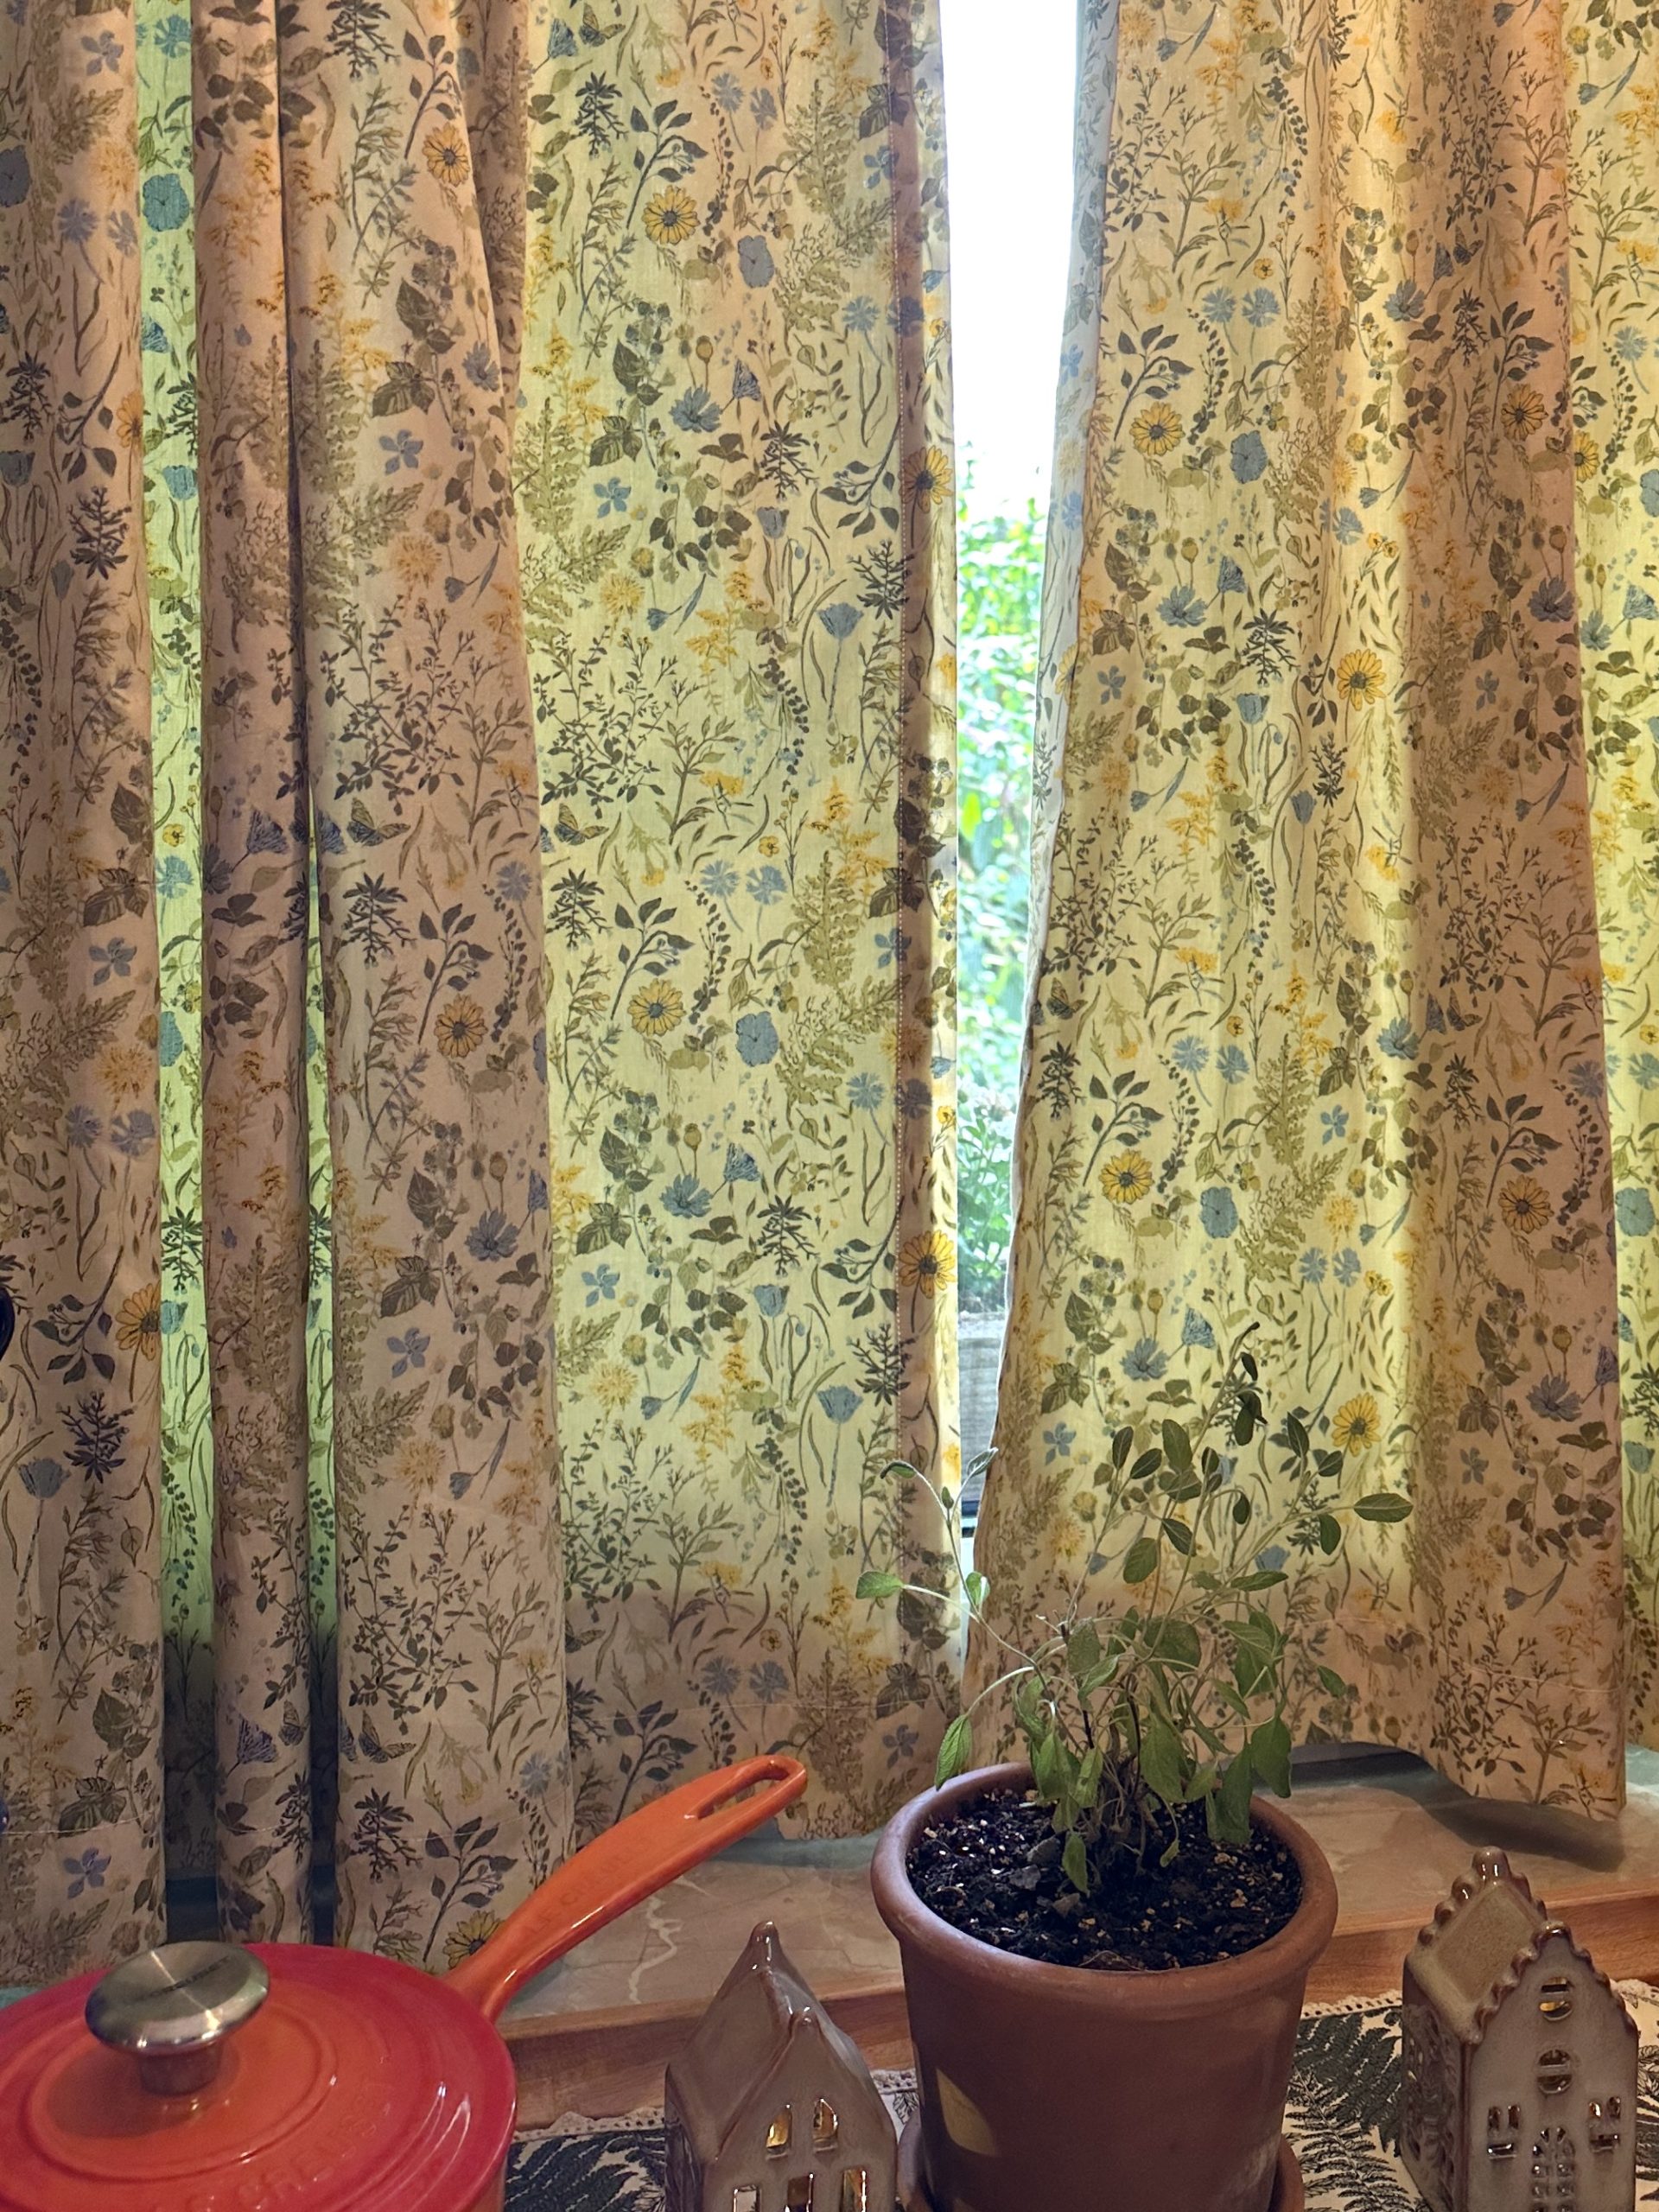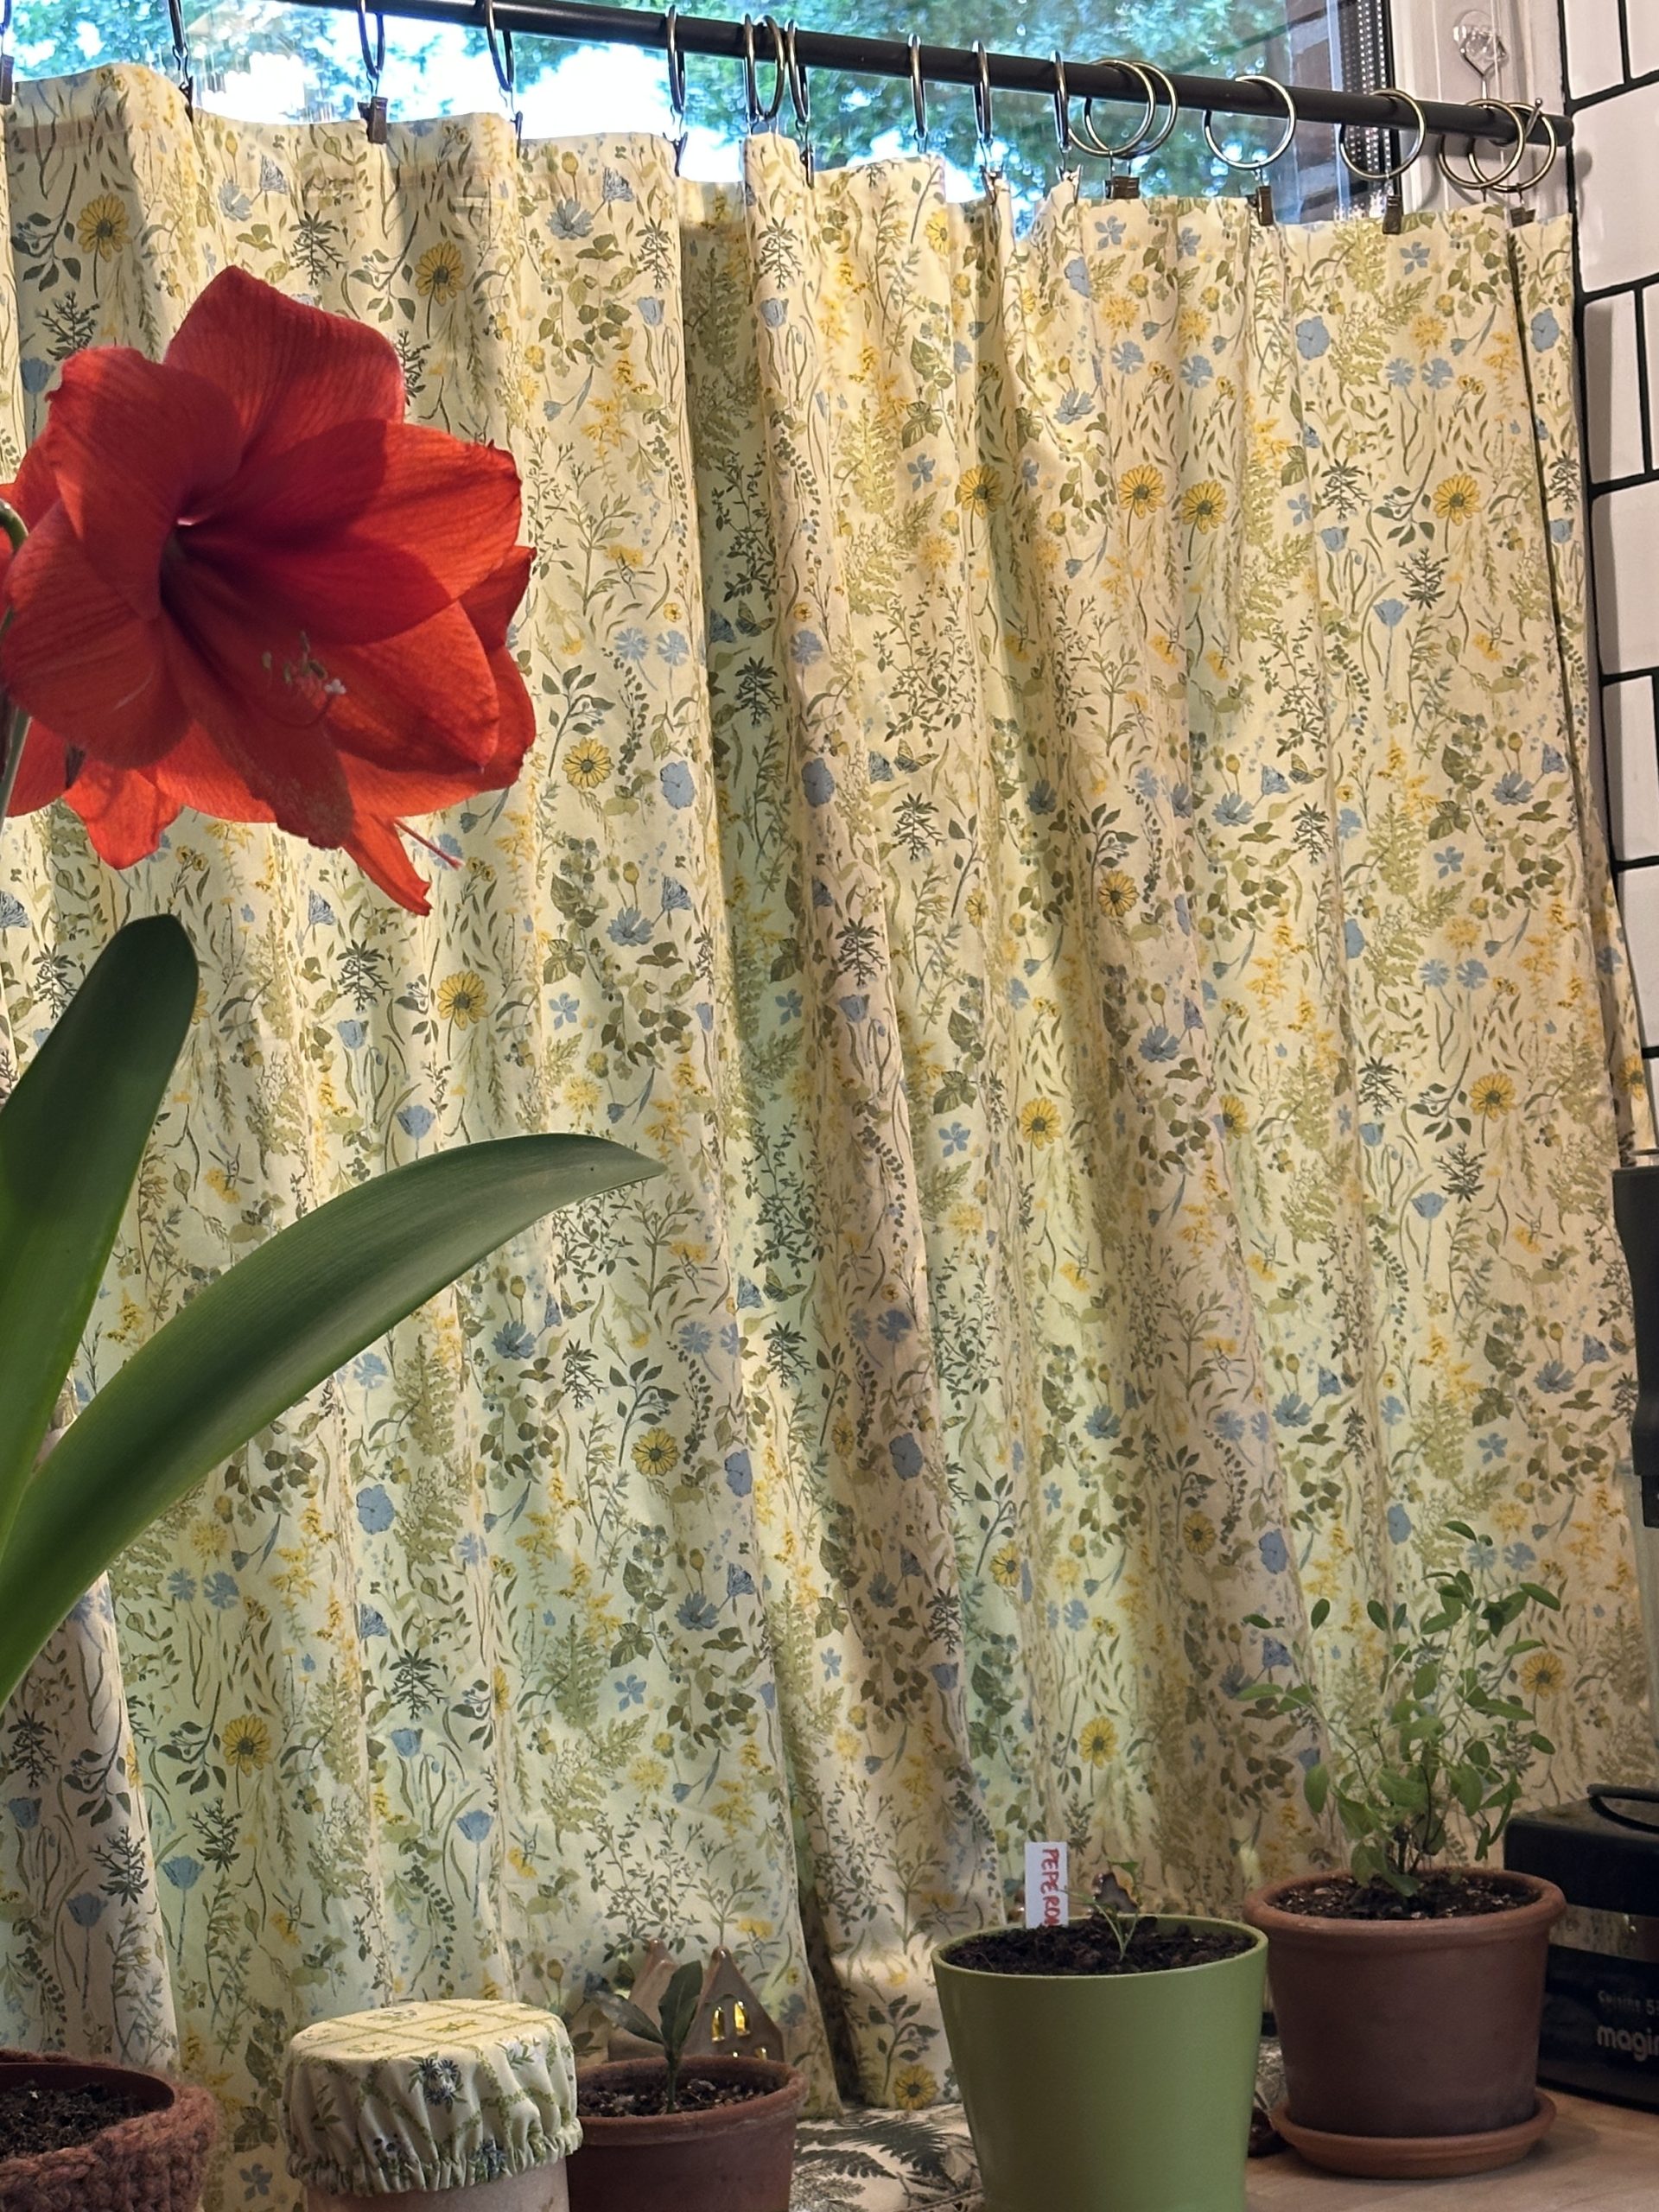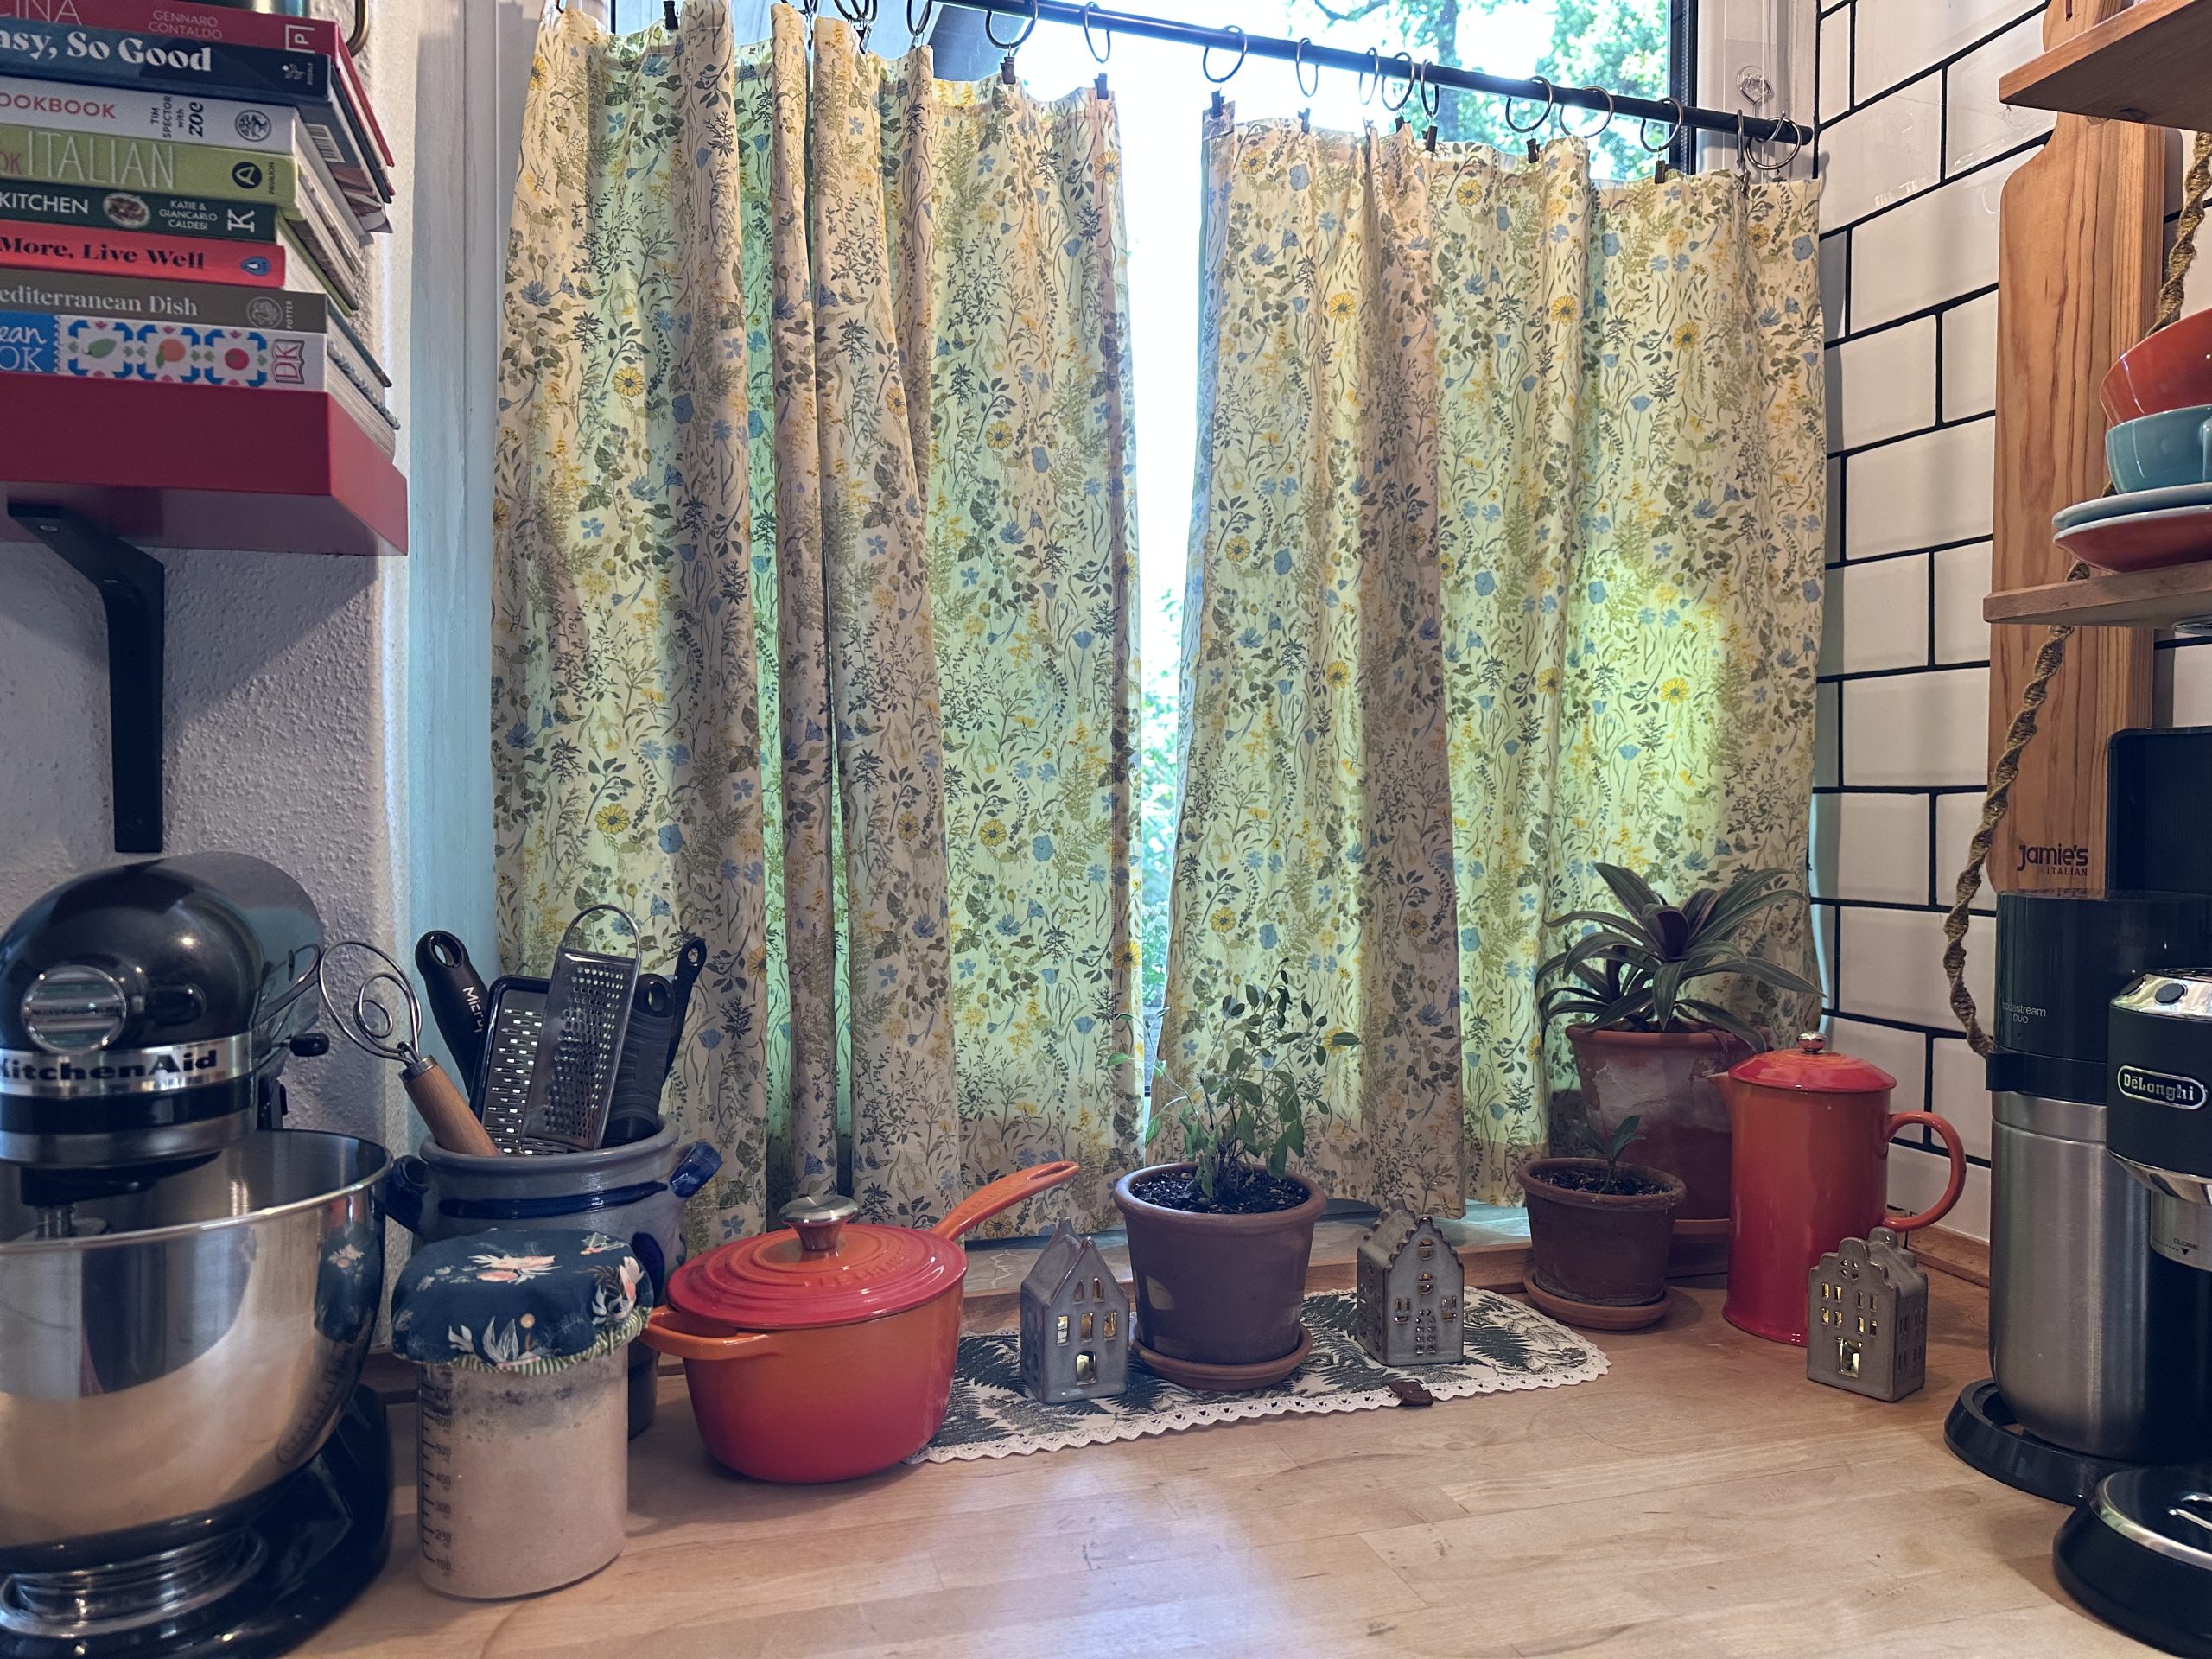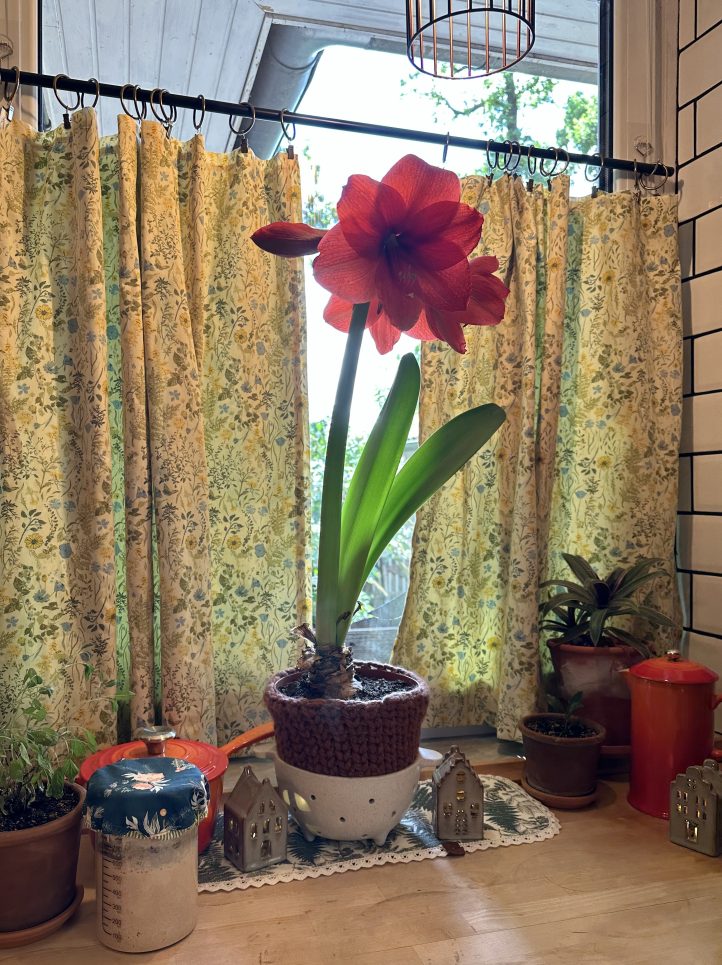
Are the winter blues making you feel blah? Add some color and light to your kitchen and dining room by sewing a set of vintage-inspired cafe curtains. Debbie von Grabler-Crozier shows you how to measure your windows so that your curtains perfectly fit your home, as well as how to create the lining and exterior panels, giving your kitchen lightness and privacy at the same time. Taking inspiration from the romantic cottagecore aesthetic, this curtain sewing pattern is a charming weekend project that won’t break the bank.
Designer Note: Seam allowances are all 1/4” and have already been added.
Materials:
- Fabric: (Note: All fabrics are by Art Gallery Fabrics.)
- Fabric for the curtain exterior. Debbie used Peaceful Meadow Dawn from the Potager collection by Sharon Holland for AGF.
- Fabric for the lining. The designer loves Dream Weaver Potager from the Potage collection by Sharon Holland for AGF.
- Note: The amount of fabric will all depend on how big your curtains are to be. The designer will show you how to measure your window, and then you will add the extra required for seams and hems, and calculate your fabric needs from there.
- Café Clips to hang your curtains. You can make a rod pocket (if you prefer) and ties are another option.
- Coordinating threads for all fabrics and trims
- Scissors
- Fabric marking tools
MEASURING YOUR WINDOW:
The designer chose to place this section first because these curtains can go onto any window, and it is important to measure your window so that you know how much fabric to buy and how to cut it if you are custom making.
We are making two curtains to be parted in the center and ideally for each curtain, you need exterior fabric to be the width of your window plus 3 inches (for the side hems) and half to two-thirds the height of the window plus 4 inches (for the hems on the top and bottom). Debbie prefers a nice deep hem because it adds weight and helps the curtains hang nicely.
TIP: Sometimes these curtains are half the height of the window and sometimes even less and that works, too. It depends on the look you are going for and how much fabric (or fabric budget) you have. Take a look at your window and see what you want to do. If you only have enough fabric for somewhere between half and two-thirds, that is okay, too. It does not have to be exact- there is no one policing this!
The designer wanted her curtains to fit inside the window space but you can also have them hanging outside. There will normally be enough fabric in the folds to do either.
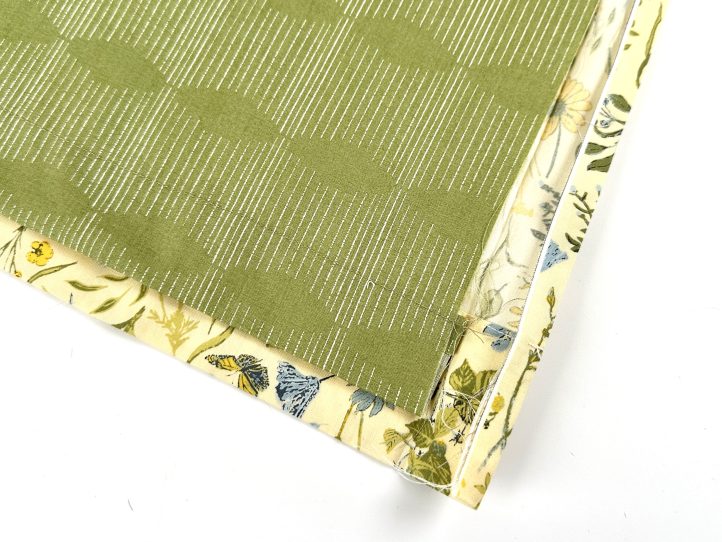
The lining is the width of the exterior panel minus 3 inches extra on the side and minus 2 1/2 inches of the 4 inches for the top and bottom. This gives 1 1/2 inches for the hem. There is no hem on the sides or top and the raw edges are hidden in the exterior panel folds. It will make more sense as we go along.
Cutting Instructions:
From the exterior fabric:
- 2 pieces to fit half to two thirds of your window height and the full width as described above plus 3 inches on the width and 4 inches on the length.
TIP: What happens if your chosen fabric width is less than the width of your window? You have two choices. You can either add a panel of fabric to make the width or accept slightly less voluminous folds in your curtains. The designer used quilting fabric, which is a bit narrower, and she sacrificed the volume for that delightful print.
From the lining fabric:
- 2 pieces the width of your window times (x) half to two-thirds of the length plus 1 1/2 inches for the hem (see sizing tips above).
Sewing Instructions:
MAKING:
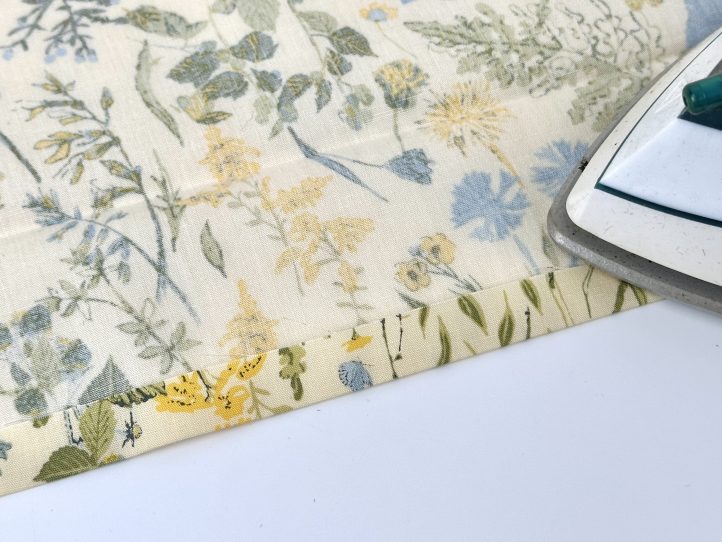
- Hem both the lining and the exterior panels to the wrong side on the bottom edge only. The first fold on both is 1/2 inch. Press this and then fold the exterior up by 2 inches and the lining up by 1 inch. Press both and sew narrowly in matching thread.
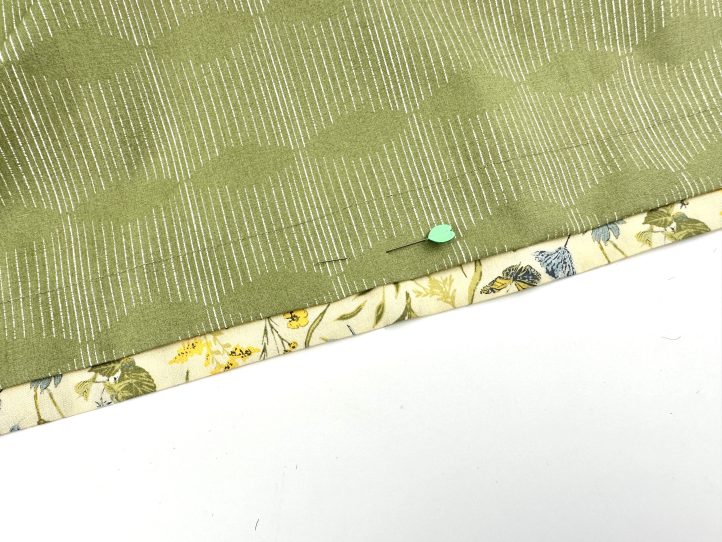
- Find the vertical center of both the lining and the exterior panels and mark them.
- TIP: Fold the panels in half vertically and lightly press a crease. It can be ironed out when you are finished.
- Put the lining aside and press (but do not sew) some guidelines for the top and side hems of the exterior panels.
- Fold the side hems over by 1/2 inch and then by 1 inch on both sides and press. Repeat on the top of the exterior panel, fold over by 1/2 inch and then 1 inch. Press.
- TIP: These guidelines (the second 1 inch fold) will help you to easily position the lining. The lining has raw edges on the top and sides and all of these will be hidden in those folds.
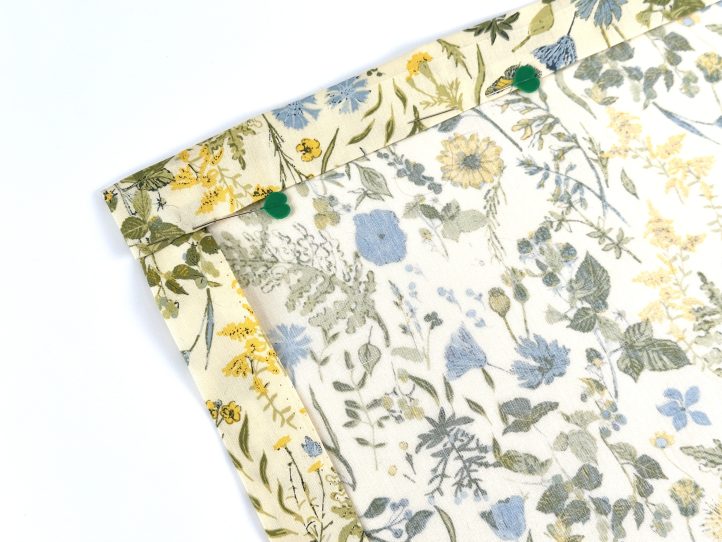
- Lay an exterior panel onto a flat surface with the wrong side facing up and remove any pins. Unfold the side and top hems and place a lining panel onto it, wrong side facing down (both wrong sides will be together). Align the lining so that the vertical centers line up and the lining is 1/2 inch up from the bottom of the exterior.
- Pin the lining well all around.
- TIP: The lining raw edges should fit inside the folds so that it’s hidden in the next steps.
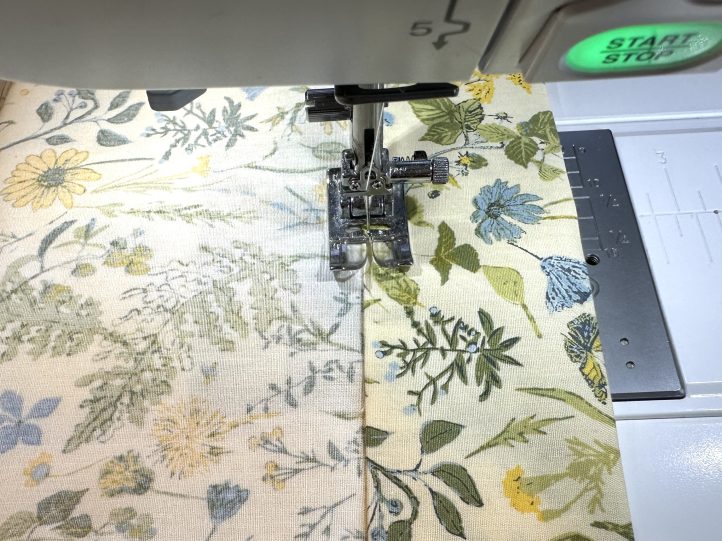
- Re-fold the sides, trapping the side raw edges and pin. Sew the sides.
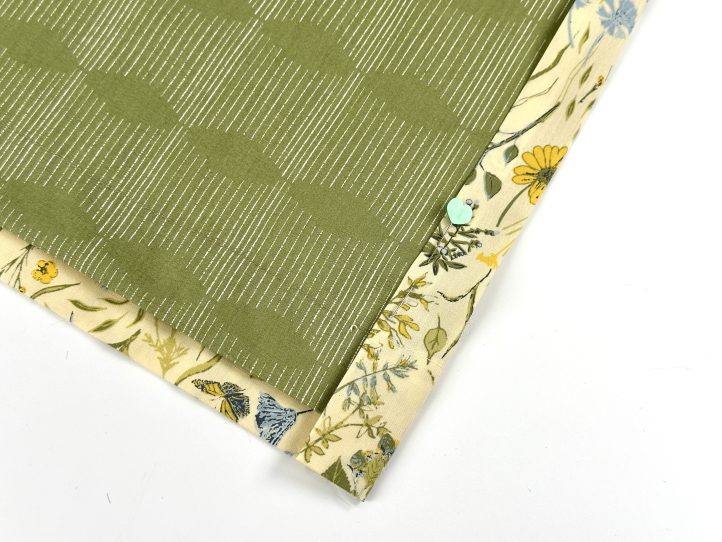
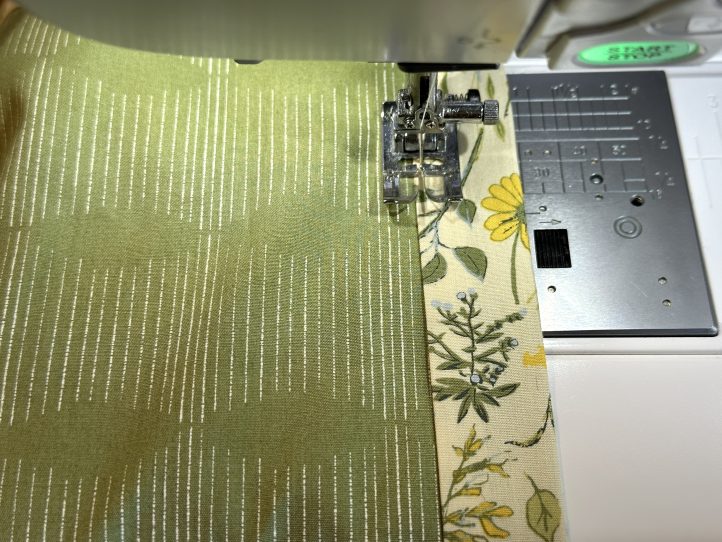
- Re-fold the top edge of the curtain and pin. Sew, trapping the top raw edge of the lining as you do so as you did for the sides.
- TIP: The lining and exterior should be perfectly flat at the moment. Any gathering or volume will happen when the curtain is hung at the window.
- Repeat for the other curtain.
- Place the clips onto the top edge.
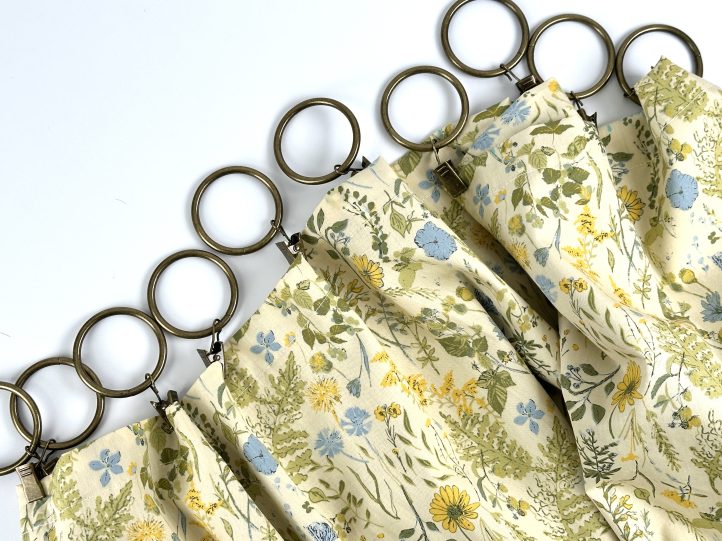
- Hang your curtains!