All photos in this article are provided by the designer.
Stabilizing seams is a useful but often overlooked sewing skill. This can be necessary when the fabric is lightweight, bias cut, or on specific areas of a garment that may be more vulnerable to stretching. A seam stabilizer doesn’t have to be fancy or expensive, and is probably already in your sewing room! Continue reading to discover when to reinforce seams and the supplies that can be used to do so- including interfacing, clear elastic, twill tape, and more!
When to Stabilize Seams
So how can you decide whether or not to use a seam stabilizer? Not all seams will need a stabilizer, though they often do. Many times commercial sewing patterns will call for a stabilizer during certain steps. The most common seams to stabilize on a garment include shoulders, curved necklines, waistbands and pockets. Fabrics that stretch when being held and worn (like knits) will often need to be stabilized so a garment’s seams don’t become warped or uneven. Gathered seams can also require a stabilizer in certain instances (to prevent the folds from coming loose).
Stabilizer Choices
The exact kind of seam stabilizer to pick depends on a few factors. Consider what is easily accessible, the type of fabric being used, and the placement of the stabilizer. Some are best to apply or attach before sewing the seam up, and some afterwards.
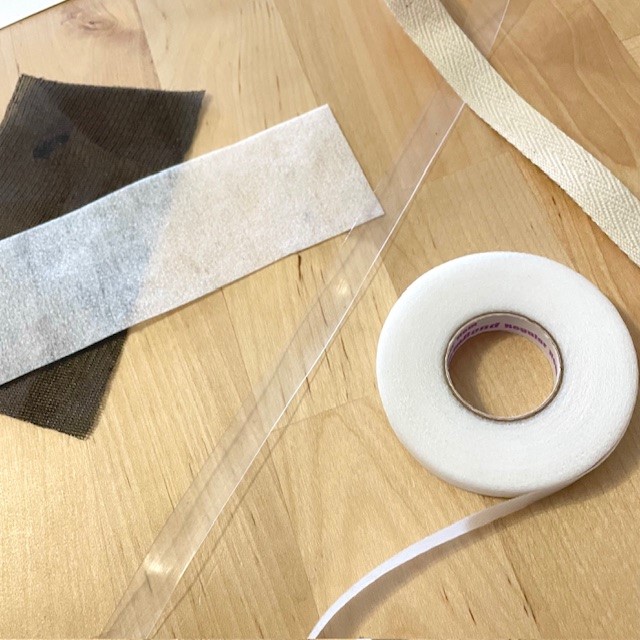
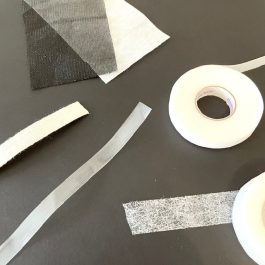
Here are a few of the most popular choices for seam stabilizers:
INTERFACING:
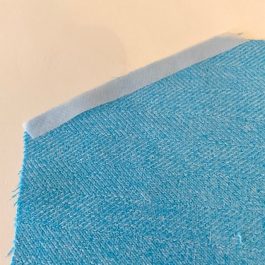
Interfacing is a commonly-used material for strengthening and stabilizing seams (and more!). It’s available in a variety of thicknesses and colors and is relatively inexpensive. Interfacing is a great reinforcer because it’s easy to work with and adaptable. When using interfacing for seam stabilizing, pick a color and thickness that matches the main cloth being used. It comes in sheets and rolls like fabric, and can be trimmed to the exact size you need. Most interfacing will be iron-on (fusible), though some is sewn on. Cut the interfacing into a strip to fit the size needed (and leave a little extra that can be trimmed off later just in case). It can then be pressed or sewn onto the cut edge of the fabric (on the wrong side). Typically, this is done before the pieces are pinned and sewn, but it can also be added on later if you notice stretching on a garment.
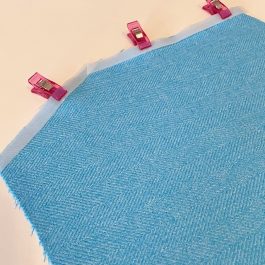
CLEAR ELASTIC:
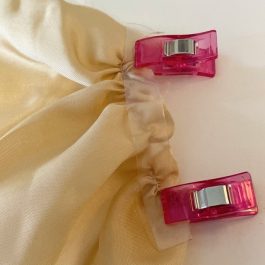
This kind of elastic can also be used to stabilize seams in garments. Clear elastic prevents warping and distortion of the fabric at the seams while still allowing for a small amount of stretch and movement. Use this sewing supply for knit fabrics and areas that require a little give (like shoulder seams and waistbands). Most projects can use the 1/4” (inch) thick clear elastic, though it’s available in various sizes.
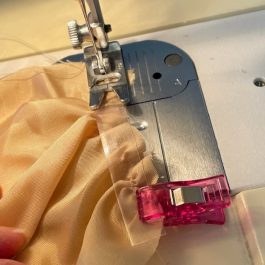
Clear elastic is easy to attach to a seam with a zigzag stitch on a sewing machine. Hold the elastic flat and straight when sewing it on so it isn’t stretching, and allow a little extra length that can be trimmed off later. It should be applied to one outer cut edge of the fabric on the wrong side, staying within the seam allowance margins. Some sewists prefer to attach it before sewing up the seam, and some after. Clear elastic can also be overlocked on with a serger along with both pieces of fabric (creating the seam and connecting them all in one go).
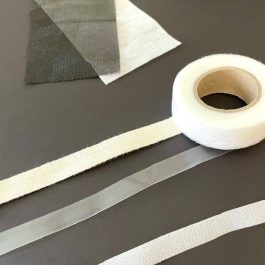
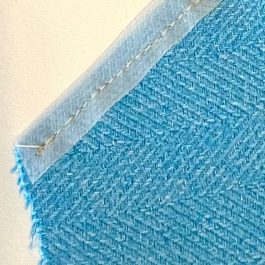
TWILL TAPE:

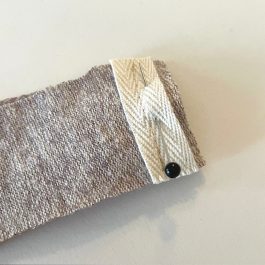
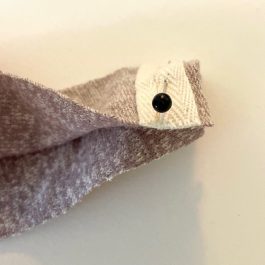
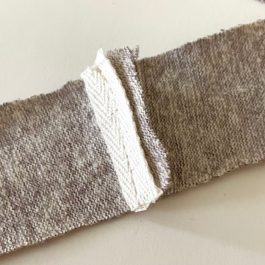
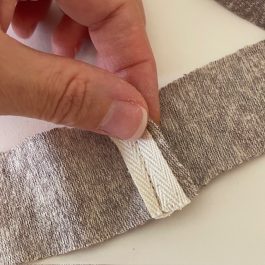
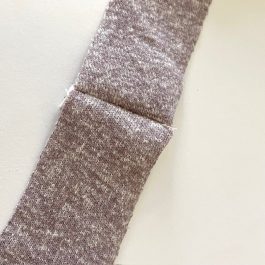
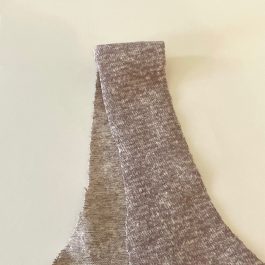
Another material that might already be in your sewing room is twill tape. Not to be confused with bias tape, twill tape is a woven sewing supply typically made from cotton and/or polyester. It comes in long rolls and various widths (between about 1/4” – several inches wide) as well as many colors. The tape won’t be seen on the inside of the garment, but picking a coordinating color is still recommended. Twill tape is thicker and thus will allow for less movement than other stabilizers (like the clear elastic), so it should be used on heavier, woven fabrics.
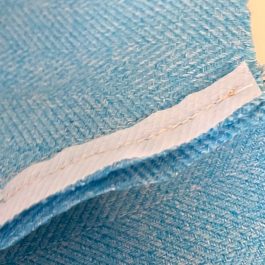
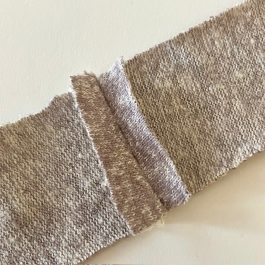
Twill tape should be applied centered at the future seam line on one side of the garment (usually the back piece), rather than right at the cut edge. For this purpose, a straight stitch is used for attaching twill tape to seams (before sewing the seams together along the same line). After the seam is sewn, press with an iron towards the back of the garment to hide the twill tape within the inside of the seam.
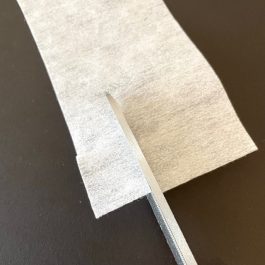
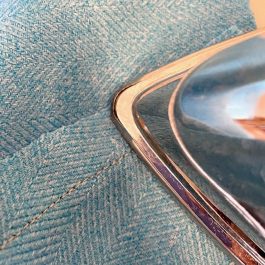
STAY TAPE:
Stay tape is very similar to interfacing as it comes in fusible or non-fusible types. It’s made in rolls of various widths (from 1/4” – 1” wide), and is an easy and affordable option for seam stabilization that doesn’t add bulk. Unlike the clear elastic, stay tape is a perfect option for seams that do not need to move or stretch (such as arm and neck holes). It works well for woven fabrics that are thinner and wouldn’t accommodate twill tape.
To use it for reinforcement, choose the width that fits the seam allowances of your project, cut it to the desired length (leave a little extra to be safe), and either sew or iron on the strips within the seam allowance margins. The stay tape should be attached before sewing up the seams as it is keeping the cut fabric stable. Usually it is applied along the raw edge, though it can also be applied along the stitch line. Gently iron on the stay tape if it is fusible, and sew on non-fusible tape using a standard zigzag stitch. If using a delicate fabric with the fusible types, consider creating a test swatch beforehand.
LIQUID STABILIZERS:
Finally, liquid stabilizers can be used for a more temporary solution. This won’t stay on when the garment is washed but can be used before sewing for more stability. When using this for a project, gently brush or spray it onto the fabric and allow it to dry before pinning and sewing. Wash the garment after sewing to remove the liquid stabilizer. Since liquid stabilizers can sometimes discolor fabric, it is recommended to make a test swatch before applying to your material.
Use these pointers the next time you have a seam that needs to be stabilized!
The information in this article was very helpful. I can honestly say that I’ve never thought of applying stabilizer to anything that a pattern doesn’t direct me to do it. This is most helpful for sewing knits and I believe this will save me a lot of headaches on future projects. Thank you!
You’re welcome, Debbie! We’re so glad that you enjoyed this article 🙂 – Ashley, We Like Sewing