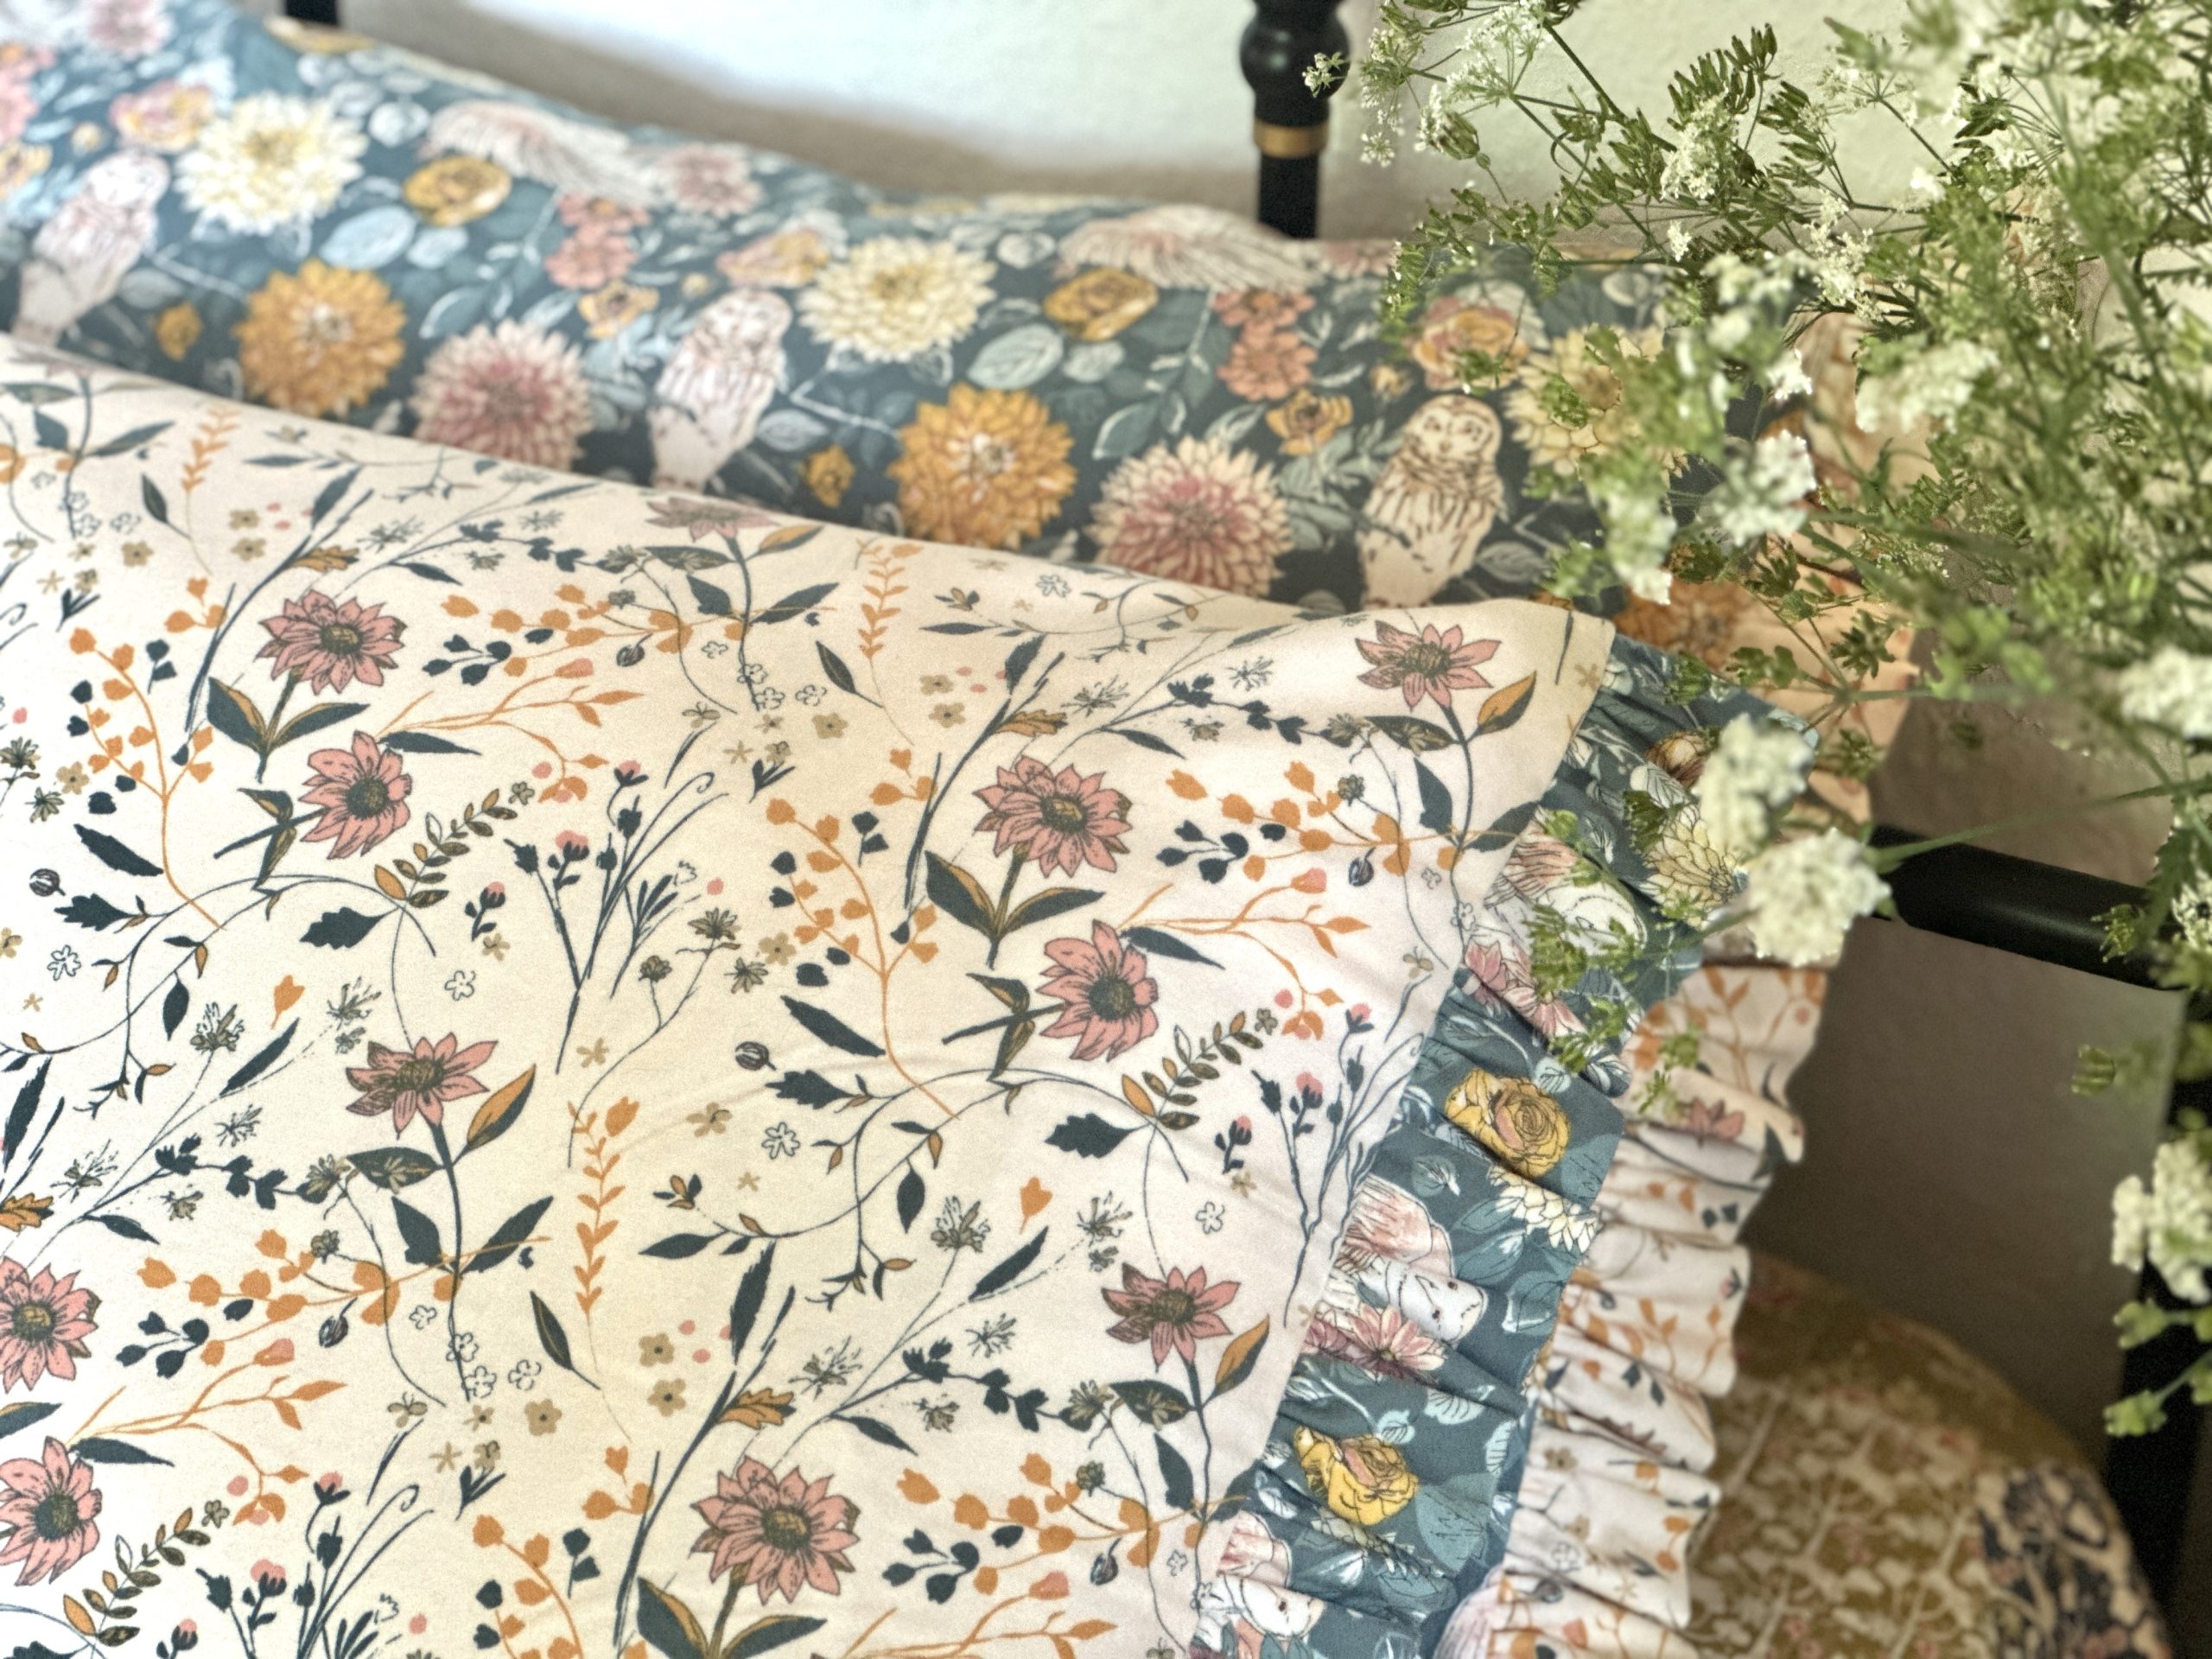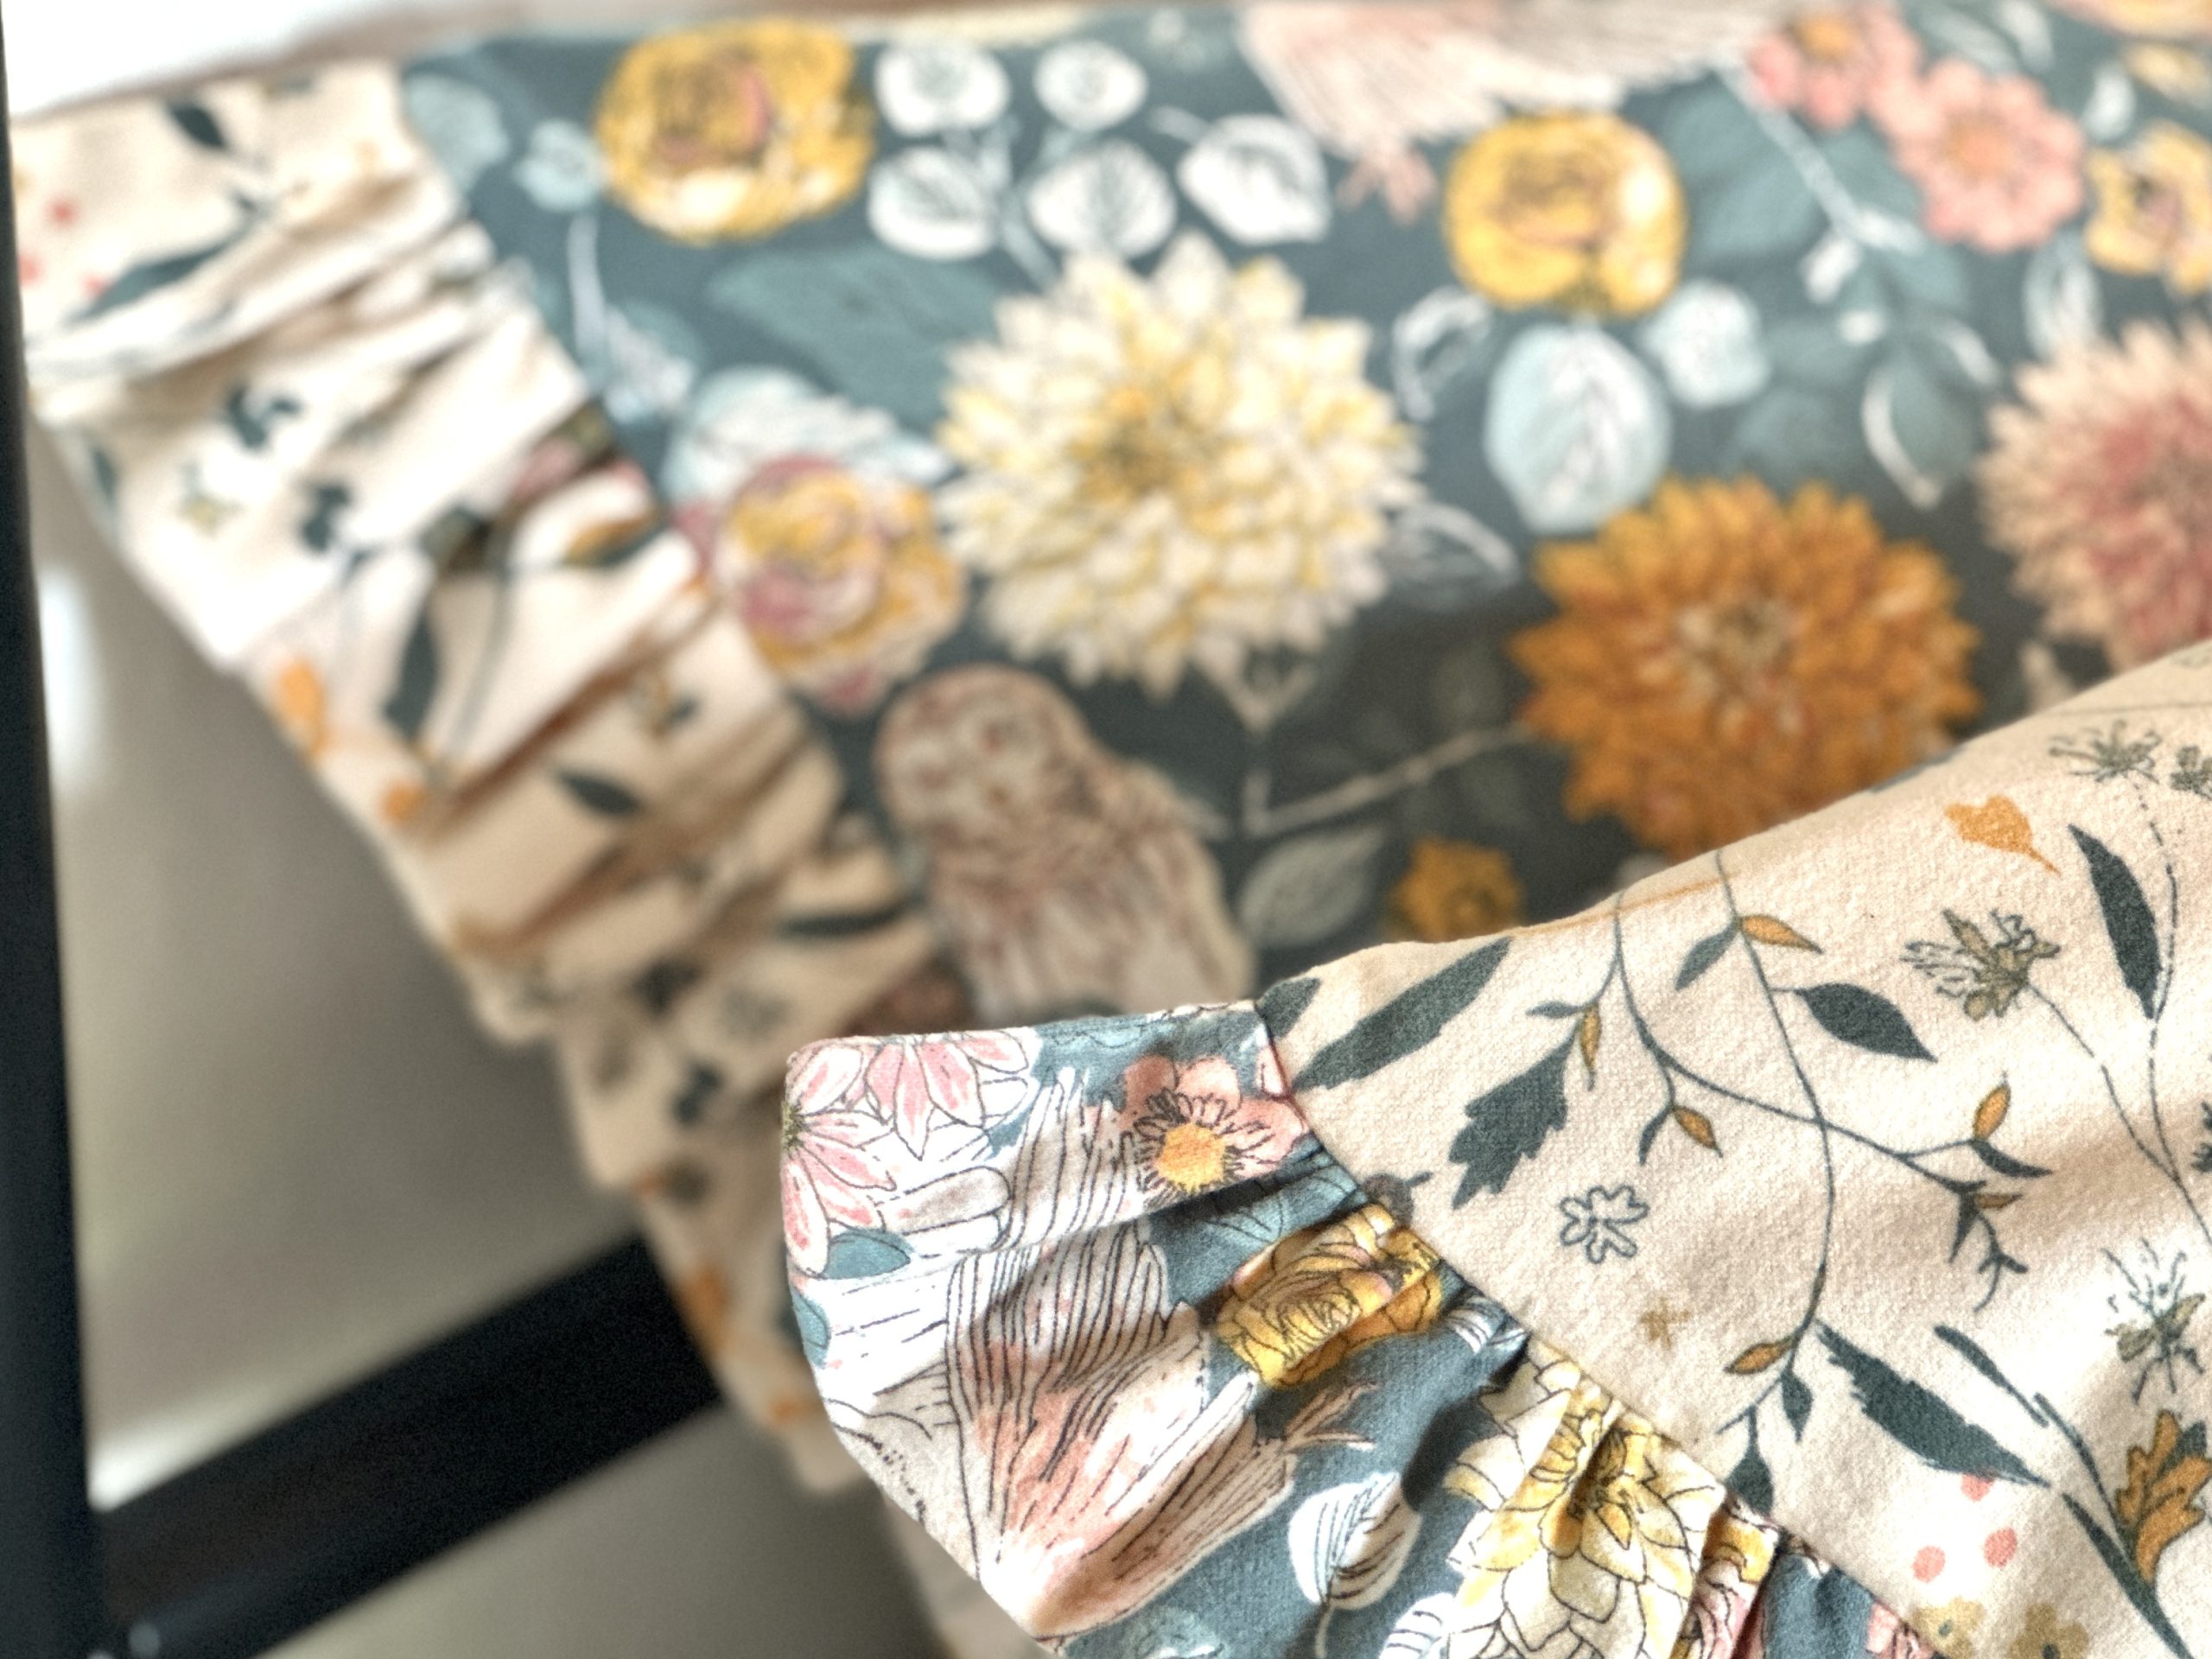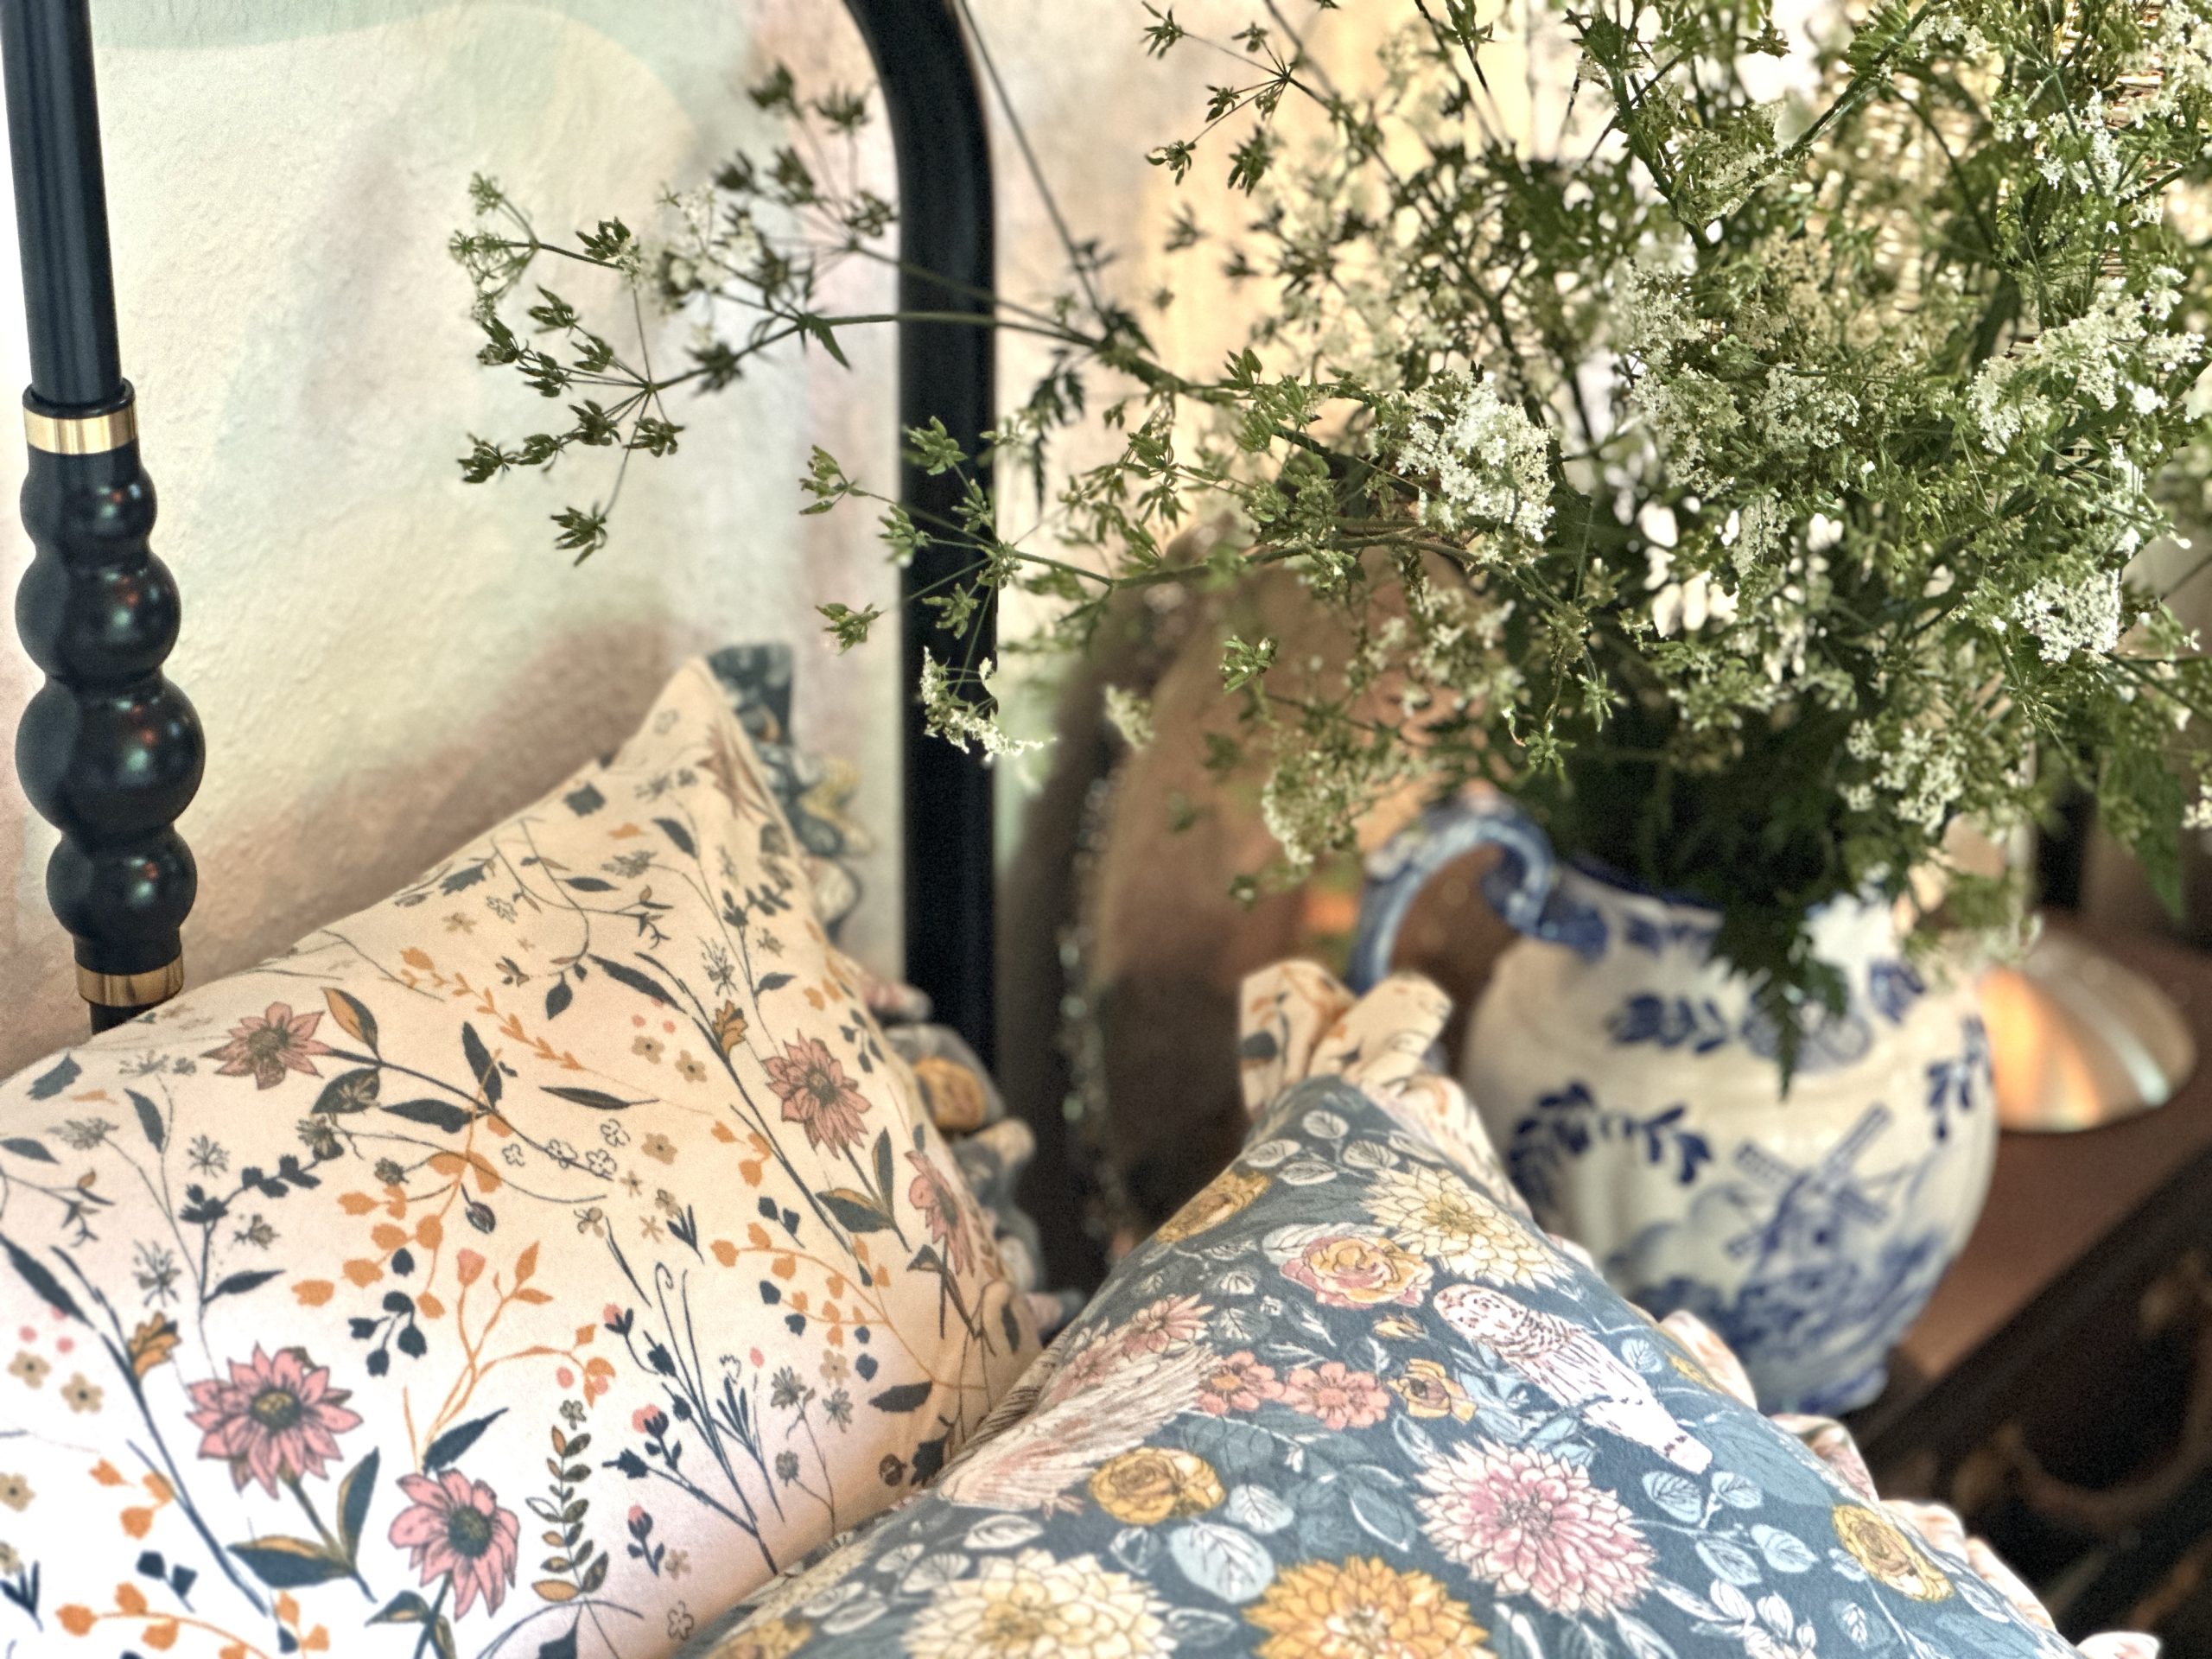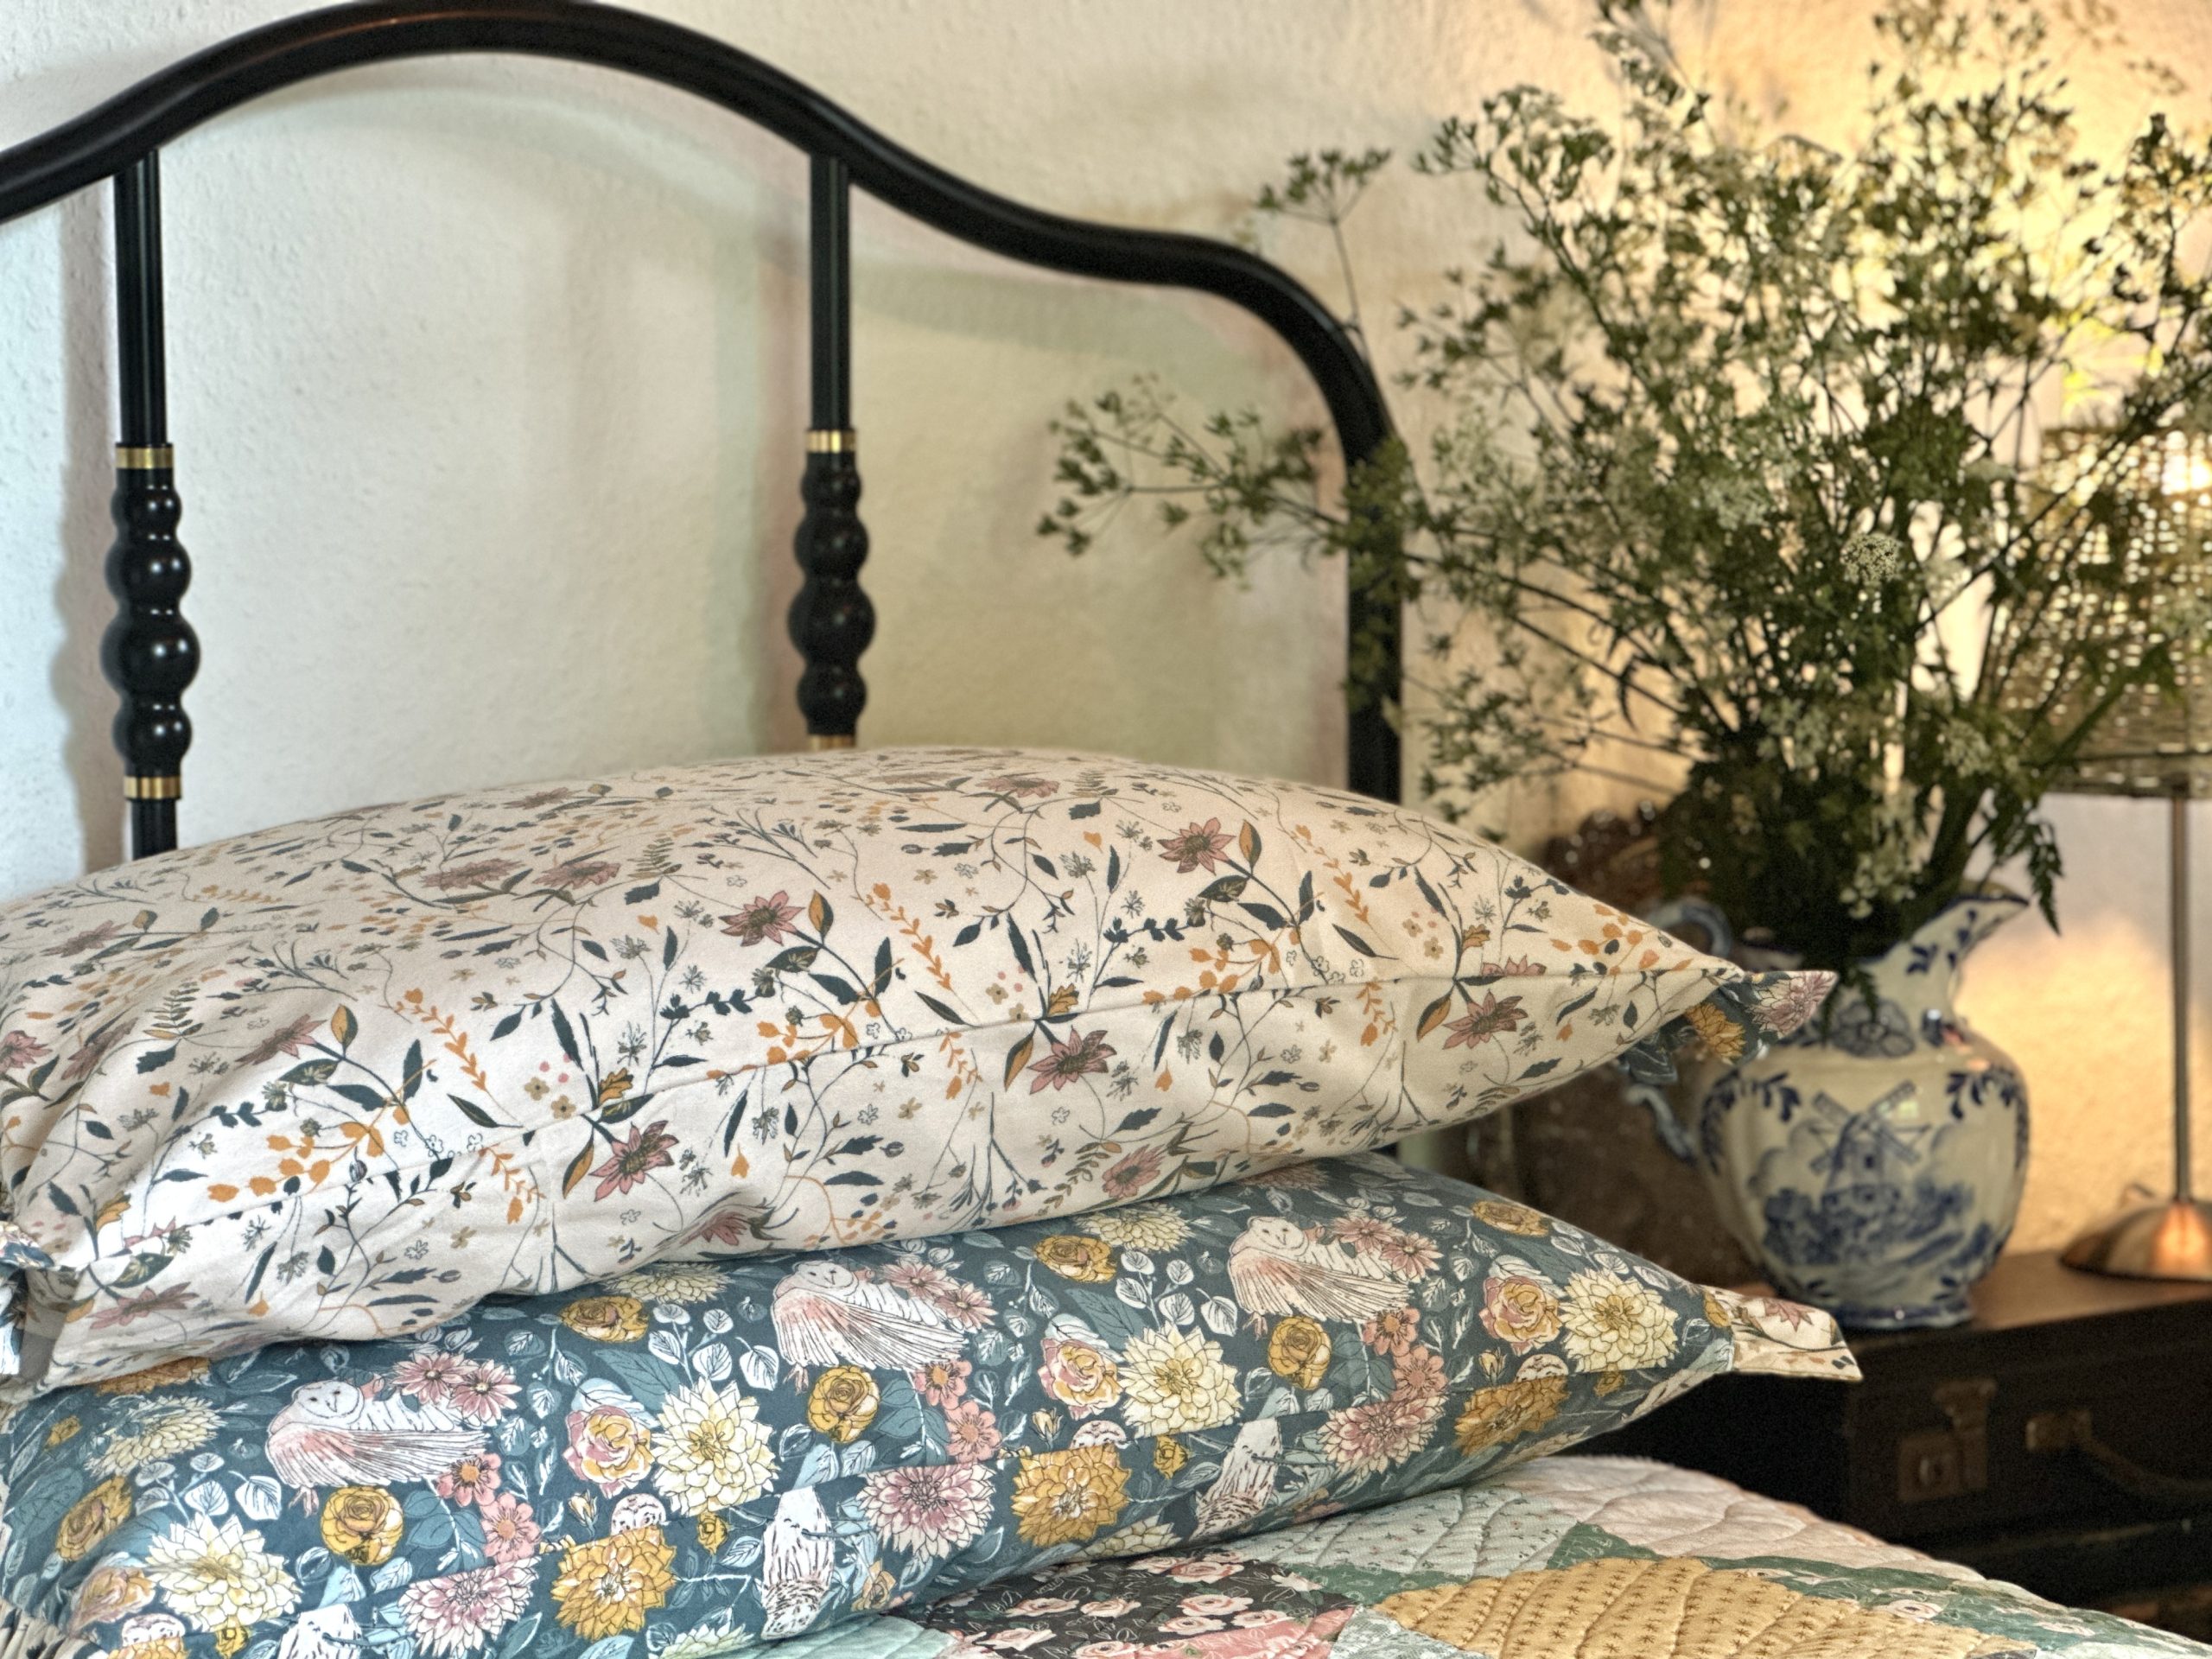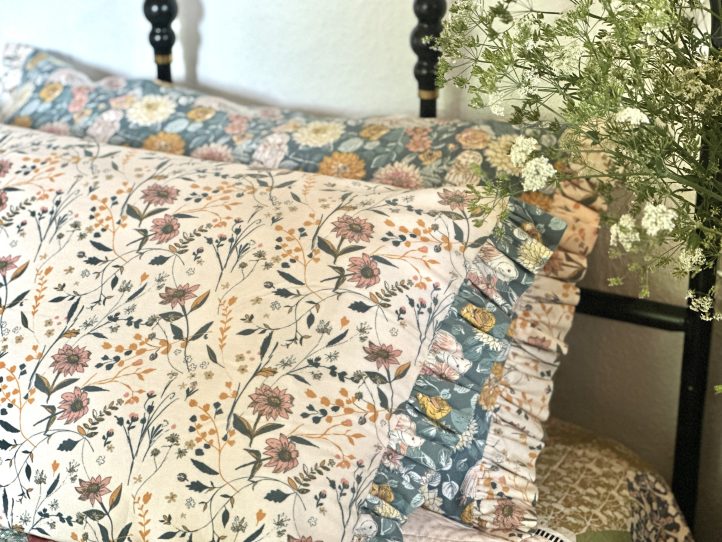
If you’re all about creating cozy, autumnal vibes this fall, then you’ll love these old-fashioned pillowcases from Debbie von Grabler-Crozier. This pillowcase set pattern shows you how to create a coordinating set of flannel pillowcases with romantic ruffles. Update your home décor in no time with this lovely sewing pattern that perfectly shows off whimsical prints.
Designer Note: Seam allowances are all 1/2 inch and have already been added. TIP: The seams have been increased from my usual 1/4” to 1/2” because although flannel feels like a reasonably robust fabric, it really isn’t until it has been sewn and you need to give a bit of real estate for the stitches to hand onto.
Materials:
- Fabric (Note: All fabrics are all by Art Gallery Fabrics from the Willow collection by Sharon Holland. The amounts are for two pillowcases.)
- 55 inches flannel fabric- Owl Things Floral
- 55 inches flannel fabric- Entwined Memory
- Coordinating threads for all fabrics and trims
- Scissors
- Fabric marking tools
- Sewing accessories
Cutting Instructions:
TIP: This pattern gives a set of two pillowcases that are mirror images. Once the pillowcase has a ruffle from flannel I and the body of the pillowcase from flannel II and the second case has the opposite, which makes a coordinating set.
From flannel I:
- 2 pieces 29” wide x 20” tall for the front and back panels
- 1 piece 20” wide x 8” tall for the lap
- 2 pieces 5 1/4” wide x 40” long for the end ruffles
From flannel II:
- 2 pieces 29” wide x 20” tall for the front and back panels
- 1 piece 20” wide x 8” tall for the lap
- 2 pieces 5 1/4” wide x 40” long for the end ruffles
Sewing Instructions:
PREPARATION:
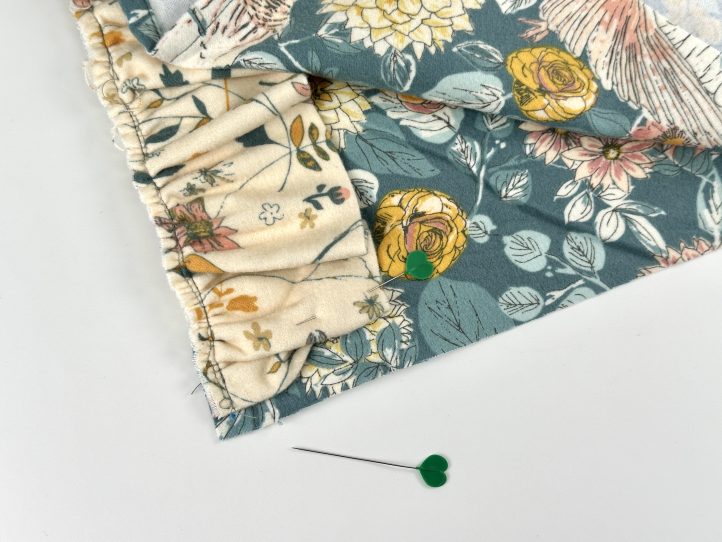
Make the Ruffles:
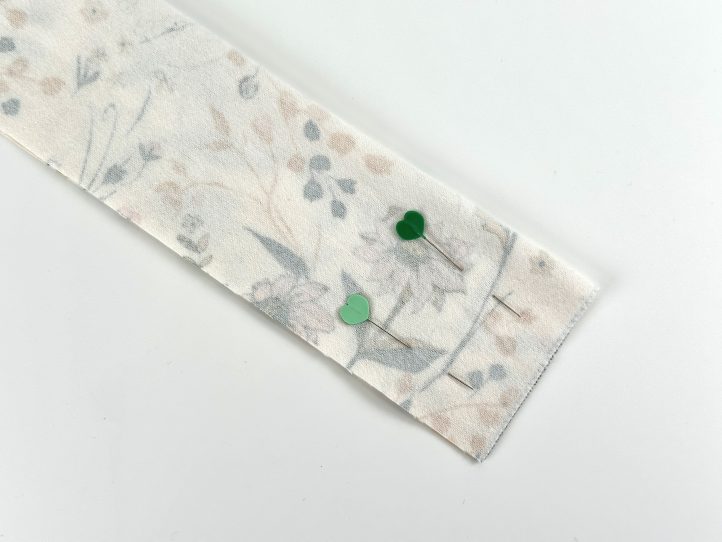
- Take one ruffle length and pin or clip the ends together, right sides facing.
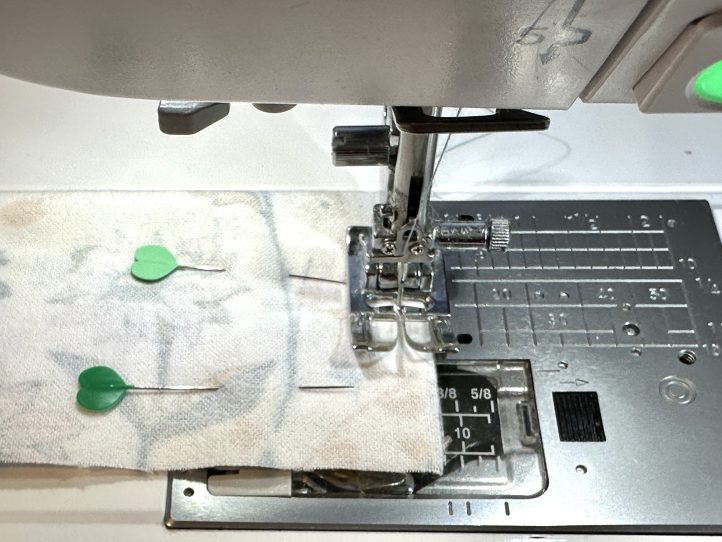
- Sew the ends.
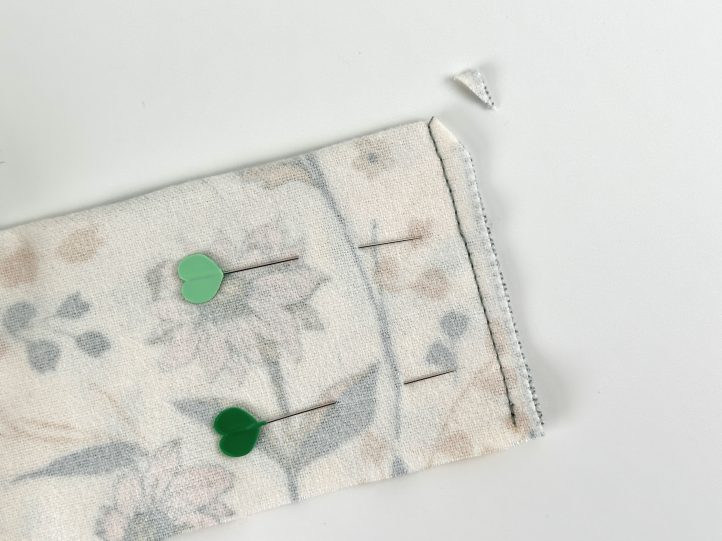
- Clip across the corners on the top to reduce bulk and turn the ruffle the right way out. Press so that the ends are perfect and press to create a center crease along the length.
- Gather the long length to 19 1/2”.
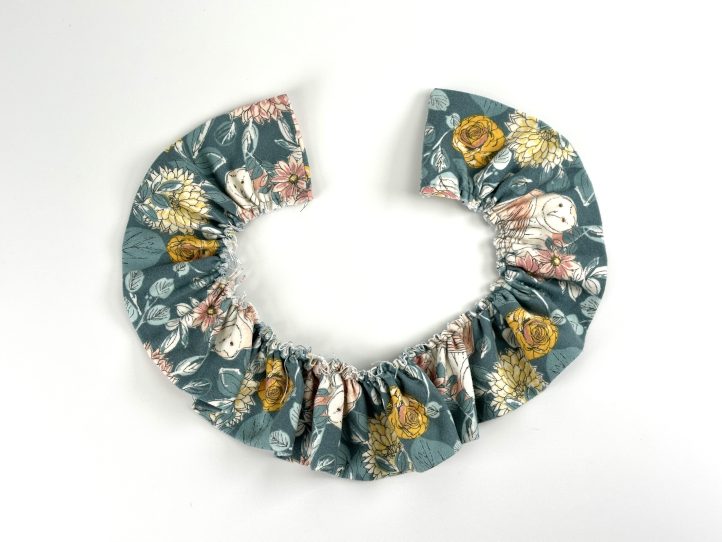
- Repeat for the other three ruffles.
Prepare the Lap:
- The lap goes inside the case to make the envelope. Fold one long end of the lap to the wrong side by 1/2” and press.
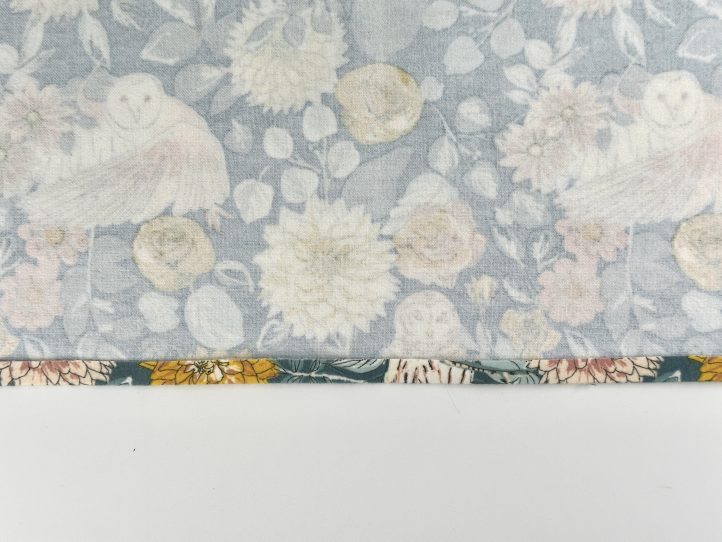
- Fold over by another 1/2”, hiding the raw edge. Sew right along the fold of the edge.
- Repeat for the other lap.
Prepare the Back Panel:
- Repeat all of the instructions for preparing the lap on one short end of the back panels.
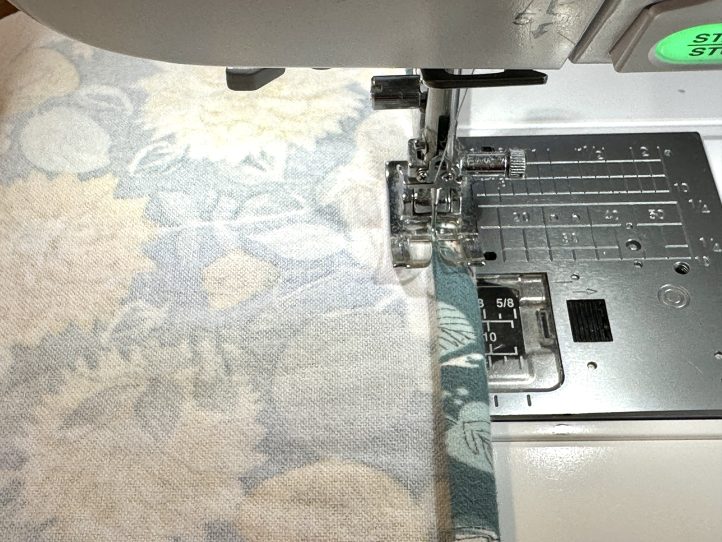
- Repeat for the other back and lap.
MAKING:
- Make a mark 1/4” in from each end of the front panels. Lay the gathered ruffle onto these marks and pin or clip the ends. Arrange the ruffle evenly between the marks and pin or clip right along. TIP: These marks ensure that the end of the ruffles do not go into the seam allowance.
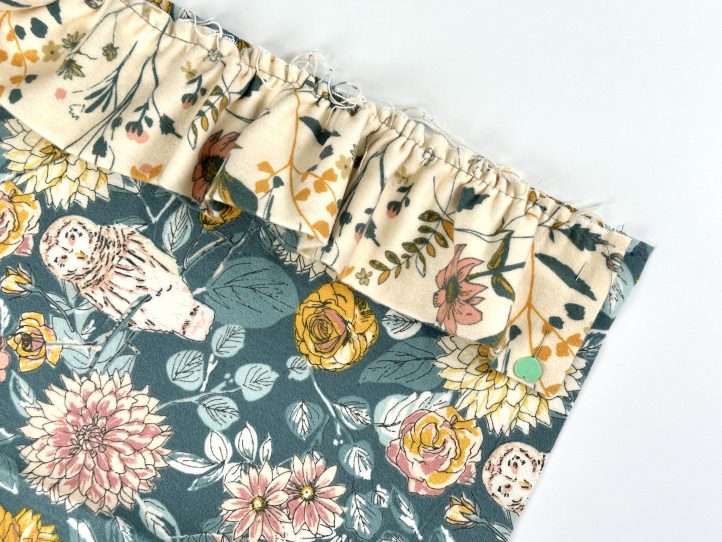
- Attach the ruffle and then repeat for the others.
- Pin or clip the back panel to the front panel with the ruffles and tuck the ruffles in on the side. The right sides will be together. TIP: Make sure that any directional prints are the right way up.
- Lay the lap, right side of the lap to the wrong side of the back panel.
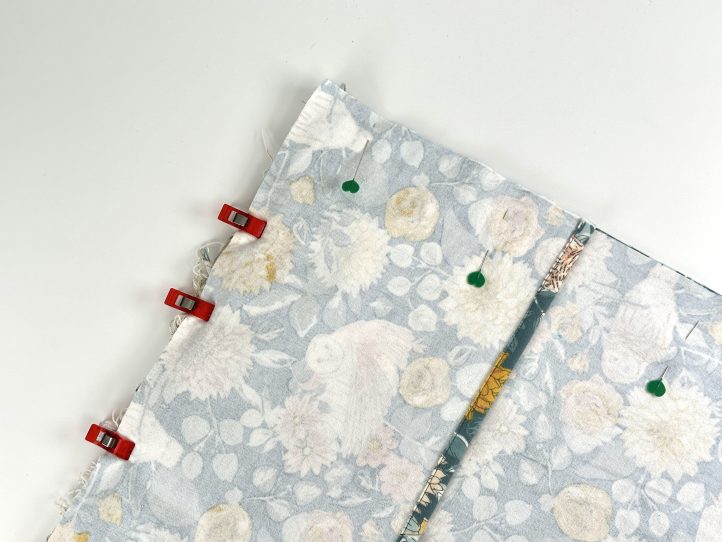
- Pin or clip well and sew all around the edge without leaving any gaps. TIP: Normally when making these sorts of pillowcases, you would make the back, front and lap all in one piece, which is why they were a simple sewing project for beginners back in the day. We have the complication of the ruffles, hence, there are more steps to follow.
- You will have some raw edges which can be finished with a serger or overlock if you have one or simply a zig-zag stitch on your sewing machine. TIP: This is a really great time to have a look at all of those mysterious stitches on your sewing machine too. Sometimes there are some ‘fake overlock’ stitches which can be used to finish edges.