It’s summertime, and with it comes the need for a light and airy wardrobe! Sure, there is always the option to buy new clothes, but altering clothes that you already have is the most cost-effective and eco-friendly option by far! The best thing about altering your clothing is that it is a relatively easy and quick process. All you need to begin is a bit of know-how and a couple hours of spare time to freshen up your wardrobe and make it warm-weather ready!
Alterations 101:
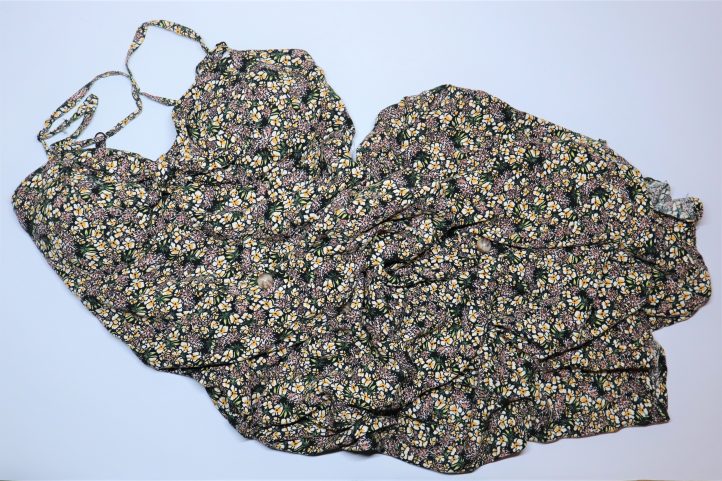
The first thing to consider when selecting clothing to alter is whether the fabric is appropriate for its potential outcome. When converting a garment for warmer weather, it’s always best to look for fabrics that are naturally lighter and breathable, like a woven cotton or cotton blend. The print of the fabric may be considered as well. You wouldn’t want to wear a top with snowflakes to the beach!
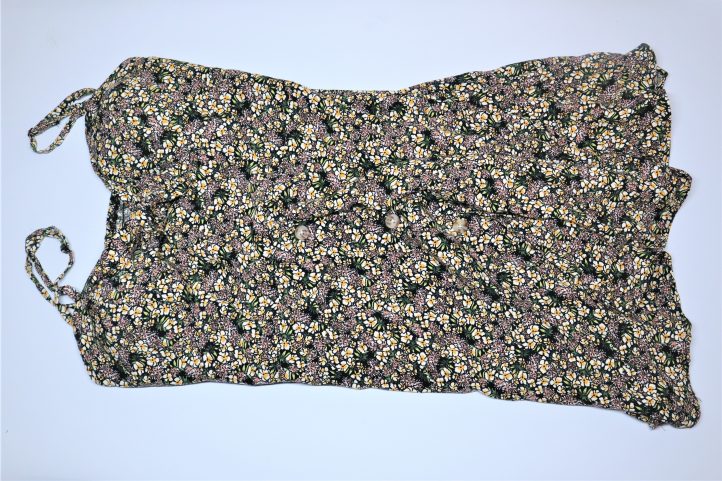
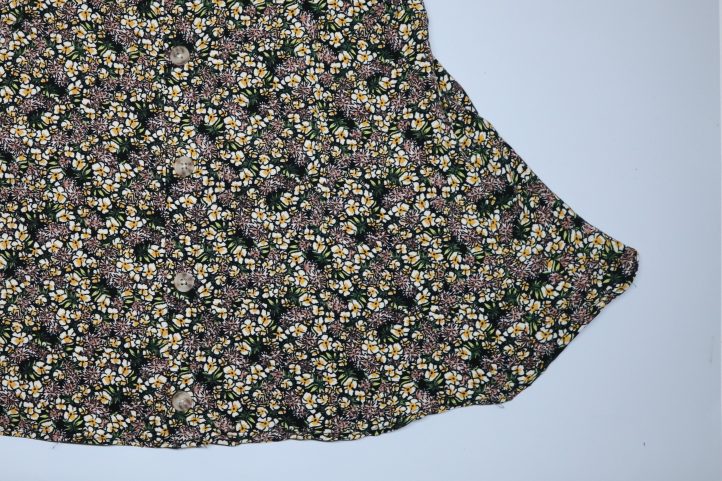
Once you are sure the fabric choice will work for your intended alterations, take time to examine your garment’s construction. Pay close attention to the seams and hemlines. These will give you ideas of how to alter the garment in a seamless way. For instance, in the dress I altered below, I noticed that the hem was rolled, and the side seams were a straight stitch with a sergered finish. Likewise, I replicated these techniques as best I could to compliment the garment’s previous construction that stayed intact.
Finally, before starting the alterations, you should think carefully about what alterations may be made, and the best ways to achieve them. If you have a shirt you need to take in, what stitches should you use? If you want to add panels to a skirt, what shape would best suit it? Don’t be afraid to step back occasionally, to check over your work, and if you don’t like the direction it’s heading, grab your seam ripper and start again!
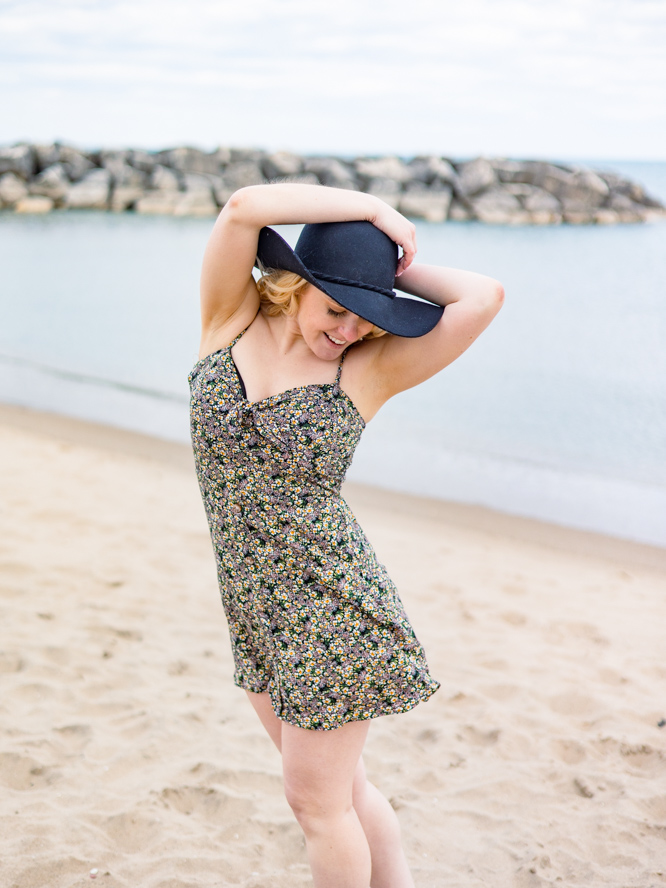
Now that we have gone over the prep work for alterations, let’s work through a real-life example of altering a dress by shortening the length, and inserting wedges of material for added movement.
Materials:
- Seam ripper
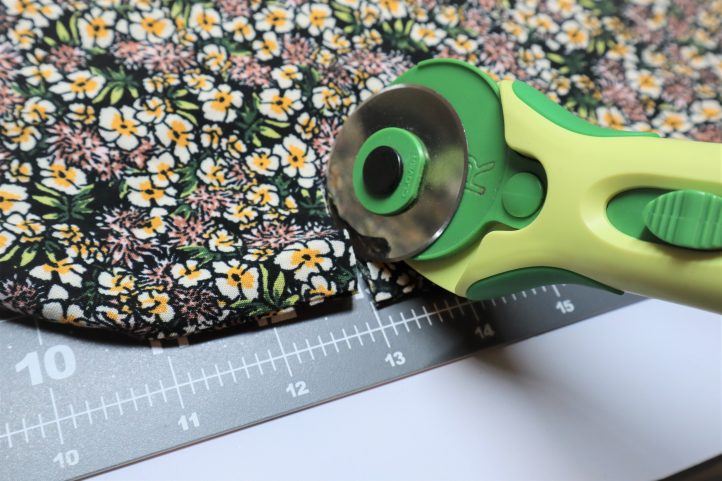
- Rotary cutter
- Cutting mat
- Scissors
- Sewing machine
- Wonderclips or pins
- Clothing to alter
Instructions:
FABRIC PREP:
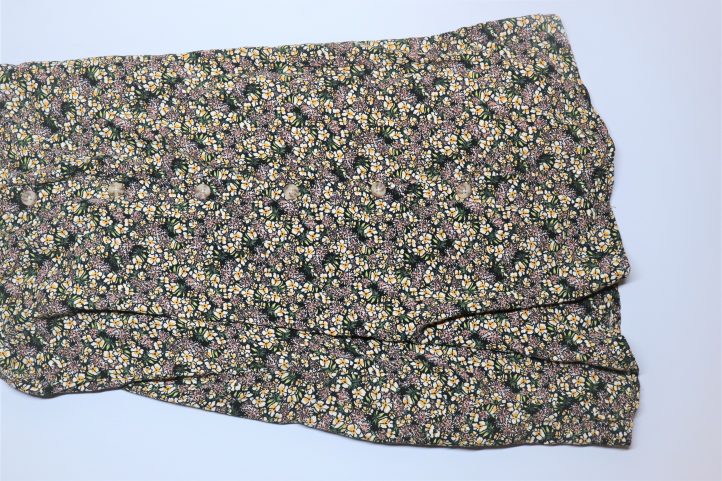
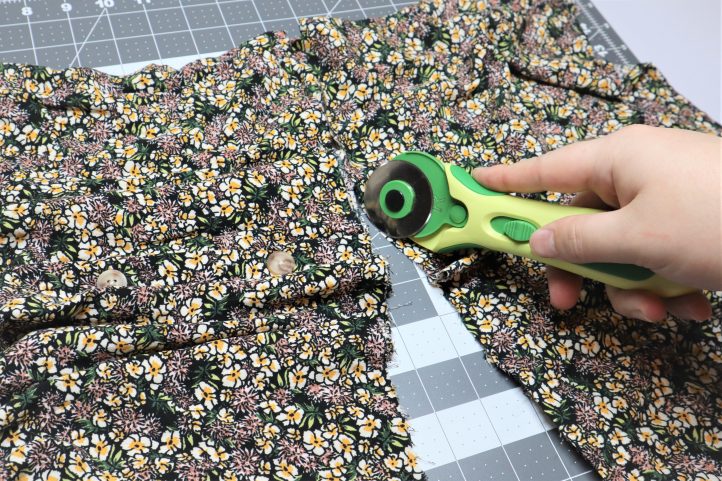
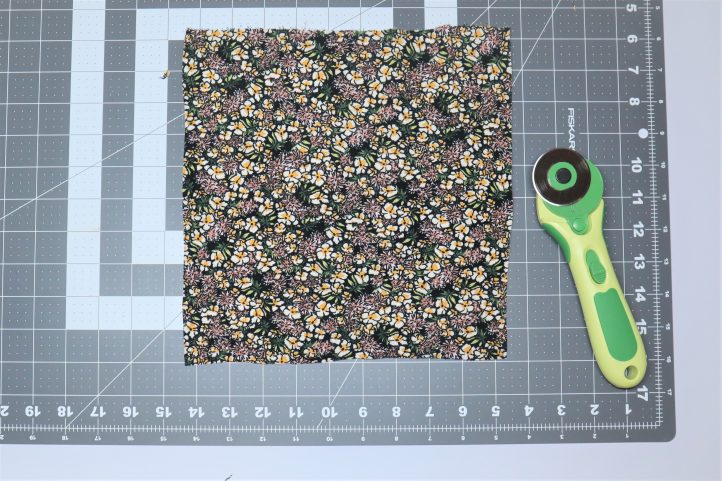
To prepare the dress, I first study its fabric and construction as previously mentioned. I’m shortening the length by 9’’ and inserting wedges of fabric to give it more of a sway and flounce around the bottom. To begin alterations, I measure out and cut the 9’’ of fabric around the bottom edge.
SEAM RIPPING:
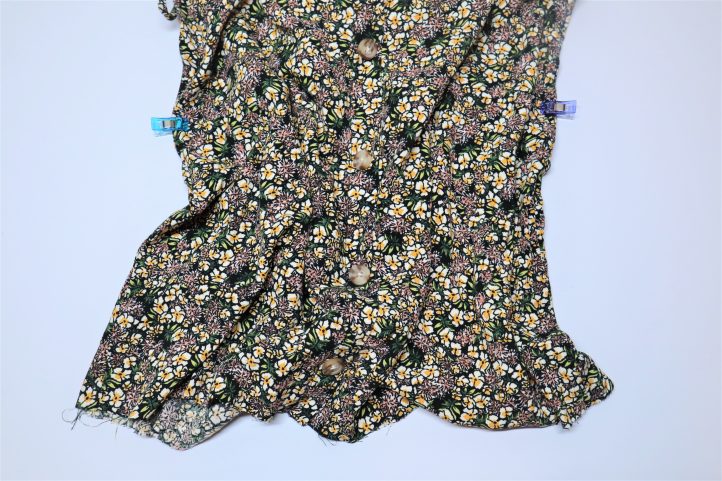
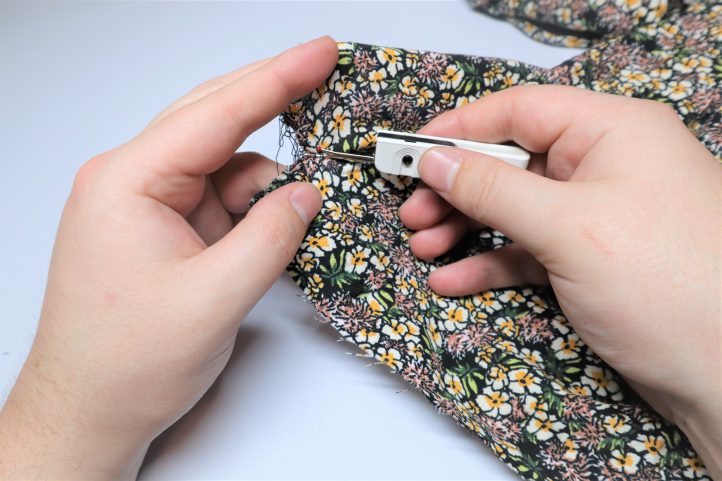
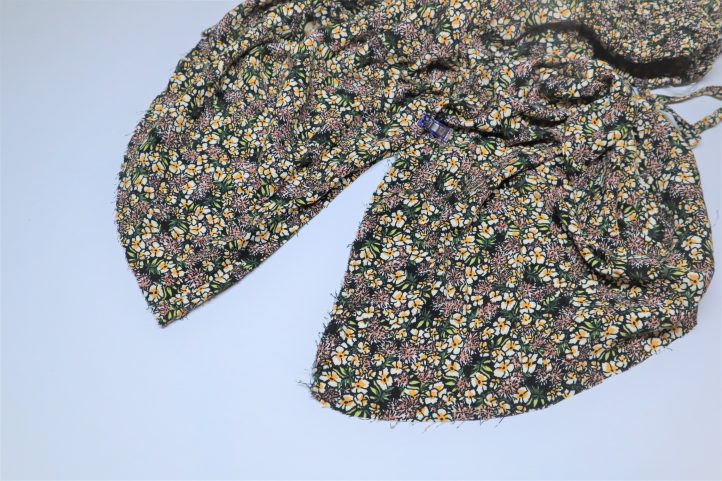
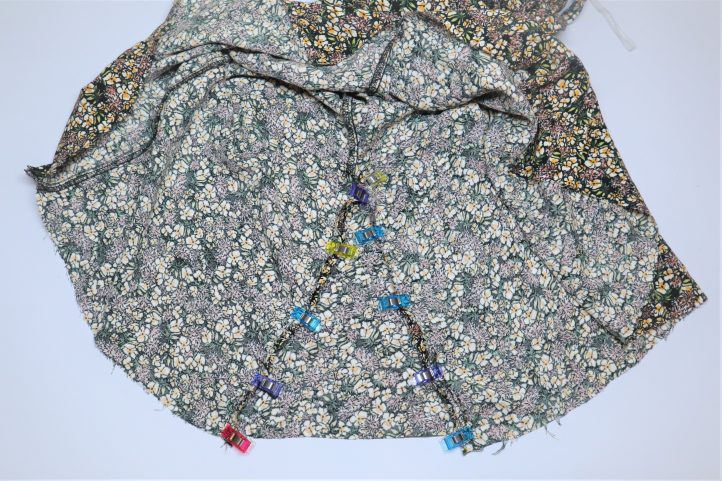
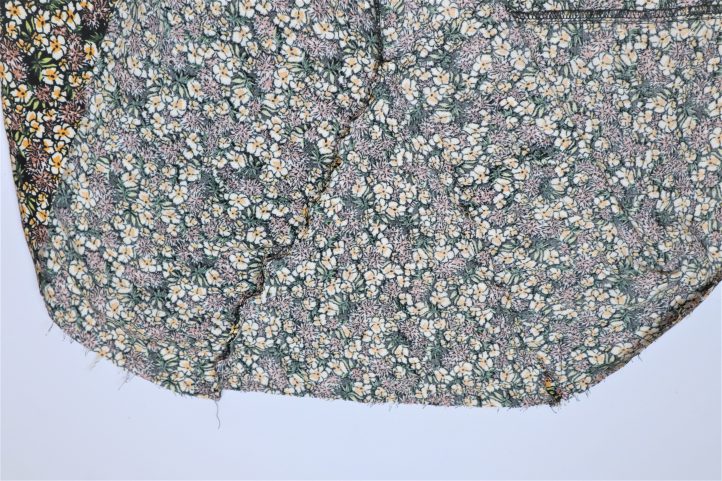
After the material is cut, the extra fabric is set aside to be used later. One wedge panel will be added to either side seam. For the fit of this dress, an 8 1/2’’ wedge length works best. Wonderclips are placed along both side seams at the 8 1/2’’ mark. With a seam ripper, I separate the seams up to the Wonderclips, careful not to damage the delicate fabric.
PREPPING THE WEDGES:
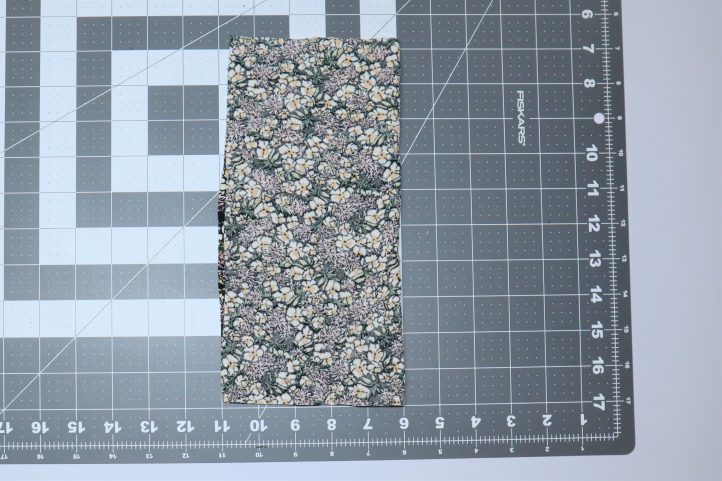
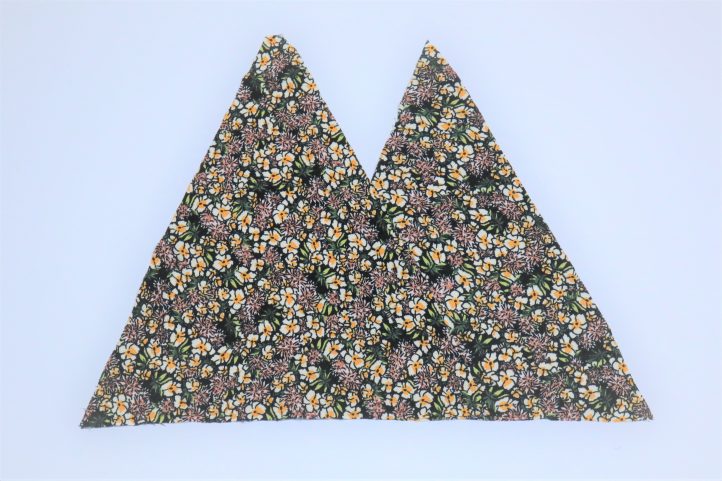
To prepare the wedges, the shape is decided. A triangular shape is the best fit for the rounded fullness of a dress, whereas a rectangular shape works best for a boxier garment like a blouse. Taking the extra fabric, I cut the two wedges into shape by first trimming the fabric to a 9’’ square, then folding them in half along the grain and cutting diagonally from one corner to another. The shape and measurement of these triangles depends on the intended result. The length will always be the length of the opened seam plus 1/4’’- 1/2’’ seam allowance, and the width is up to taste and how many added inches you would like to give the finished piece.

INSERTING THE WEDGES:
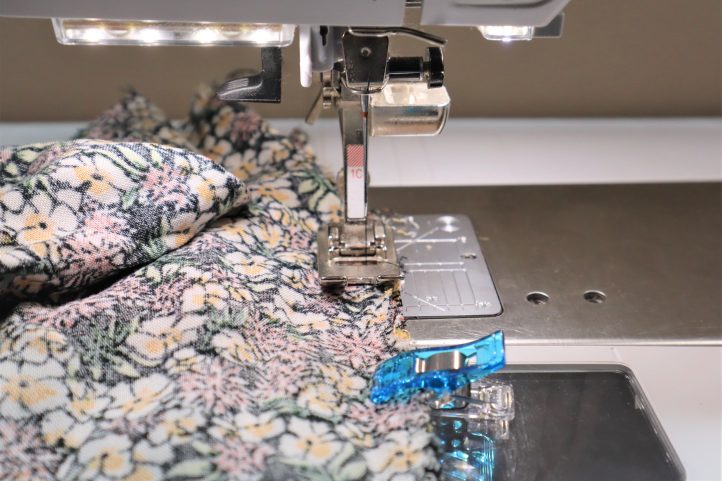
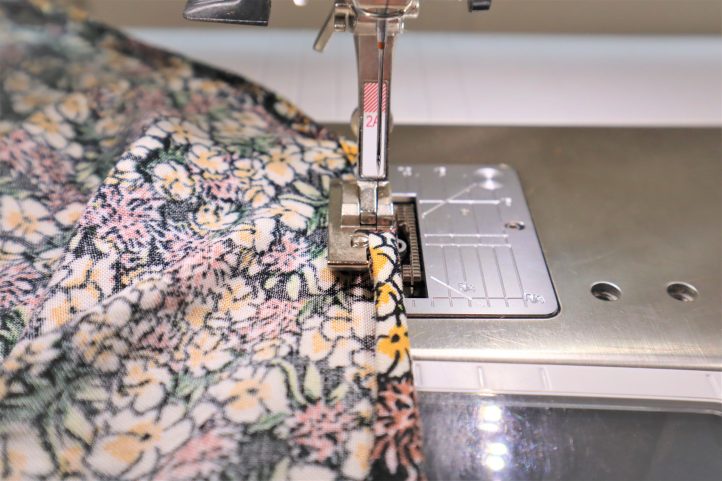
Once the wedges are cut, they are ready to be added to the dress. The dress is turned wrong side out, and the wedges are pinned into place with right sides facing. I first stitch along the new seams with a straight stitch and 1/4’’ seam allowance. The dress is then turned right side out to check for puckering. Then, I flip the dress wrong side out once more and seam along the raw edges using a short zigzag stitch to create a faux sergered edge.
FINISHING THE HEM:
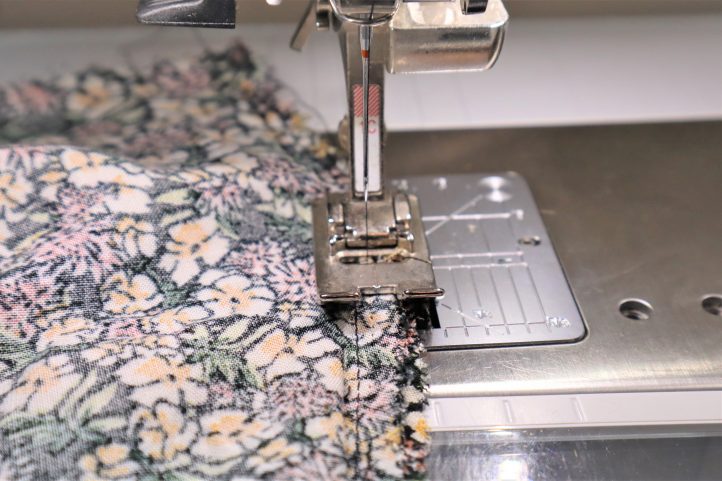
Because the previous hem of the dress was rolled, I place a rolled hem foot on my machine and stitch all along the raw bottom edge of the dress to finish. All threads are trimmed, and the dress is turned right side out.
Alteration Tips:
That is all there is to this simple style of alteration! There are many, many simple alterations that can be made to your previously loved clothing to keep them on your body and out of the landfill! Here are a few of my favorite tips for clothing alterations:
- If a t-shirt is too tight, insert a rectangular side panel. This can be made of a similar material, or a contrast color for added interest!
- When handing down clothing to others, like children, take the time to make simple alterations such as taking in tops and adjusting pant leg lengths. It goes a long way!
- Keep all the sizable scraps from previous alterations and other projects. You never know when you’ll need it for other clothing alterations, such as patching or inserting a panel!
- If purchasing something you know you need to alter, plan to alter it within the next couple of days. This helps to make sure it will be completed and ready to wear, rather than sitting in your closet for months.
- When a garment has reached the end of its life cycle, save what materials you can from it for other alterations and projects down the line.


I thought this dress was so cute n sweet ,I hadn’t seen an àlteration with the wedge so I checked it out novel idea .Thank you new subscriber
We’re so glad you liked this tutorial, Deborah! Be sure to check out Quayln’s other projects in our magazine. You might like his simple shrug from April 2022 or his bag and hat from May 2022. Have a great day! – Ashley, WeLikeSewing