Embroidery has been experiencing a boom over the last few years, with sales of needles, thread, hoops, and kits going through the roof during lockdown – and beyond. More people than ever are finding inspiration online and trying this age-old technique for themselves, and we couldn’t be happier about it! If you want to give embroidery a try but you’re not sure where to begin, simply follow our beginner’s guide to find out how.
What You’ll Need
So you want to start embroidering – that’s great! But where do you begin? Embroidery is a great hobby to take up as it requires little in the way of start-up equipment, and the projects are often small enough that you can stow them away when you’re not working on them – or even take them on the move with you when you travel. Kick things off by stocking up on the following must-have supplies, which can all be found in your local haberdashery store or online:
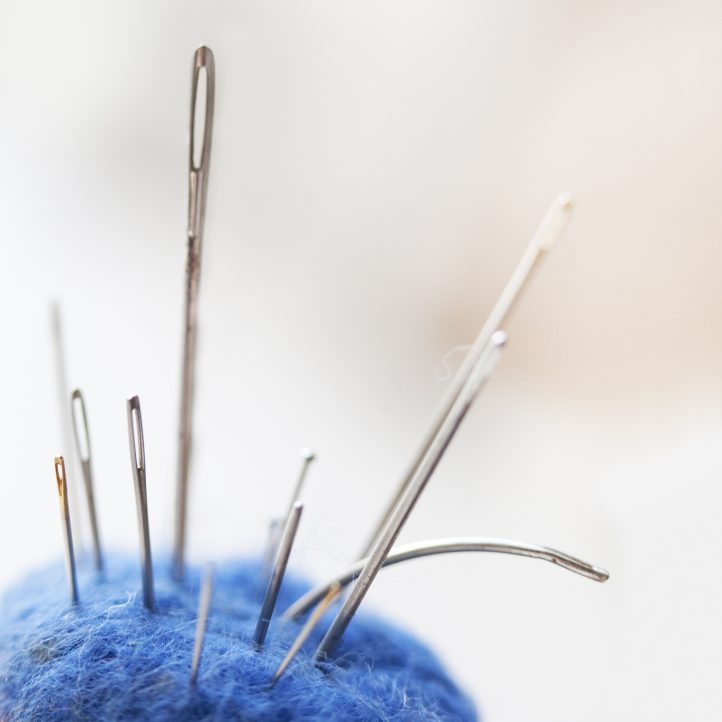
- Needles: Having the right needles for the job when sewing is vital, so invest in a pack of embroidery needles before you begin. Typically, embroidery needles have a long, oval-shaped eye to make threading floss easier, and a sharp, tapered tip that will pierce through any fabric with ease. Remember to refresh your needle regularly when sewing – ideally you should swap it out for a new one after every eight to ten hours of work.
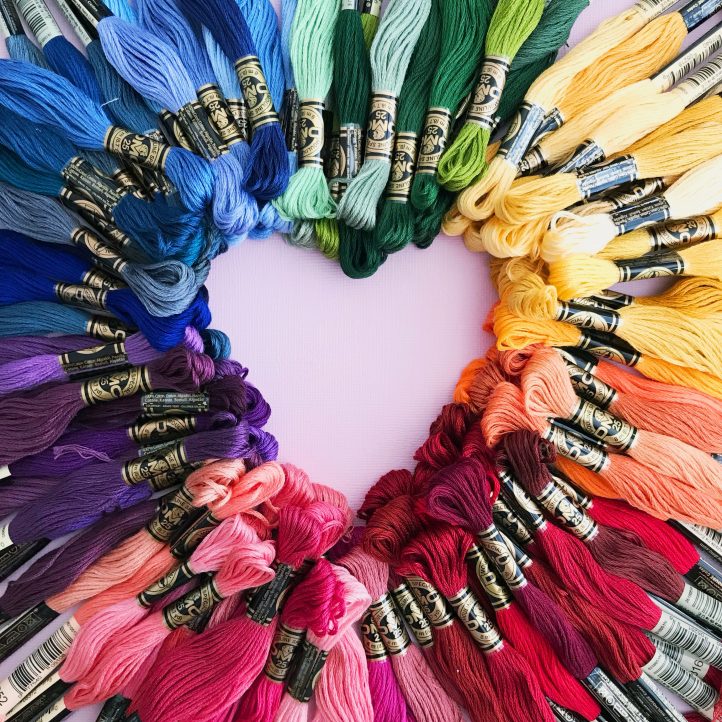
- Embroidery Floss: Of course, without floss, there would be no embroidery! While low-cost bulk buy bundles might seem like a good deal, the quality of the threads included within can be lacking – which leads to broken strands, dull colors, and unsatisfying results. Invest in a few skeins of good-quality embroidery floss from a trusted brand like DMC or Anchor instead and you won’t be disappointed. There are many different types of floss that can be used for embroidery, but you can start out with simple stranded cotton for a reliable all-rounder that’s available in literally hundreds of shades.
- Fabric: You can embroider onto almost any fabric you like, from cotton to silk, linen, and even stretchy knits. To make things easier when you first begin, stick to using a sturdy, soft, non-stretch 100% cotton that will stand up to being worked over with a needle and thread and won’t distort when you mount it in a hoop. Calico or muslin are also perfect for needlework, as well as being low-priced and easy to find in stores.
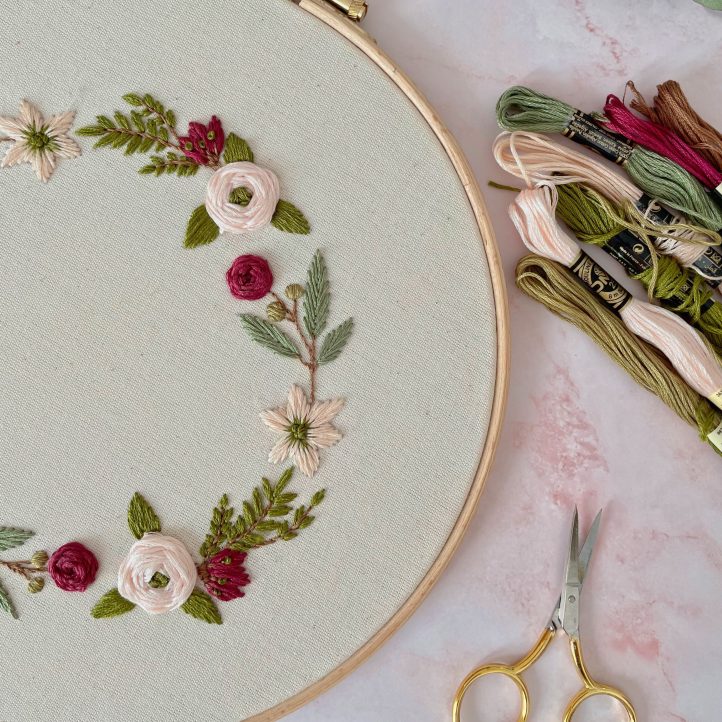
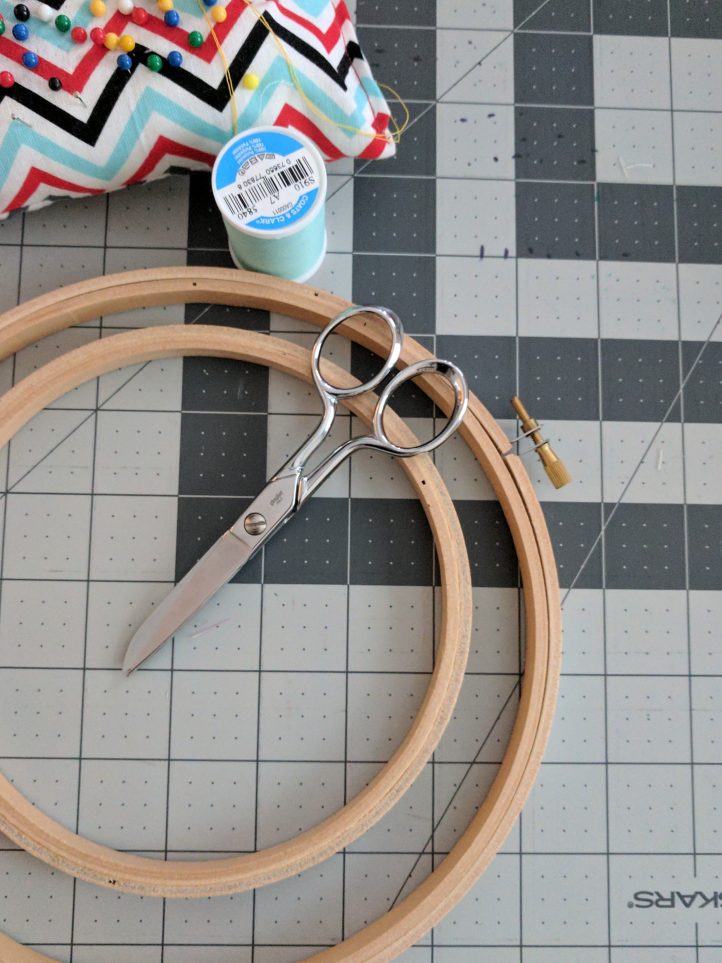
- Hoop: While it’s not technically essential to mount your fabric in a hoop before you start stitching, it certainly makes it a lot easier. By holding your material taut in a hoop, you even out the surface and keep everything at a steady tension – it makes it more comfortable to hold, too! Most embroiderers opt for circular wooden or bamboo hoops, which come in a huge variety of sizes for just a few dollars each. You can even find them at estate sales sometimes, or in secondhand stores for pennies – so keep a lookout the next time you’re thrifting!
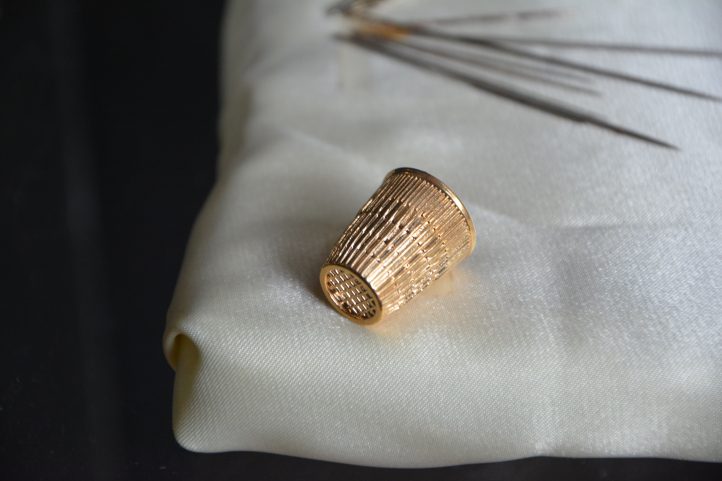
- Thimble: This is another item that isn’t necessarily a must-have, but when you do treat yourself to one, you’ll wonder why you didn’t get it sooner. Thimbles are small metallic, ceramic, or plastic covers that slip over your fingertips and keep them protected from the sharp tip of your needle as you work. Trust us on this one – by the time you’re a few hours (and a few Band-Aids) into to your project, you’ll be wishing you had one of these handy little accessories in your stash.
Must-Know Beginner Embroidery Stitches
There are hundreds of different embroidery stitches and techniques to master, and not enough time in the day to learn them all. However, with just a few basic stitches, you’ll be able to take on a huge array of different projects, whether they be patterns and kits from other designers or pieces of artwork you come up with on your own. Here’s three of our favorites to get you started.
- Backstitch: This is one of the most common embroidery stitches of them all, and can be used for all sorts of applications. You can use it to draw line art, to outline areas of color, or to add shading to a bigger piece. To work a backstitch, bring the needle up through the fabric at the point you want to begin your line of stitching. Move it along the line by a few millimeters, then take it back through to the reverse of the fabric to make your first stitch. Move it along the line by another few millimeters then bring it back up again through to the right side of the fabric, as if you were working a running stitch. Now, instead of moving it further along the line, bring it back and insert it through the same hole that the end of the last stitch went through. Repeat these steps to move along the line, bringing the needle up to the right side of the work, then inserting it back into the end of the stitch before each time to create a line of neat, straight backstitches.

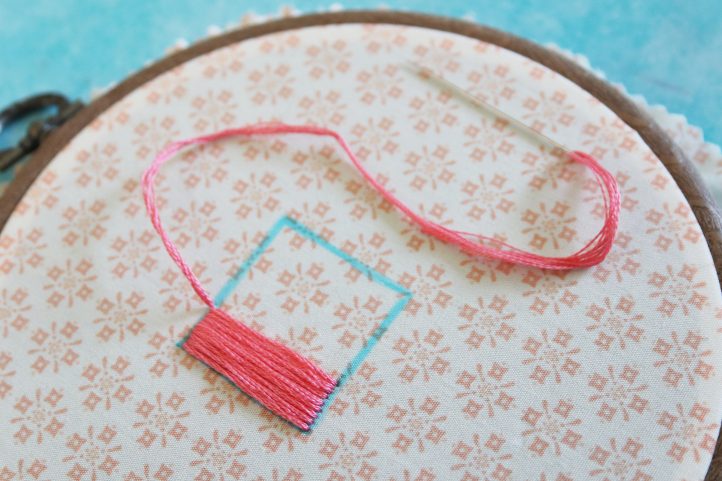
- Satin Stitch: This is another popular stitch that is typically used to fill large areas of solid color. To make this technique easier to work, use a water-soluble fabric pen (or another removable method of your choosing) to draw a simple square out onto your fabric before you begin – this is the shape you’ll be filling in with your satin stitch. To work a satin stitch, bring your needle up through the fabric from back to front at one corner of the square. Bring the needle up and across the square and take it back down through the fabric on the opposite edge to make one long stitch. Pass the needle underneath the fabric and bring it back up through to the right side, immediately next to the point where you first started. Once again, bring the needle and thread across the square and down through the fabric, right next to where the last stitch ended. Repeat these steps until the entire shape is filled, making sure to gently pull the thread each time without making it too tight. If you do pull too tight, the fabric will pucker and your finished work will look messy and uneven.
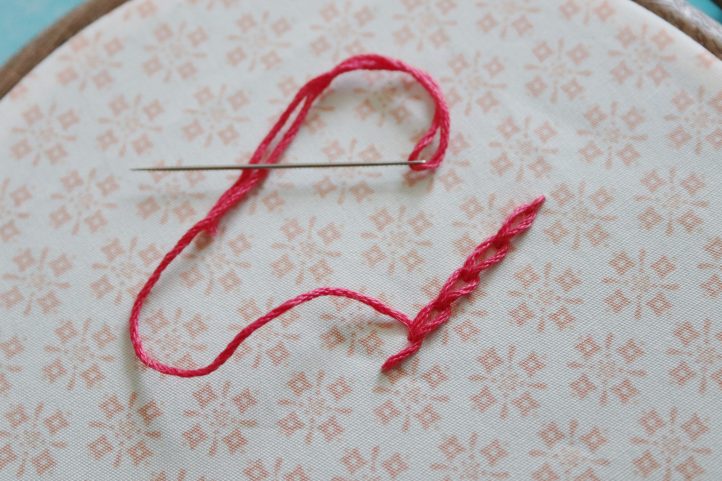
- Chain Stitch: This decorative stitch is a classic – it can be used to make pretty lettering, to create a textured chain effect, or just for a fun alternative when working lines. It may look fancy but this stitch is actually very simple to create. To work a chain stitch, begin by making a small straight stitch at the point you want to start. Bring the needle back up through the fabric a quarter inch or so along the line, then pass the needle and thread back through the first, small stitch you worked at the beginning. Now, bring the needle back down through the same hole that you just came up from, to make a single isolated chain stitch. Repeat these steps to make a series of chain stitches, each linked through the one before. See – we told you it was simpler than it looks!
How to Finish Your Work
So you’ve experimented, you’ve learned new techniques, you’ve probably made a few mistakes along the way (don’t feel bad – it happens to us all!) and now you’re ready to finish your project. But how exactly do you do that?
There’s several different ways to finish a hoop – you can gather the edges of your fabric together, stitch them down, or our personal favorite, which involves using glue to fix them in place before covering the back of the work with felt. Here’s how to work this handy technique.
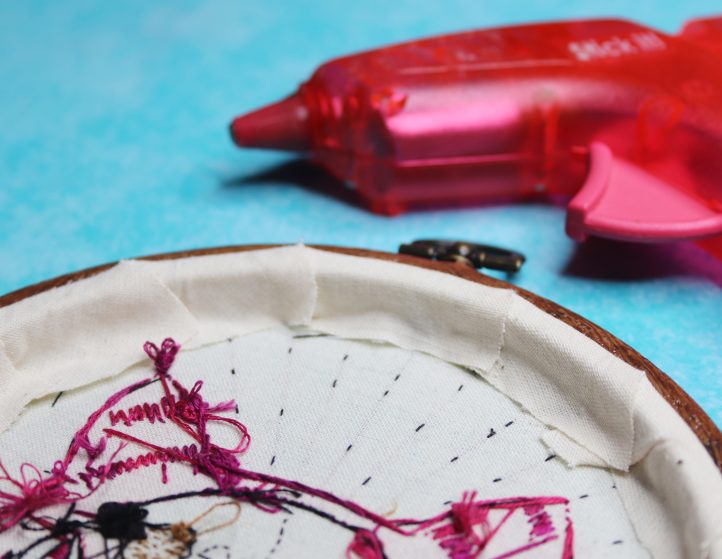
Begin by turning your work over so the back of your project faces you. Take a sharp pair of scissors or dressmaker’s shears and trim the fabric around the edge of your hoop, leaving a 1” border all around. Use your scissors to snip into the border at 1” intervals to create a series of tabs. Turn your hoop over and fold each of the tabs down against the inner edge of the hoop, then use glue (you can use hot glue, or regular PVA glue) to stick them into position, overlapping them slightly, as pictured. Next, cut a circle of felt to the same size as the inside of your hoop and with the back of the hoop still facing upwards, place it down on top of the work, to cover up the back of the stitches. Finally, use a few tiny dabs of glue to fix it into place. And you’re done!
Are you feeling inspired? Don’t forget to tag us in your embroidery makes on Instagram at @WeLikeSewing – we can’t wait to see what you create!