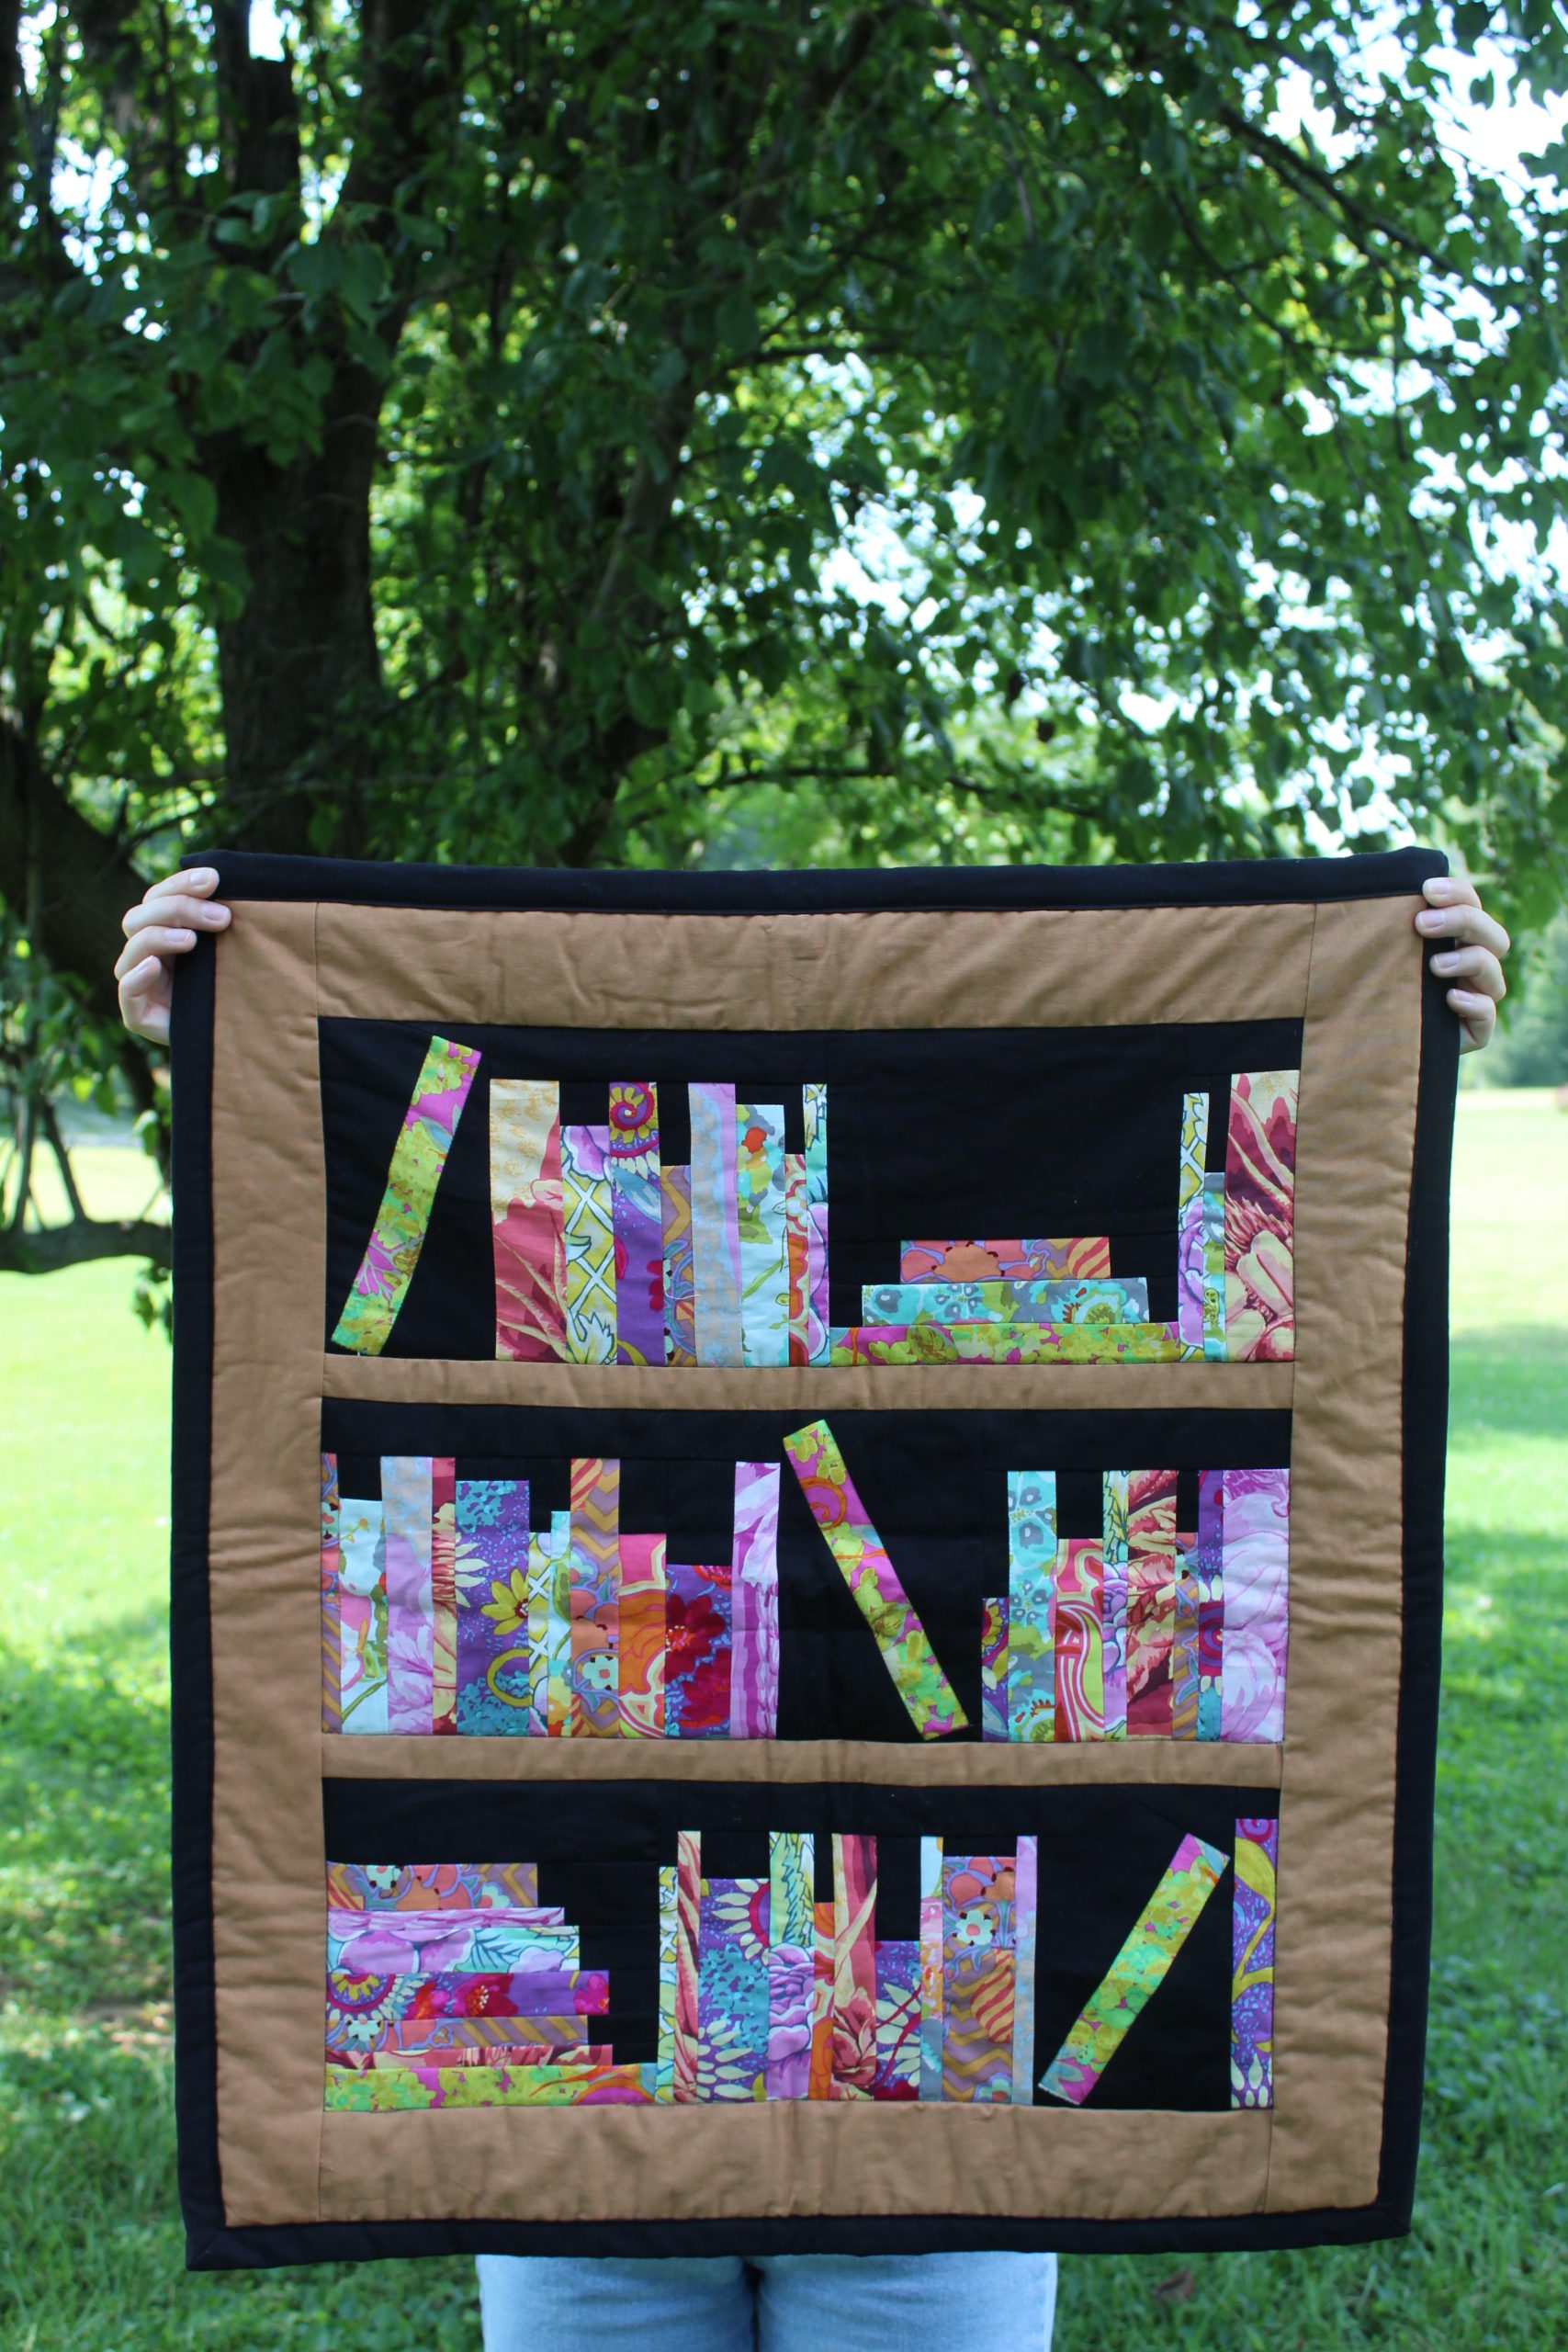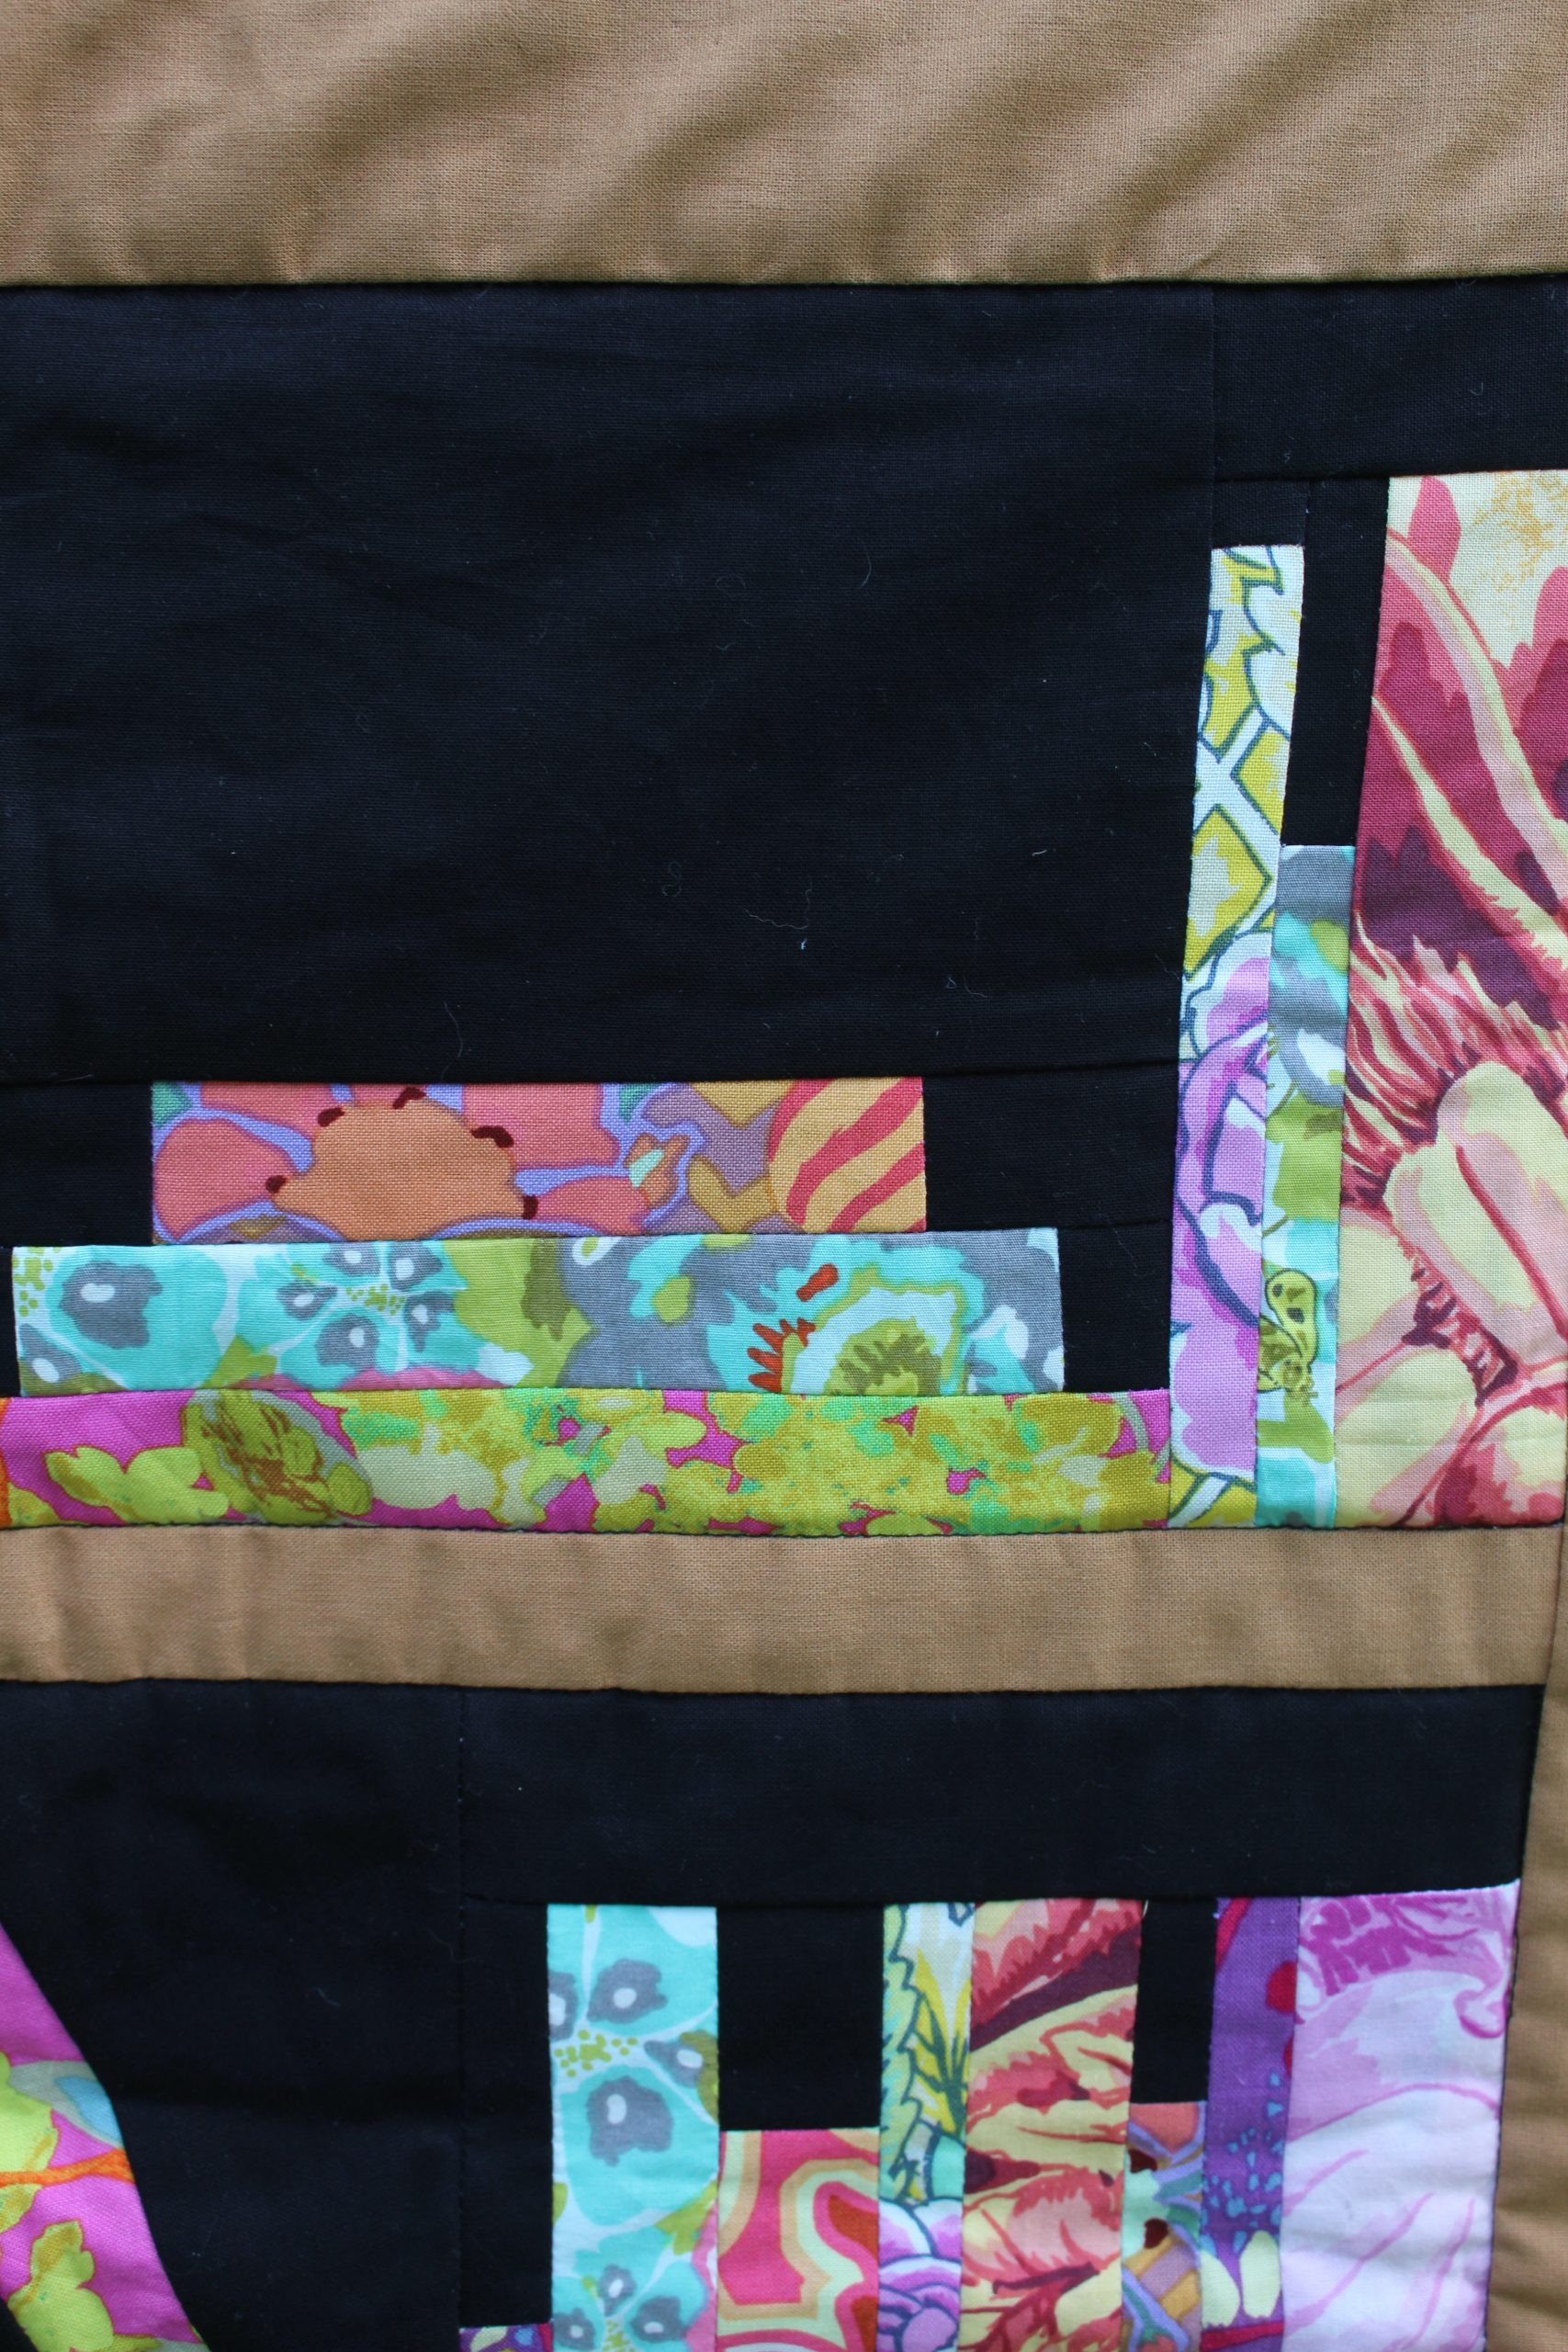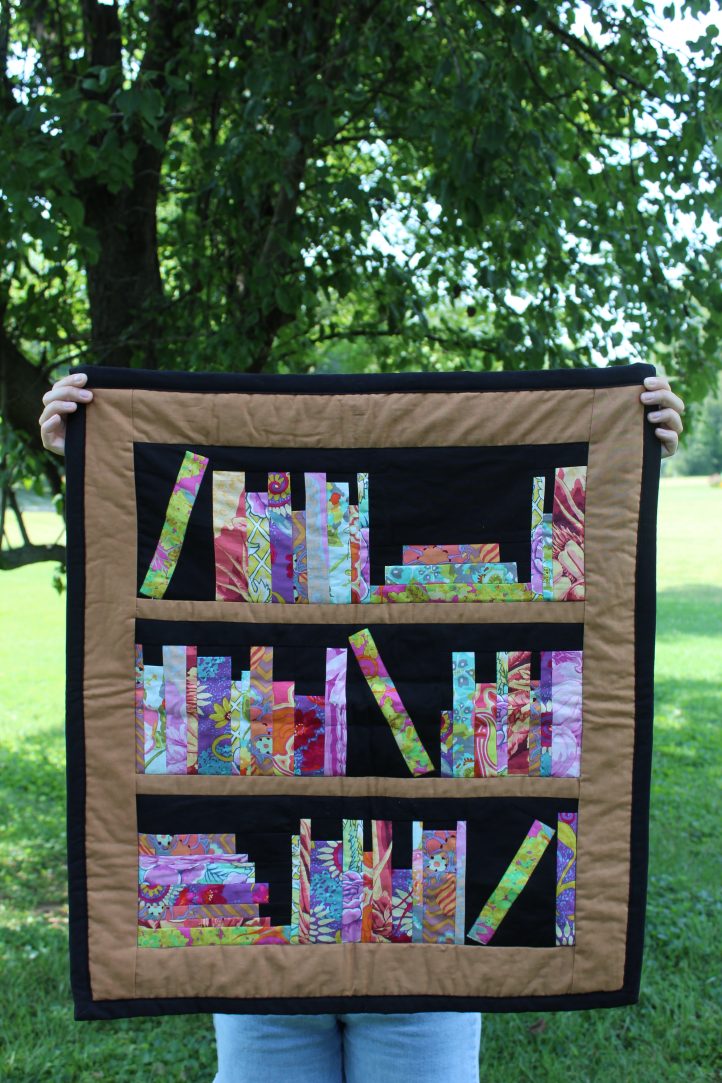
We have to admit: we’re obsessed with this pretty bookshelf wall hanging! A fantastic way to use up printed fabric scraps, this quilted wall hanging is easy to customize and features three bookshelves against a moody black and brown background. Add special details to your books, such as embroidery on the binding, to give your wall hanging a thoughtful, creative finish.
Skill Level: Intermediate
Designer Note: Go Super Size: Want to turn this mini quilt into a full-sized stunner? The beauty of this bookshelf quilt is its flexibility – you can make it as big or small as you like. Simply add more rows to increase the height, and extend the width with additional books or wider shelves. Include vertical sashing between each row, and adjust the borders around the edge to suit your final layout. It’s the perfect project for using up scraps, showcasing your favorite prints, and tailoring the quilt to fit any bed, sofa, or wall space.
Materials:
- Fabric: Print cotton scraps, each at least 2” x 6-1/2”; brown cotton, one yard; and black cotton, two yards
- Quilt batting, one yard
- Thread: Black
Tools:
- Rotary cutter and cutting mat
- Quilting ruler
- Dressmaker’s chalk
- Pins
- Clips
- Sewing machine
- Iron
- PDF Template – This is located at the bottom of this page. See printing instructions below.
PRINTING INSTRUCTIONS:
To download the PDF template, click on the download button at the bottom of the page. We recommend opening your download using Adobe Acrobat.
Sewing Instructions:
- This quilt is a bit of a ‘choose-your-own-adventure’ project. We’ll walk you through the steps, but the exact height and width of the books on your shelves can be customized to suit your fabric stash. The quilt consists of three ‘shelves’, each measuring 20-1/2” wide by 7-1/2” tall before they’re joined into the quilt top. Each finished book should be around 6” tall or less, with at least 1” of black background above. Since we’re using a 1/4” seam allowance, you’ll need to cut each book piece to a maximum height of 6-1/2”. The width is entirely up to you – we used a mix of 1”, 1-1/2”, and 2” widths to create visual variety while keeping the math simple. Cut your books from a variety of colorful fabrics, changing the sizes and prints as you go to mimic a lively, well-loved bookshelf.
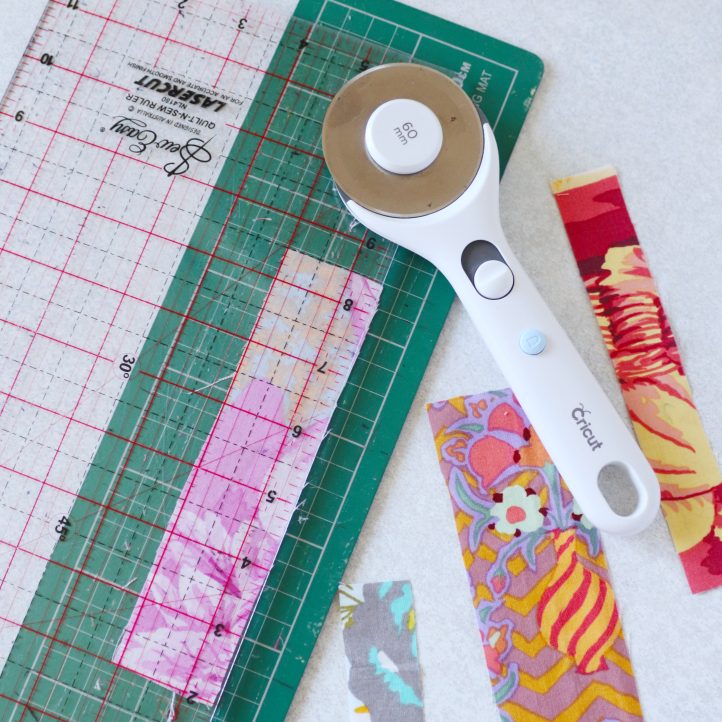
- Begin by arranging your book pieces into small groups to get a sense of layout. We pieced books into smaller blocks and then joined those into full shelves. To start with, every group of books should measure 6-1/2” tall. If a couple of your books are already that height, you can start by grouping those together right away, stitching them along one long side edge with right sides together and a 1/4” allowance. For shorter pieces, you’ll need to add black fabric to the top to bring them up to size before you add them on – we’ll do that in the next step.
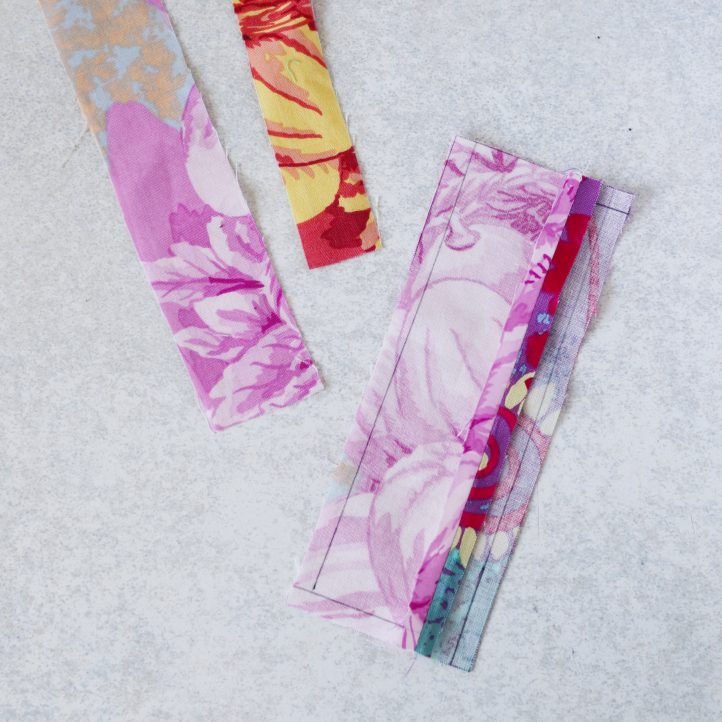
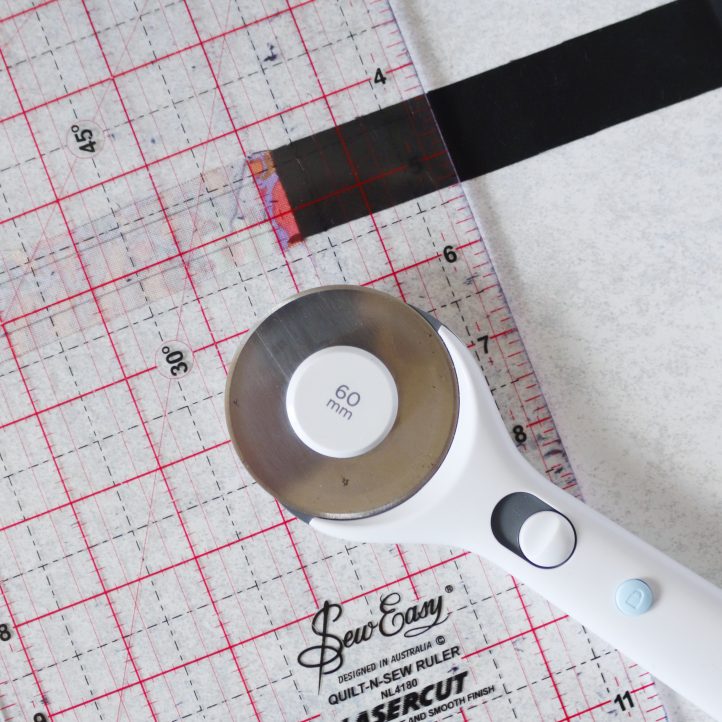
- To bring shorter books up to the required height, cut a strip of black fabric to the same width as your book and sew it to the top edge with a 1/4” seam allowance. Press the seam towards the black fabric, then trim the black part down so the book strip measures exactly 6-1/2” tall overall.
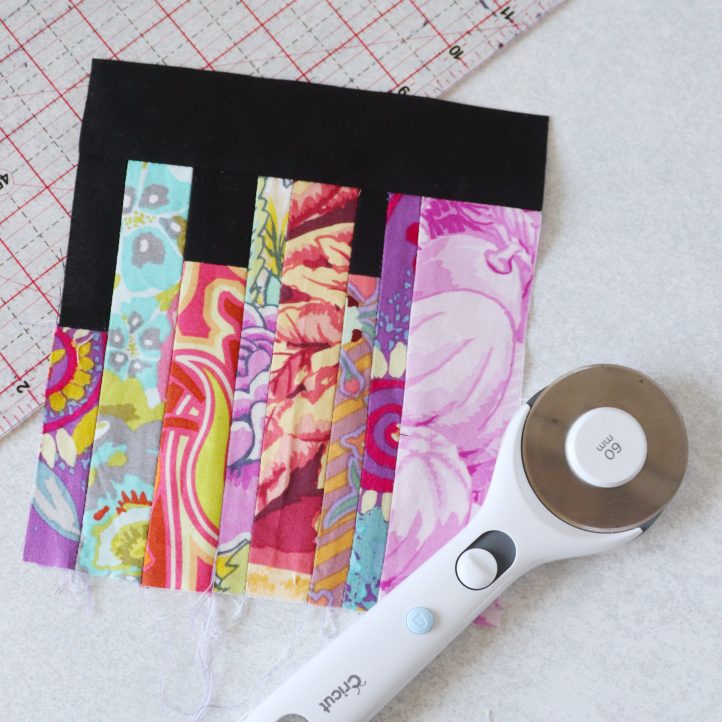
- Once all your book pieces are the same height, start sewing them together into blocks, maintaining a 1/4” seam allowance throughout. Piece the books strip by strip until you have a small grouping. Then cut a 1-1/2” wide strip of black fabric and sew it across the top of the block, to bring the height to 7-1/2”, the finished height of each shelf.
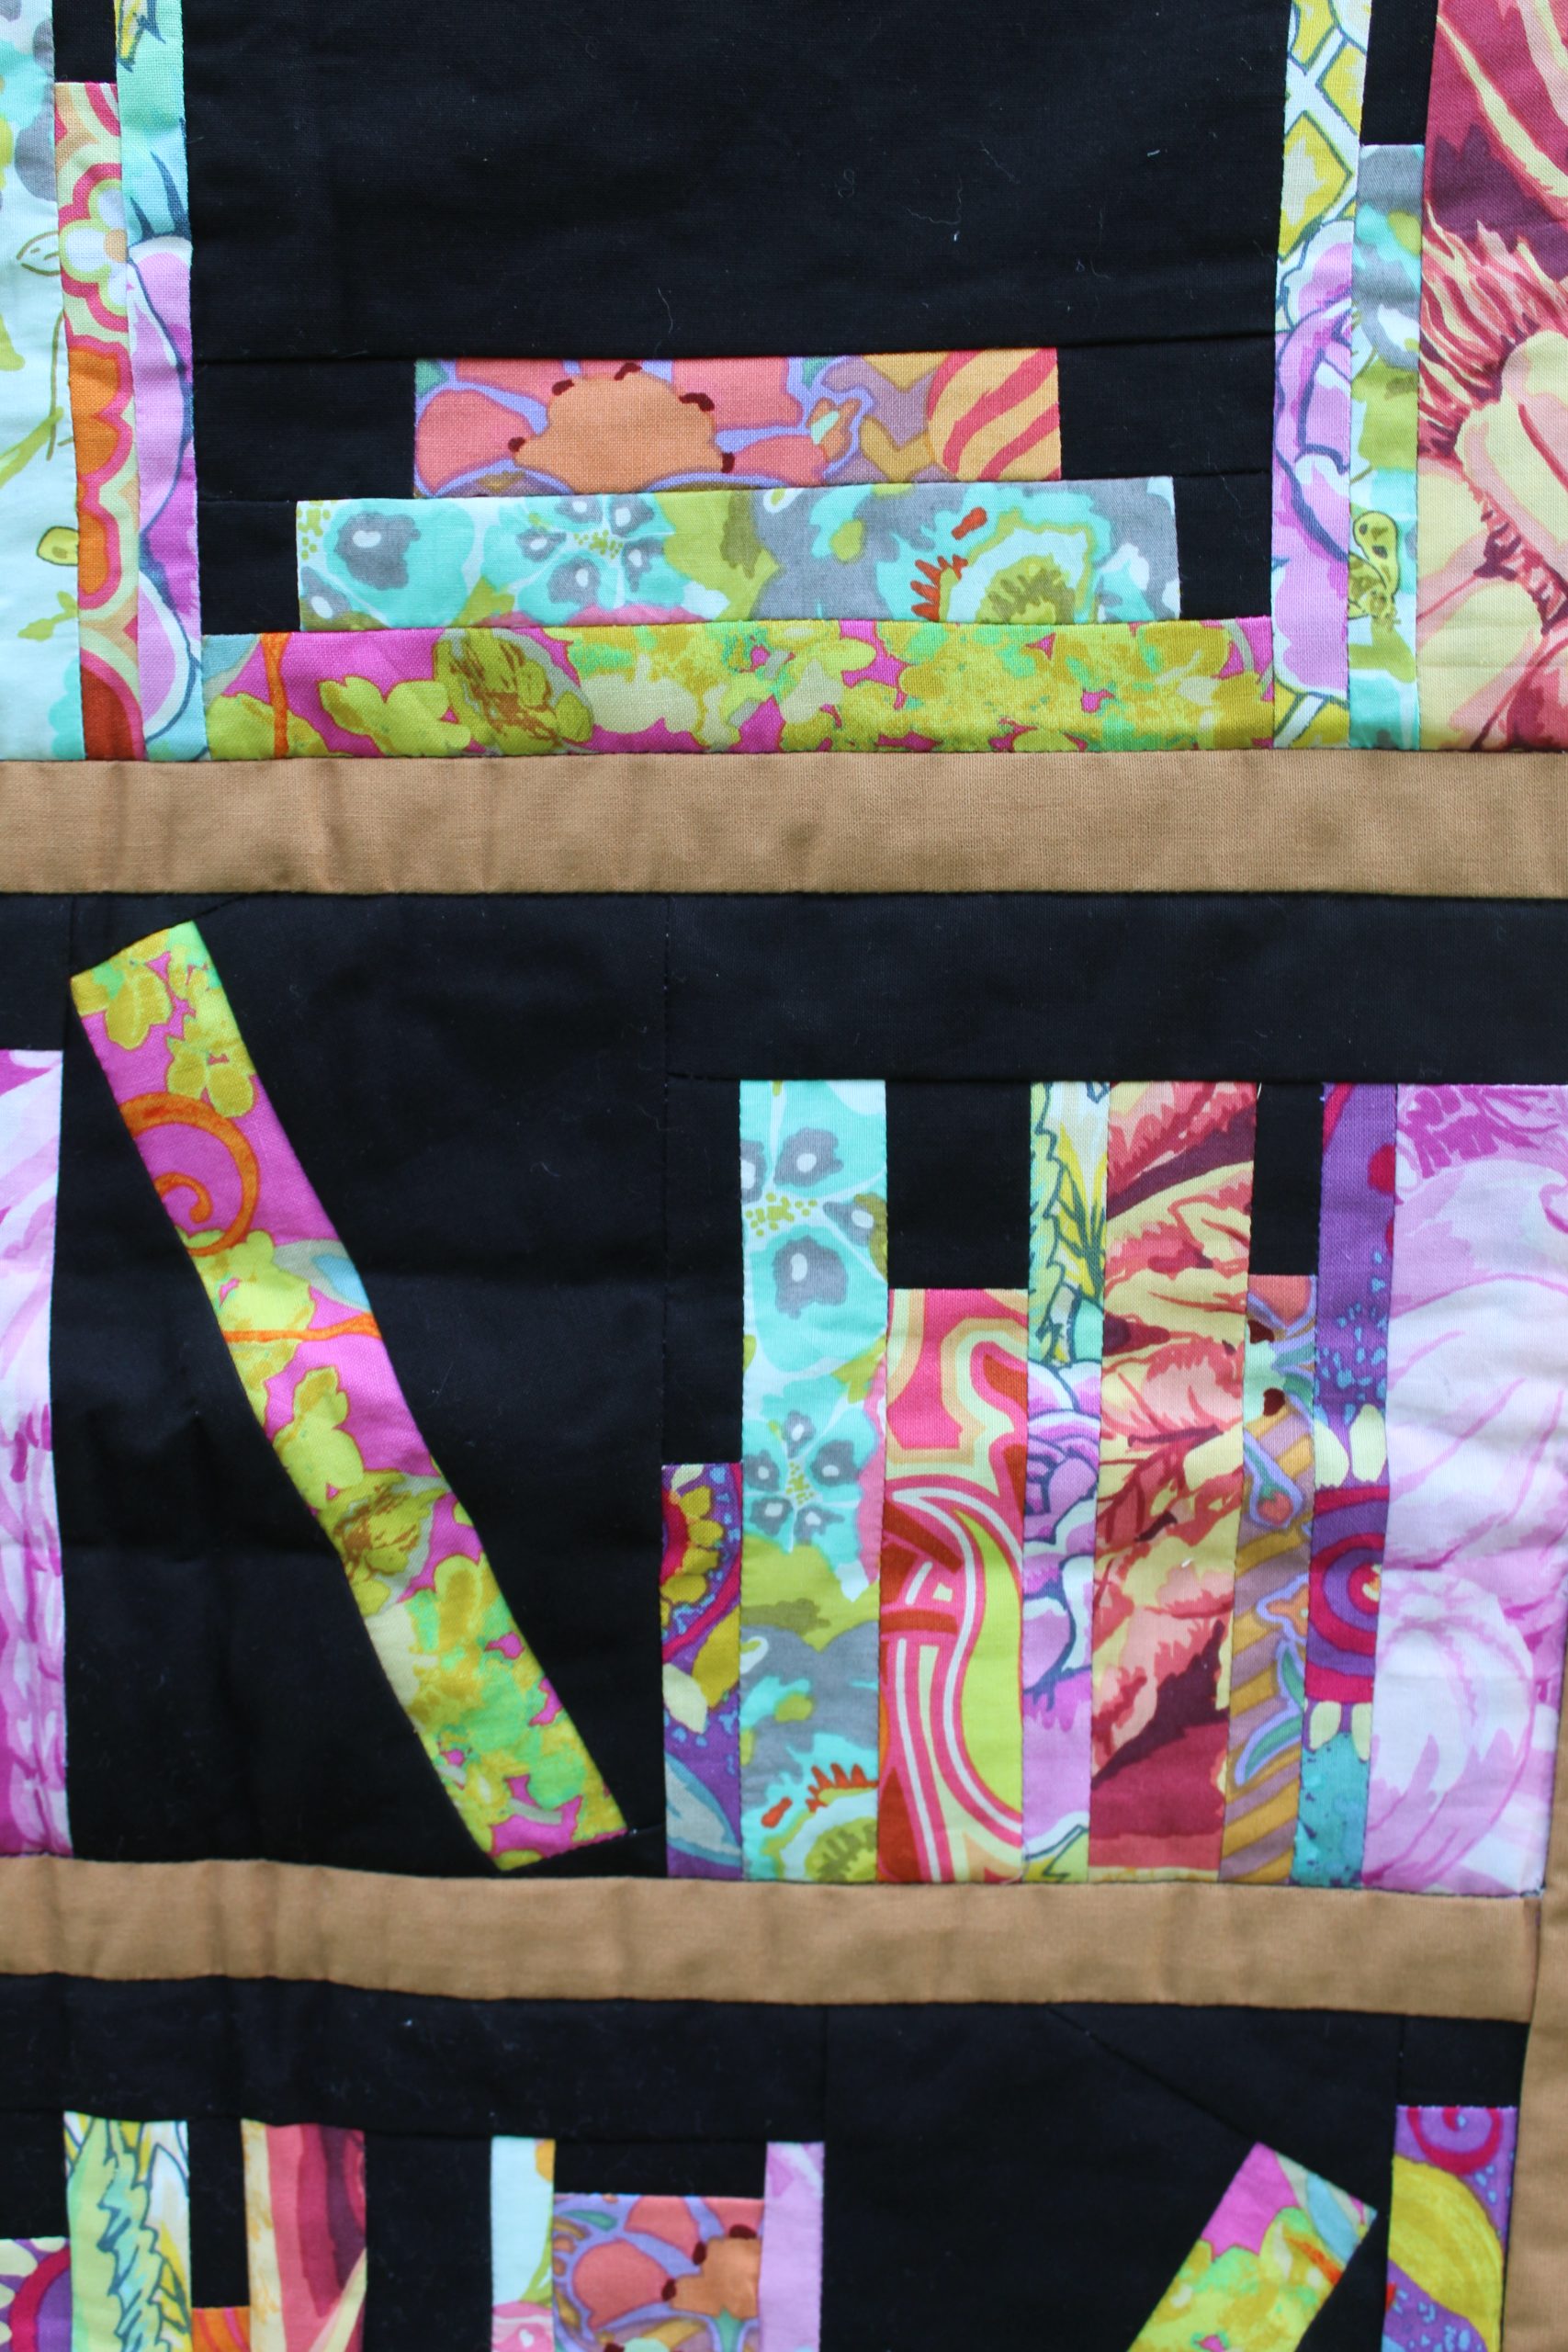
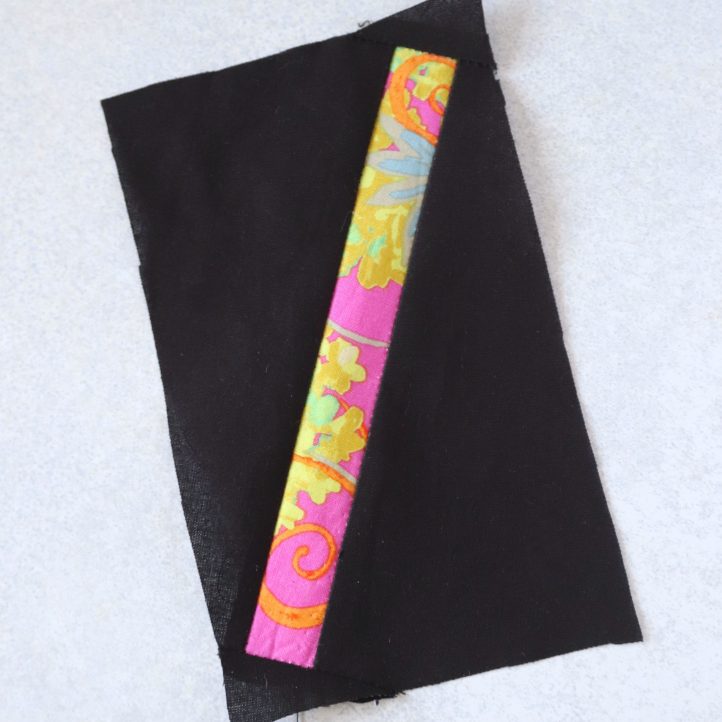
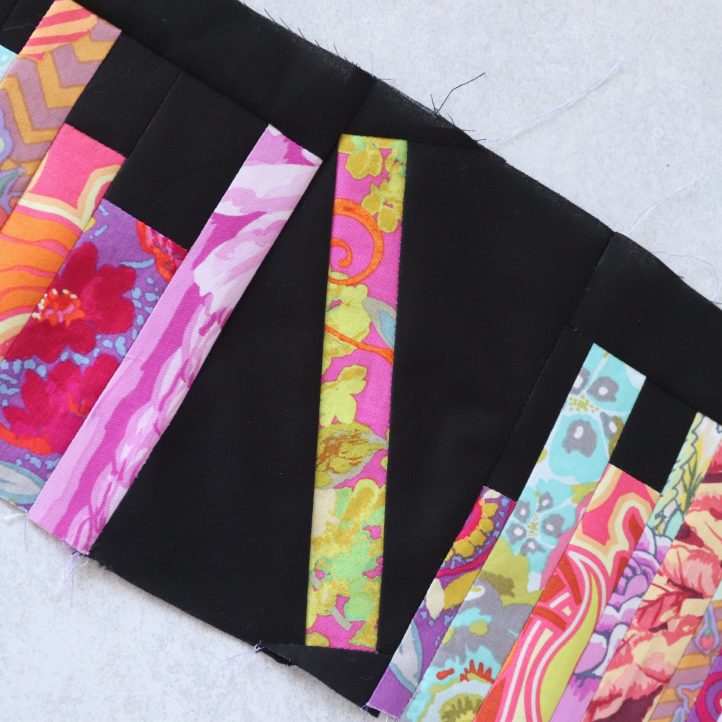
- We added a few diagonal paper-pieced books to our shelves to add visual interest. You can download the template. To piece one together, lay the template face down on your work surface. Cut a piece of black fabric at least 1” larger on all sides than Section 1. Place it over the section with the right side facing up. Cut a piece of printed fabric at least 1” larger than Section 2. Lay it right side down over the black fabric, covering Section 2. To see the template through the layers, hold it up to a window or use a lightbox. Pin in place, then turn the template over (printed side up) and stitch along the line between Sections 1 and 2, extending a few stitches beyond both ends. Fold the paper back and trim the seam allowance to 1/4”. Flip the fabric back over and press it flat. Repeat these steps to add Section 3, and then add Sections 4 and 5 along the outer edges in the same way. Once finished, press and trim the block to match the template’s size, including the 1/4” seam allowance around all sides.
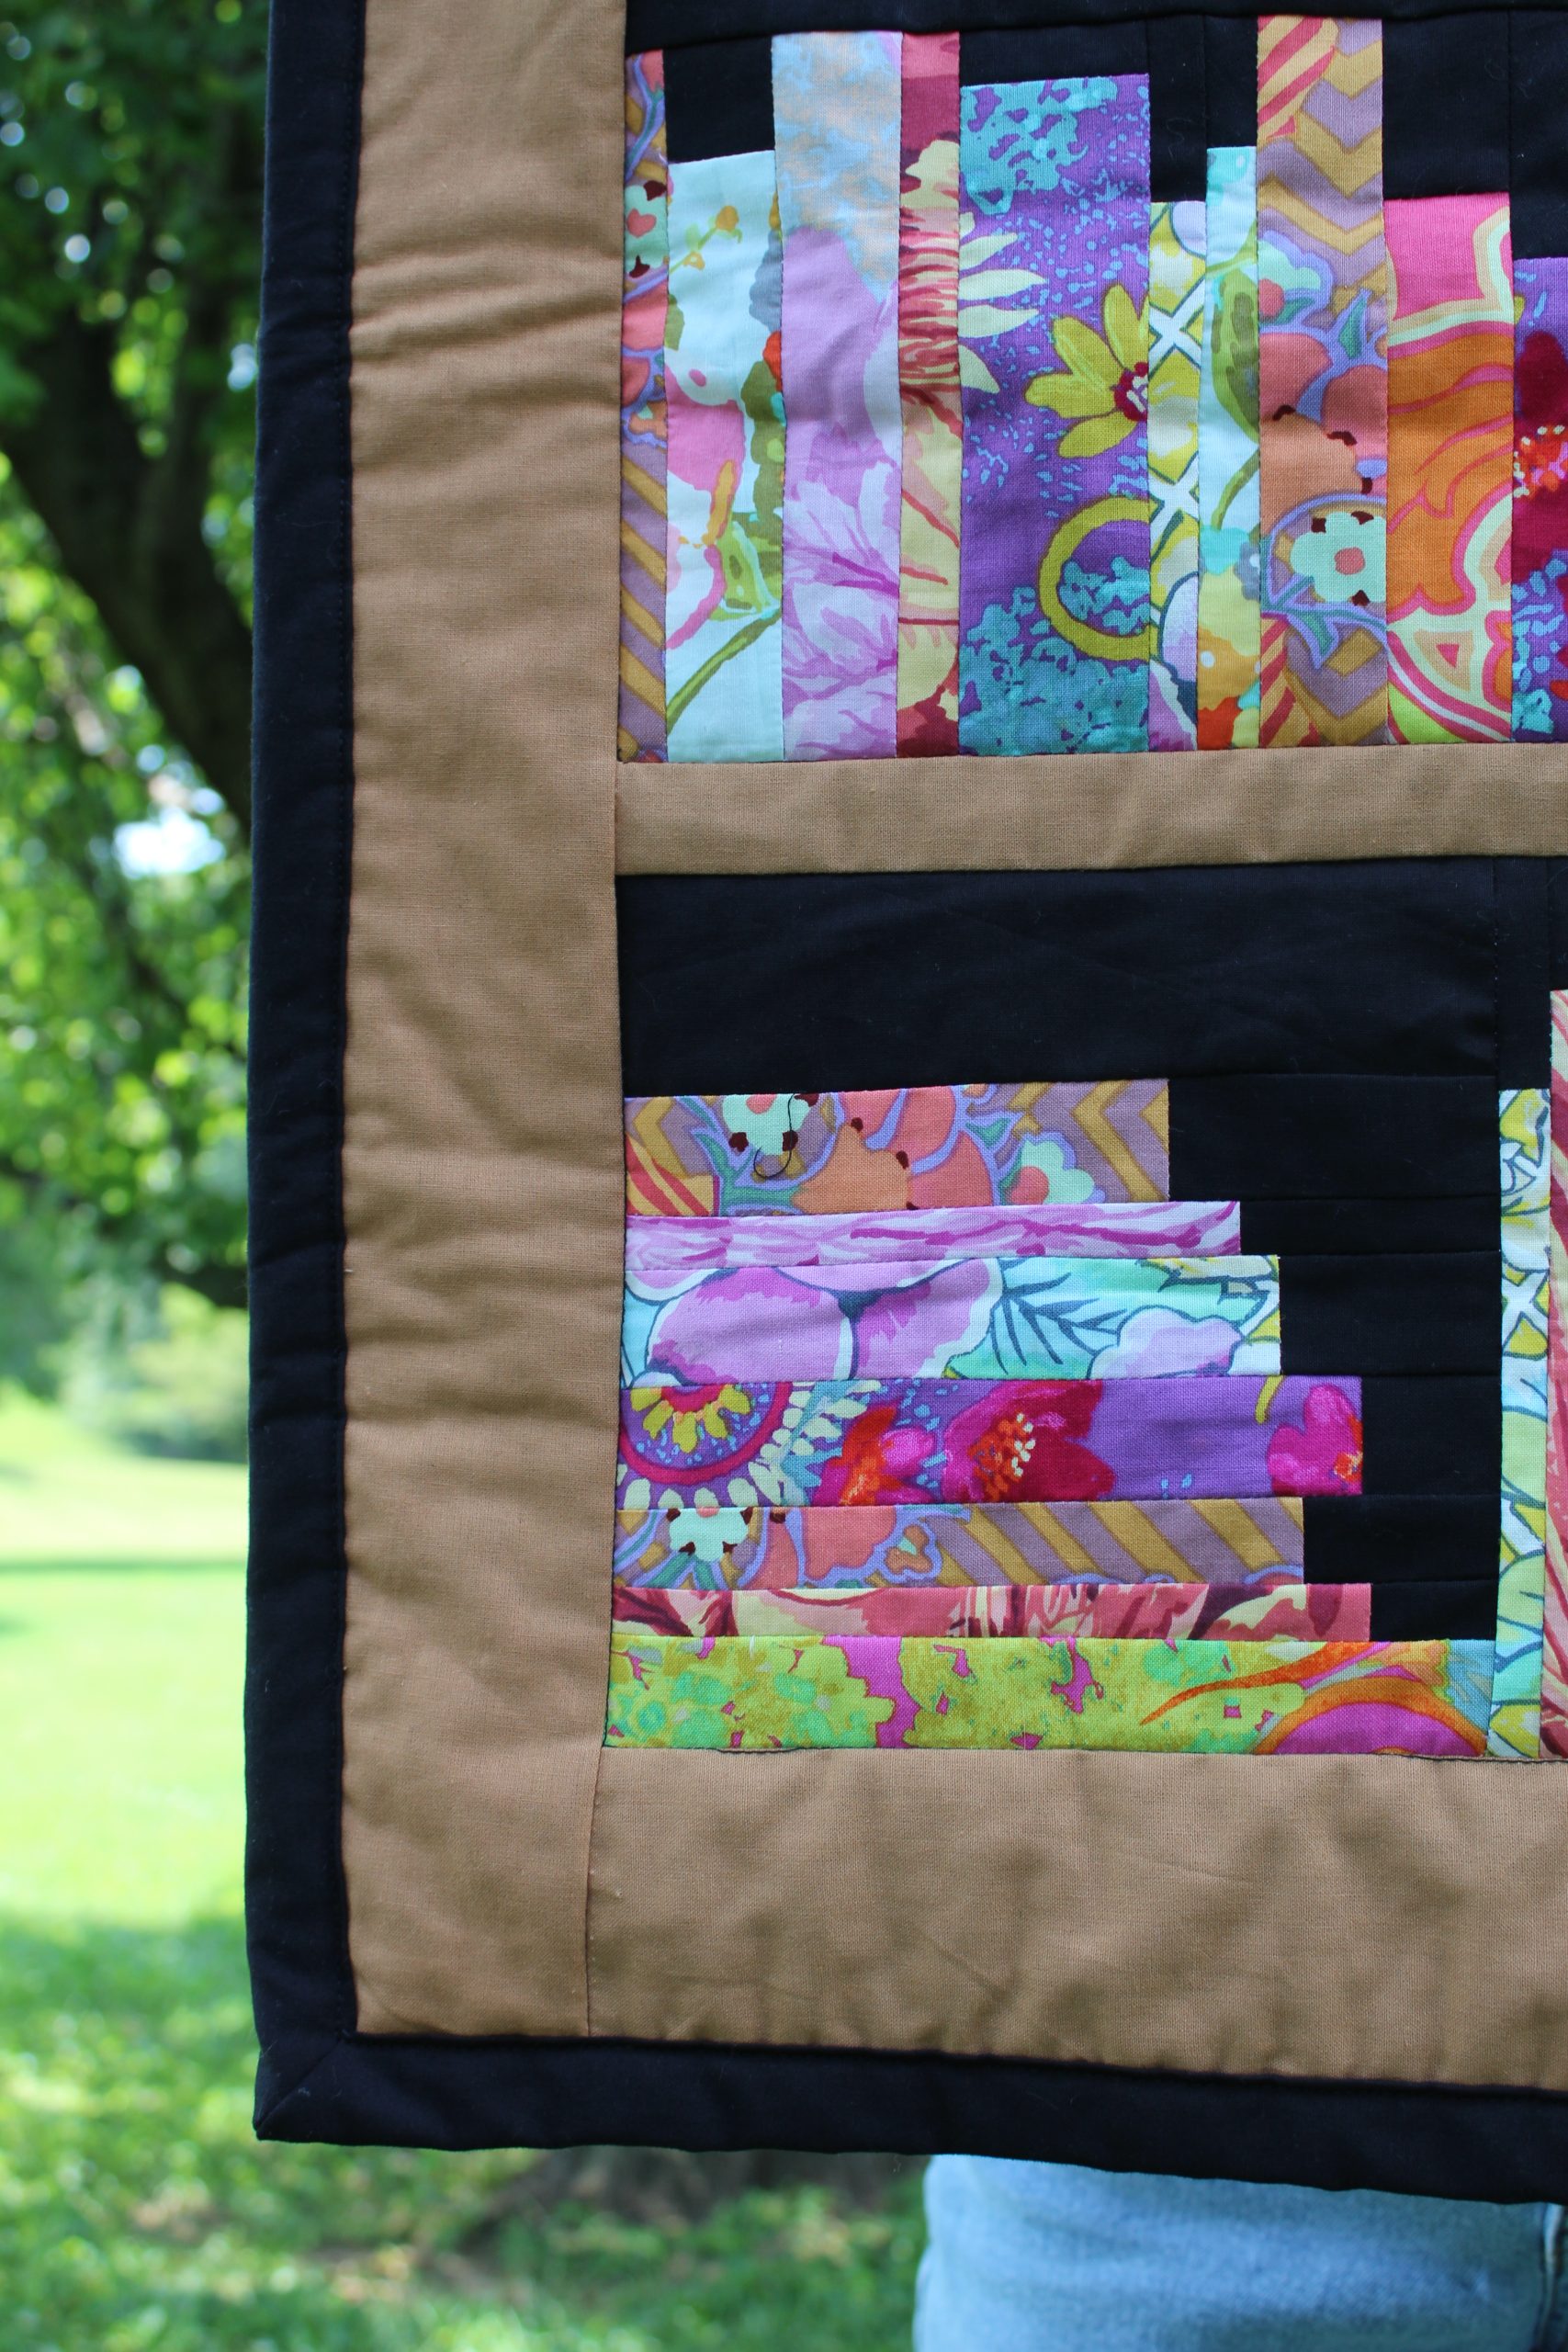
- You can also include sideways stacks of books for extra variation. These are made the same way as your vertical books – just rotated 90 degrees. Make sure the total block height is still 7-1/2”, and add black fabric to one or both sides, depending on whether you want the stack aligned to the left, right, or centered.
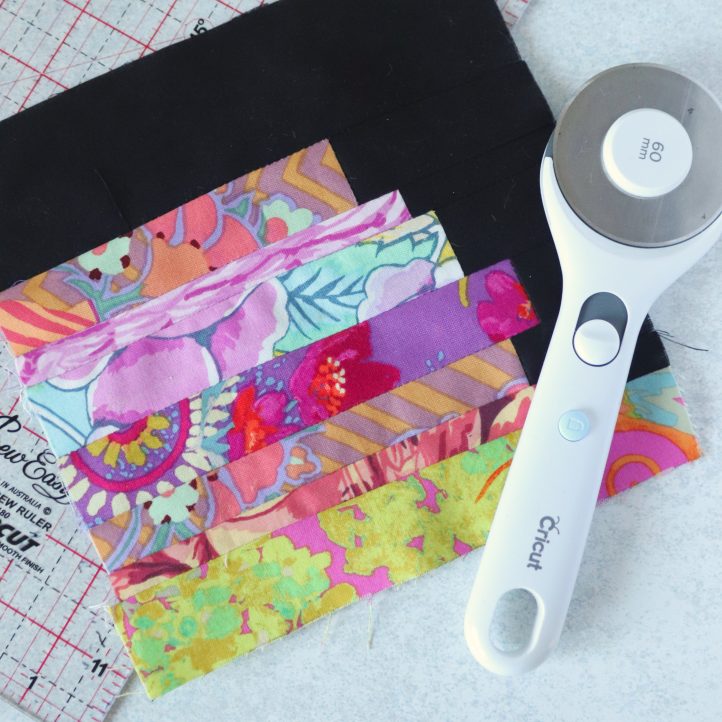
- As you continue sewing your blocks together, check the width of each shelf regularly. Your aim is to create three shelves that are exactly 20-1/2” wide. Once you’re satisfied with the layout and dimensions, join the blocks together into three complete shelf rows.
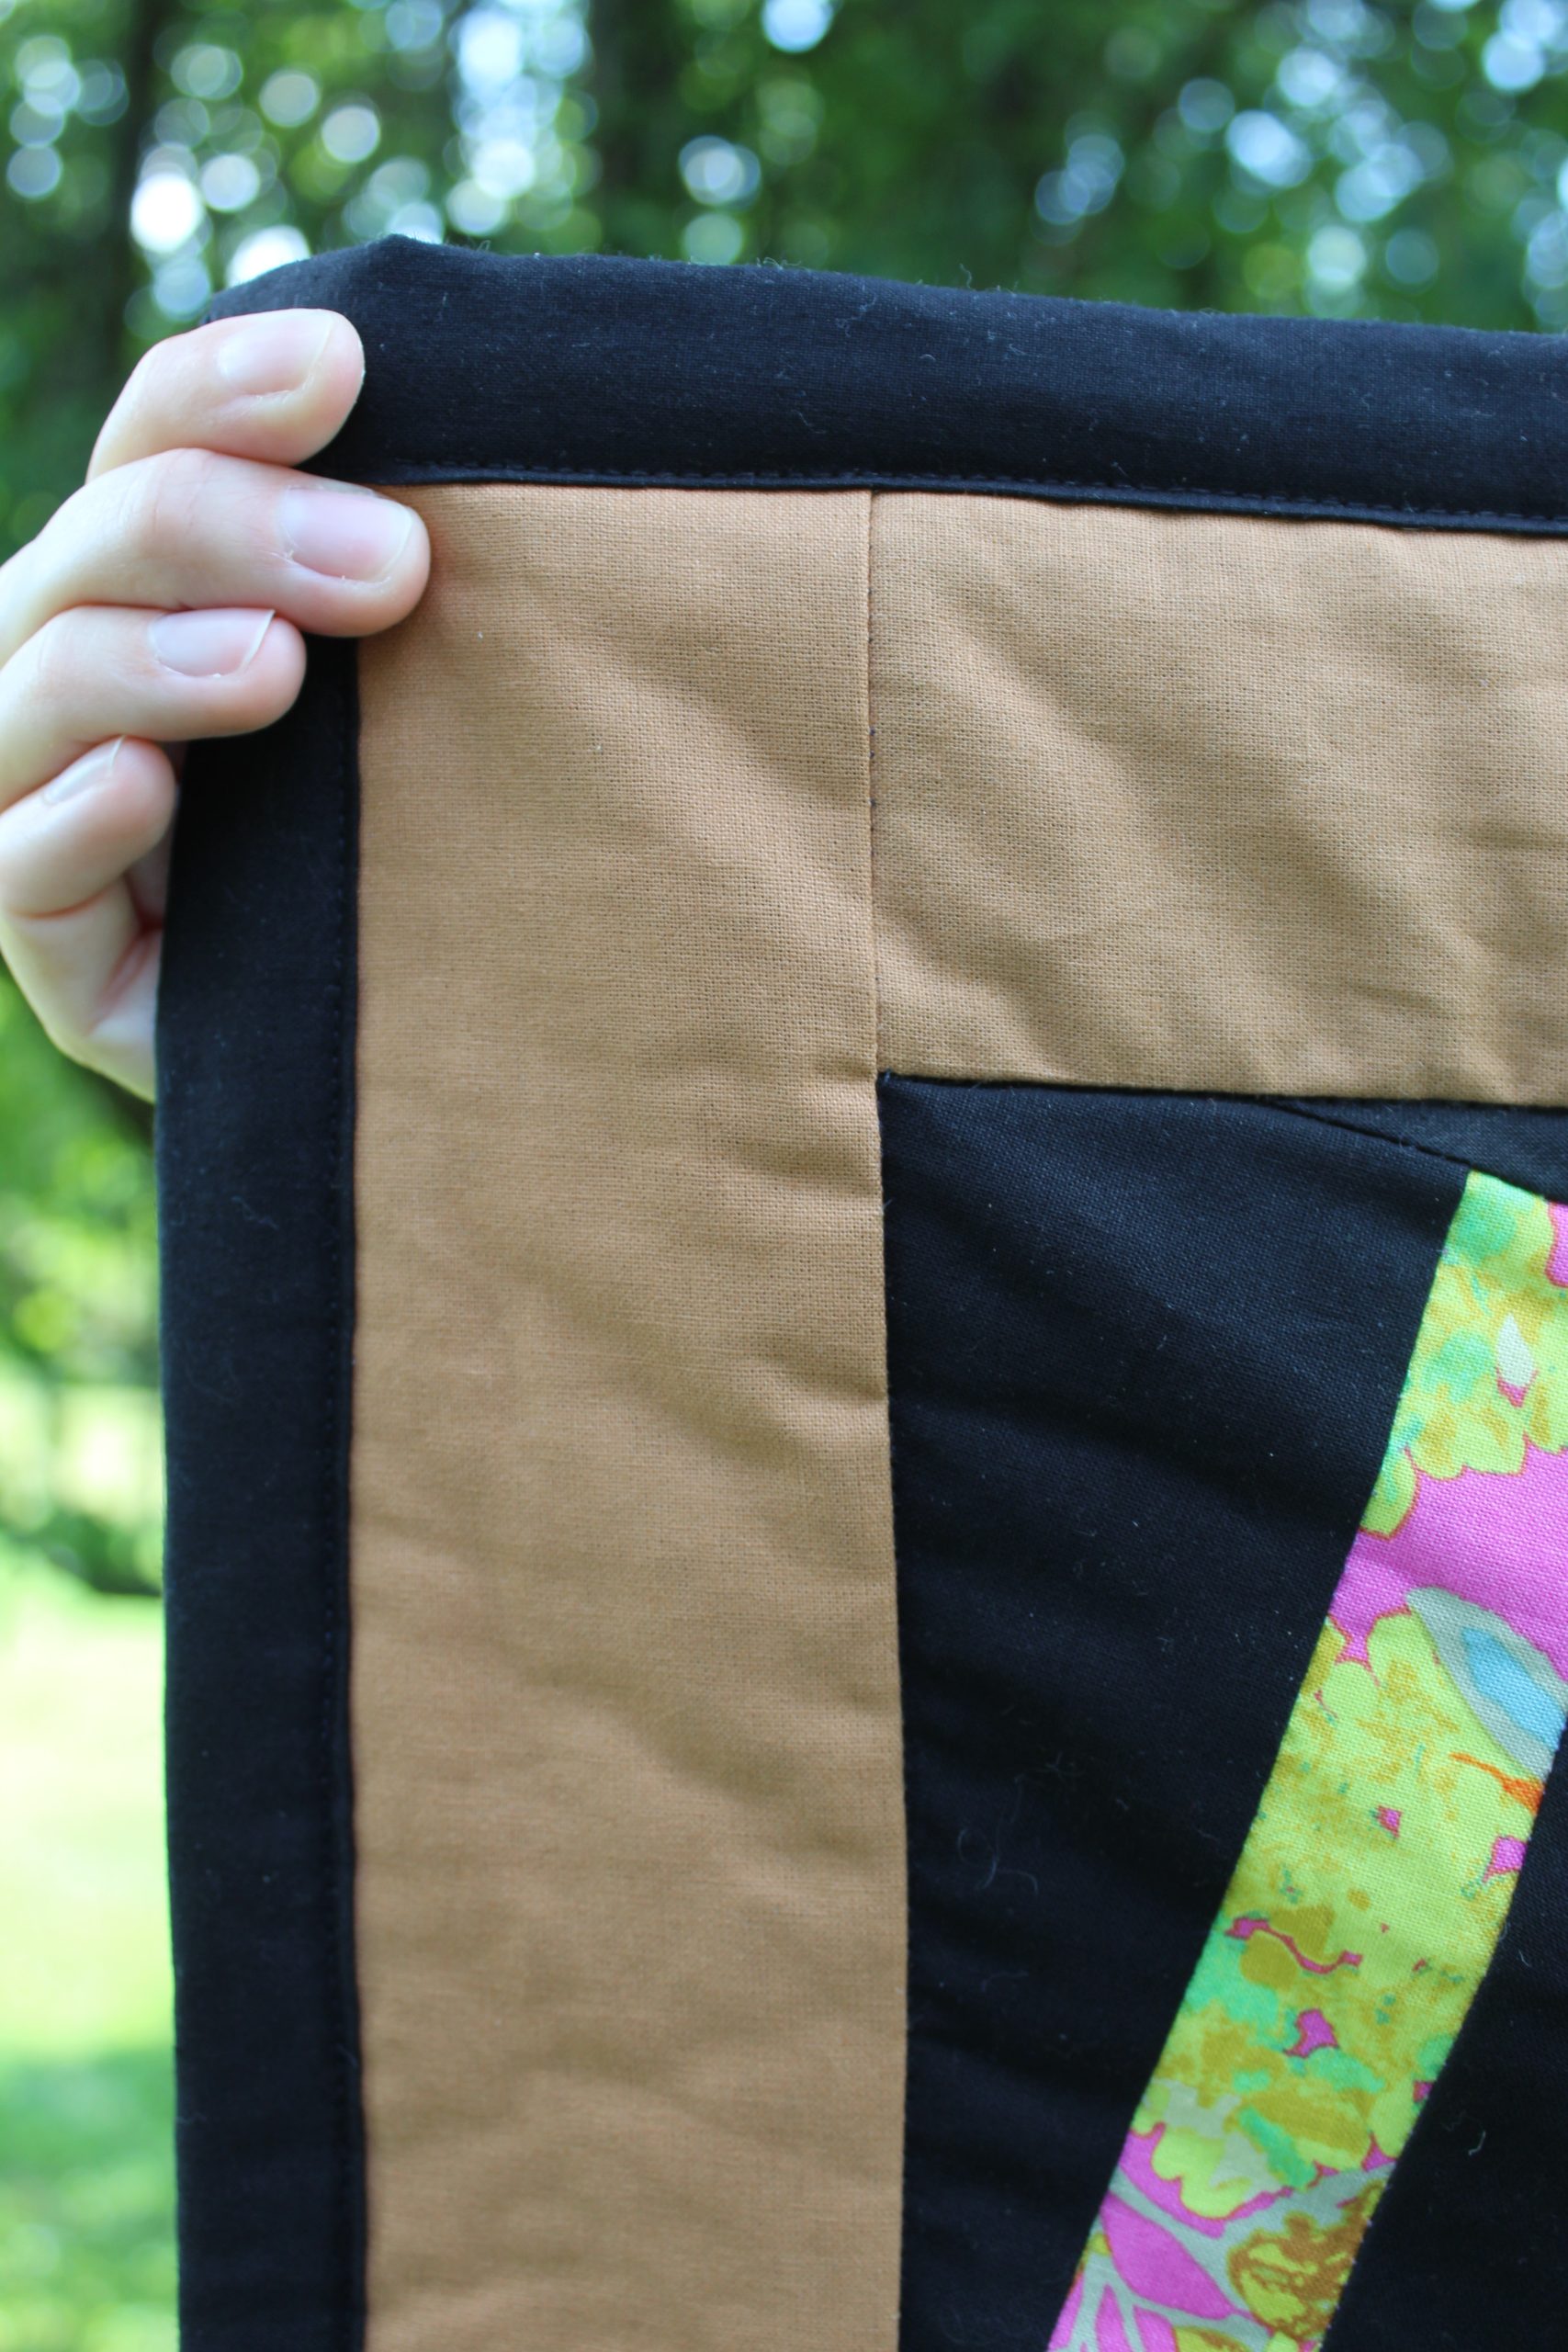
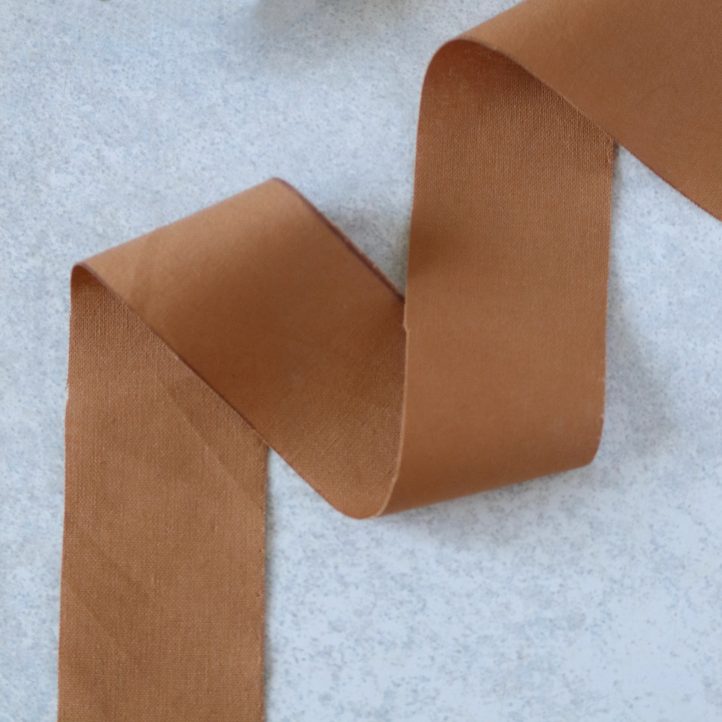
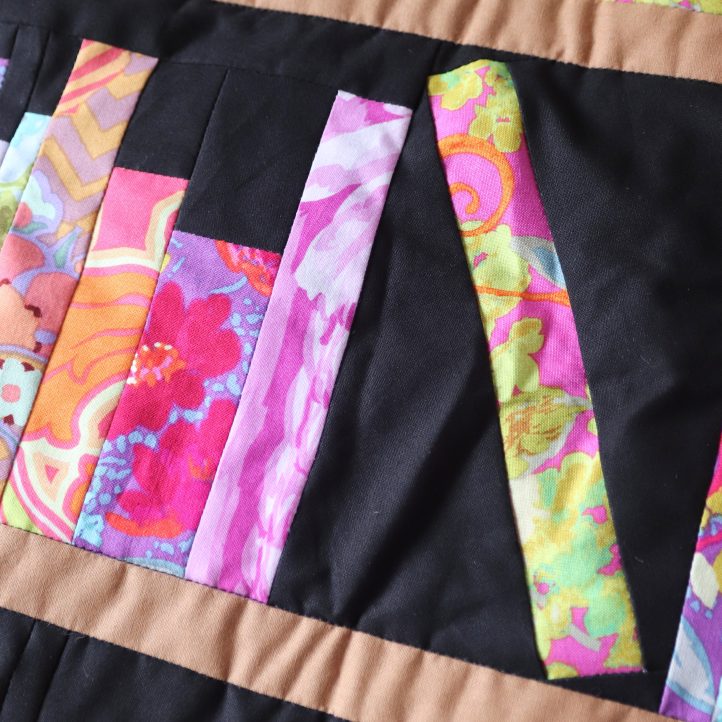
- Now it’s time to join the shelves into a full bookcase. Cut two strips of brown fabric, each measuring 1-1/2” x 20-1/2”. Use one strip to join the bottom and middle shelves together, placing them right sides together as you sew. Repeat this to attach the middle shelf to the top shelf in the same way. Next, sew 3” x 20-1/2” strips of brown fabric along both the top and bottom edges of the joined shelves. Finally, sew a 3” x 28-1/2” strip to each side edge to complete the bookcase frame.
- With your quilt top complete, it’s time to layer and quilt. Lay the finished top over a piece of quilt wadding that’s at least 1” larger than the quilt top on all sides. Place this onto a 28” square of black backing fabric, with the right sides facing out. Pin the three layers together. Using black thread and a 2.6mm (1/8”) straight stitch, quilt around the edges of each shelf block, working through all layers to secure them in place.
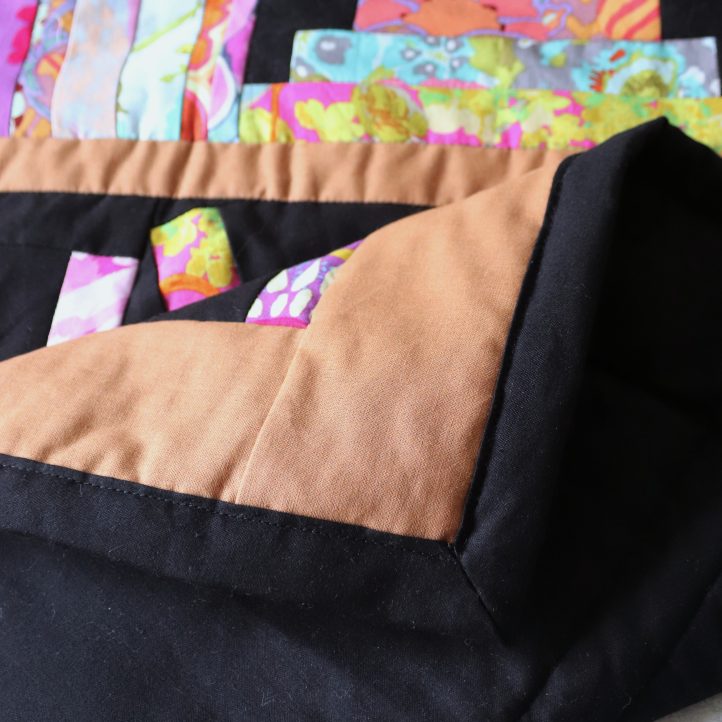
- To finish the quilt, start by trimming the wadding so it extends exactly 1/2” beyond the quilt top on all sides – take care not to cut into the backing fabric. Next, fold the backing fabric over the raw edges by 1/2”, then fold again by 1” to create a neat border on the front. Pin the folded edges all around the quilt. At each corner, unravel the second fold and measure 2” out from the corner along both edges. Draw a diagonal line to connect these marks. Fold the fabric right sides together, aligning the raw edges and the marked line. Stitch along the line, then trim the excess fabric to leave a 1/4” seam allowance. Turn the corner right sides out and use a point turner to shape it neatly. Press the corners flat, ease them into position over the quilt top, then finish by top-stitching along the inner folded edge all around the quilt, carefully pivoting at each corner for a crisp finish. Your quilt is now complete!
