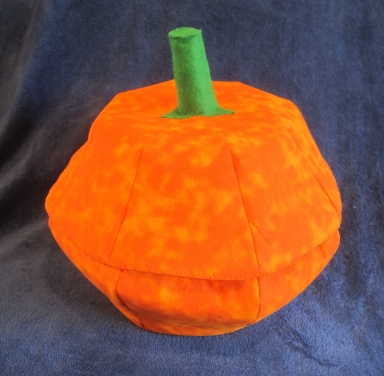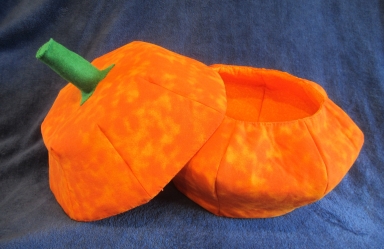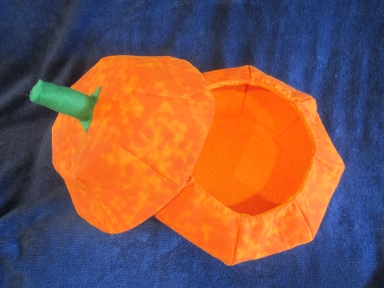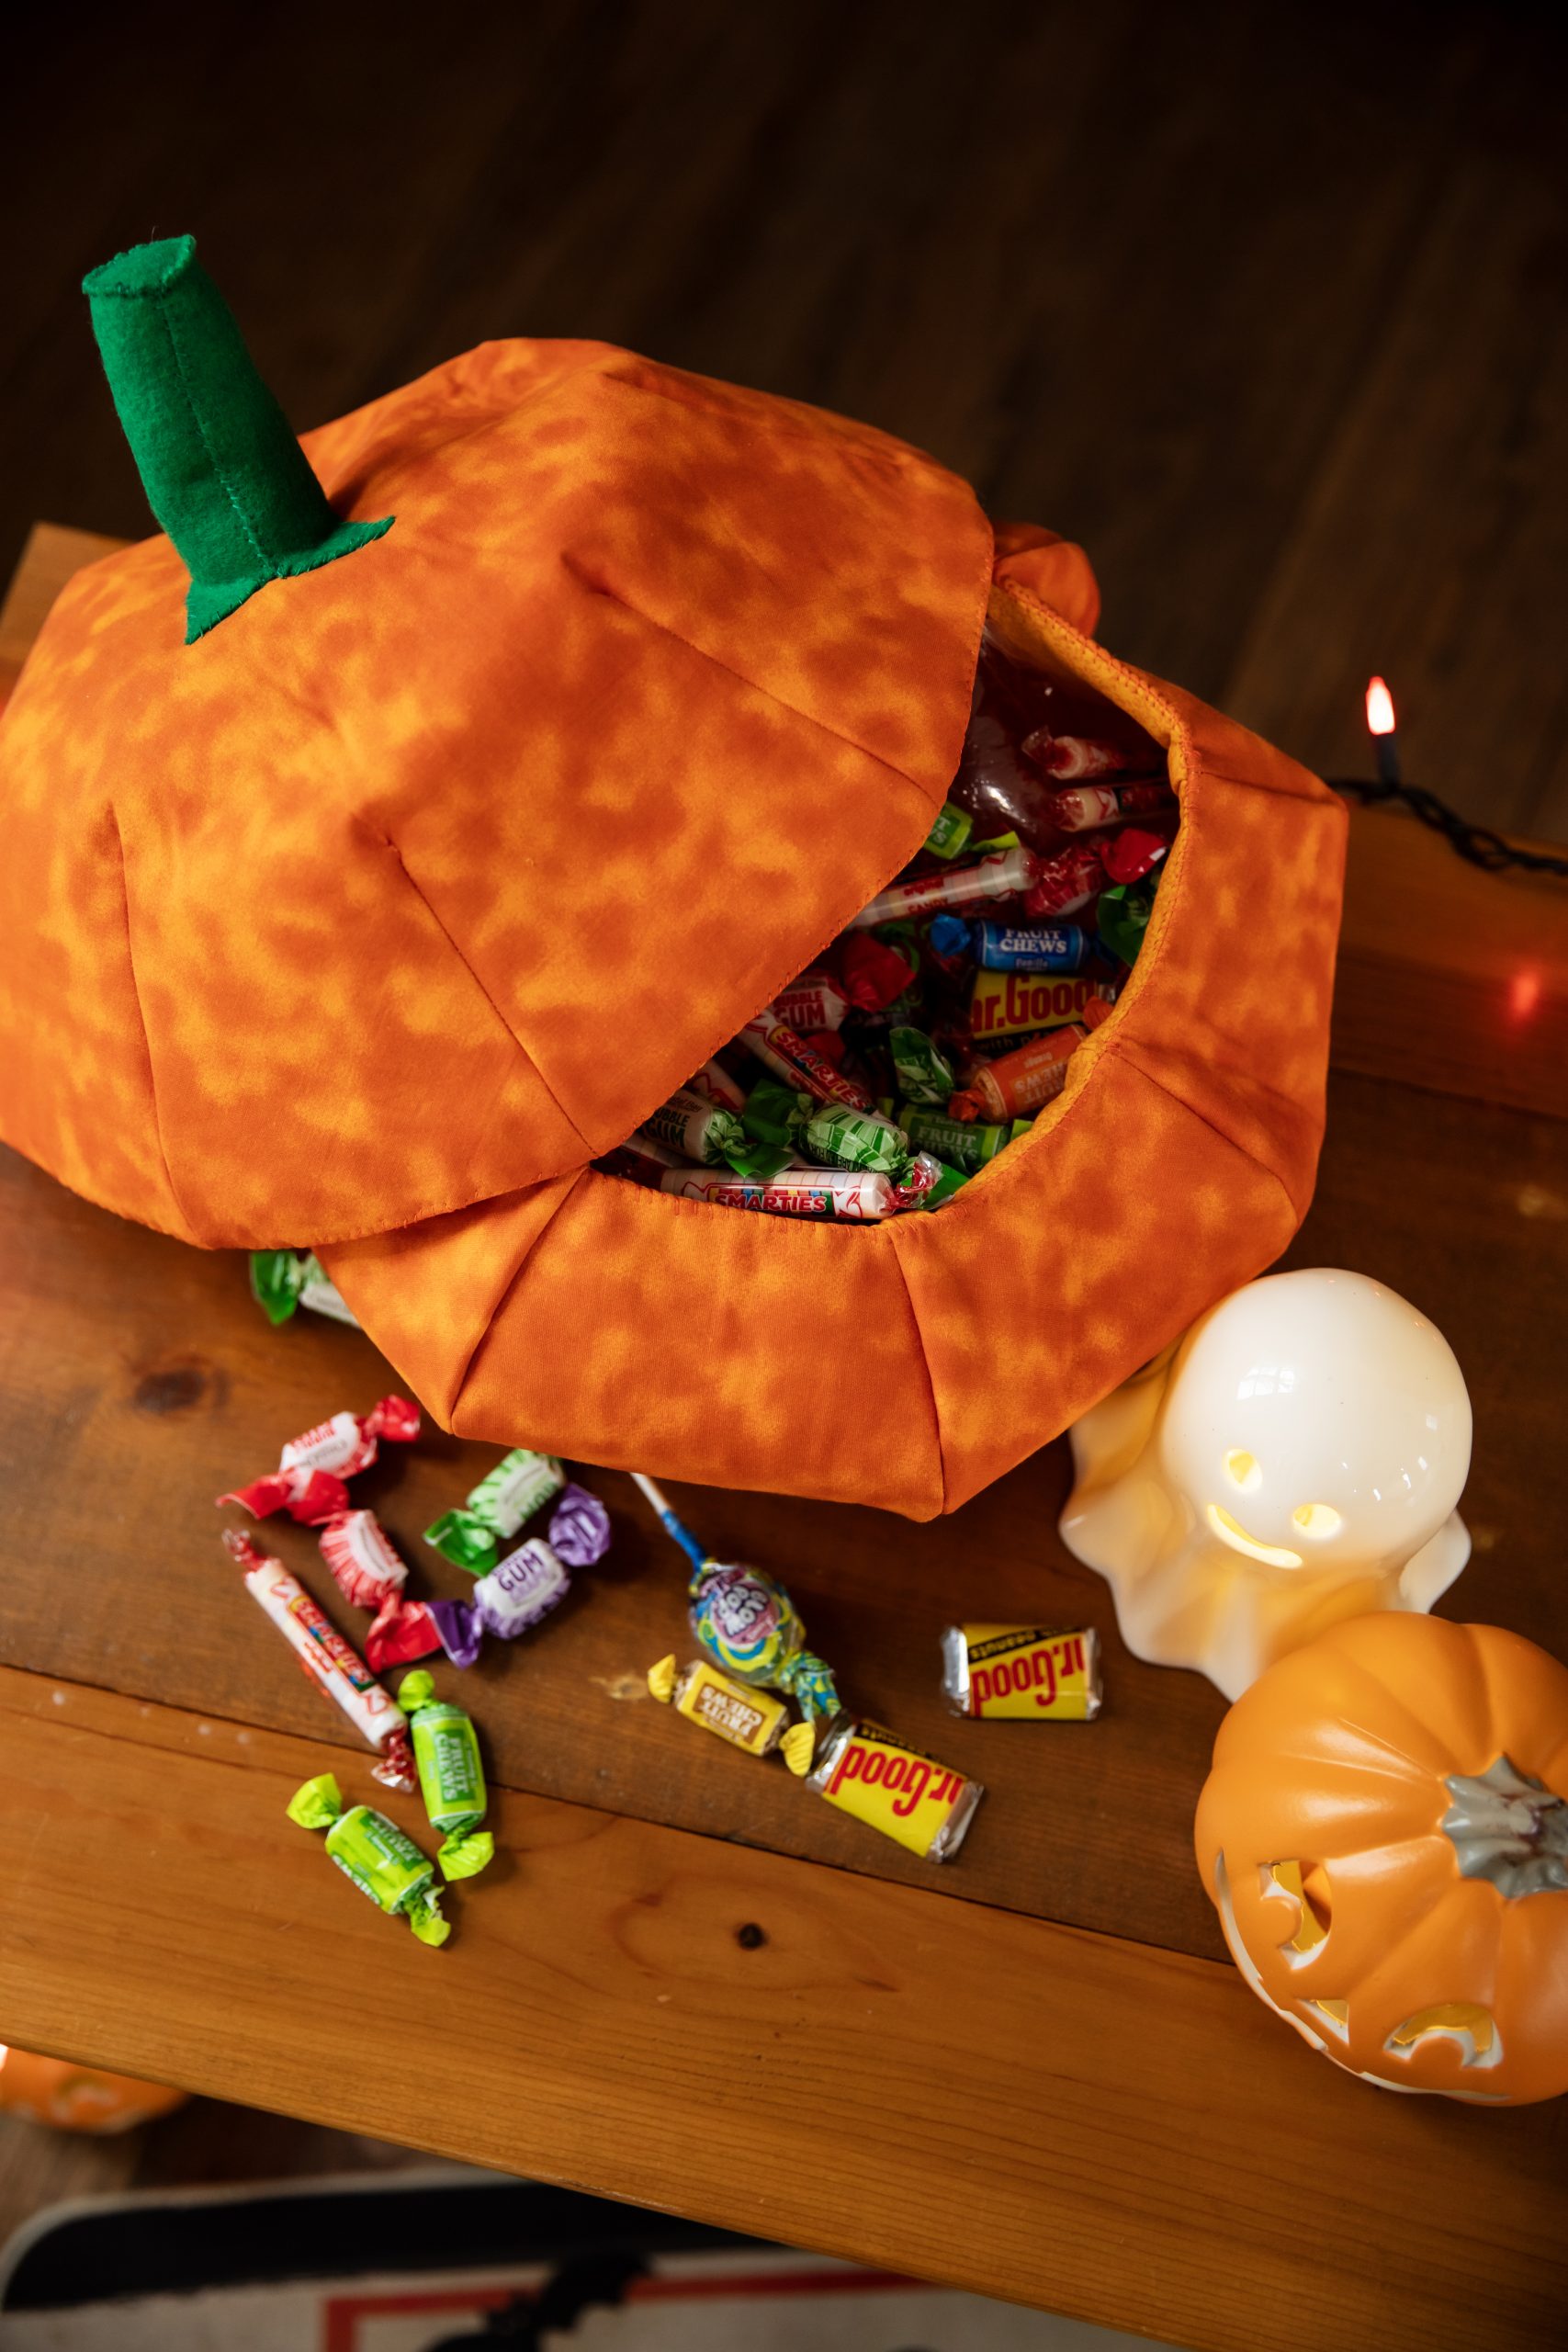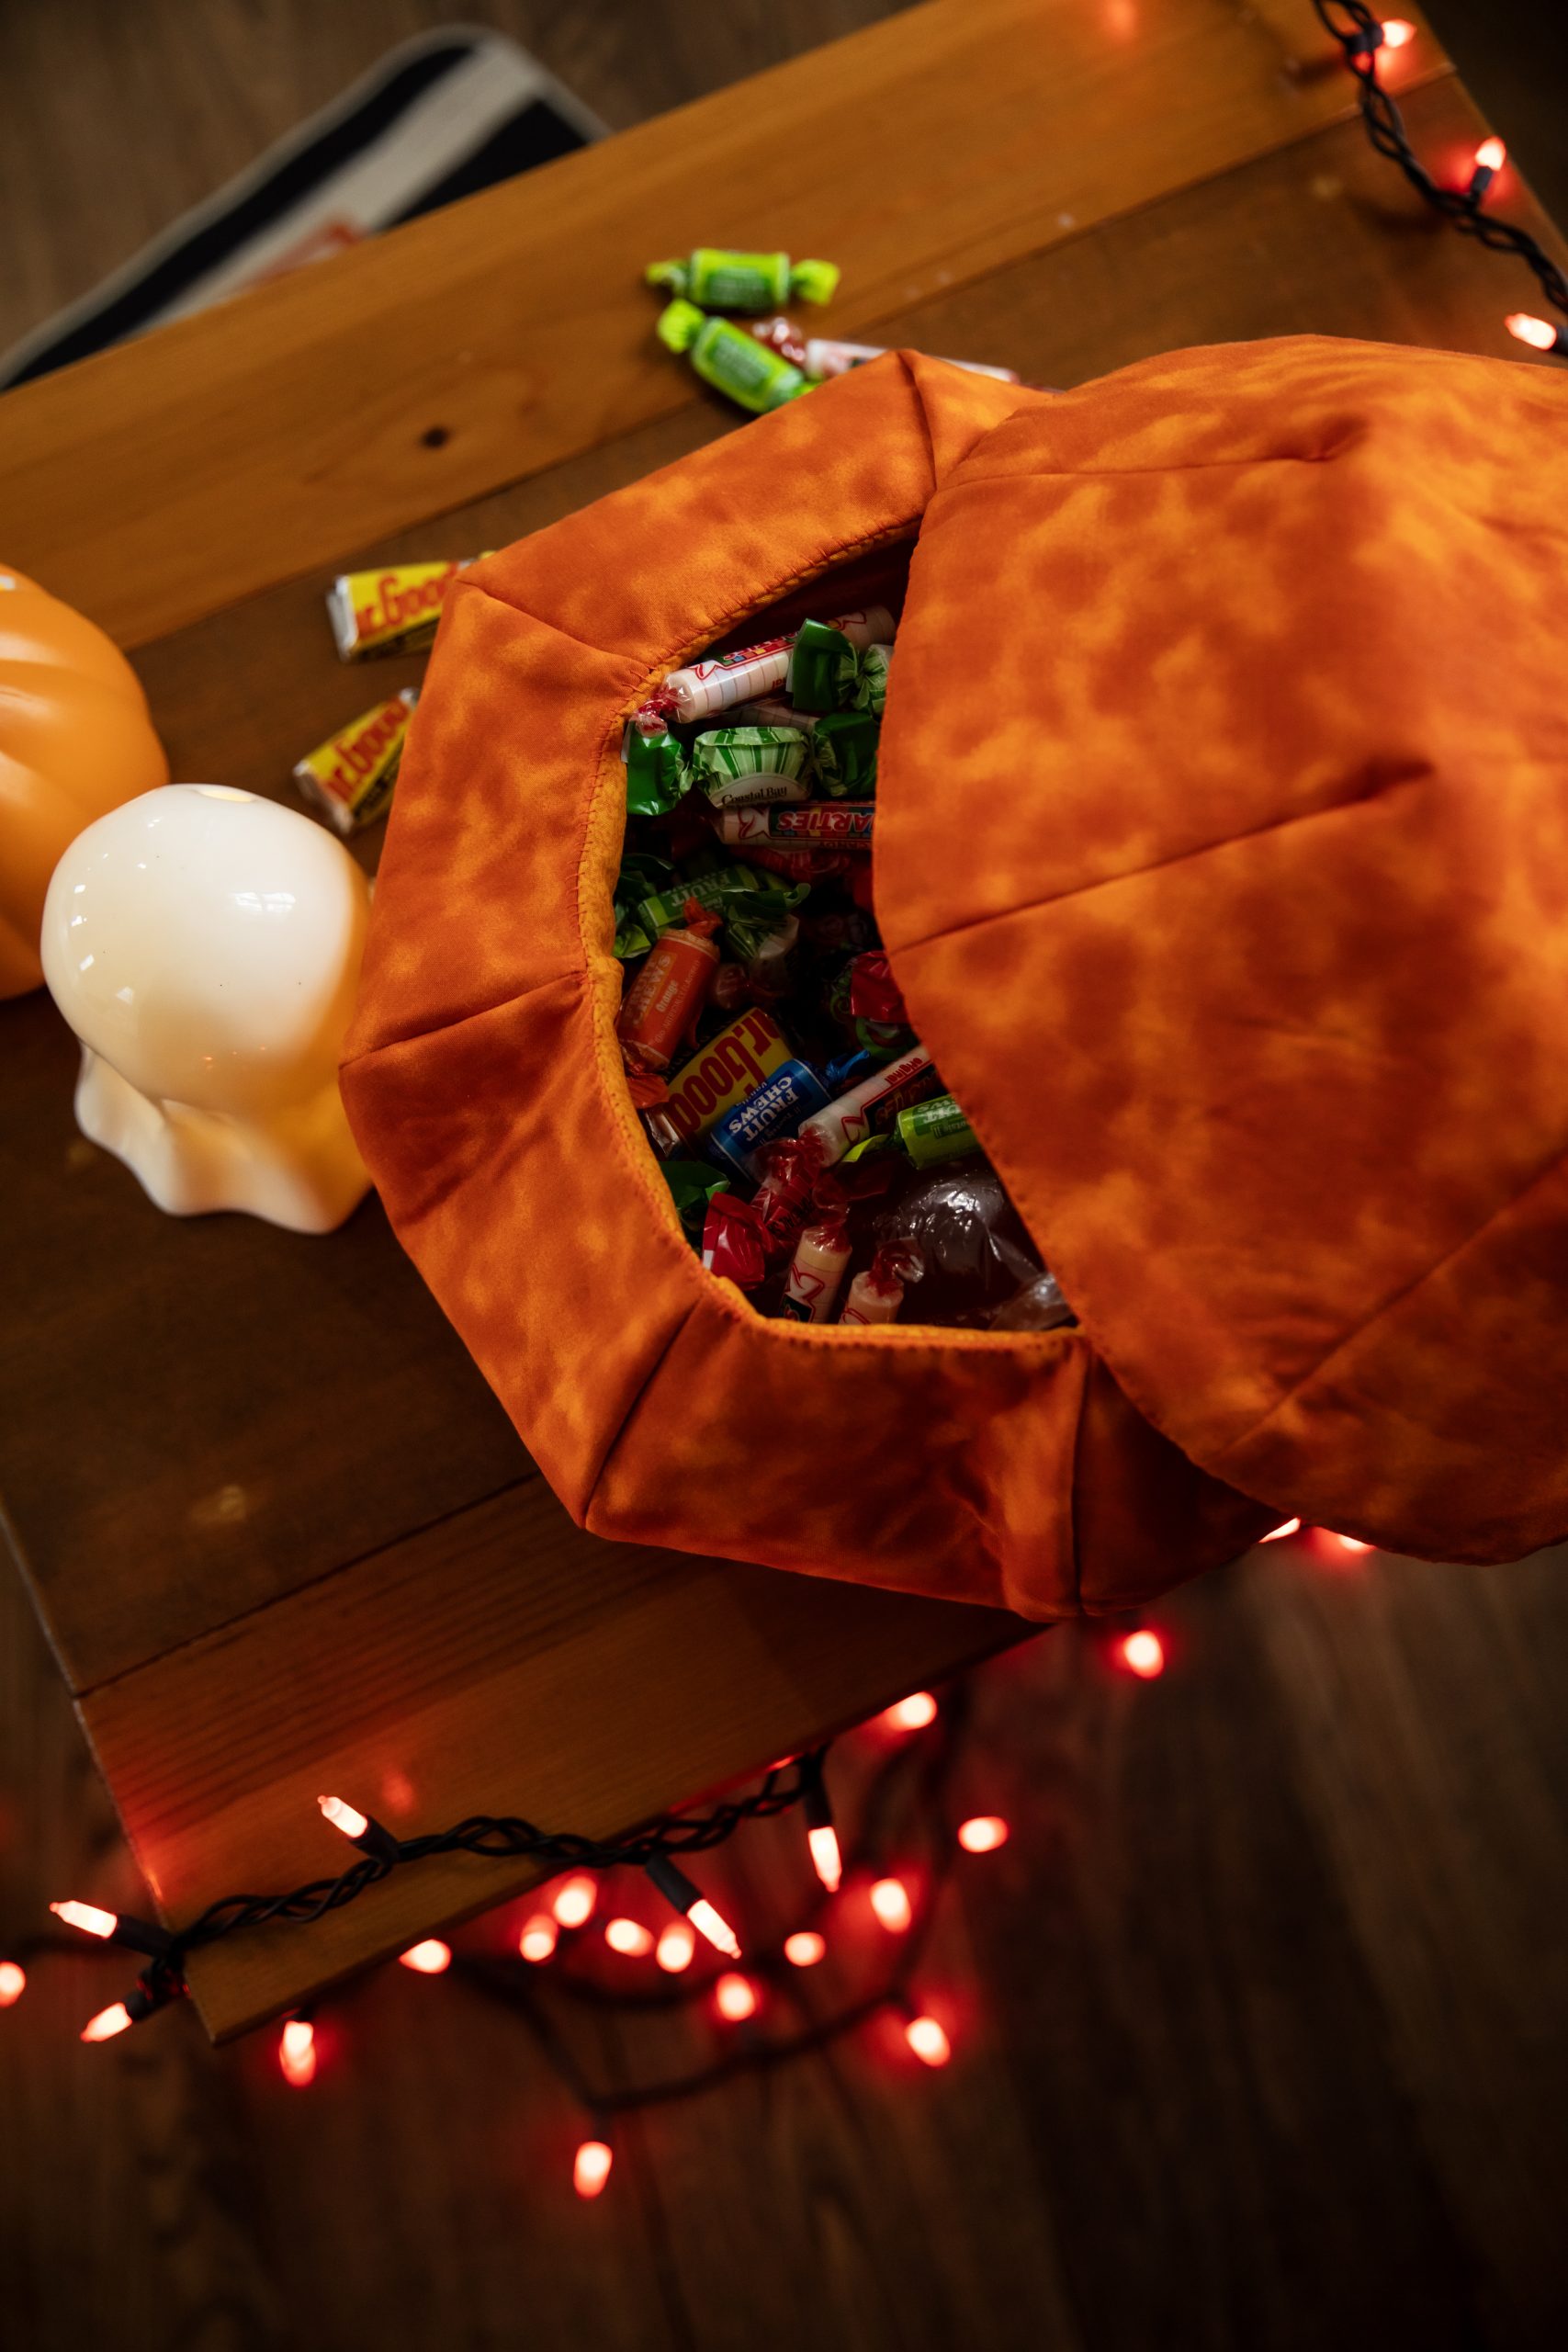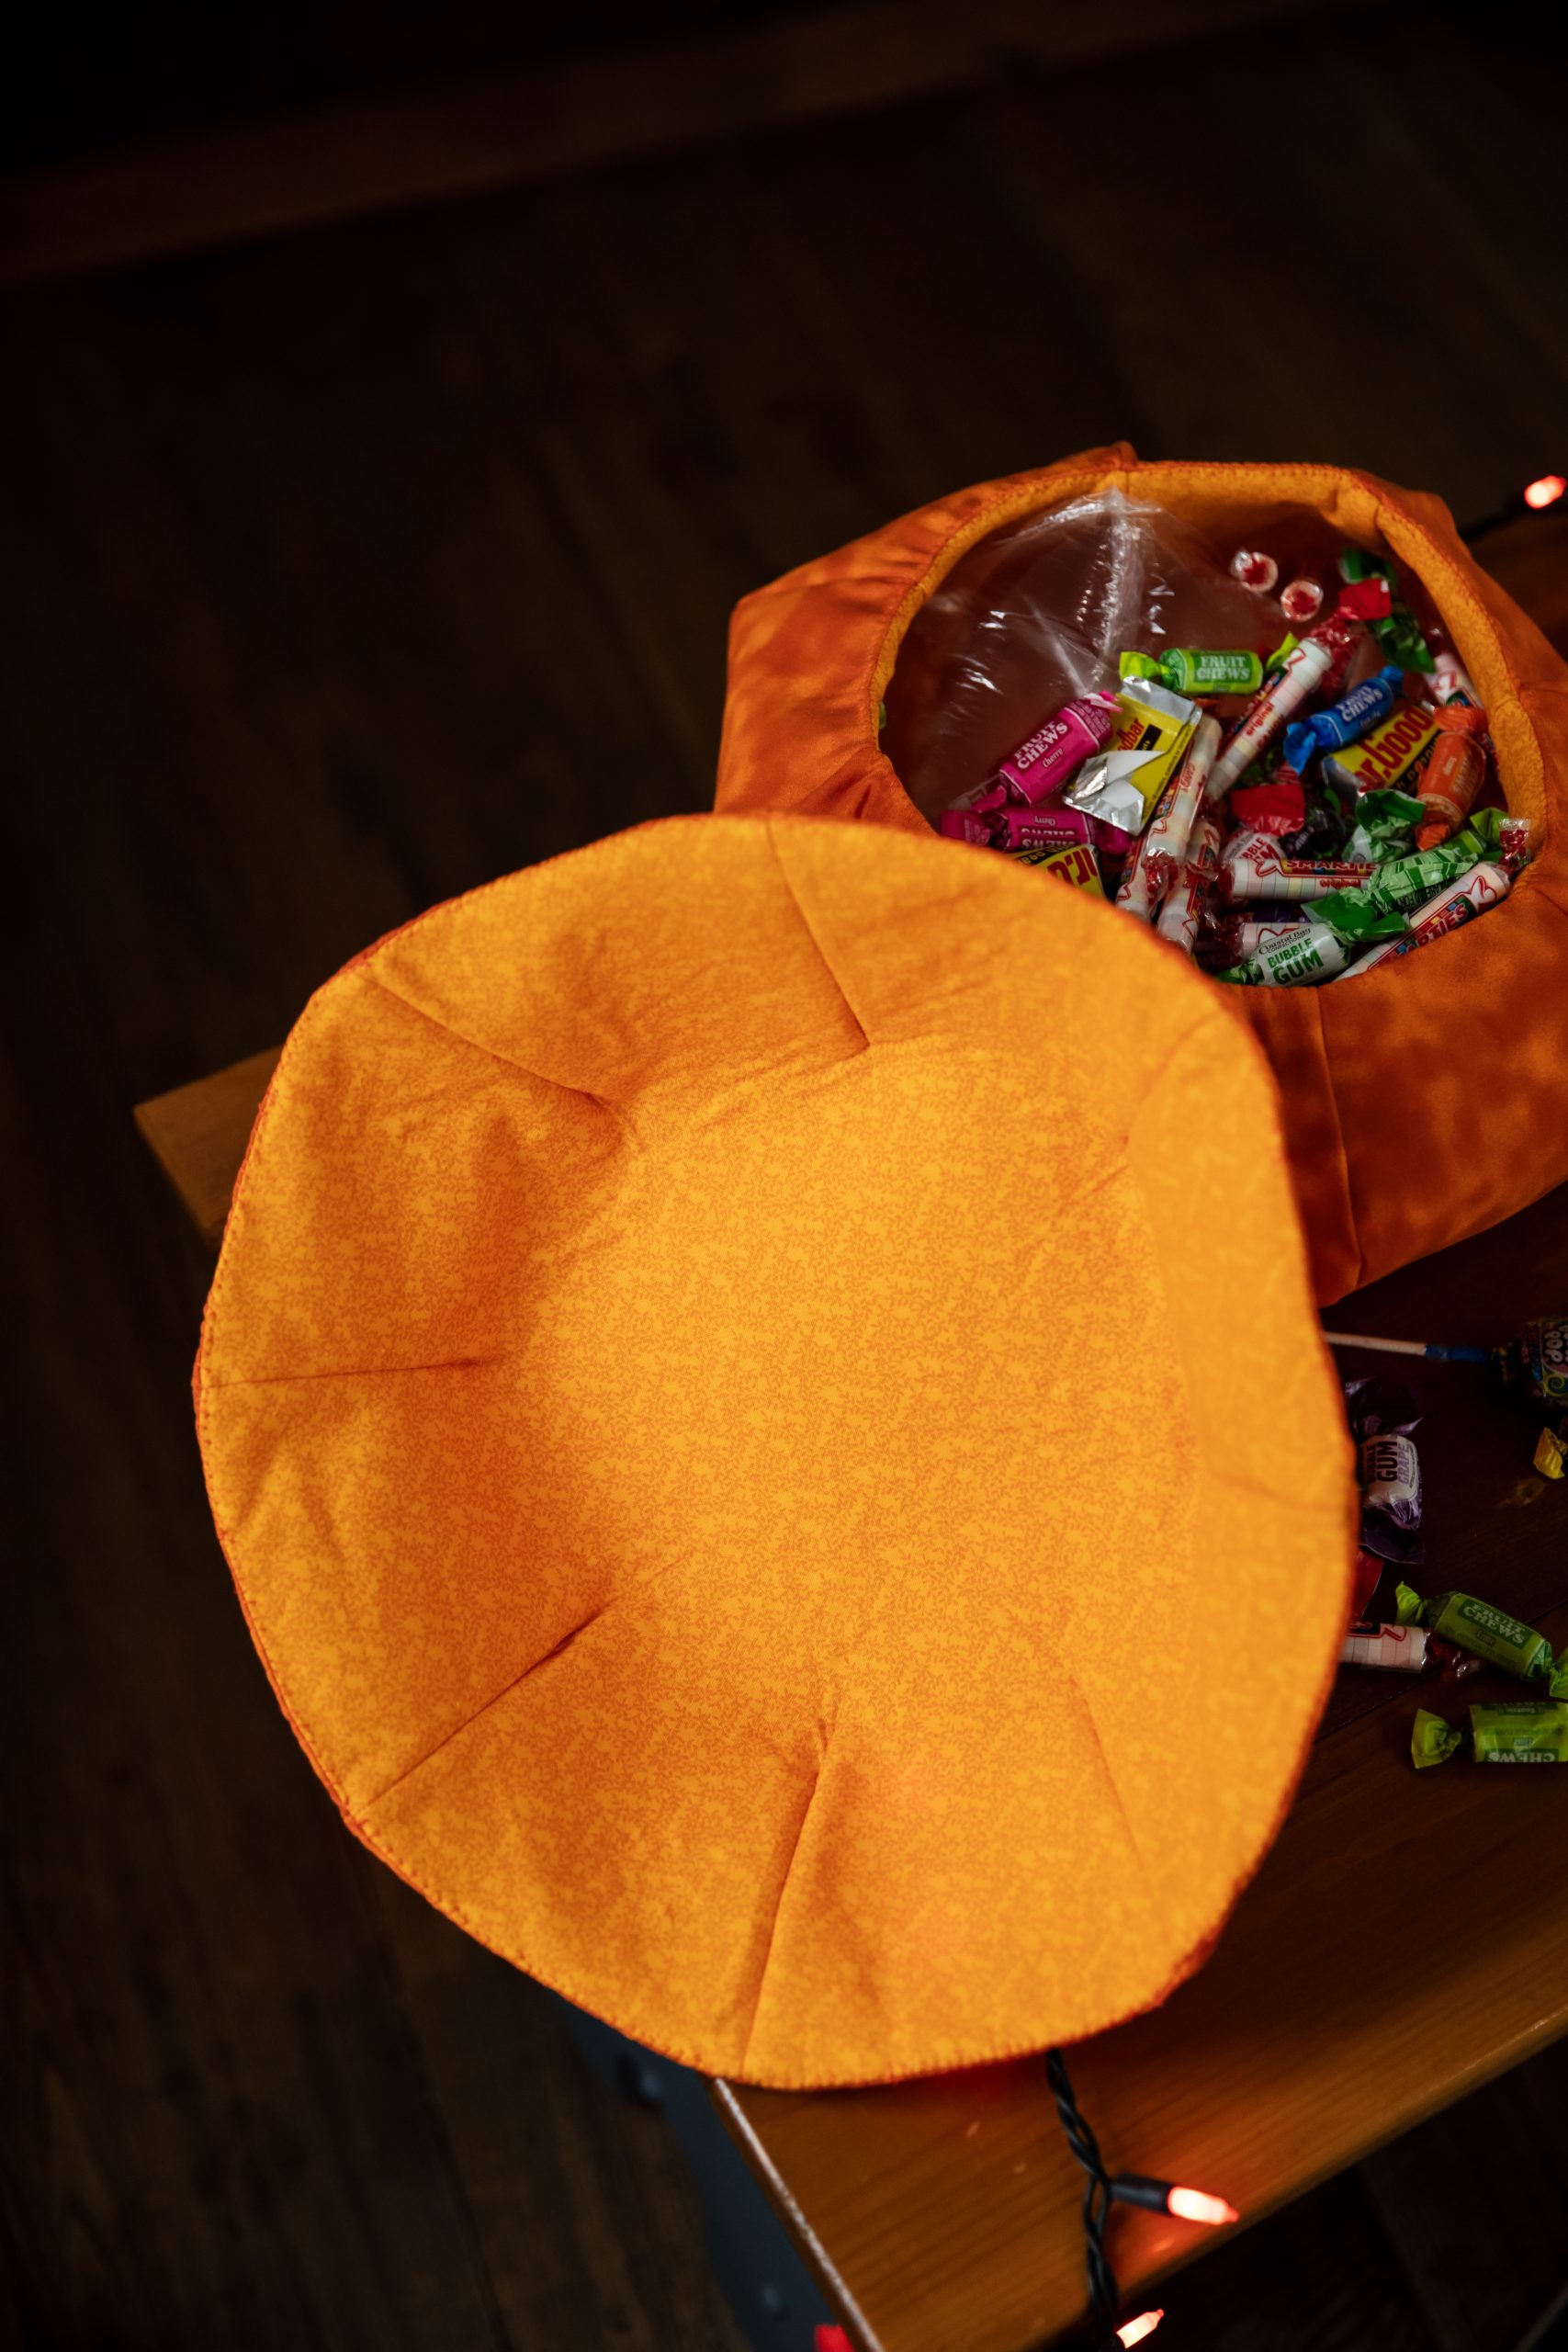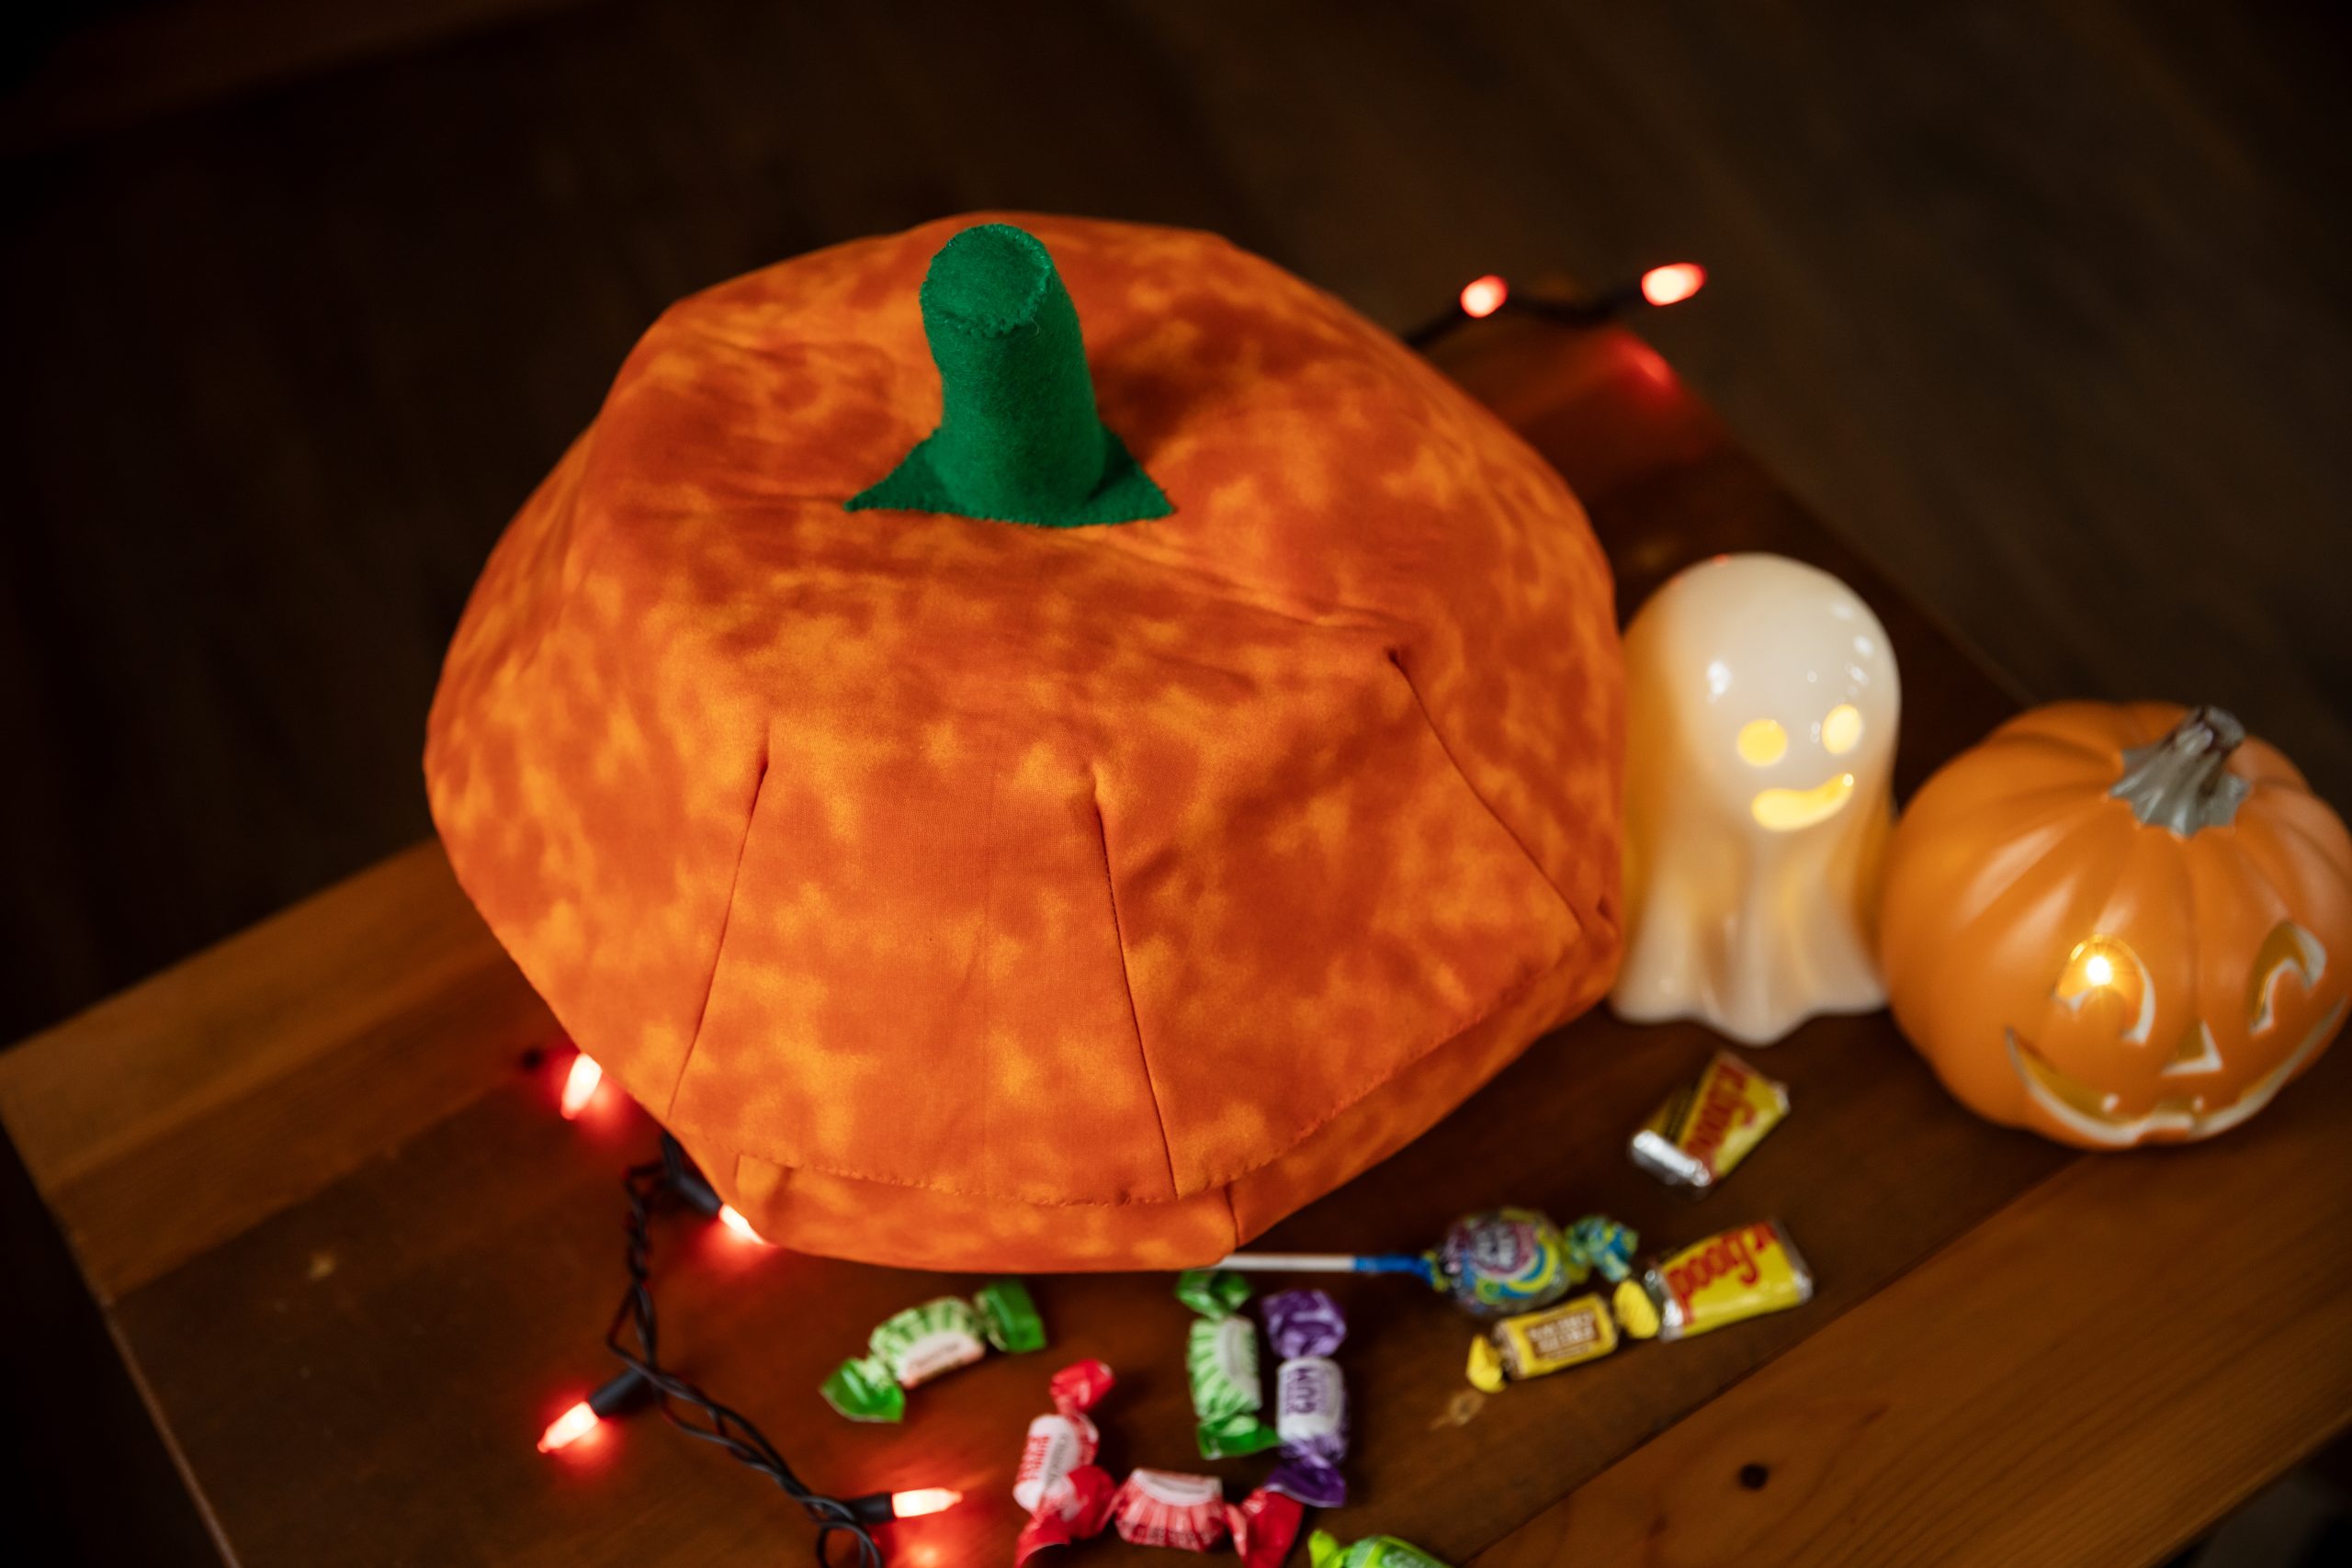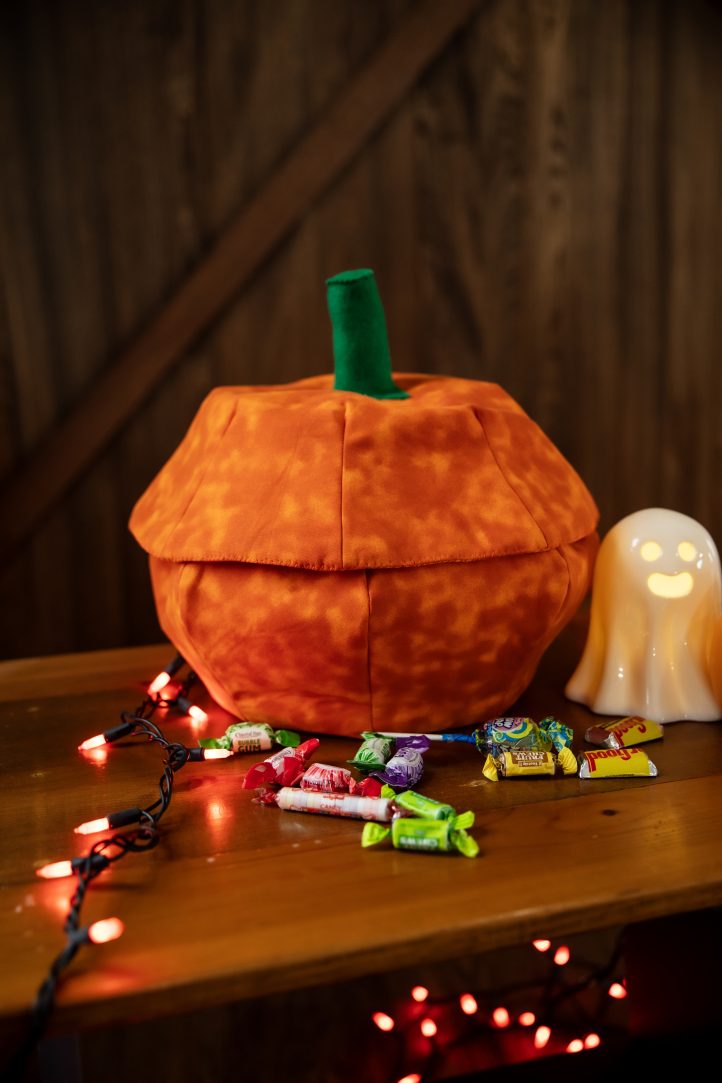
Greet trick-or-treaters with a whimsical candy bowl this Halloween! Christy Jones shares her fabric pumpkin candy bowl pattern with readers in our new September issue. Featuring a removeable lid, this fabric candy bowl keeps its shape with the use of fusible fleece, adding structure to this autumnal design. Guests to your home will adore this super sweet candy bowl pattern.
Skill Level: Beginning-Intermediate
Estimated Time: 3 hours
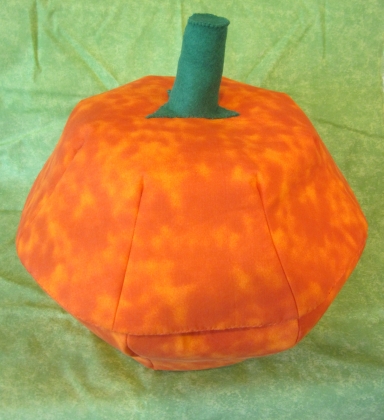
Materials:
Note: Both orange fabrics, as well as the fusible fleece, should be at least 42” wide.
- 1 yard orange cotton for outside
- 1 yard cotton for lining
- 2 yards low-loft fusible fleece
- 6 x 6 inch piece of green felt for stem
- Handful of stuffing for stem
- Orange and green thread
- Hand sewing needle
- Scissors and tape
- Sewing clips (optional)
- PDF Templates – These are located at the bottom of this page. See printing instructions below.
PRINTING INSTRUCTIONS:
To download the PDF templates, click on the download button at the bottom of the page. We recommend opening your download using Adobe Acrobat.
Sewing Instructions:
PREPARE THE PATTERNS:
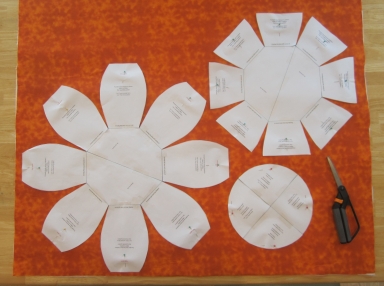
Print and Cut Out the Following Pattern Templates:
- Print 3 copies each of “Pumpkin Center A” and “Pumpkin Center B.”
- Print 8 copies of “Pumpkin Bowl Outside Section”
- Print 8 copies of “Pumpkin Bowl Lining Section”
- Print 4 copies of “Pumpkin Lid Section”. Since there are two copies of the pattern on each page, this makes 8 patterns total.
- Print 2 copies of “Pumpkin Base.” Since there are two copies of the pattern on each page, this makes 4 patterns total.
- Print 1 copy of “Pumpkin Stem.”
Assemble the Center Patterns:
- Overlap the long diagonal edge of one copy of center B with the long gray diagonal area of one copy of center A so that the long gray area no longer shows, then tape them together.
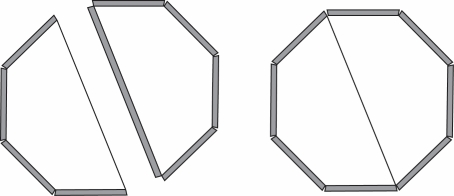
- Assemble the other two copies of the center pattern the same way. Use one center for the bowl outside pattern, one for the bowl lining pattern, and one for the lid pattern.
Assemble the Bowl Outside, Lining, and Lid Patterns:
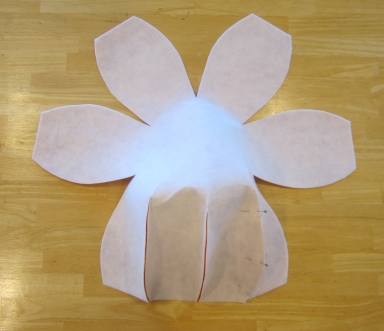
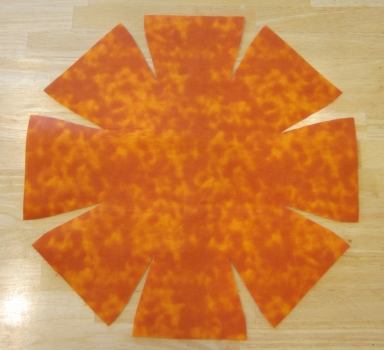
- Overlap the lower edge of each bowl outside section with one of the short, gray areas around the outside of the assembled center pattern so that the gray areas no longer show, then tape them together. The completed pattern should resemble a flower with eight petals.
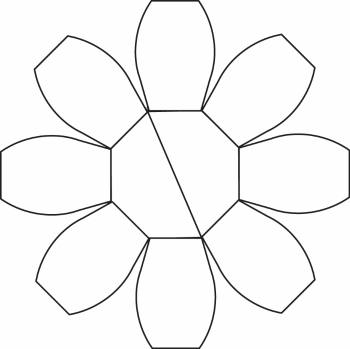
- Assemble the bowl lining patterns using the same steps as the bowl outside pattern. This pattern looks the same, but is slightly smaller.
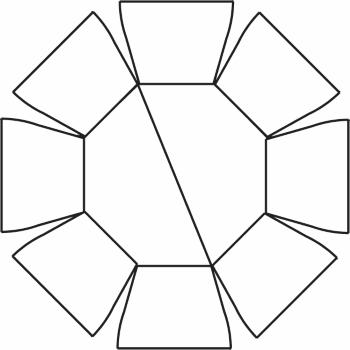
- Assemble the lid pattern using the same steps as the bowl pattern. The completed pattern should resemble a flower with eight petals that are shorter than the “petals” of the bowl pattern. The lid outside and lid lining use the same pattern.
Print and Assemble the Base Pattern:
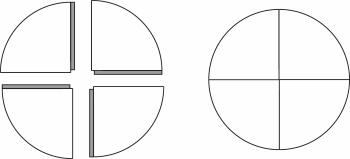
- Lay out the four pieces so they form a circle.
- Overlap the plain edge of each wedge with the gray area of the next piece, so that no gray is showing, forming a complete circle. Tape the pieces together.
PREPARE AND CUT THE FABRIC:
- Cut the fusible fleece into two pieces, each 1 yard long.
- Iron one piece of fleece to the wrong side of the outside fabric following the manufacturer’s directions.
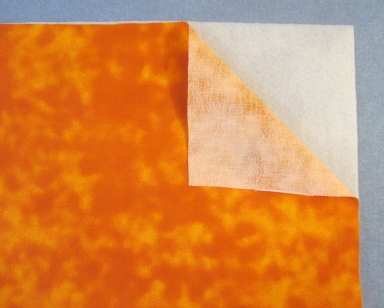
- Iron the other piece of fusible fleece onto the wrong side of the lining fabric.
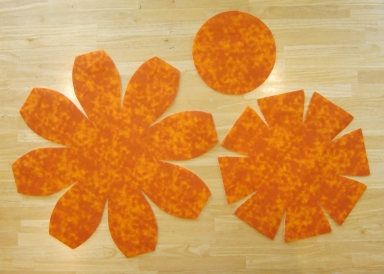
- Pin the assembled bowl outside, lid, and base patterns to the outside fabric. Cut around each pattern.
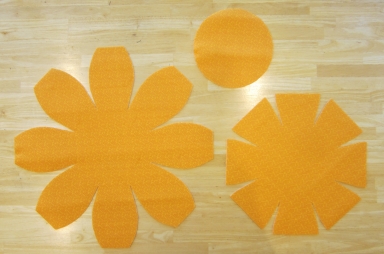
- Pin the assembled bowl lining, lid, and base patterns to the lining fabric and cut around each pattern.
SEW THE PUMPKIN BOWL AND THE LINING:
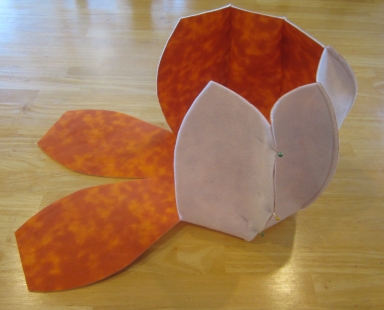
- Place the neighboring edges of two of the outside pumpkin bowl sections (or “petals”) right sides together, then pin the edges together.
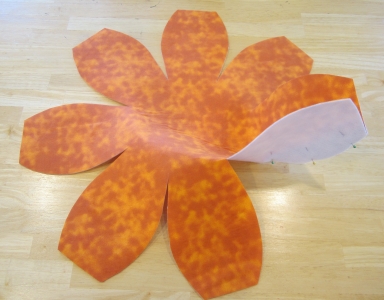
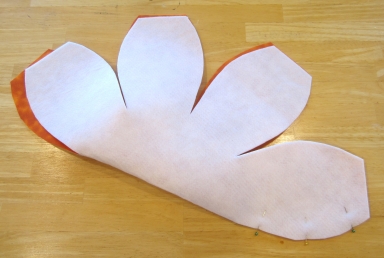
- Stitch the sections together using orange thread and 1/4 inch seam allowance.
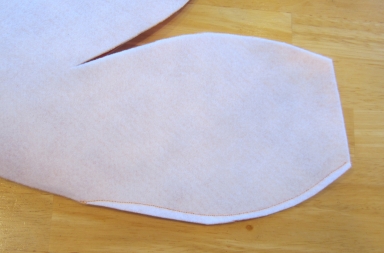
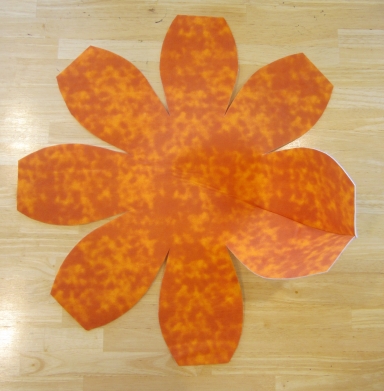
- Continue pinning and sewing each outside pumpkin bowl section to its neighbor right sides together until all the sections are sewn together on both sides, forming a bowl.
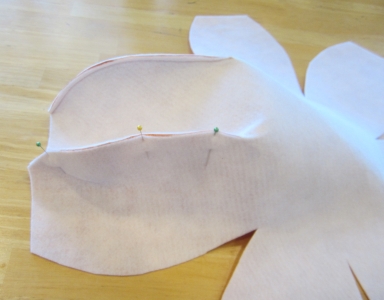
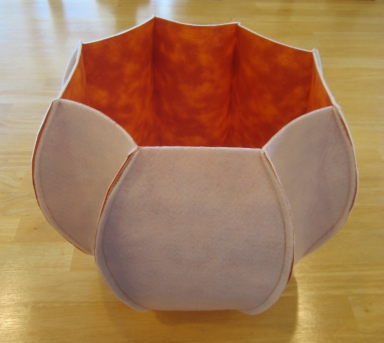
- Turn the bowl right side out. Push gently on the seams to turn them all the way out.
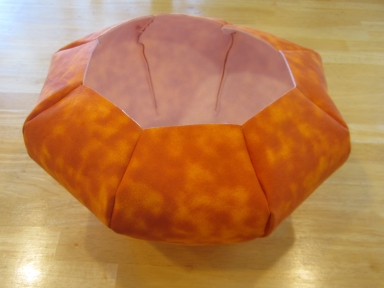
- Place the outside base and lining base wrong sides together, then pin.
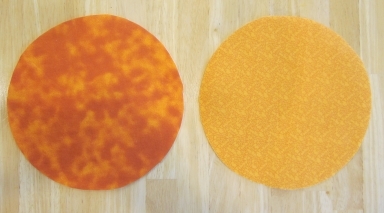
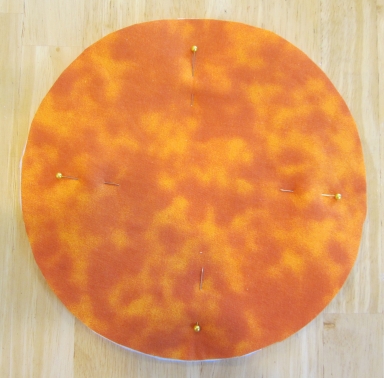
- Zigzag stitch around outer edges of the base.
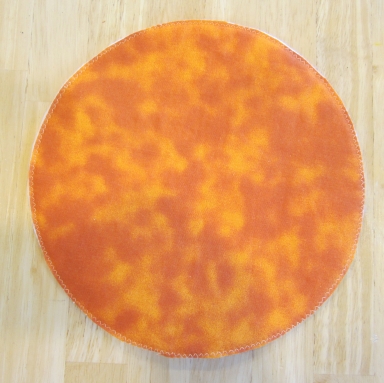
- Place the base in the bottom of the pumpkin bowl.
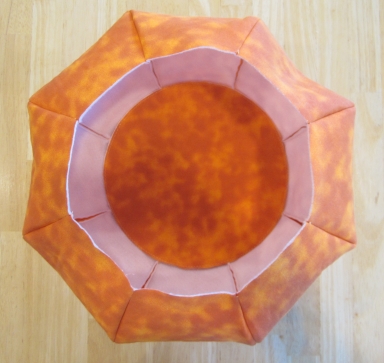
- Tack the base to the bottom of the bowl with a few hand stitches, without sewing all the way through to the outside of the pumpkin.
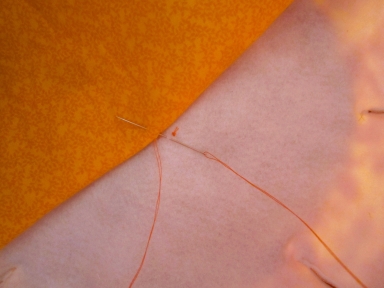
- Sew the bowl lining sections together the same way as the outside bowl (Steps 1-3). Do not turn the lining right side out.
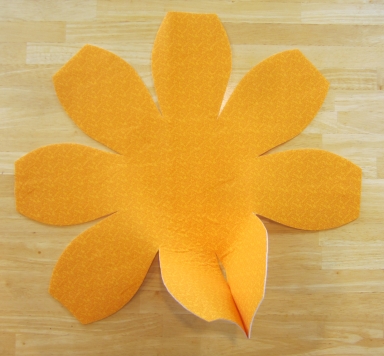
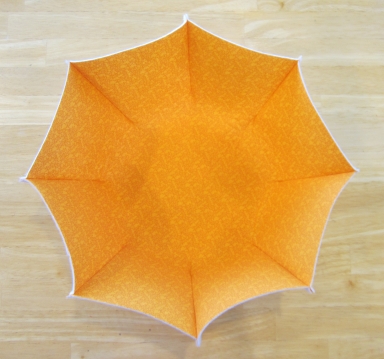
- Insert the lining bowl into the outside bowl.
- Fold the upper edges of the outside and the lining inward 1/2 inch, enclosing the raw edges.
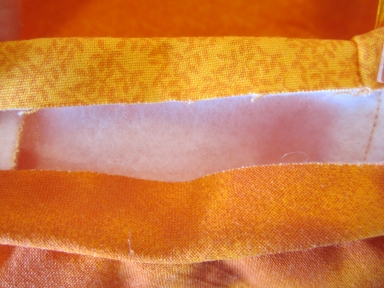
- Clip or pin the folded edges of the bowl and lining together. (Since the fabric is thick, you may find sewing clips easier to work with.)
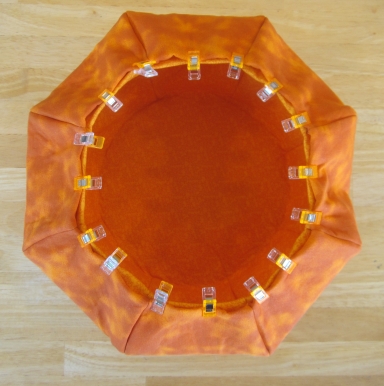
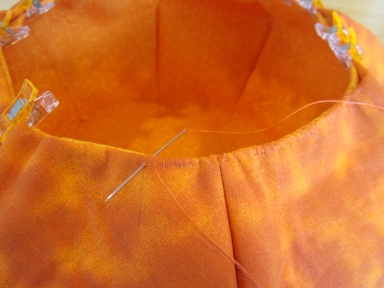
- Whipstitch the outside and lining layers together along the rim of the bowl using orange thread.
SEW THE PUMPKIN LID:
- Sew the sections of the outside lid right sides together the same way as the bowl.
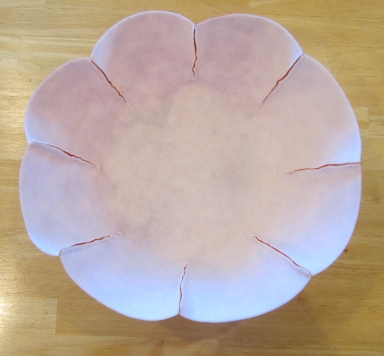
- Turn the lid right side out, pushing gently on the seams.
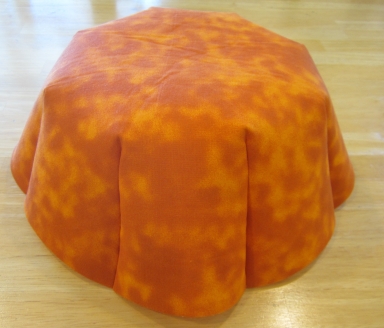
- Sew the sections of the lining lid right sides together, the same way. Do not turn the lining right side out.

- Insert the lining lid into the outside lid.
- Fold the upper edges of the outside inward 1/2 inch and the upper edges of the lining inward 3/4 inch so that the outside and lining edges line up with each other, enclosing the raw edges.
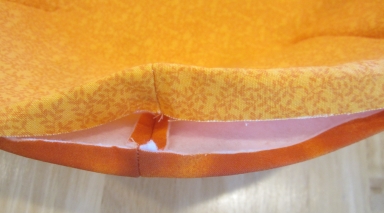
- Clip or pin the rim of the lid outside and the lid lining together.
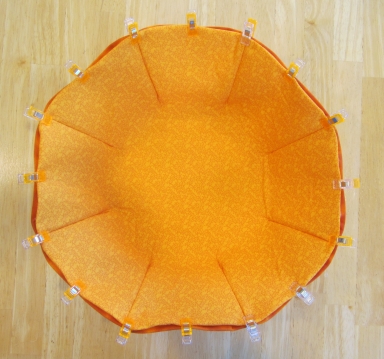
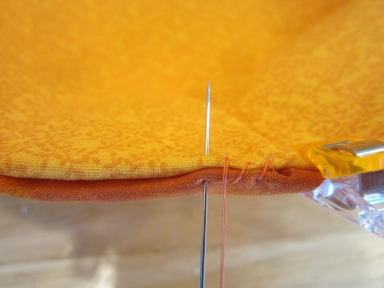
- Whipstitch the outside and lining layers together along the rim of the lid using orange thread.
MAKE AND ATTACH THE STEM:
- Cut 1 pumpkin stem and 1 stem top from green felt.
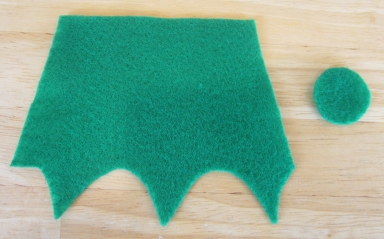
- Wrap the right side of the stem around to overlap the left side of the stem, so that it forms a tube with three points. Pin the overlapped edges together.
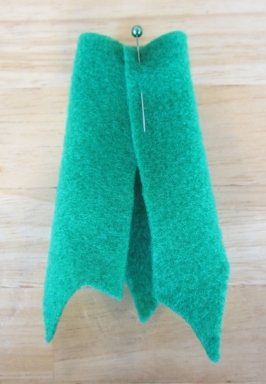
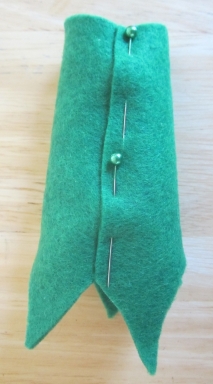
- Whipstitch the overlapped area using green thread, taking care not to stitch the stem shut.
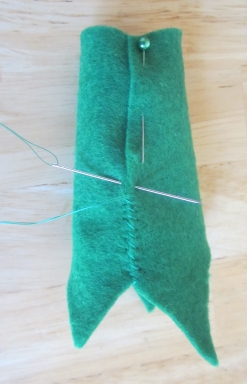
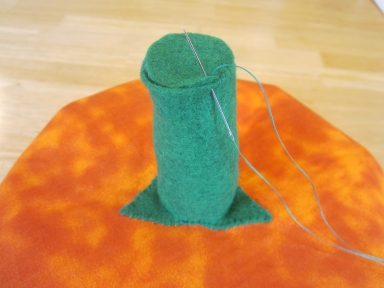
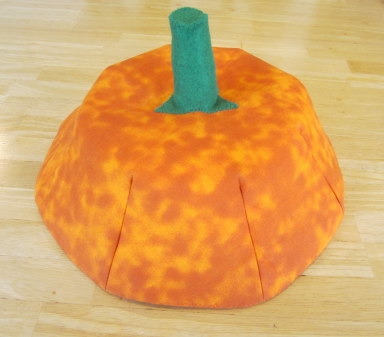
- Position the stem so that the points spread out at the bottom, then place it on the center of the outside pumpkin lid. Pin the stem to the lid.
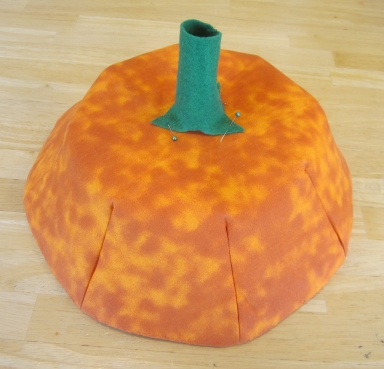
- Using green thread, whipstitch the lower edges of the stem to the top of the lid, catching only the outer layer of lid fabric. Take care not to stitch all the way through to the inside of the lid.
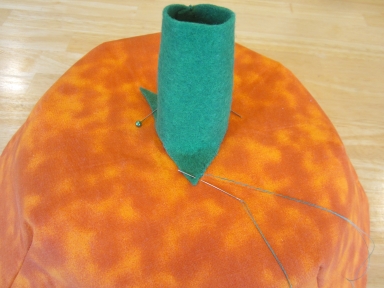
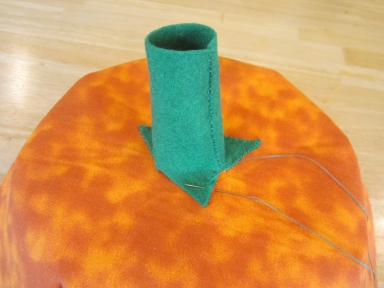
- Fill the stem with stuffing.
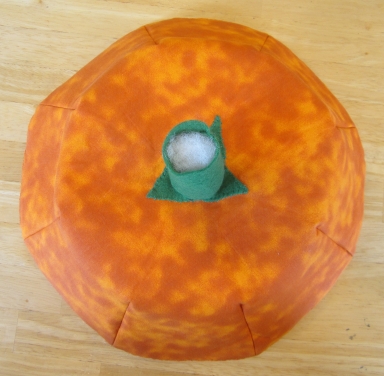
- Place the stem top over the stuffing, then whipstitch the stem top to the stem using green thread.
