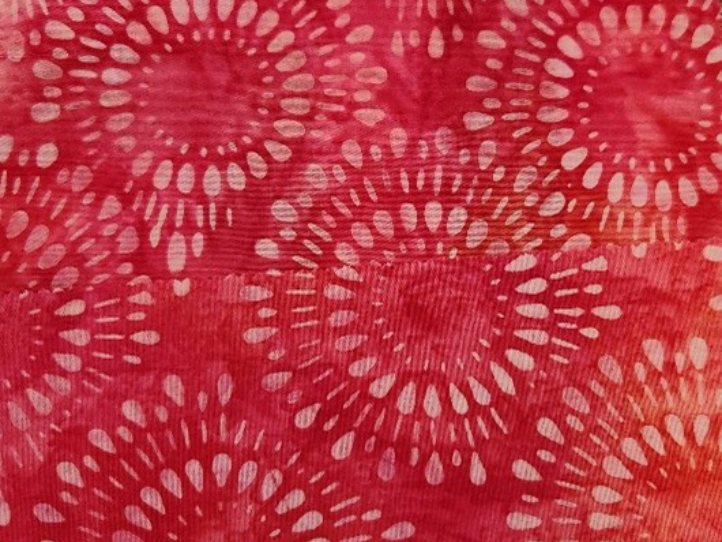
Matching prints, stripes and plaids is an important detail for achieving the most professional looking results in garments and home décor items sewn at home. This article contains tips for maximizing the appearance of your sewing projects.
In the information below, the word “prints” is used to refer to prints, plaids, stripes and dots.
Before cutting and sewing the project pieces, here are some characteristics of prints to ponder…
Consider Print Size and Spacing
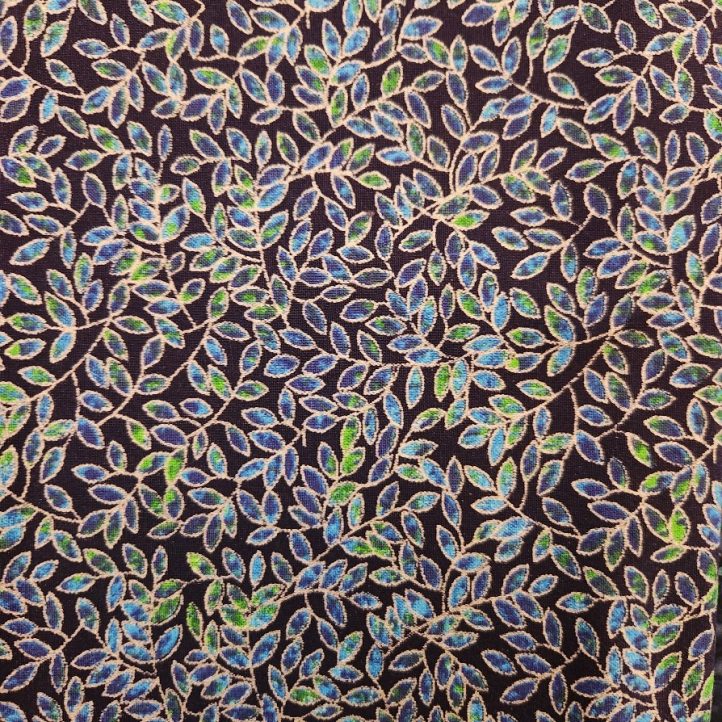
Photo provided by designer
For small all-over prints, there is no need to match prints and also no need to buy extra fabric for matching.
The small scale of the print makes it hard for the eye to pick up unmatched seams so the pattern pieces can be placed anywhere on the fabric and sewn together without mismatches seeming to occur.
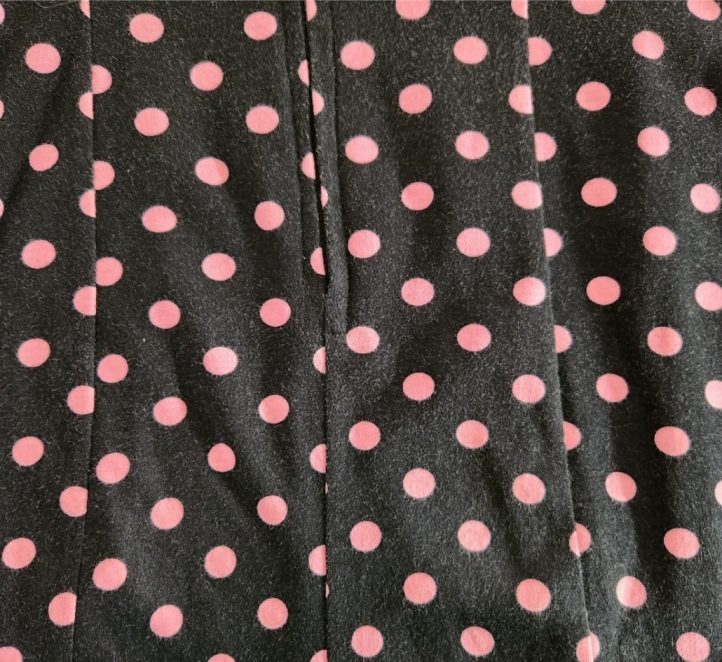
Photo provided by designer
For medium prints with some space between them, purchasing extra fabric for matching the prints is important.
Since the pattern pieces cannot be placed as closely as possible while cutting them out, extra fabric is needed to allow for room between the pattern pieces.
Buying the yardage listed on the pattern envelope for a “with nap” or “one way print” fabric will usually include sufficient yardage for matching prints.
Usually an extra half-yard to a yard would be enough for most garments.
For large scale prints and/or home décor fabrics, determine the print repeat first. Measure how far the distance is from the beginning of one motif (like a bunch of flowers) to where that same motif recurs. This is the print repeat (for example, 8 inches). Buy a few repeats worth of extra fabric so pattern pieces can be lined up with the start of a new repeat. In the example, four extra print repeats would require 4 x 8 in. = 32 in. or 1 extra yard.
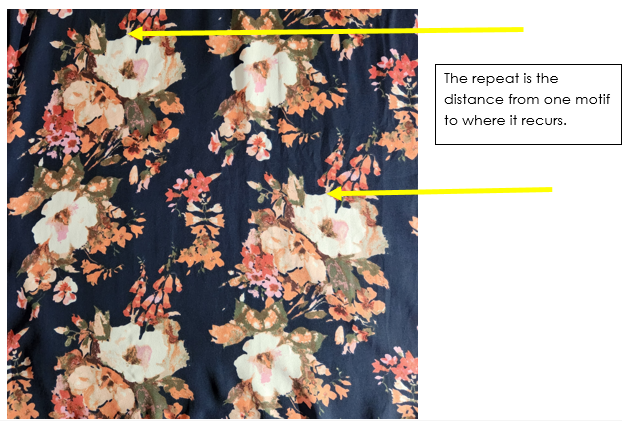
Photo provided by designer
Which Seams Should Match?
Before cutting out the fabric, analyze the garment and decide which seams are the most prominent. These have the highest priority for matching. For most garments, the order of importance is center front seam, center back seam, side seams, patch pockets and shoulder seams.
Seams where sleeves are attached or areas involving gathers or pleats are less noticeable or sometimes not even possible to match due to curves. Curved seams like princess seams may match in only some areas.
Notches: The Secret to Matching Prints
Commercial patterns contain notches on the pattern pieces to help align and match corresponding pattern pieces; for example, the right shirt front to the right shirt back, and to match prints.
The notches appear as small triangles in the seam allowance. When cutting out the pattern piece, cut out the triangles by going around them with the scissors. It’s important not to cut the notches off as they are useful for matching pattern pieces and matching prints.
Some notches are single (one triangle), others are double (two triangles connected) and some may be triple (three triangles).
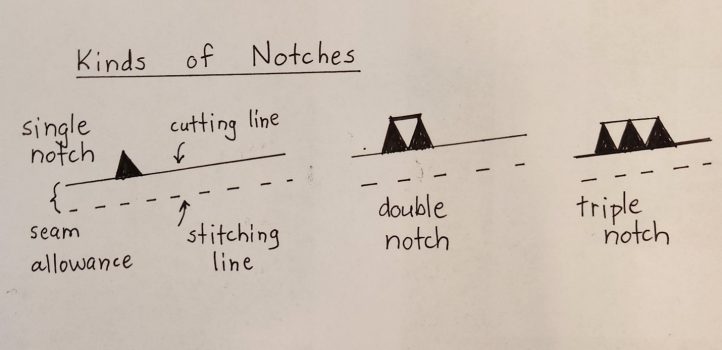
Diagram provided by designer
Other markings like dots or squares are helpful aligners, too. These can be marked with either a fabric marking pen, or with a small snip into the seam allowance.
How to Use Notches for Matching Prints
The notches are in pairs, with the notch on one pattern piece matching the corresponding notch on another piece; for example, notches at the shoulder seams.
To match prints easily, place a pattern piece on the fabric, noting where the notch closest to the top of the piece lines up with the print.
Place the corresponding pattern piece with its notch closest to the top aligned to the same place on the print. This will ensure these pattern pieces are cut from the same area of the print and the various seams will match.
Here are picture examples of matching a prominent print:
This medium size print needs to be matched at major seams.
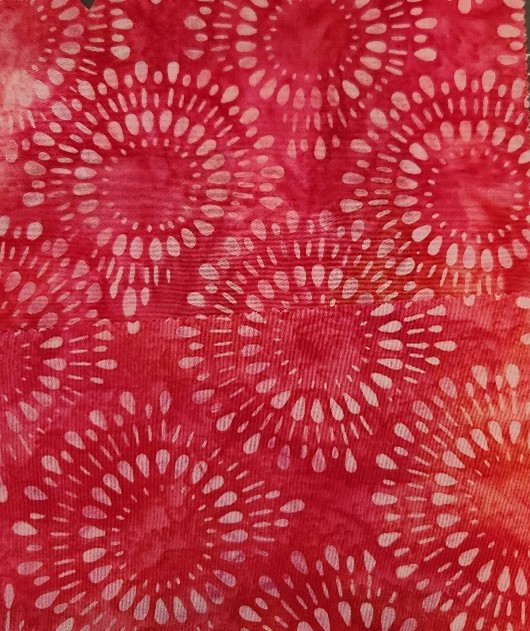
Photo provided by designer
Place the pattern pieces so the top notch (in this case, at the shoulder seam) is lined up with the same part of the print for each pattern piece to be matched. In the example, it is aligned with the top of one of the printed circle motifs.
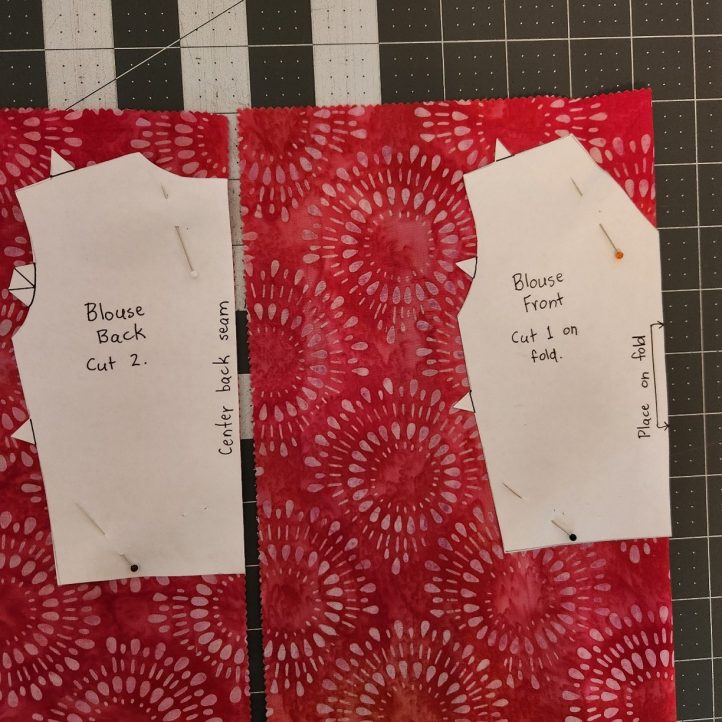
Photo provided by designer
Cut out the pieces, carefully cutting around the notches.
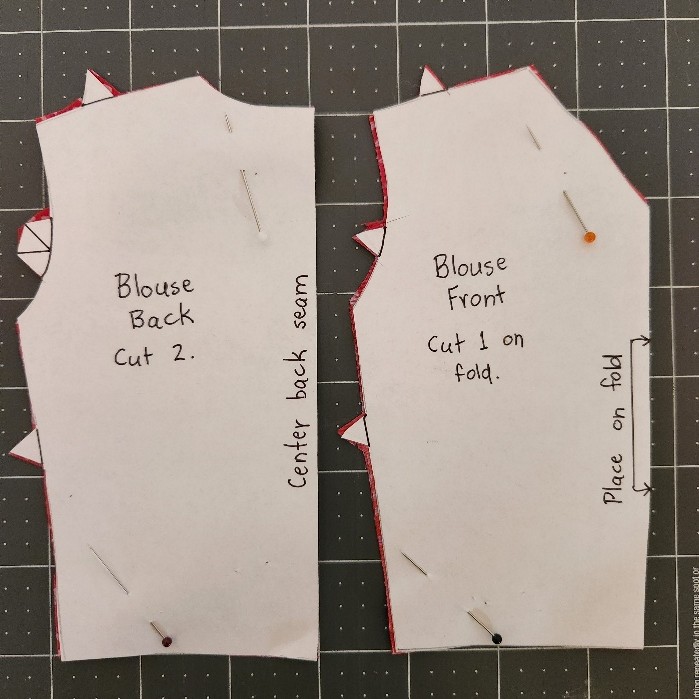
Photo provided by designer
When opened out, it is seen that the motifs line up horizontally, and when the side seam is sewn, the prints will be lined up correctly (the yellow arrow indicates horizontal alignment).
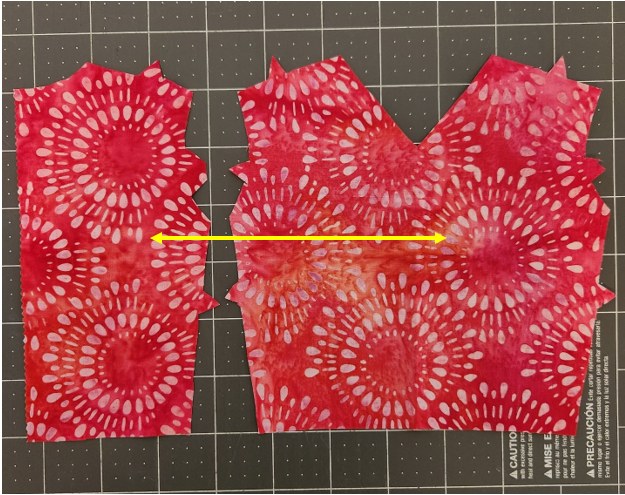
Photo provided by designer
This concept is followed for any plaids, stripes, dots or other noticeable print that repeats. Corresponding notches are placed in the same location on the print.
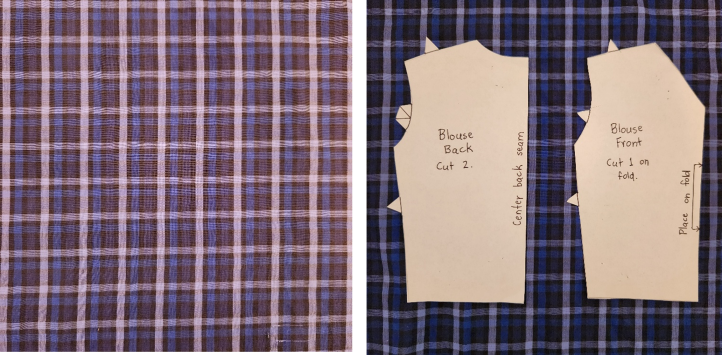
Photo provided by designer
Creating Notches Where Needed
If the pattern being used does not have notches because it is homemade, being printed or drafted on paper, you can easily create your own notches.
Measure a distance from the end of a seam, for example, along the shirt front shoulder seam, 2 inches in from the shoulder point. Draw a notch there on the pattern piece.
Next, measure the same amount on the matching pattern piece, for example, along the shirt back shoulder seam 2 inches in from the shoulder point. Draw this notch. Use the notches as described above to place the pattern pieces on the same print areas so the print will match correctly.
Matching Stripes
Stripes are a little easier to work with since they run continuously up and down. Vertical stripes do not need to be matched at the center front, center back or side seams. When working with stripes, the most noticeable seams to match are the shoulder seams, waistline seams, patch pockets and any other details that require vertical continuity.
Matching Prints Increases Quality
Taking the time to match prints in home-sewn garments or home décor items ensures the finished project looks professional while maximizing quality!

Do have access to Primitive Quilting back issues?
Hi Mary! Primitive Quilting is a different publication. If you are interested in back issues of their magazine, please reach out to their customer service. Thanks so much! – Ashley, We Like Sewing