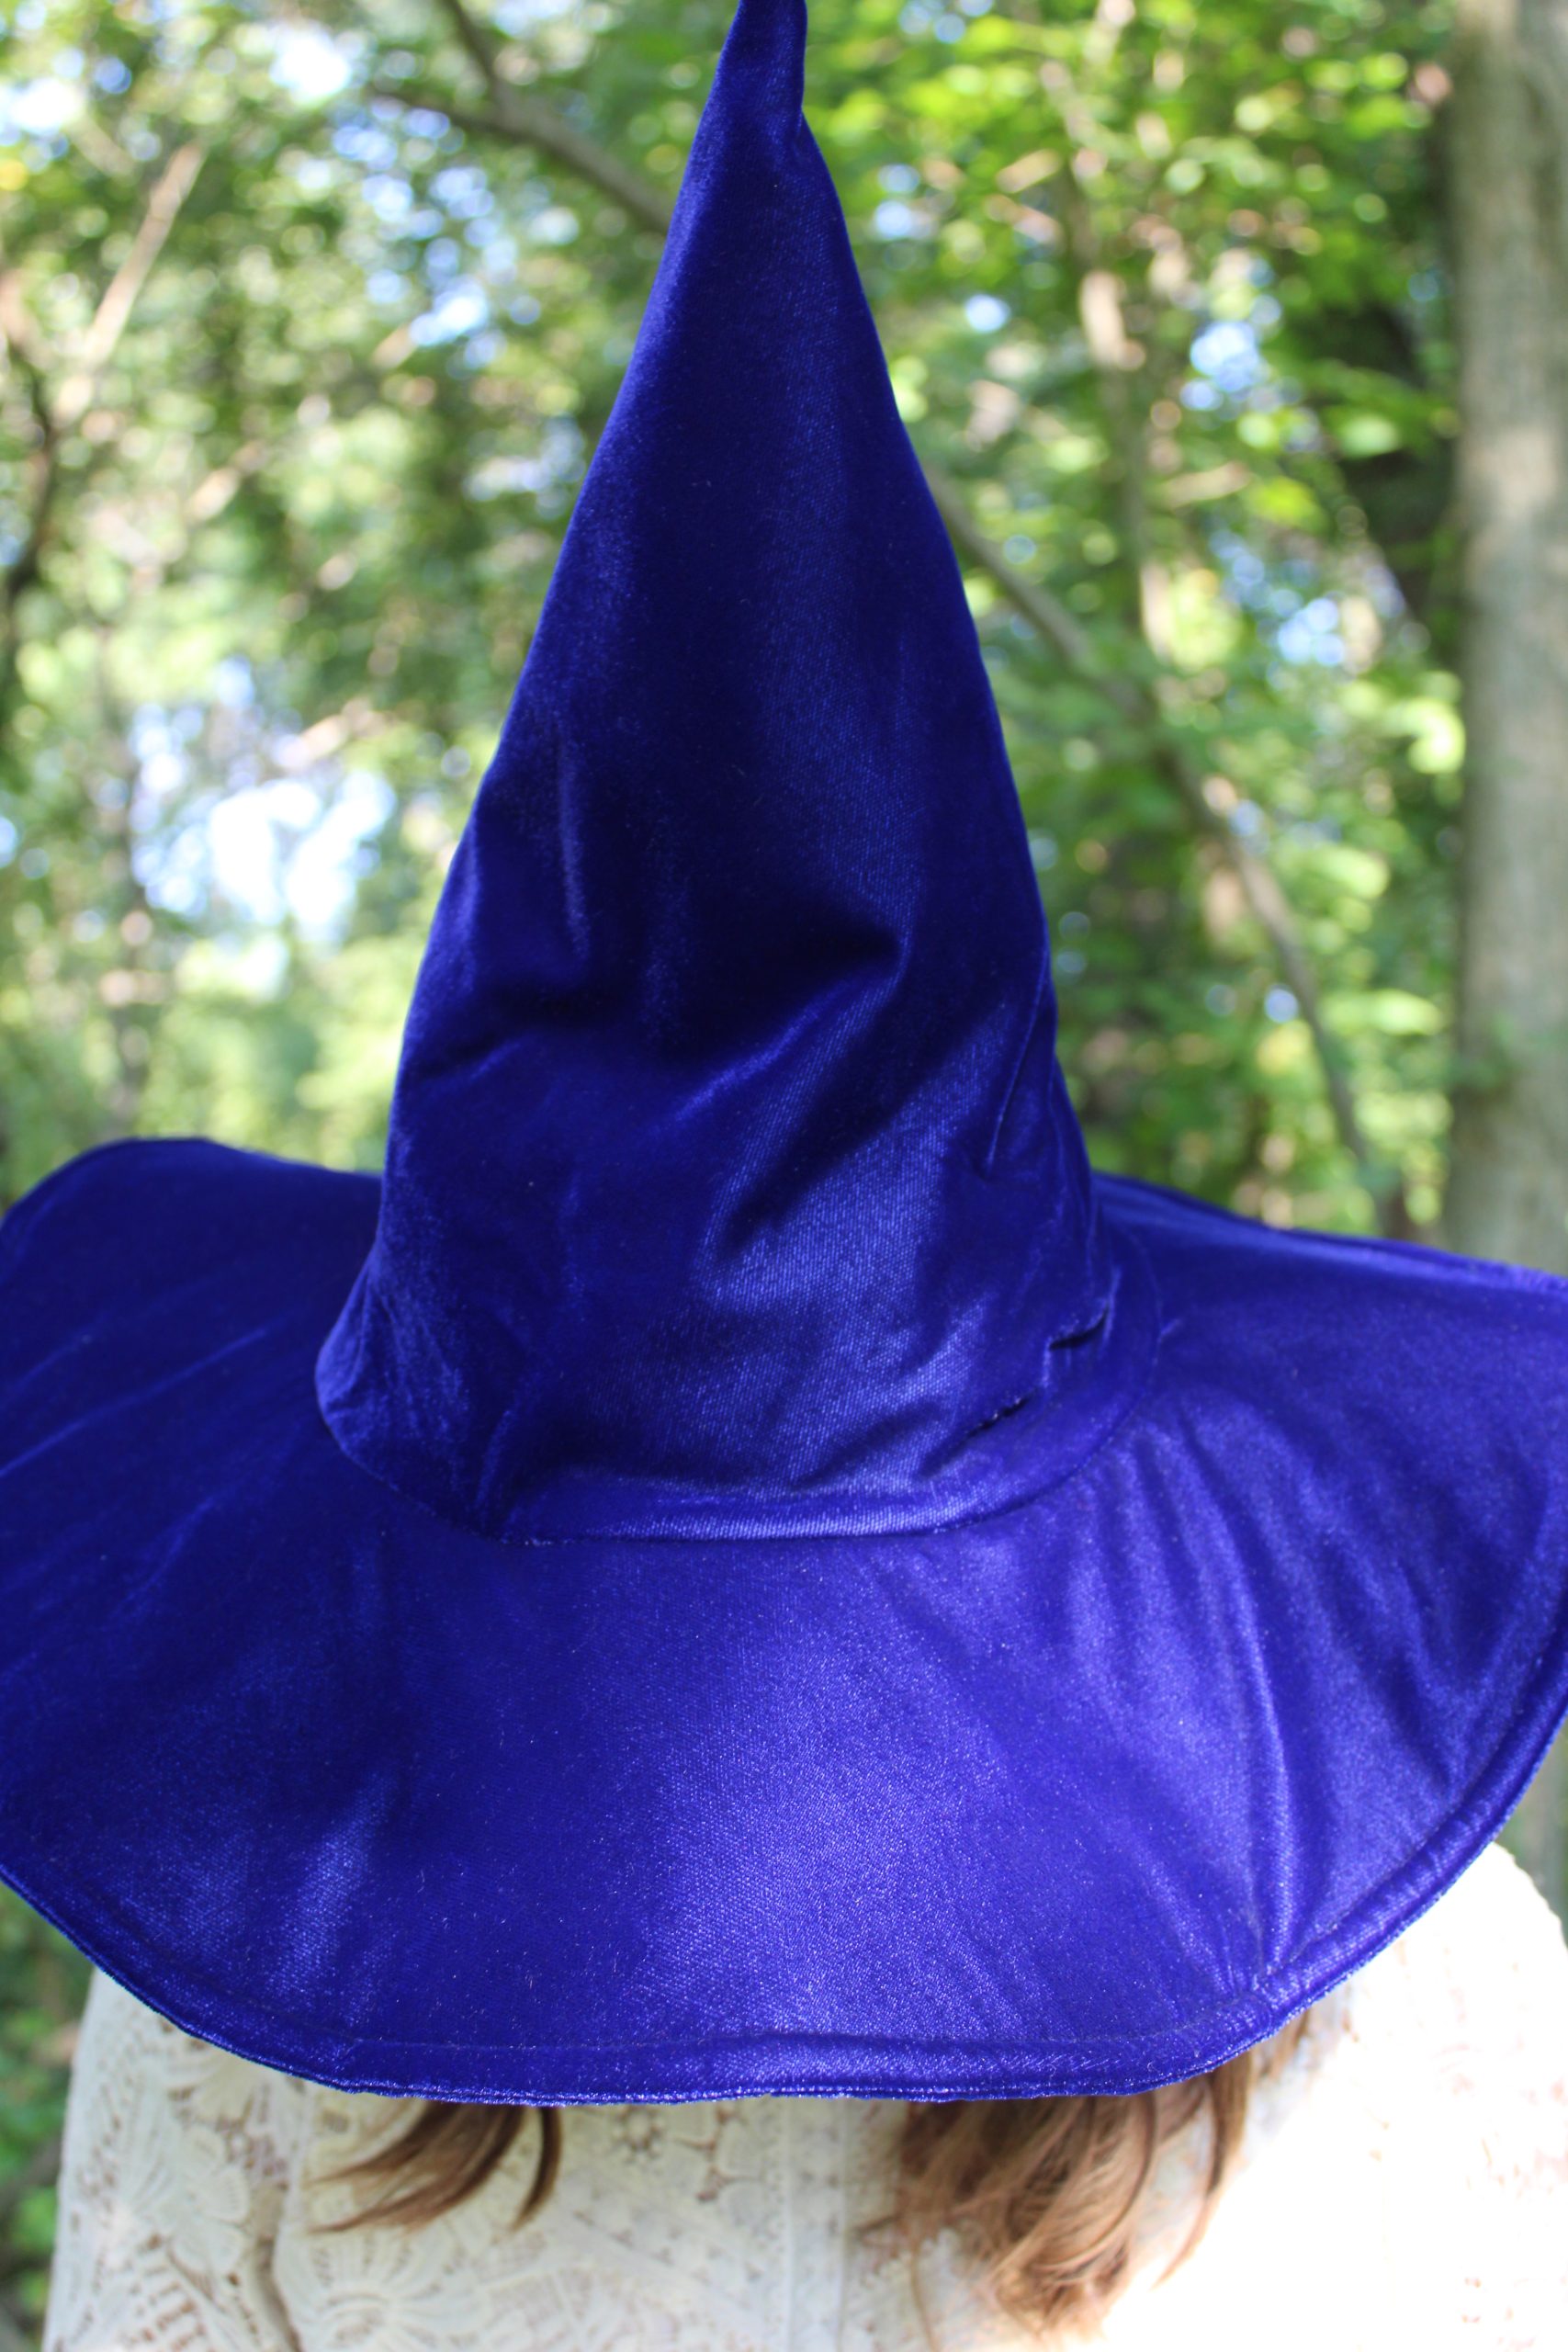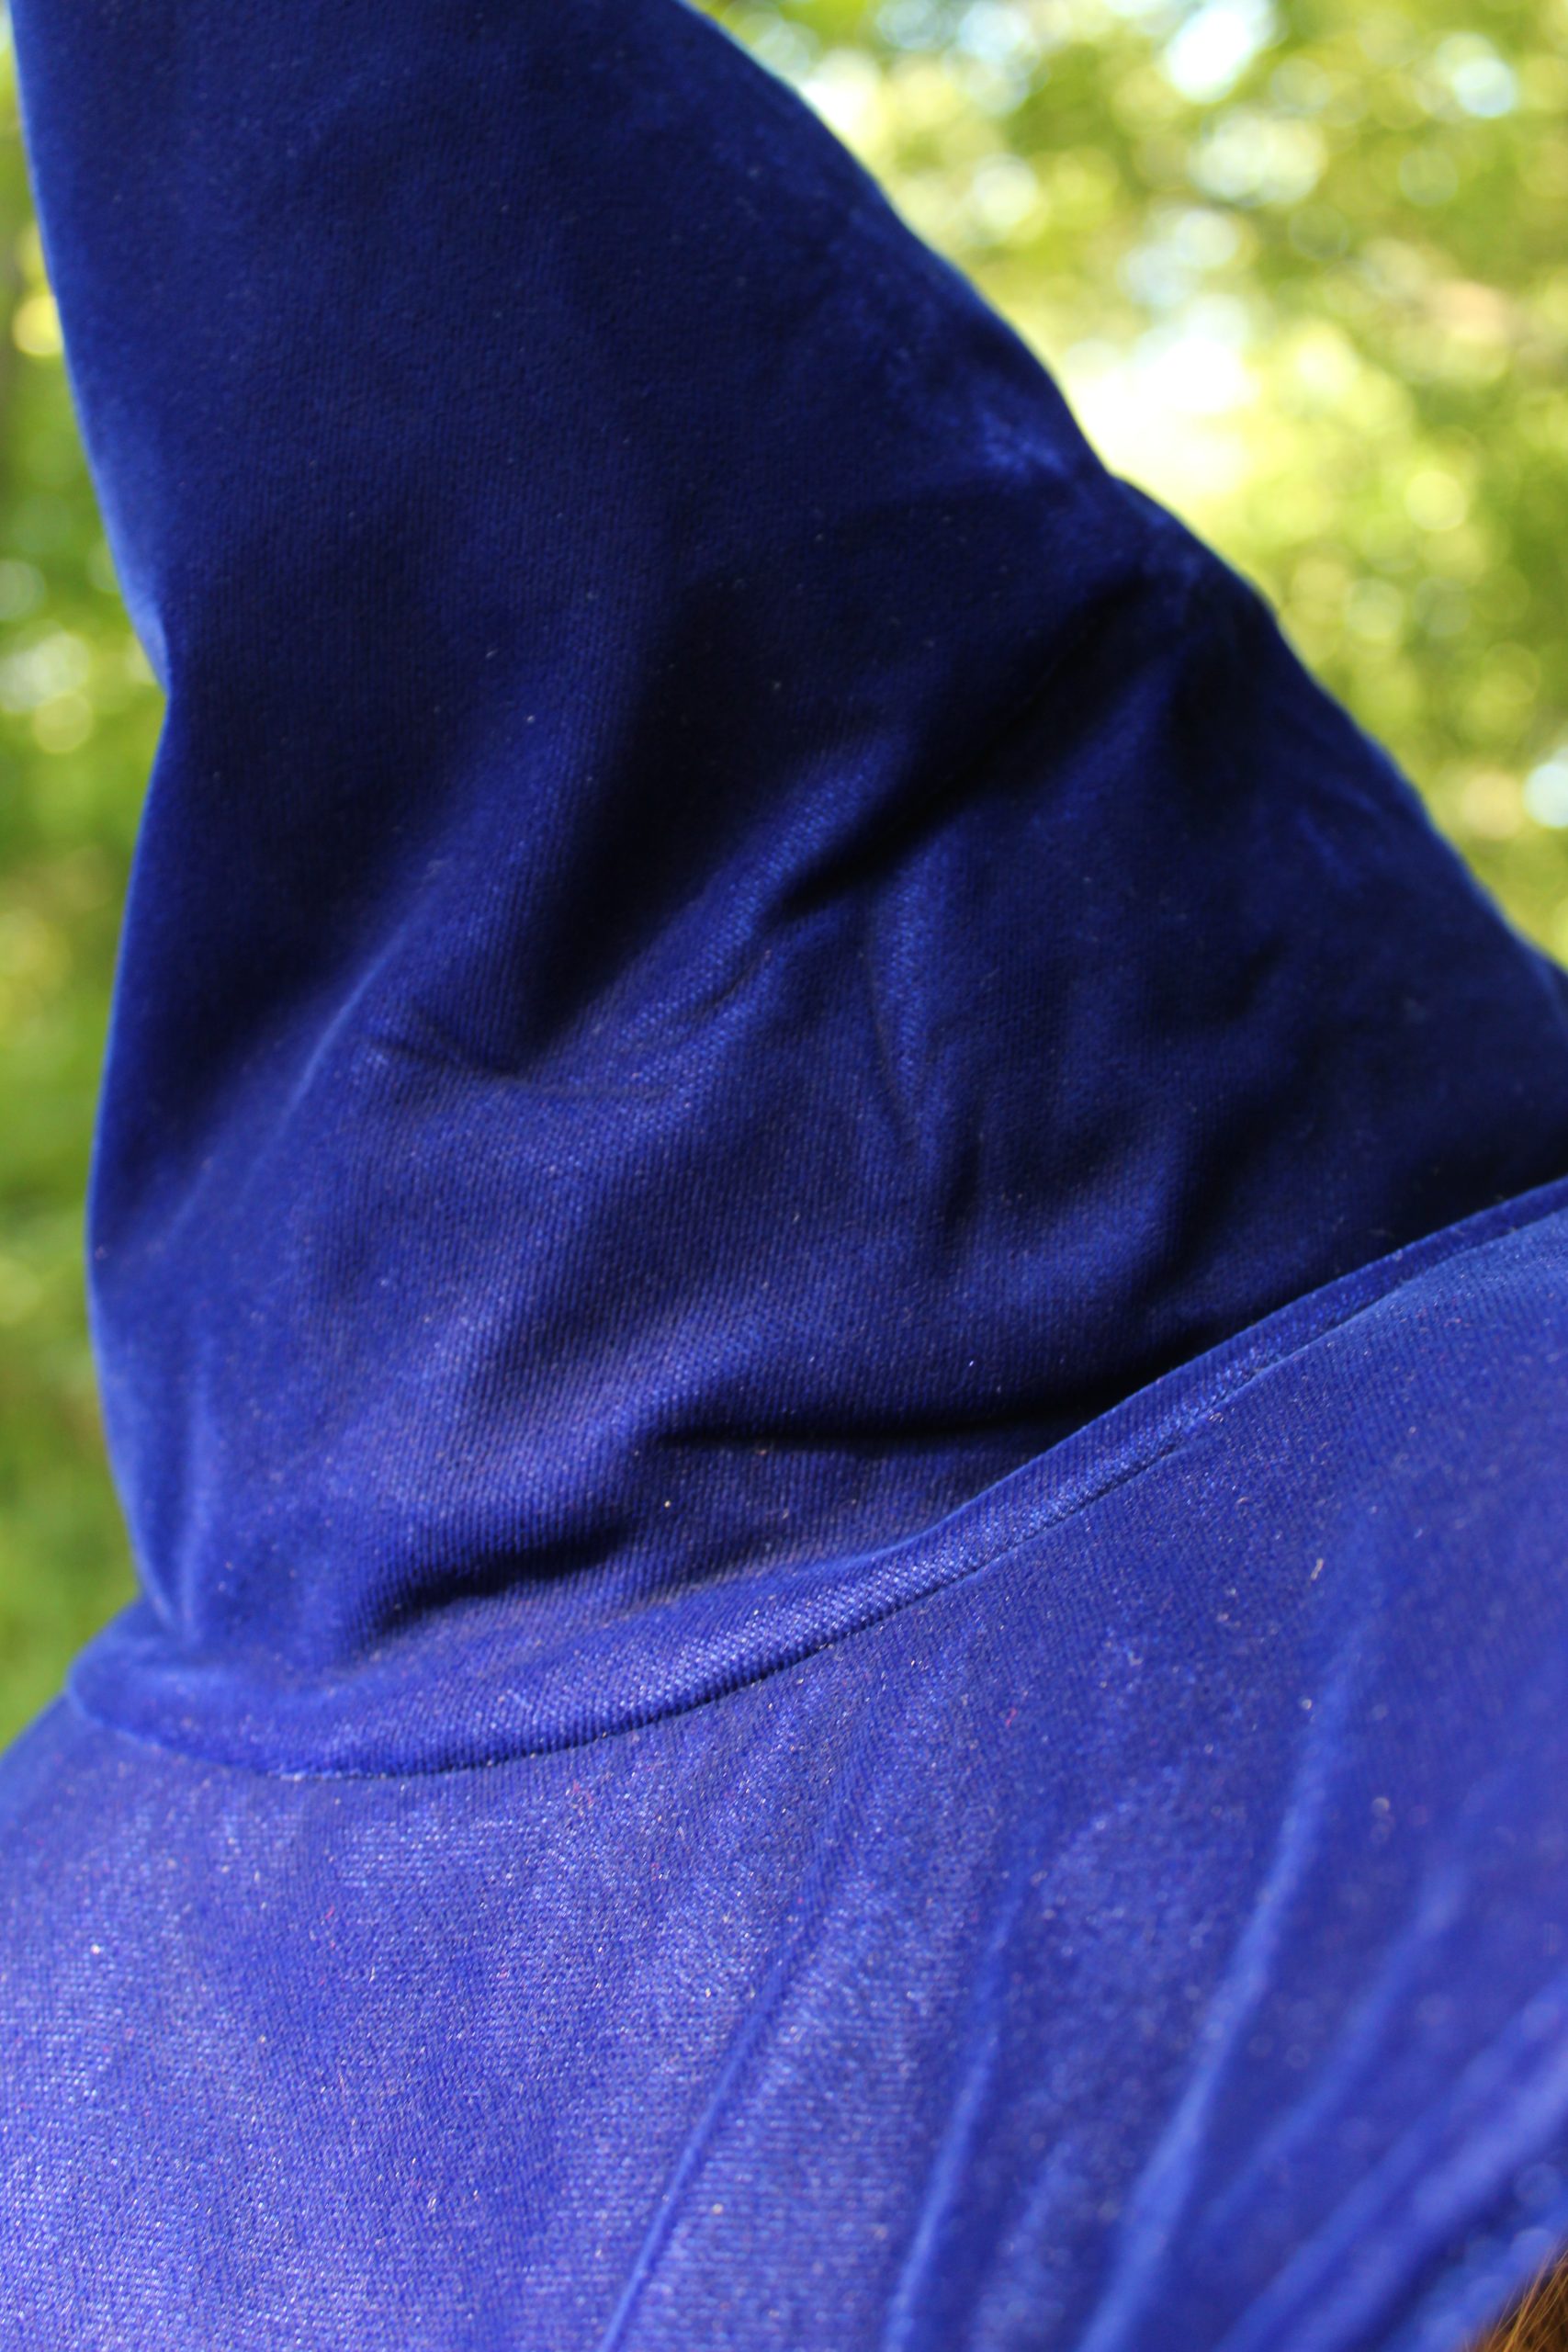
Something fabulous this way comes! Design a beautiful, classic witch hat for you and your mini with this Halloween sewing pattern from Sophie Tarrant. Featuring both child and adult patterns, this witch hat pattern keeps its structure with interfacing and bag stabilizer, so that your witch hat is always on point. Forget about cheap costumes from big box stores and design your own witch hat that you can wear for Halloweens to come.
Skill Level: Beginner
Designer Notes: Don’t Slip! Velvet can be slippery to sew, especially when layering multiple pieces. Try using quilting clips instead of pins to hold the layers in place – they grip more securely and won’t leave marks in the fabric’s pile.
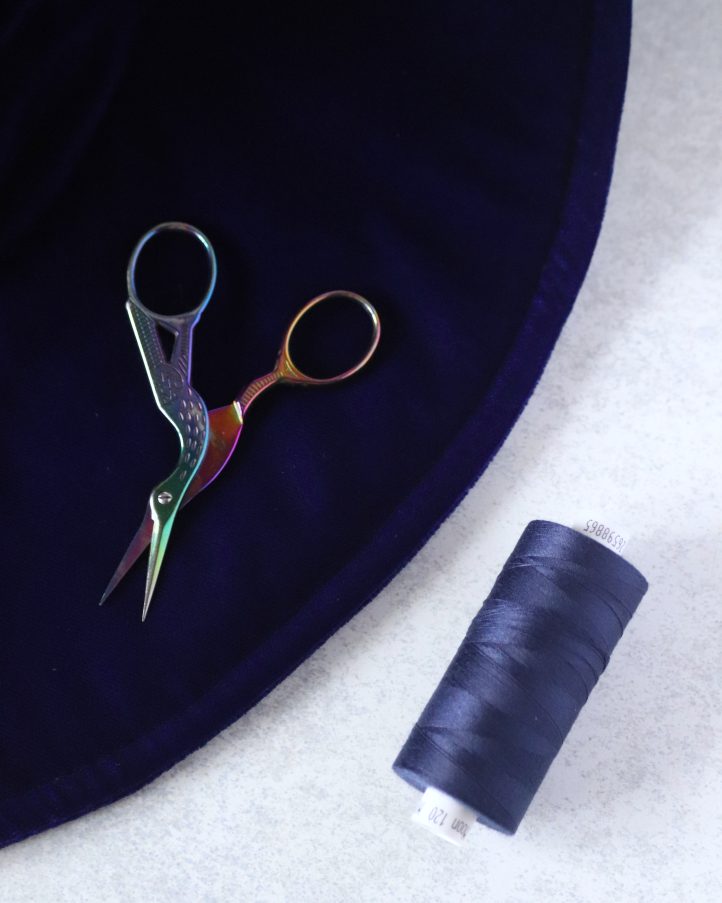
Materials:
- Fabric: Purple velvet, 1-1/2 yards
- Medium-weight fusible interfacing, one yard
- Bag stabilizer, one yard
- Thread: Purple
- PDF Templates – These are located at the bottom of this page. See printing instructions below.
Tools:
- Rotary cutter and cutting mat
- Dressmaker’s chalk
- Pins
- Sewing clips
- Sewing machine
- Hand sewing needle and thread
- Iron
- Tape
PRINTING INSTRUCTIONS:
To download the PDF templates, click on the download button at the bottom of the page. We recommend opening your download using Adobe Acrobat.
Sewing Instructions:
- Start by downloading and printing the pattern templates. We’ve provided sizes for both adults and children – but you can easily scale the patterns up or down to suit. Back your velvet fabric with fusible interfacing, then cut out two cone pieces. Next, cut one brim piece from the bag stabilizer, and two from the backed velvet.
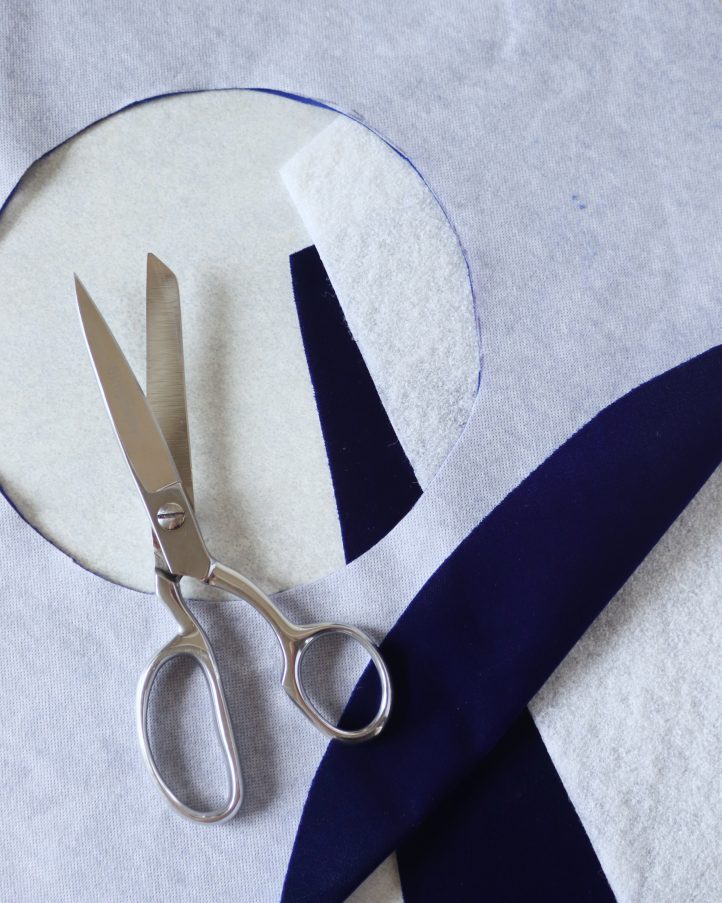
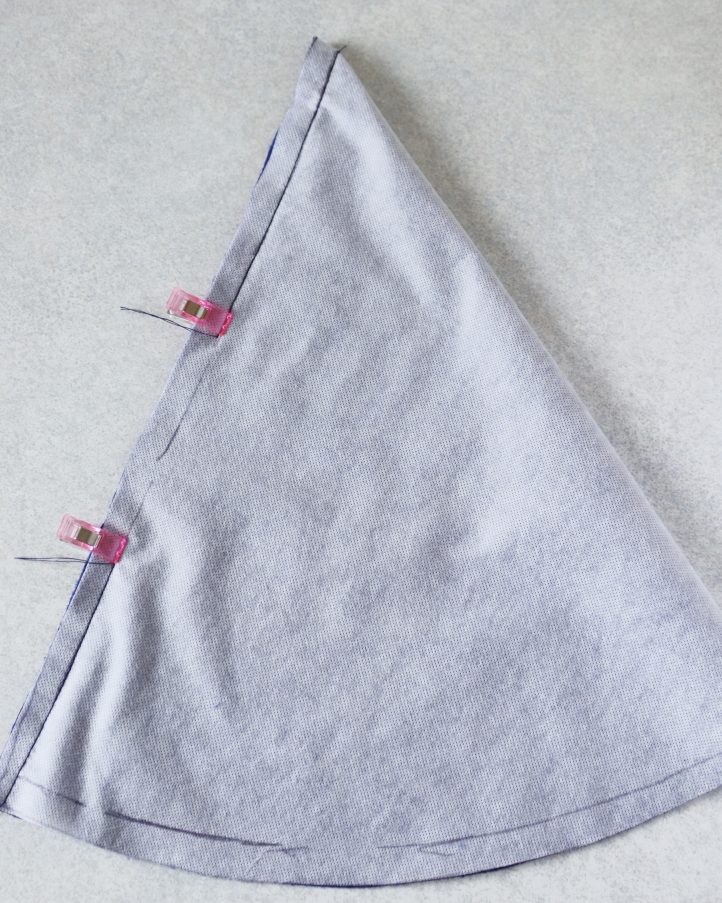
- Take one of your cone pieces and fold it in half with right sides facing, bringing the two straight edges together. Pin or clip down this edge, then machine sew it, leaving a 1/2” seam allowance. Repeat to sew the second cone in the same way, this time leaving a 3” gap in the middle of the seam – this will be used for turning the hat out later. Press the seam open, then turn both cones right sides out.
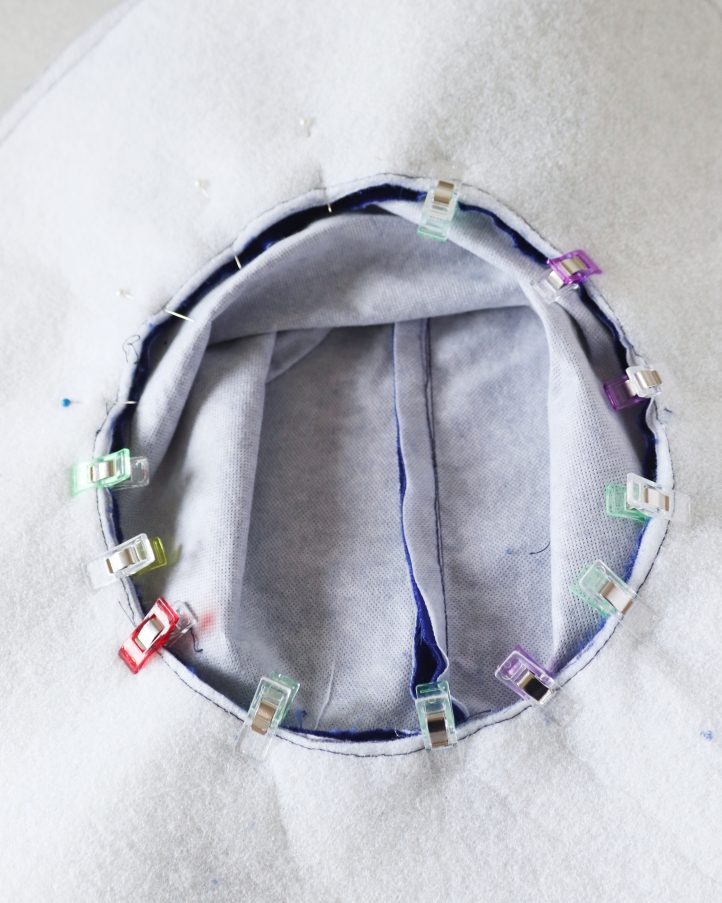
- Place the stabilizer brim together with one of the velvet brim pieces, with the right side of the velvet facing out. Stitch around the inner edge with a 1/4” seam allowance—this is now your outer brim. The second velvet piece will be your brim lining. With right sides facing, pin or clip each brim piece around the bottom edge of one of the stitched cones, matching the outer and lining pieces together. Stitch all the way around to attach them, using a 1/2” seam allowance. Snip into the curve of the seam to help the fabric turn out neatly.
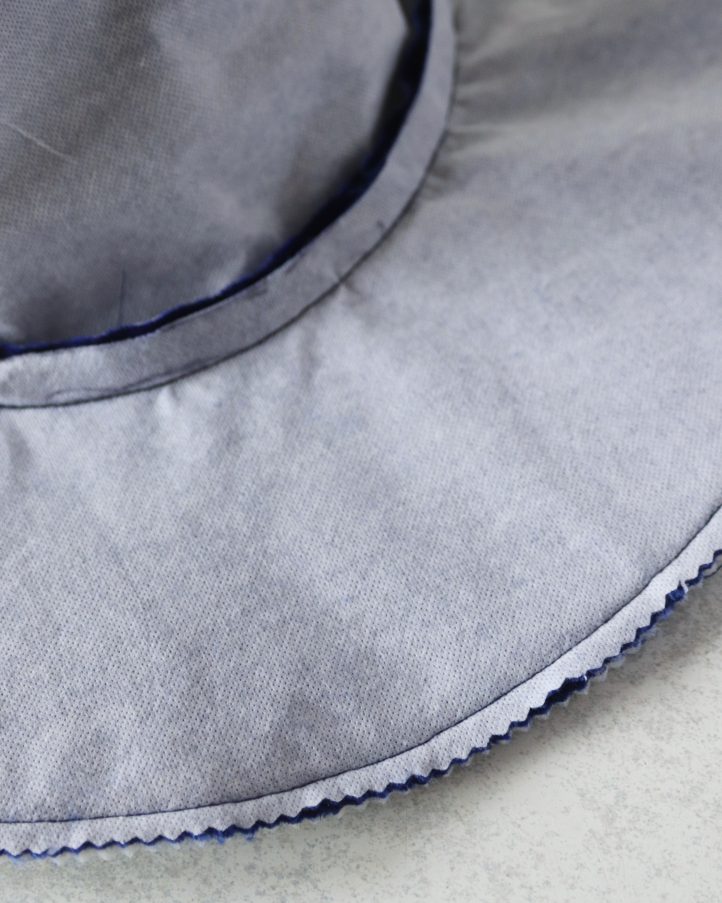
- Slide the lining hat over the outer hat, with right sides together. Match the seams neatly, then clip or pin all the way around the outer edge of the brim. Stitch around the edge through all layers, again using a 1/2” seam allowance. As before, clip into the curve of the seam to help it sit flat when turned.
- Turn the hat right sides out through the gap in the lining, making sure to fully turn out the edge of the brim and the point of the cone. Hand stitch the gap closed. Finish the hat by top-stitching around the outer edge of the brim with a 1/4” seam allowance.
