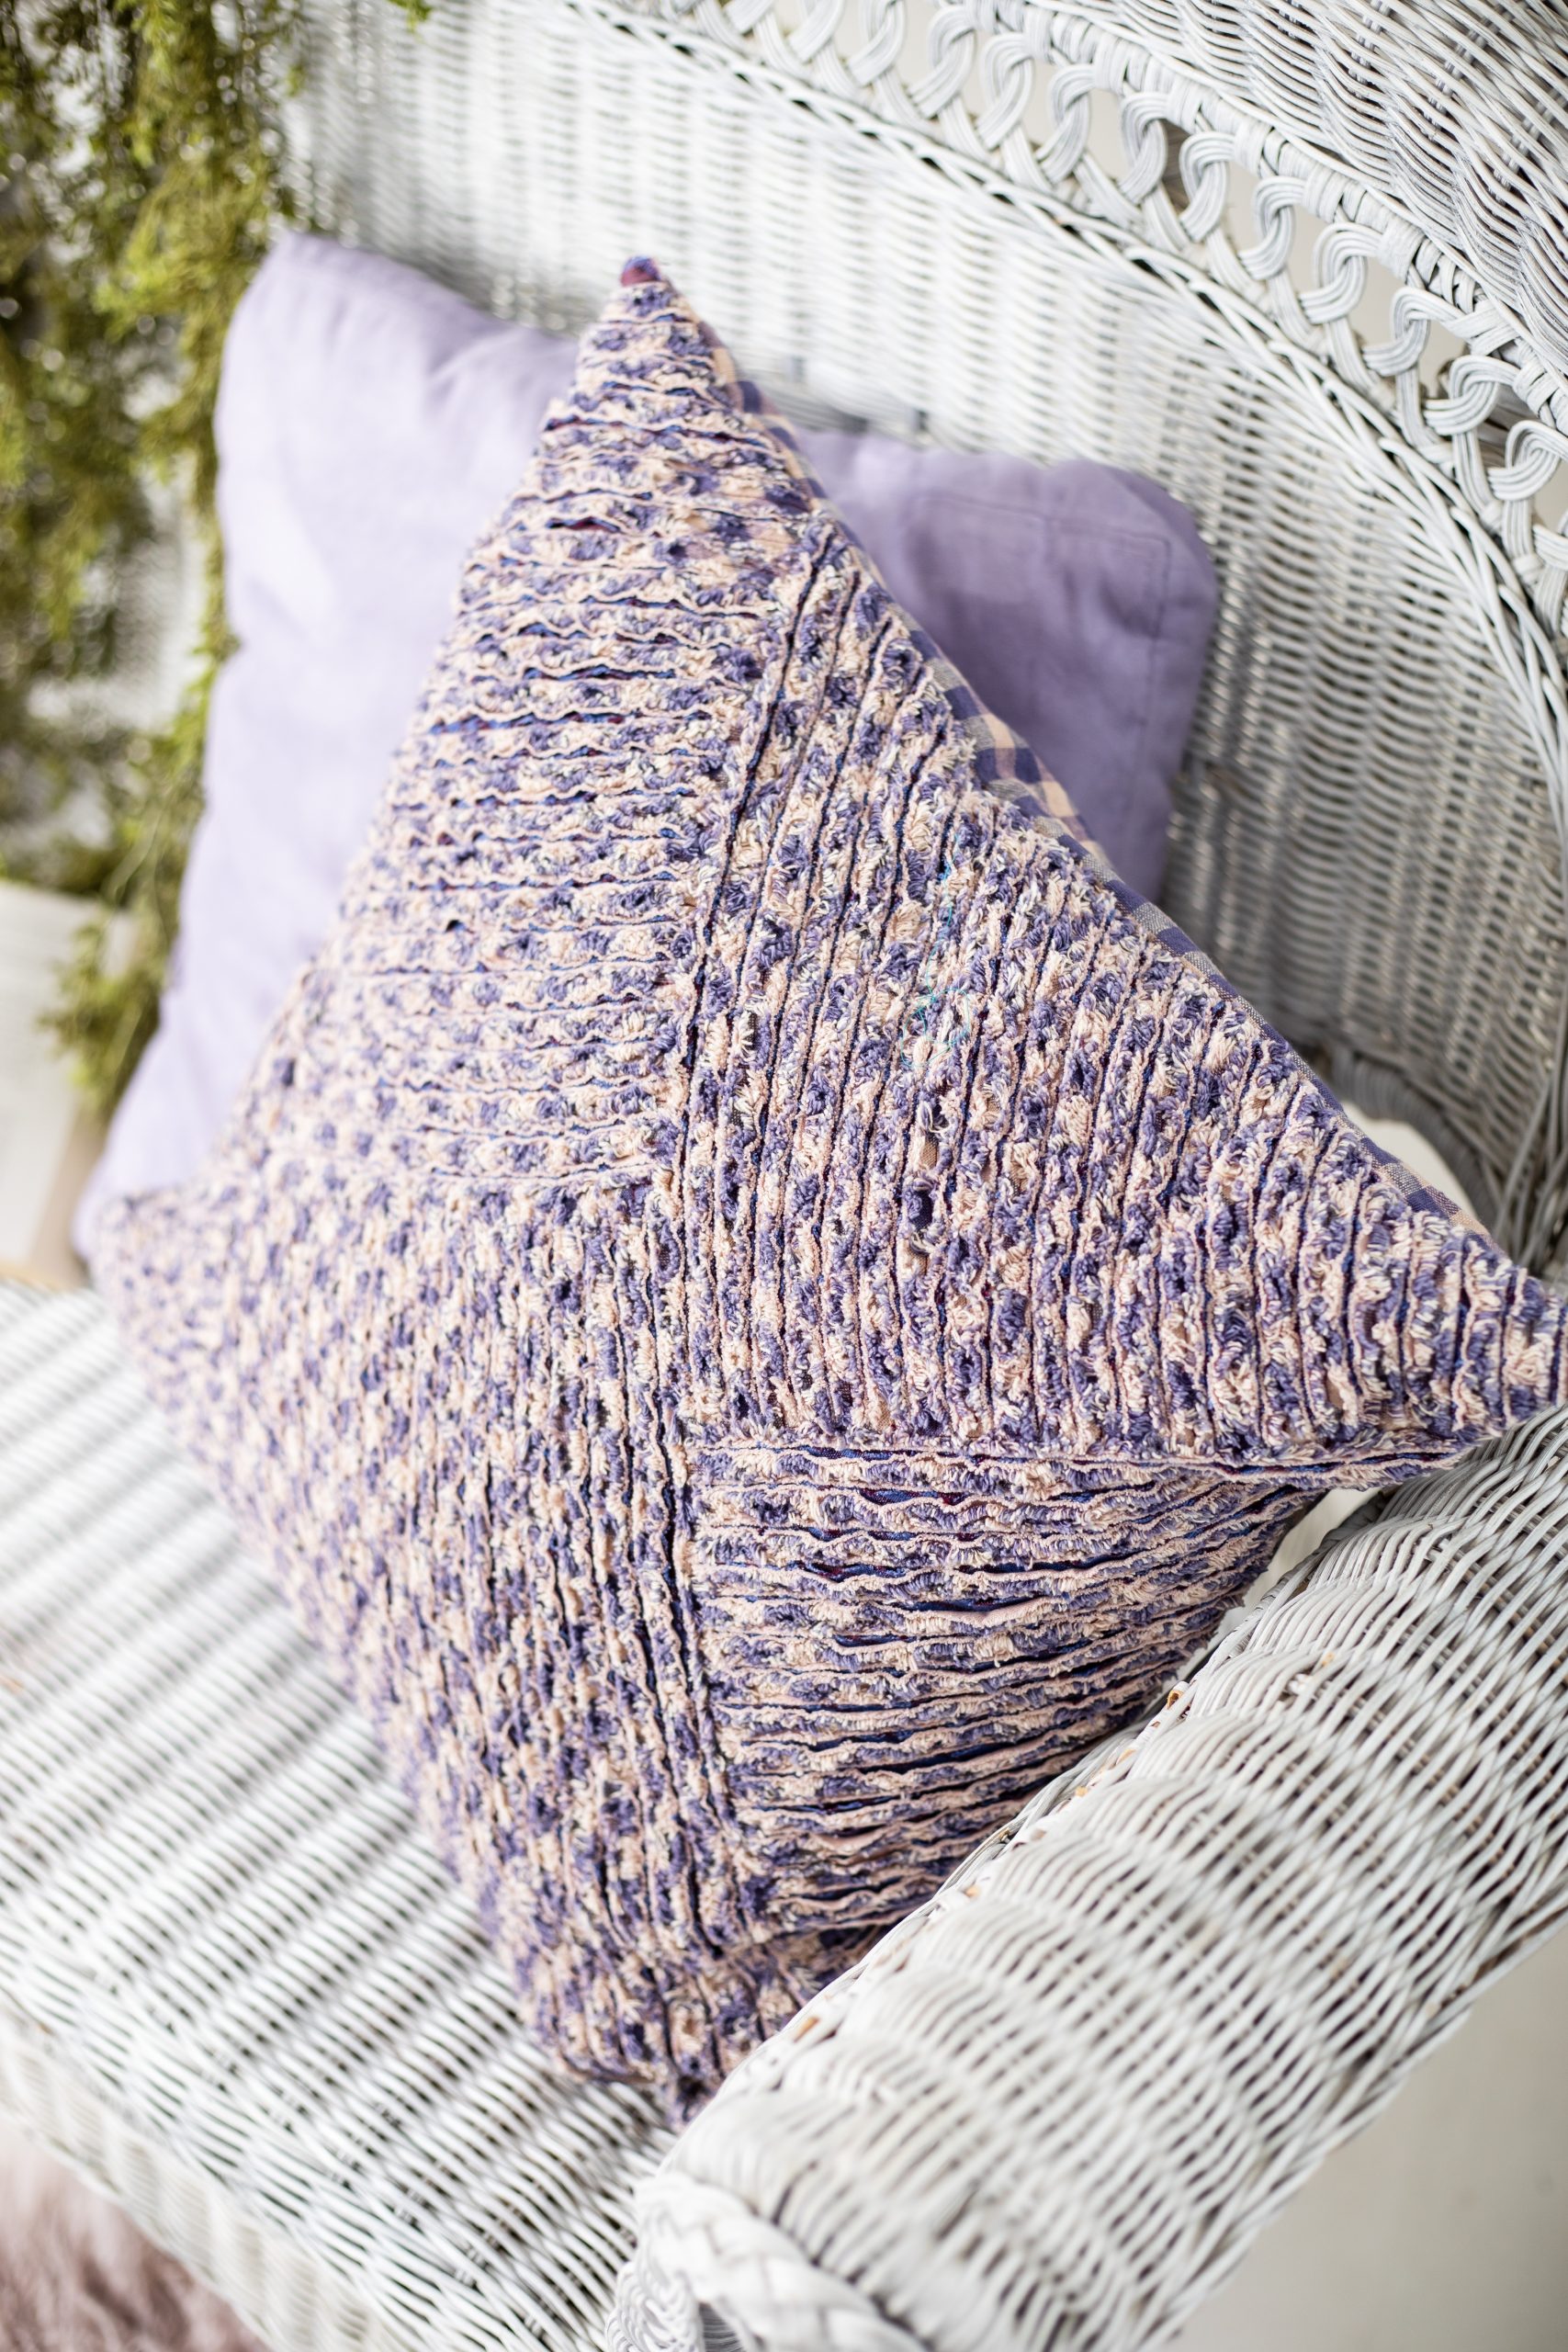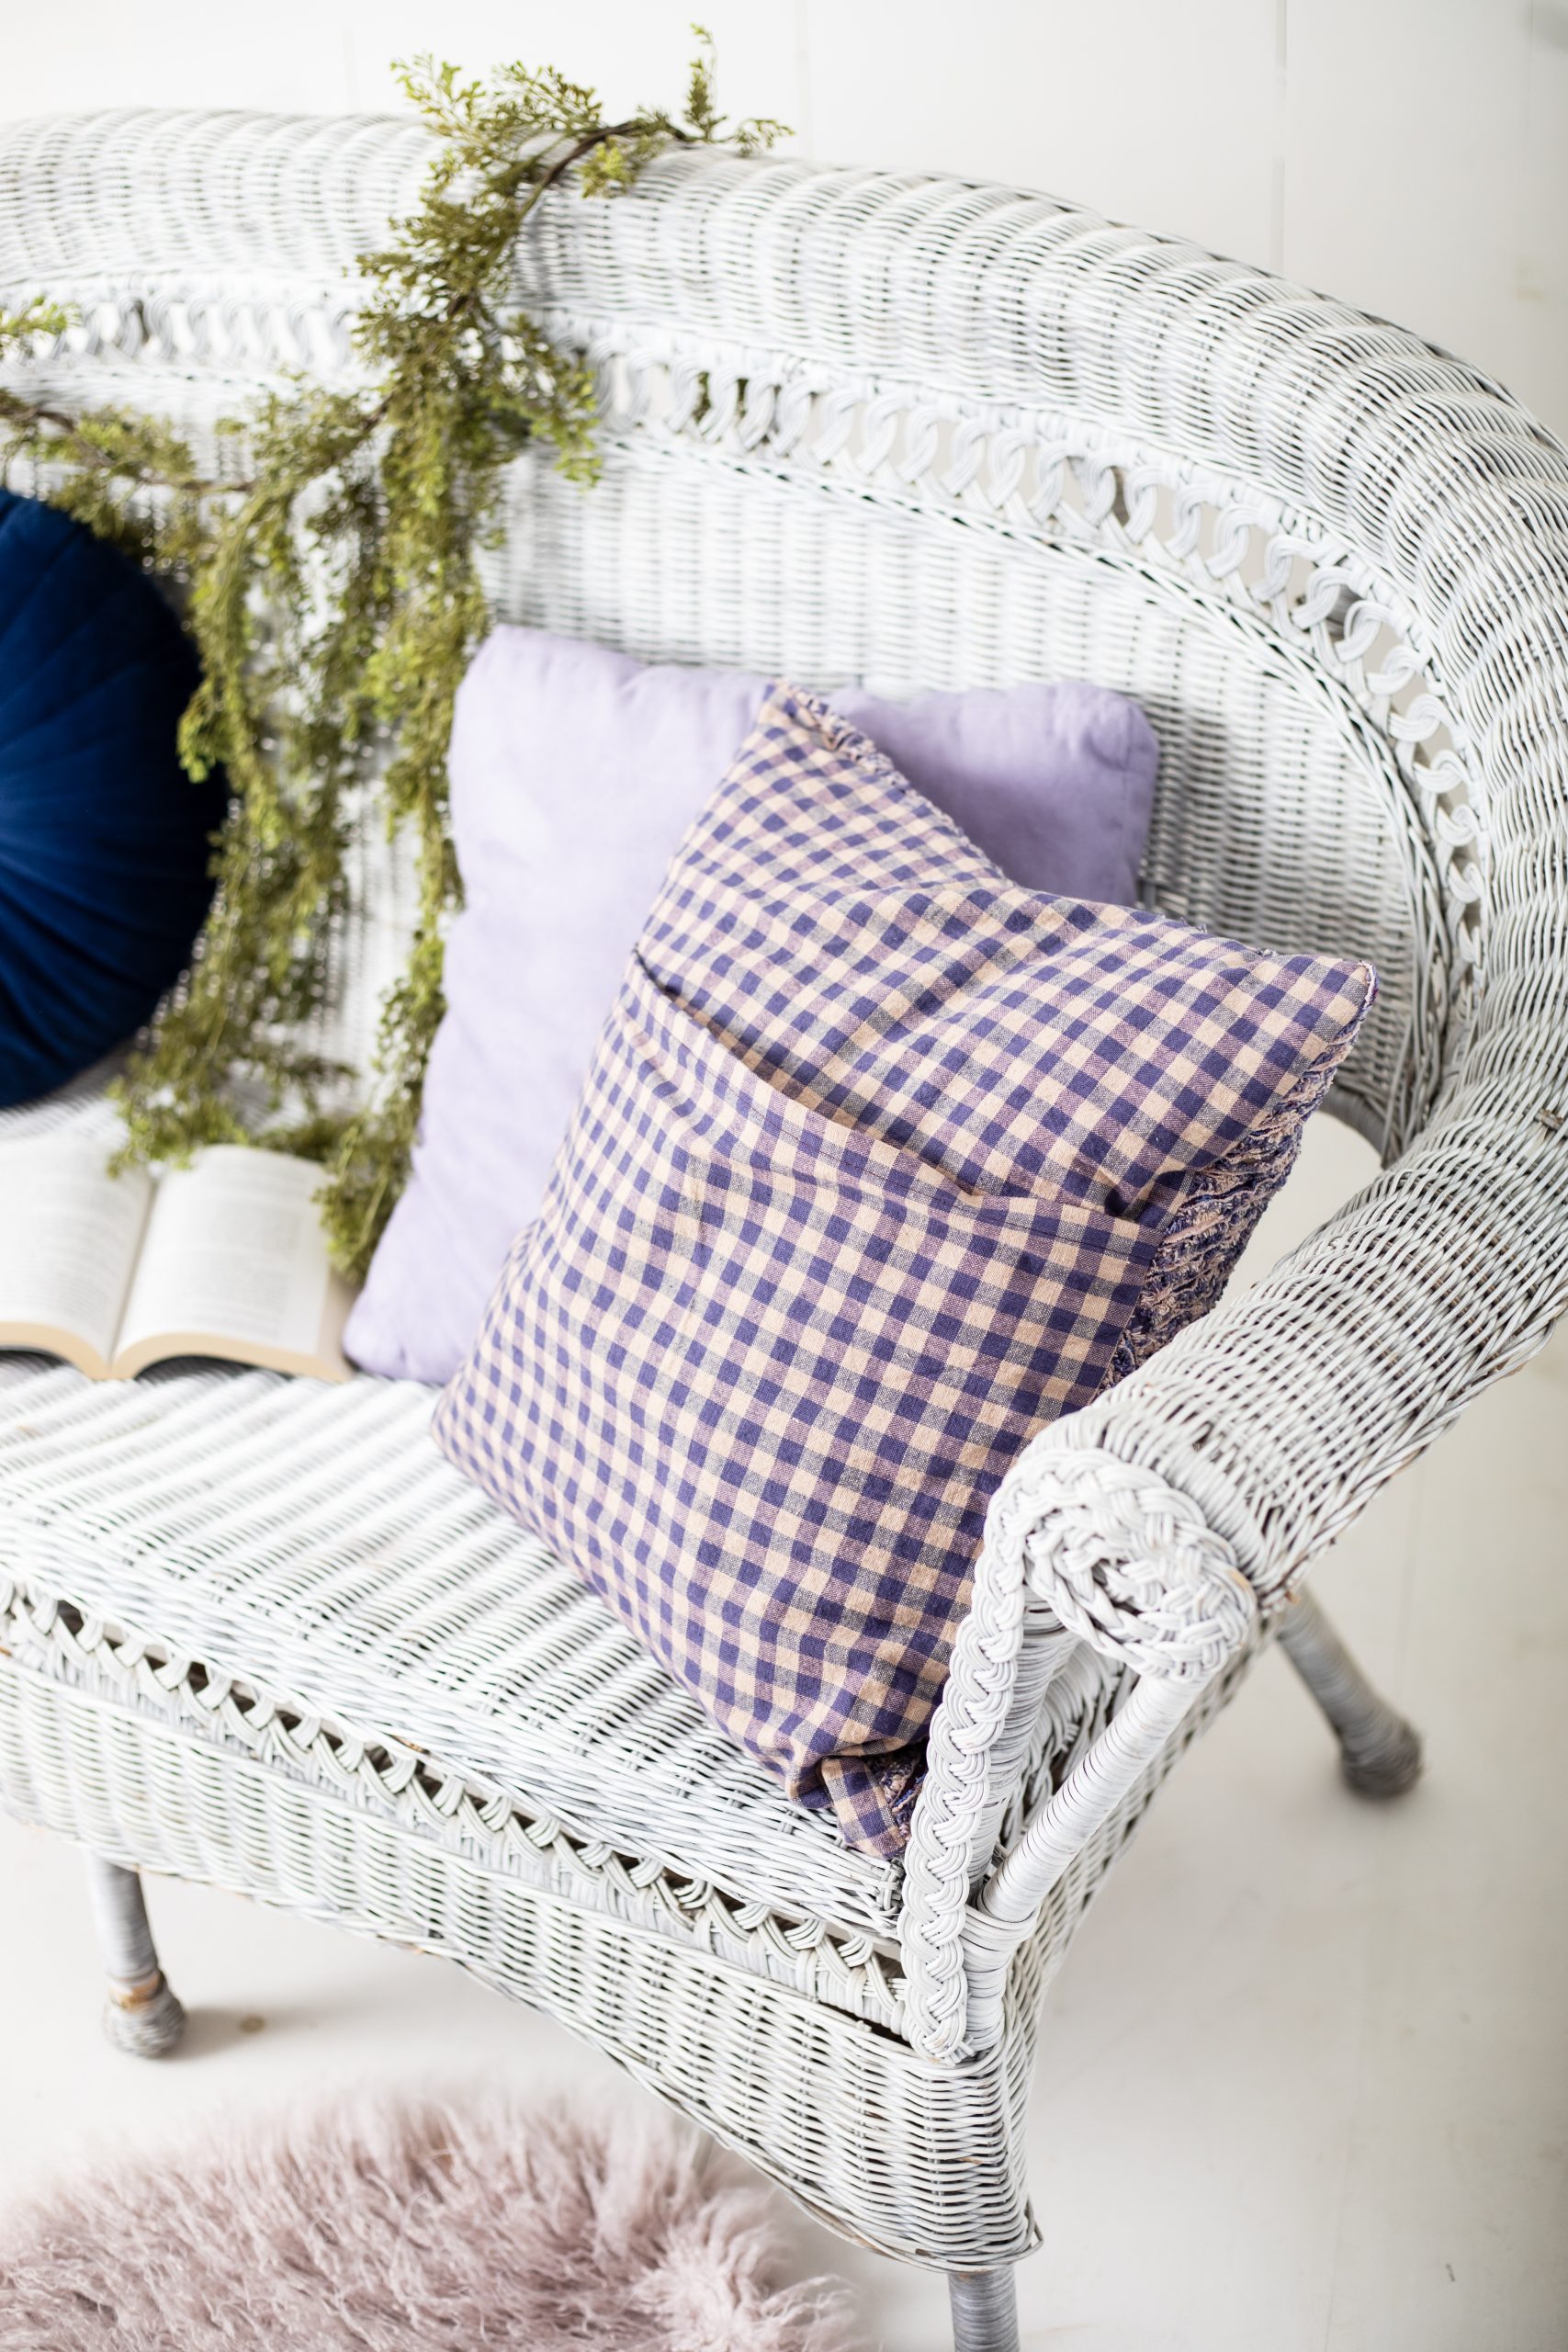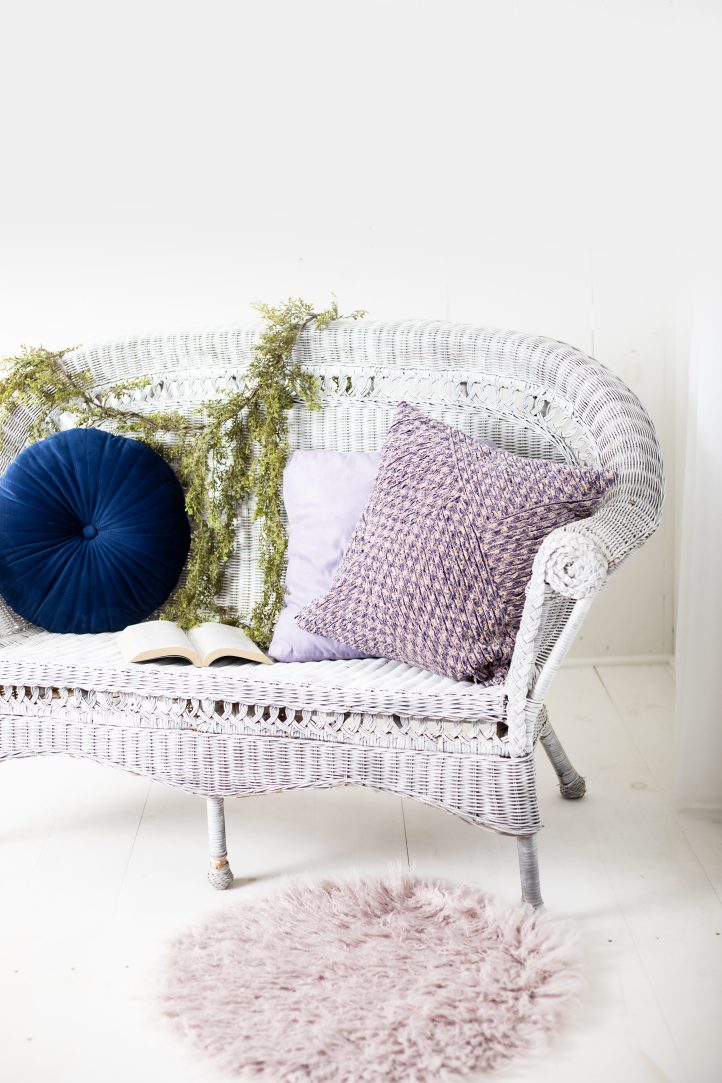
Have you ever wondered how to create soft, textured chenille fabric? Sadie Metter walks you through the process of designing your own custom, chenille home décor with this throw pillow cover pattern. Designed for intermediate sewists, this throw pillow pattern is a fascinating way to add color and texture to your couch or favorite armchair. This project is perfect for seasonal décor transitions, and we love the idea of updating your décor in time for fall by making your throw pillow cover in rich jewel tones.
Skill Level: Intermediate
Seam Allowances: 1/2″
Have you ever wondered how to make fuzzy chenille fabric? Take this fun technique and create one-of-a-kind pillows to level up your home decor!
Materials:
- 2/3 yard of 44” wide woven fabric A
- 2/3 yard of 44” wide woven fabric B
- 2/3 yard of 44” wide woven fabric C
- 1 1/2 yard of 44” wide woven fabric D, which is also for the back of the pillow
- 18-19 inch pillow form
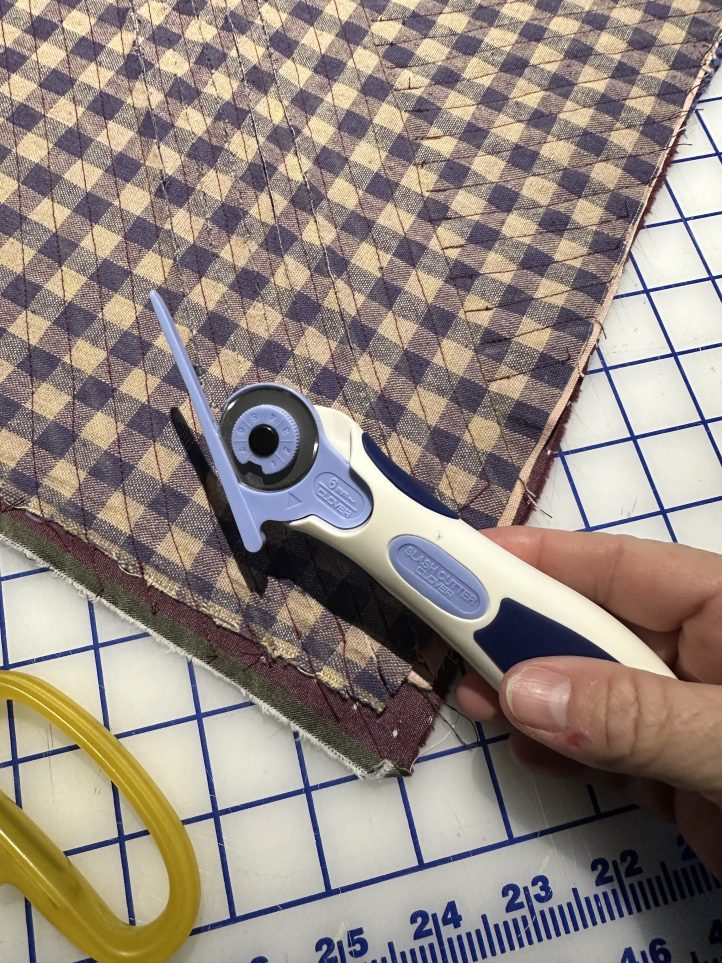
- Channel cutter (Optional)
- Chalk/ruler
- Walking foot (Optional)
Instructions:
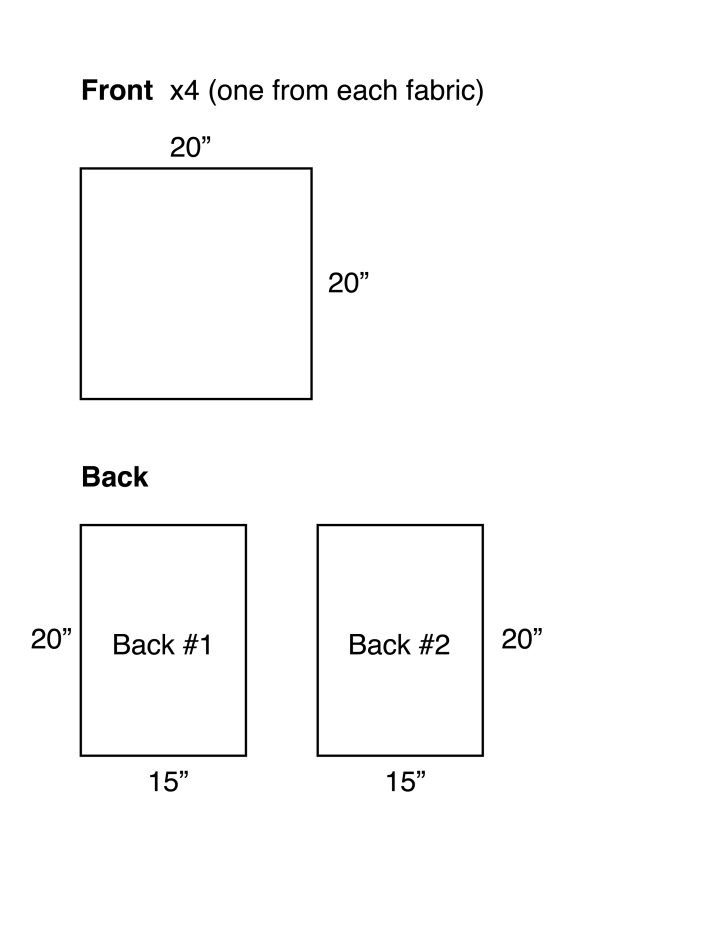
- For the pillow front – Cut out a 20” square from each of the fabric choices: A, B, C, and D.
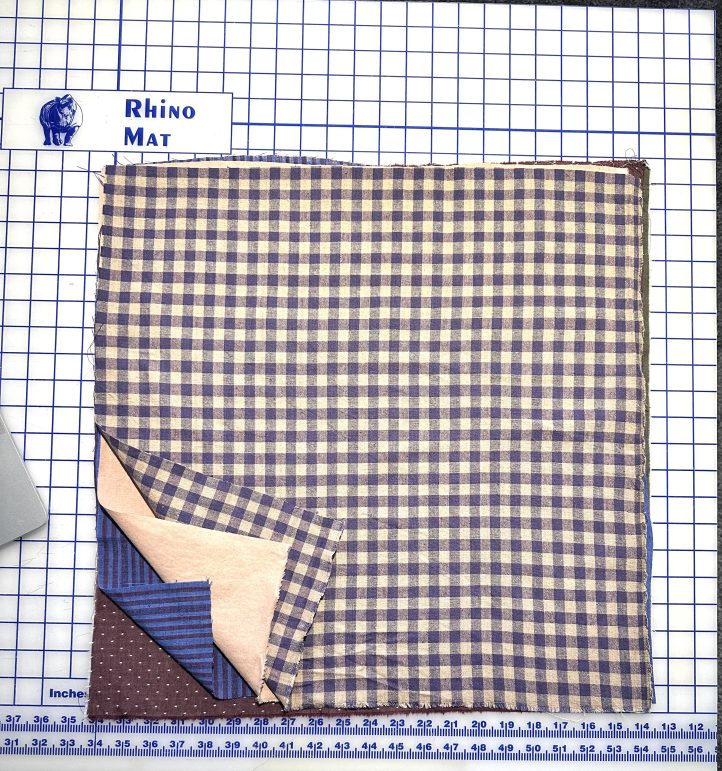
- For the back of the pillow – To determine the two back pieces to make an envelope closing, take half the width of the front piece and add 5”. The height will stay the same as the front, 20 inches. For the sample pillow, that’s a 20” x 15” rectangle.
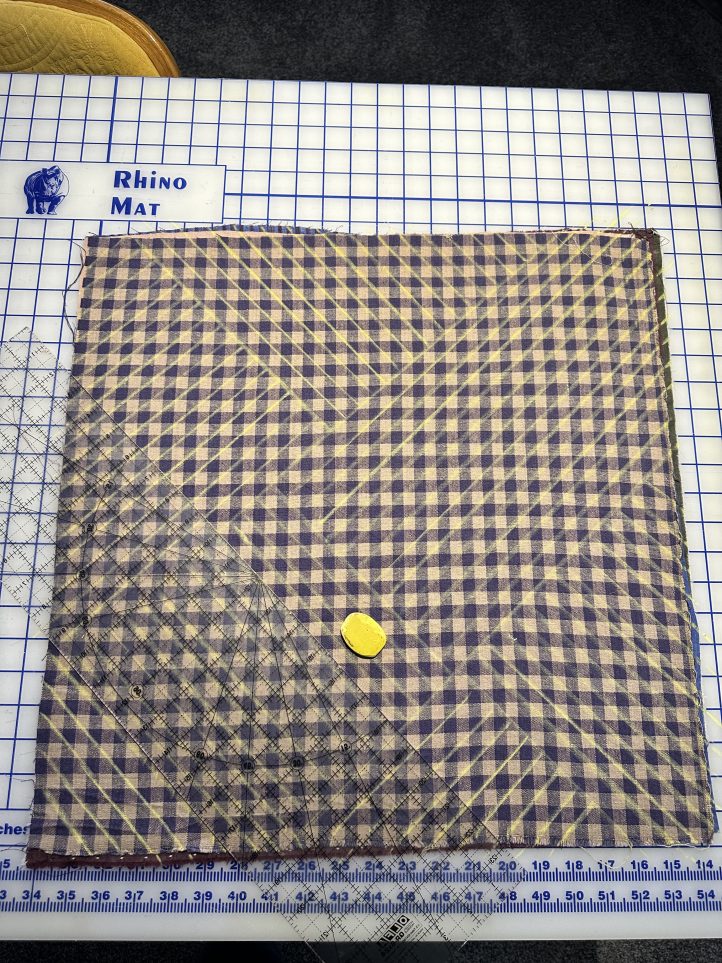
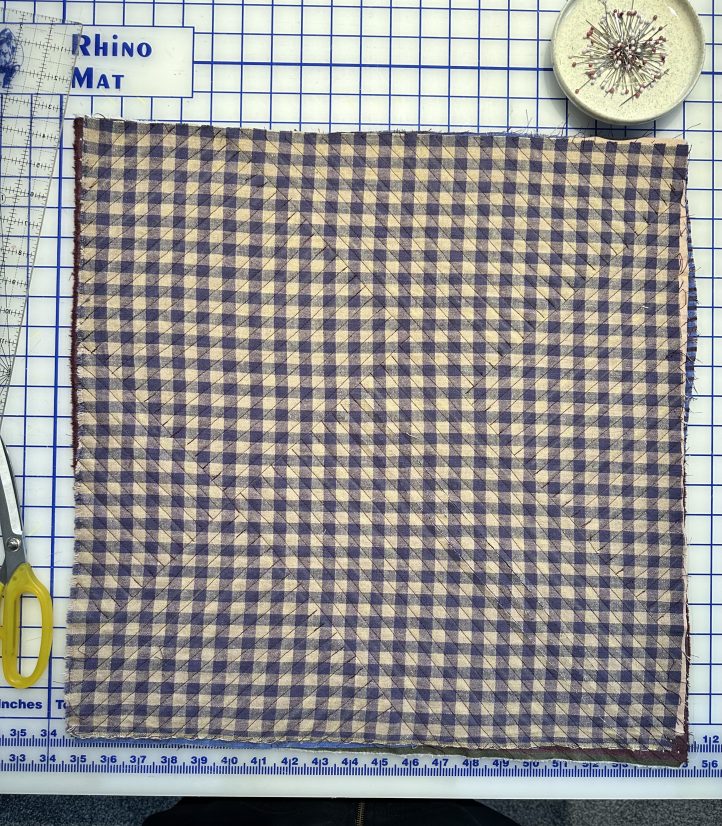
- Layer your four 20” squares on top of each other and pin in several places. Safety pins work, too.
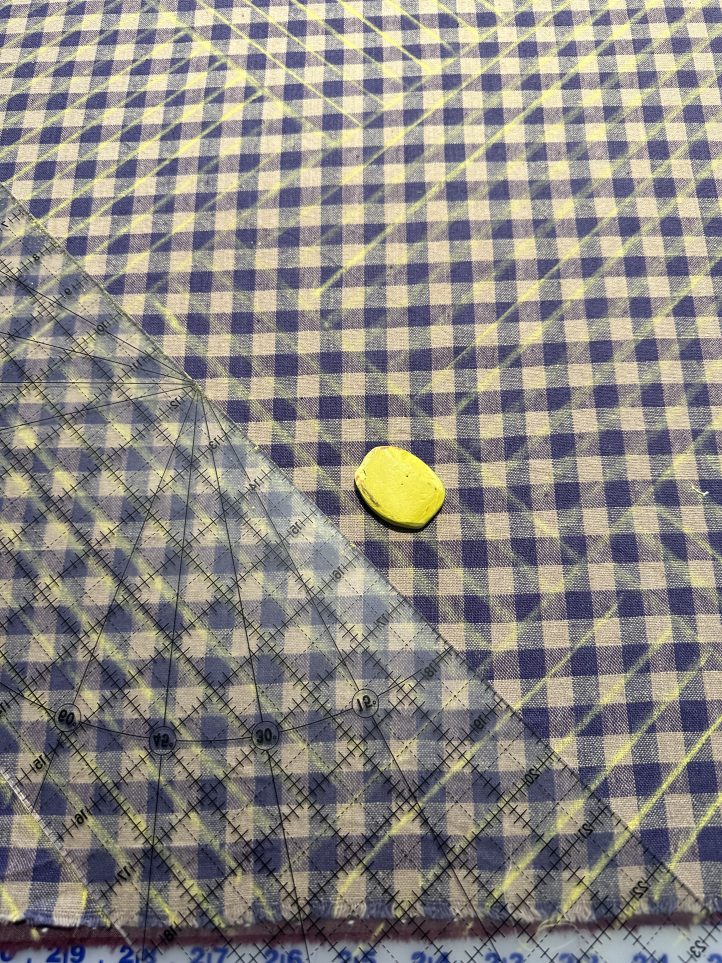
- Using a large ruler and chalk, draw diagonal lines 1/2” – 3/4” apart in alternating sections. This will be on the top layer of fabric. You can do all the lines in the same direction or switch back and forth like in the sample. (TIP: They all must be on the bias of the woven fabric)
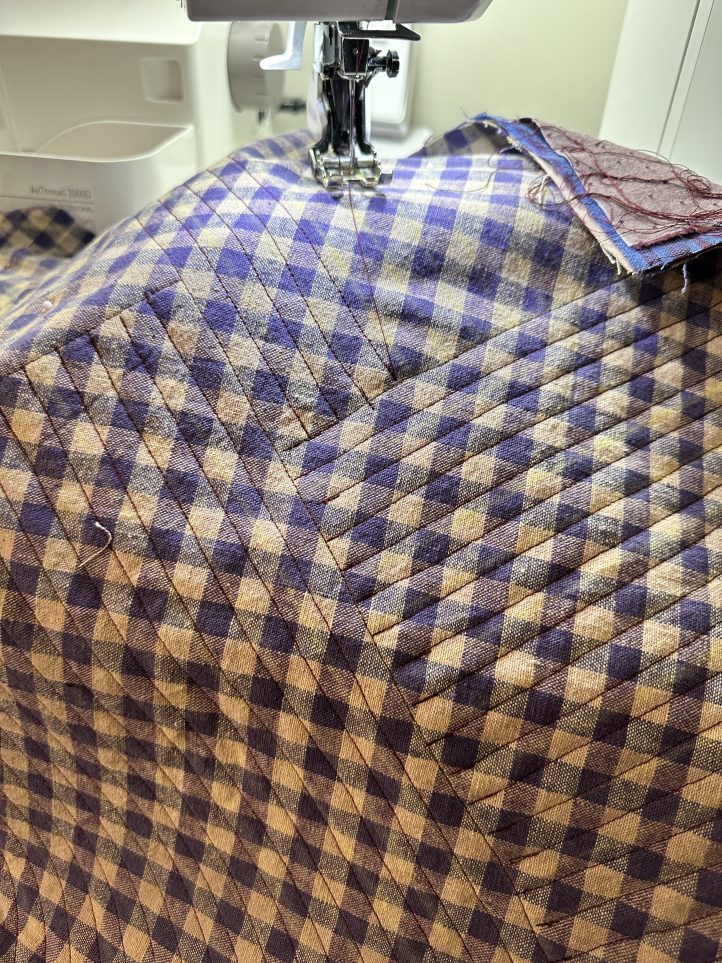
- Using a walking foot if you have one, stitch all four layers together along your chalk lines.
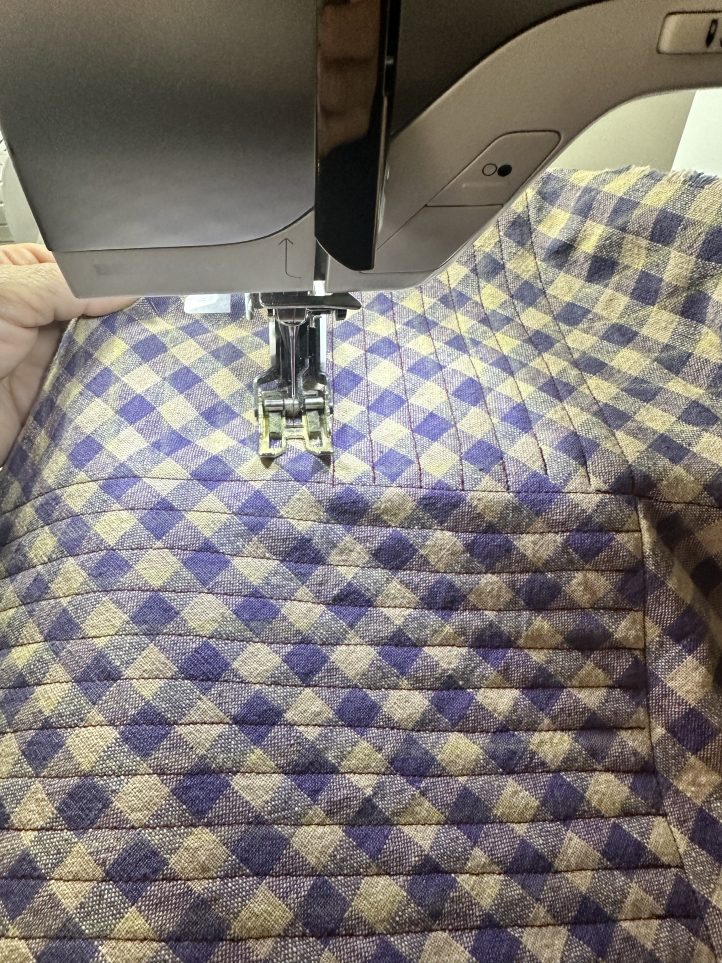

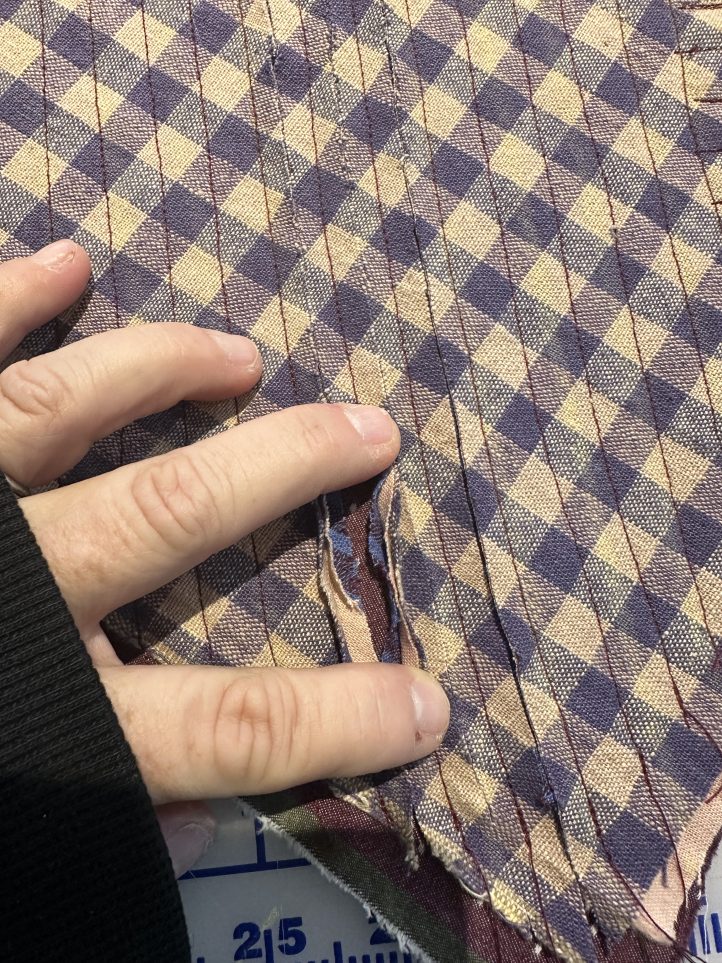
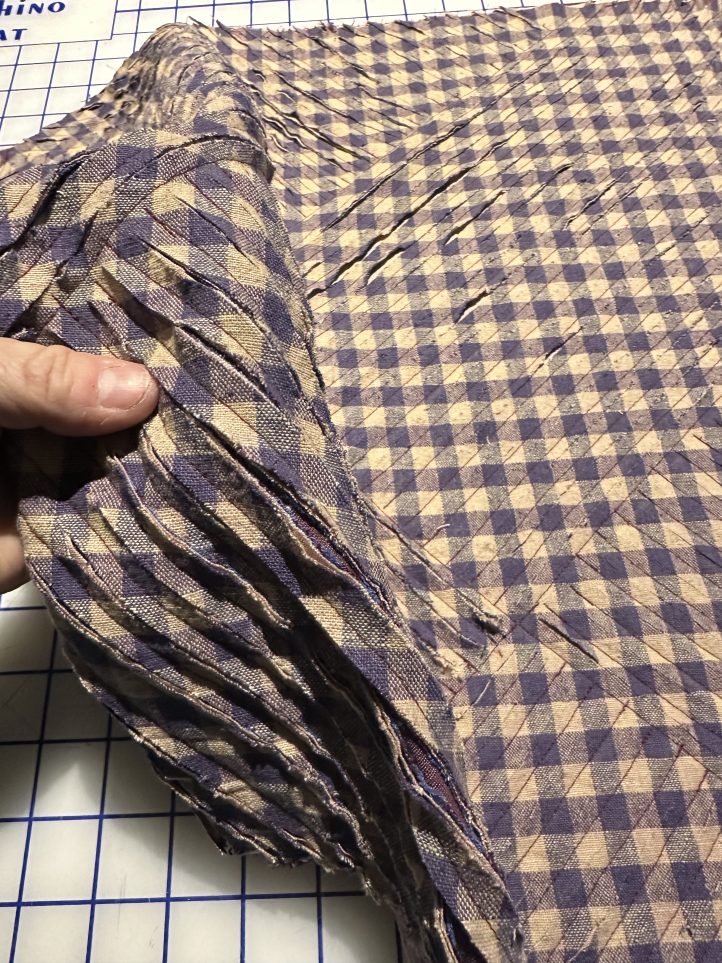
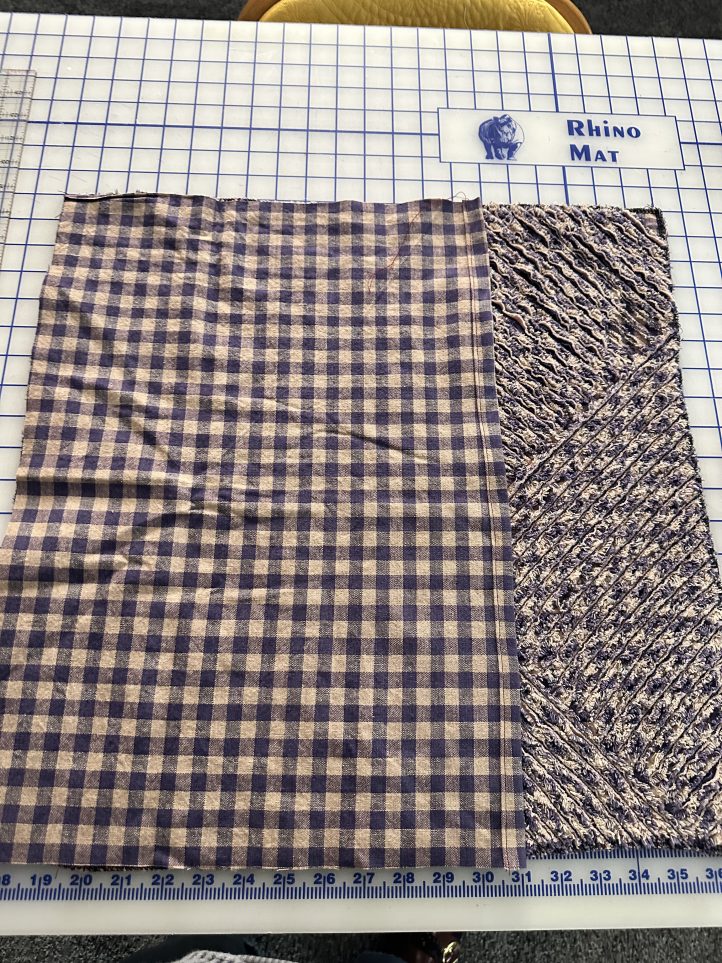
- Using scissors or a channel cutter, slice through the top THREE LAYERS only. Leave the back layer intact.

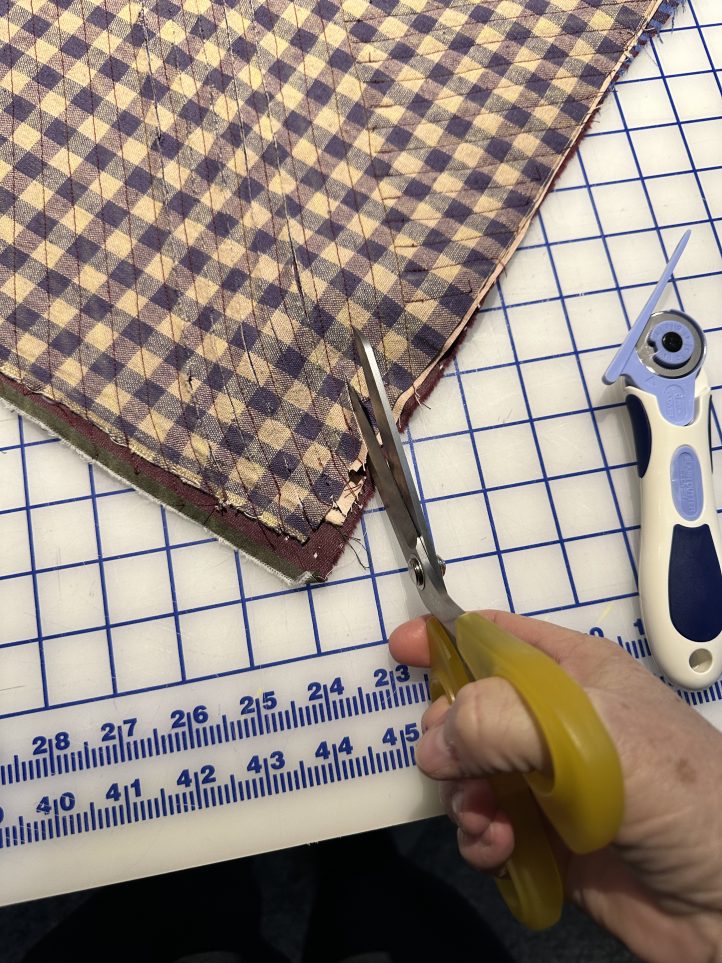


- Trim and/or serge all four sides to clean up the pillow front.
- Stitch one long side of each back piece with a 1/2” double fold hem.
- Pin the chenille front and two back pieces with right sides facing along the outer edge. The two back pieces will overlap by 7 or 8 inches.
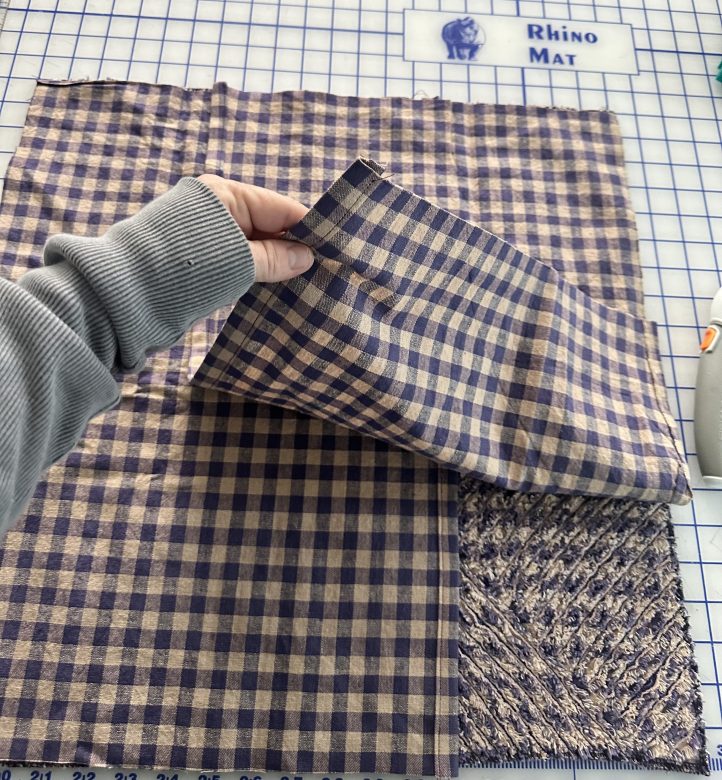
- Using a 5/8” seam allowance, stitch the three pieces together along the outside edge. Make sure to leave about an 8 inch opening at the bottom to insert pillow form into.
- Turn the fabric right side out and insert your pillow form. Machine or hand stitch opening closed and enjoy!