Reverse applique is a simple sewing technique that has you sew two layers of fabric together and then carefully cut out the top layer so that the bottom layer shows through. Reverse applique can be done with either woven or knit fabric; for the purpose of this tutorial, the focus will be on knit fabric and done with a raw edge style. Knit fabric won’t fray, so raw edges may curl slightly after washing and drying, but not fall apart in the way woven fabric will over time.
Reasons to Reverse Appliqué
Reverse applique is typically used to embellish or decorate but it is also very handy for mending – simply draw the shape around the stain or hole and then cut it away after you’ve sewn the bottom layer on!
Tools for Reverse Appliqué
You can do reverse applique with hand sewing or machine sewing, and it doesn’t require any specialty tools. Three things that can be nice to have when working on reverse applique are:
- Duckbill scissors – These specialty scissors have a thicker, angled blade on the bottom so you can carefully cut away the top layer without nicking the base layer.
- Freezer paper is cheap and works like a charm to test out shape or to use as a pattern to sew around; you simply draw on it, iron it on shiny side down, and then peel it off.
- An applique foot is typically included with a sewing machine and it works great for following careful stitching lines like that in reverse applique. It’s completely see-through so you can follow your path easily. Experiment with center and left needle positions to see which feels most natural to you as you follow a path sewing with the clear foot.
How to Reverse Appliqué
Ready to try reverse applique on your own? Here is a very simple tutorial:
Materials:
- Marking tool (chalk pen used here)
- Sharp scissors
- Hand sewing supplies or sewing machine
- Fabric scrap of similar weight
- Pins
Instructions:
- Our starting t-shirt has a small hole – instead of mending it, let’s turn it into a design feature! If the spot you want to reverse applique over is higher up, consider taking the free arm off your machine or seam-ripping a side seam, reverse appliqueing, and then sewing it back together.
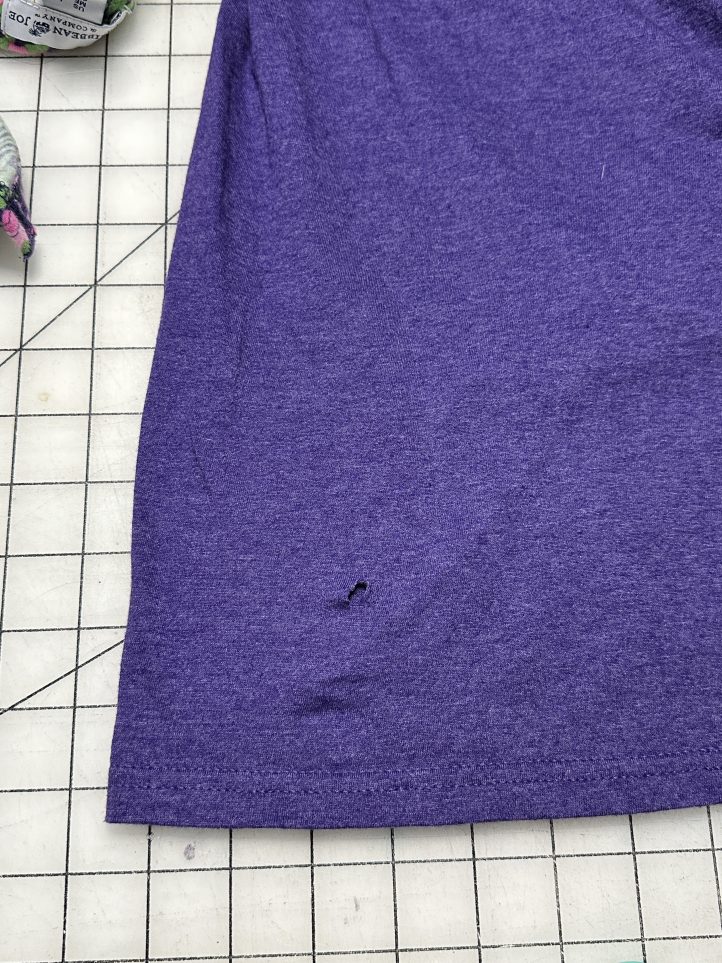
Photo provided by designer
- Choose your ‘peekaboo fabric’; in this case, I cut up another old t-shirt. Ideally, your peekaboo fabric will be a similar weight to the t-shirt; you wouldn’t want to use denim underneath a thin t-shirt or it will pull funny. Cut a scrap that is at least 1” bigger on each side than the area you plan to cut away – here you can see that I used a container to trace a circle with a chalk pen but you can also freehand a design or print one out to trace.
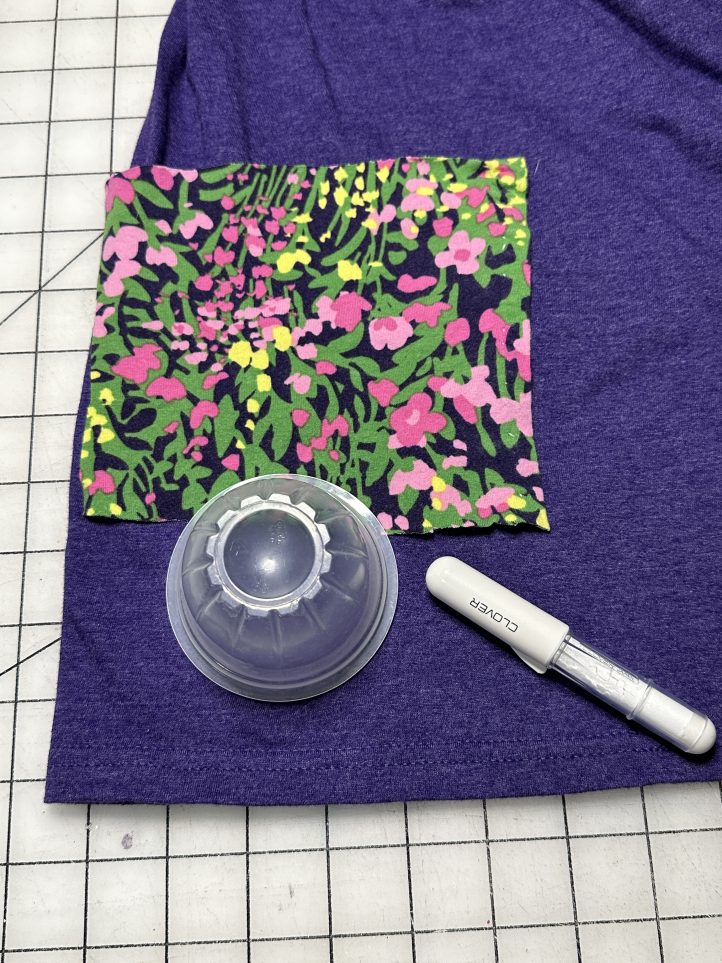
Photo provided by designer
- Layer your peekaboo fabric right side up in between the shirt layers, and make sure it’s all smoothed out without any folds.
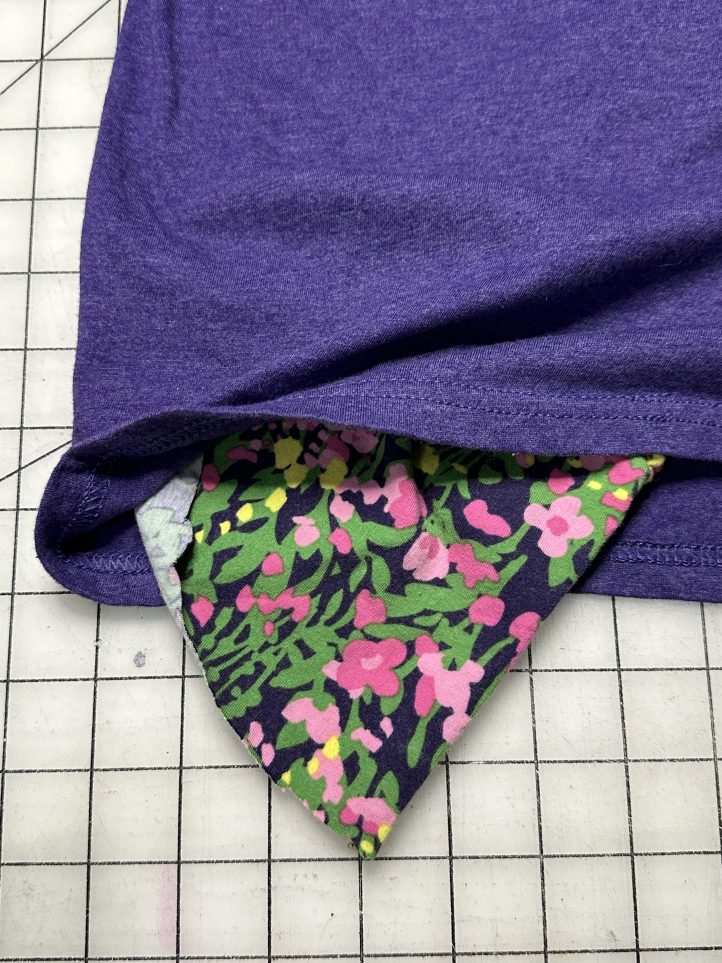
Photo provided by designer
- Carefully pin the scrap into place, making sure to only go through the top two layers and not the back of the shirt.
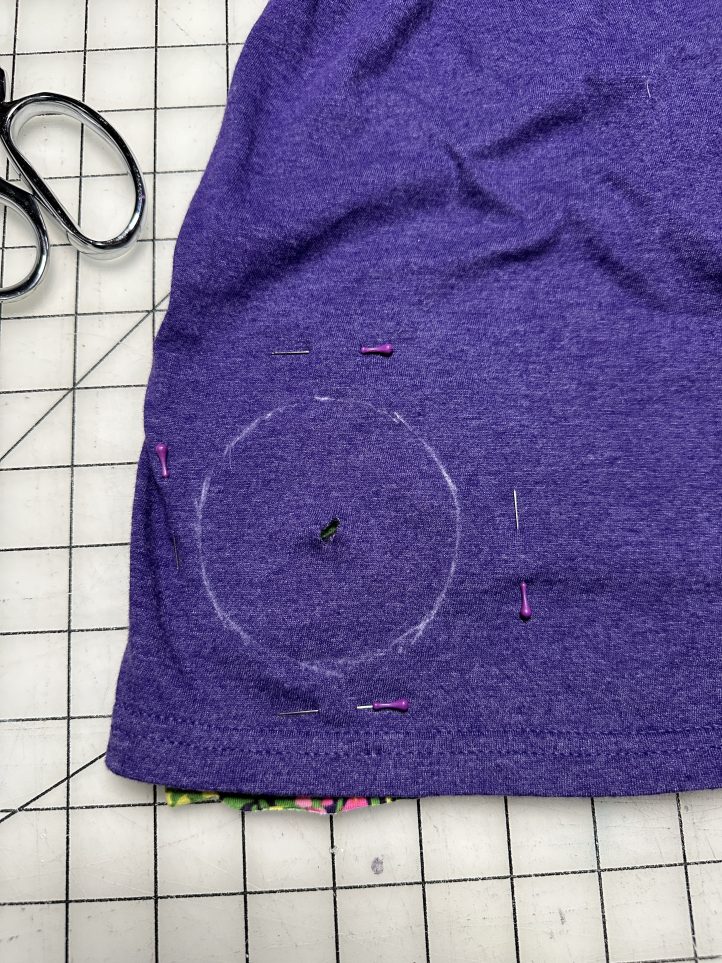
Photo provided by designer
- Sew along the line that you drew! Here an applique foot is being used for ease of following the line, as well as a ballpoint needle because it is knit fabric. You can usually use a simple straight stitch here unless it is on a spot that is tight and will probably stretch, in which case I’d use a stretch stitch like a zig-zag or a triple stitch.
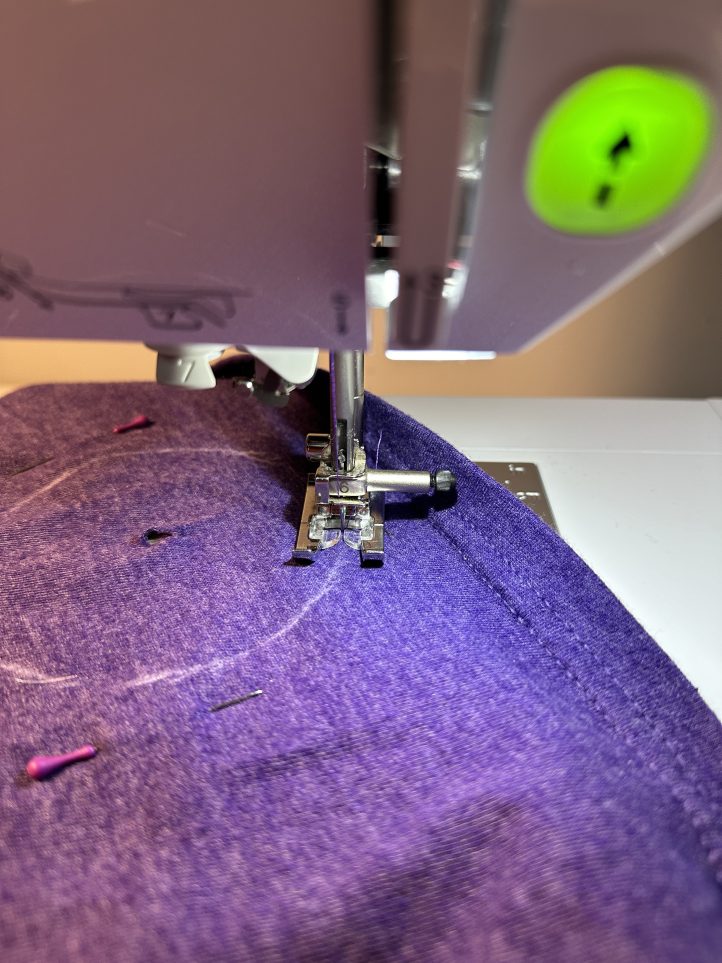
Photo provided by designer
- Carefully cut away the top layer, making sure not to cut through any stitching lines! Trim it to roughly 1/8” border around the line you sewed.
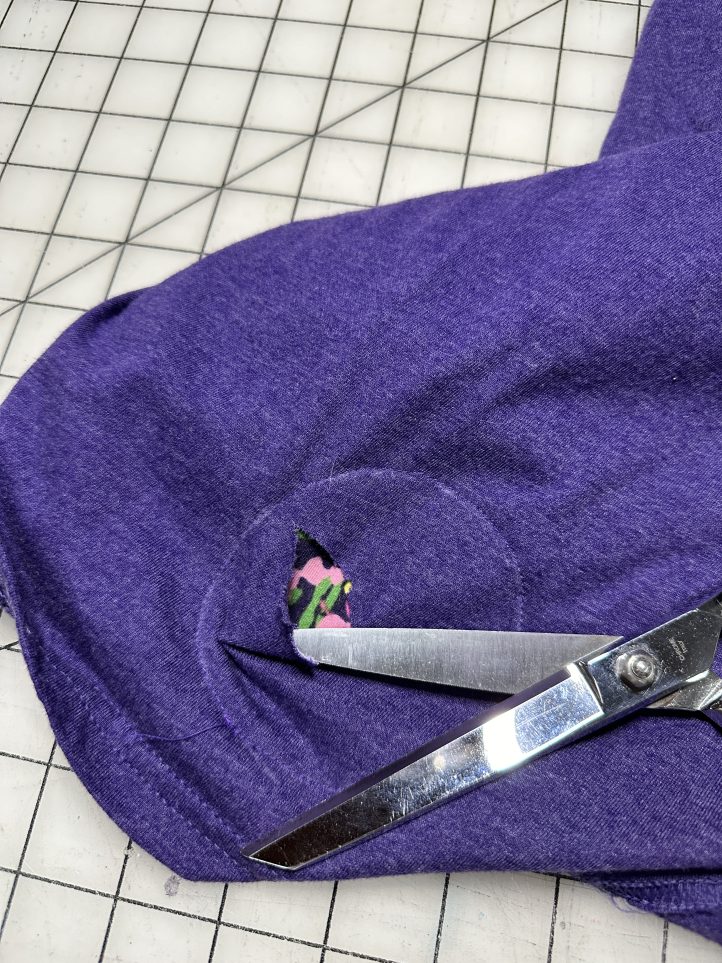
Photo provided by designer
- Flip it inside out and trim off the edges of the peekaboo fabric.
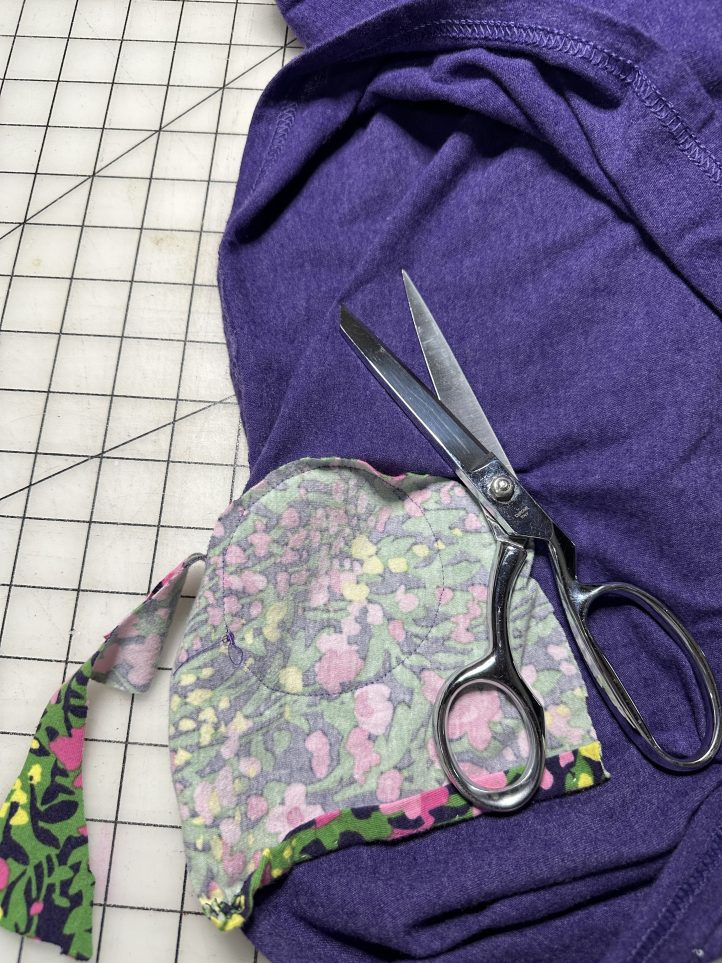
Photo provided by designer
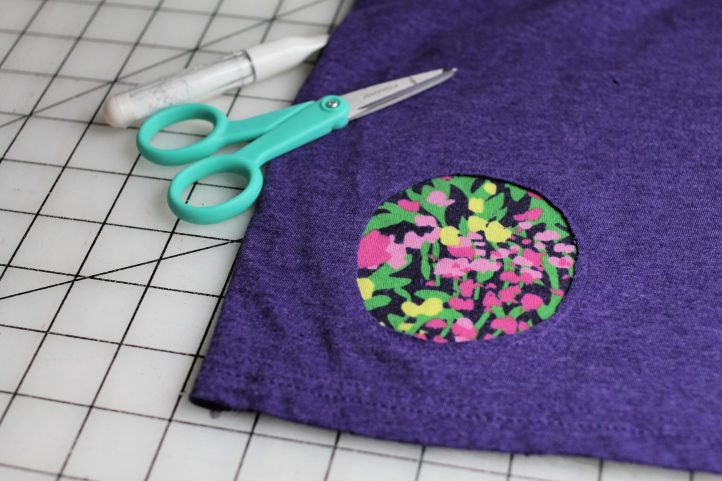
- Flip it right side out, press with an iron if desired, and you’re done! Some people choose to do a zigzag stitch or satin stitch around the opening to really secure it, but I am leaving the edges raw in this project. With knit fabric, it will not fray, but it may curl up slightly.
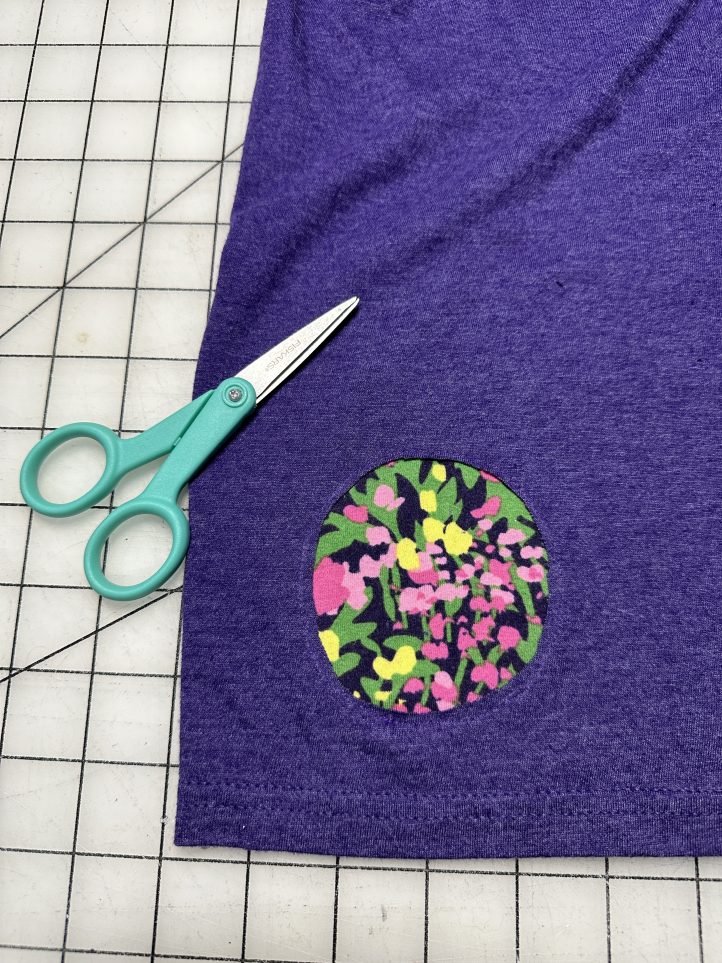
Photo provided by designer
Variations on Reverse Appliqué

Photo provided by designer
Reverse applique works great with text as well as simple shapes! I used freezer paper to make these precise shapes – you simply draw on the flat side, cut it out, use an iron to adhere with the shiny side down, and then peel it off once you’ve sewn around it.
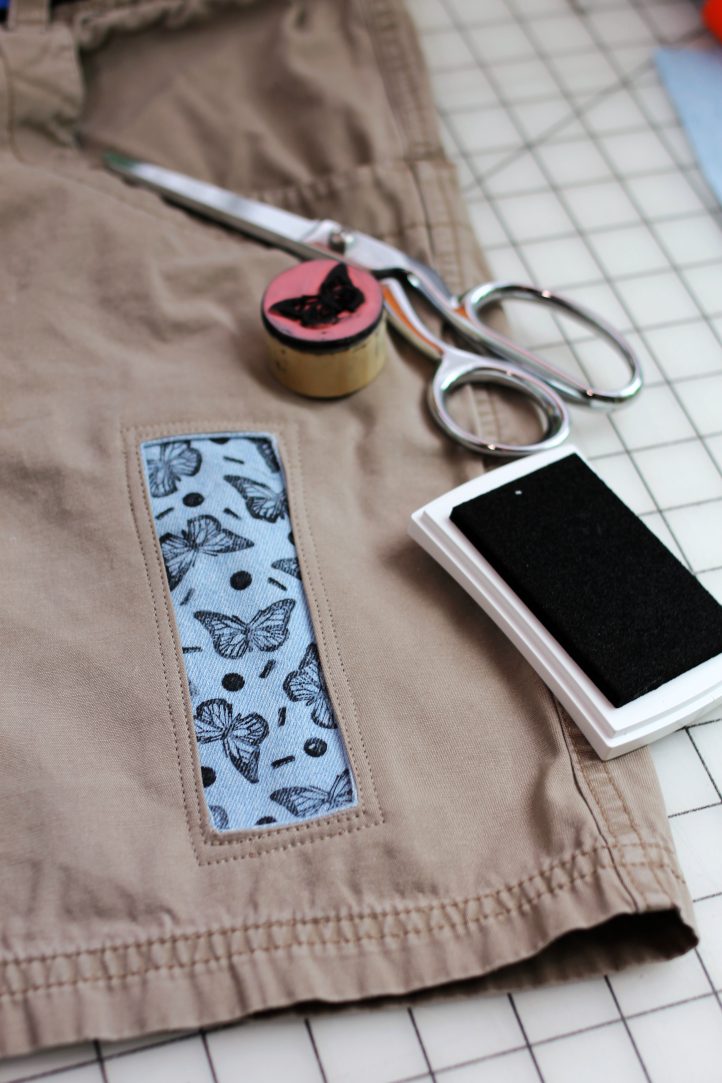
Photo provided by designer
This is an example on woven fabric, but sharing a visual of how finished edges look with reverse applique versus the raw edges that I’ve shown in the tutorial. This is purely an aesthetic choice when working with knit fabric. You can either manually tuck the edges in, like a hem, and then sew to secure or you can layer a scrap on top, sew the shape between the scrap and base layer, cut out the shape, and then pull the scrap through the opening to create a finished “window”, which you can then layer the peekaboo fabric under and proceed with the same steps shown above.

Photo provided by designer
Another woven fabric example that would translate easily to stable knit fabric (i.e. you wouldn’t want to layer like this on a tissue thin tank top since it would pull strangely and wear poorly); here there was a base denim as the reverse applique, and then an applique beetle applied on the bottom layer. This draws the eye and adds some interesting depth to have an applique centered on the reverse applique shape!