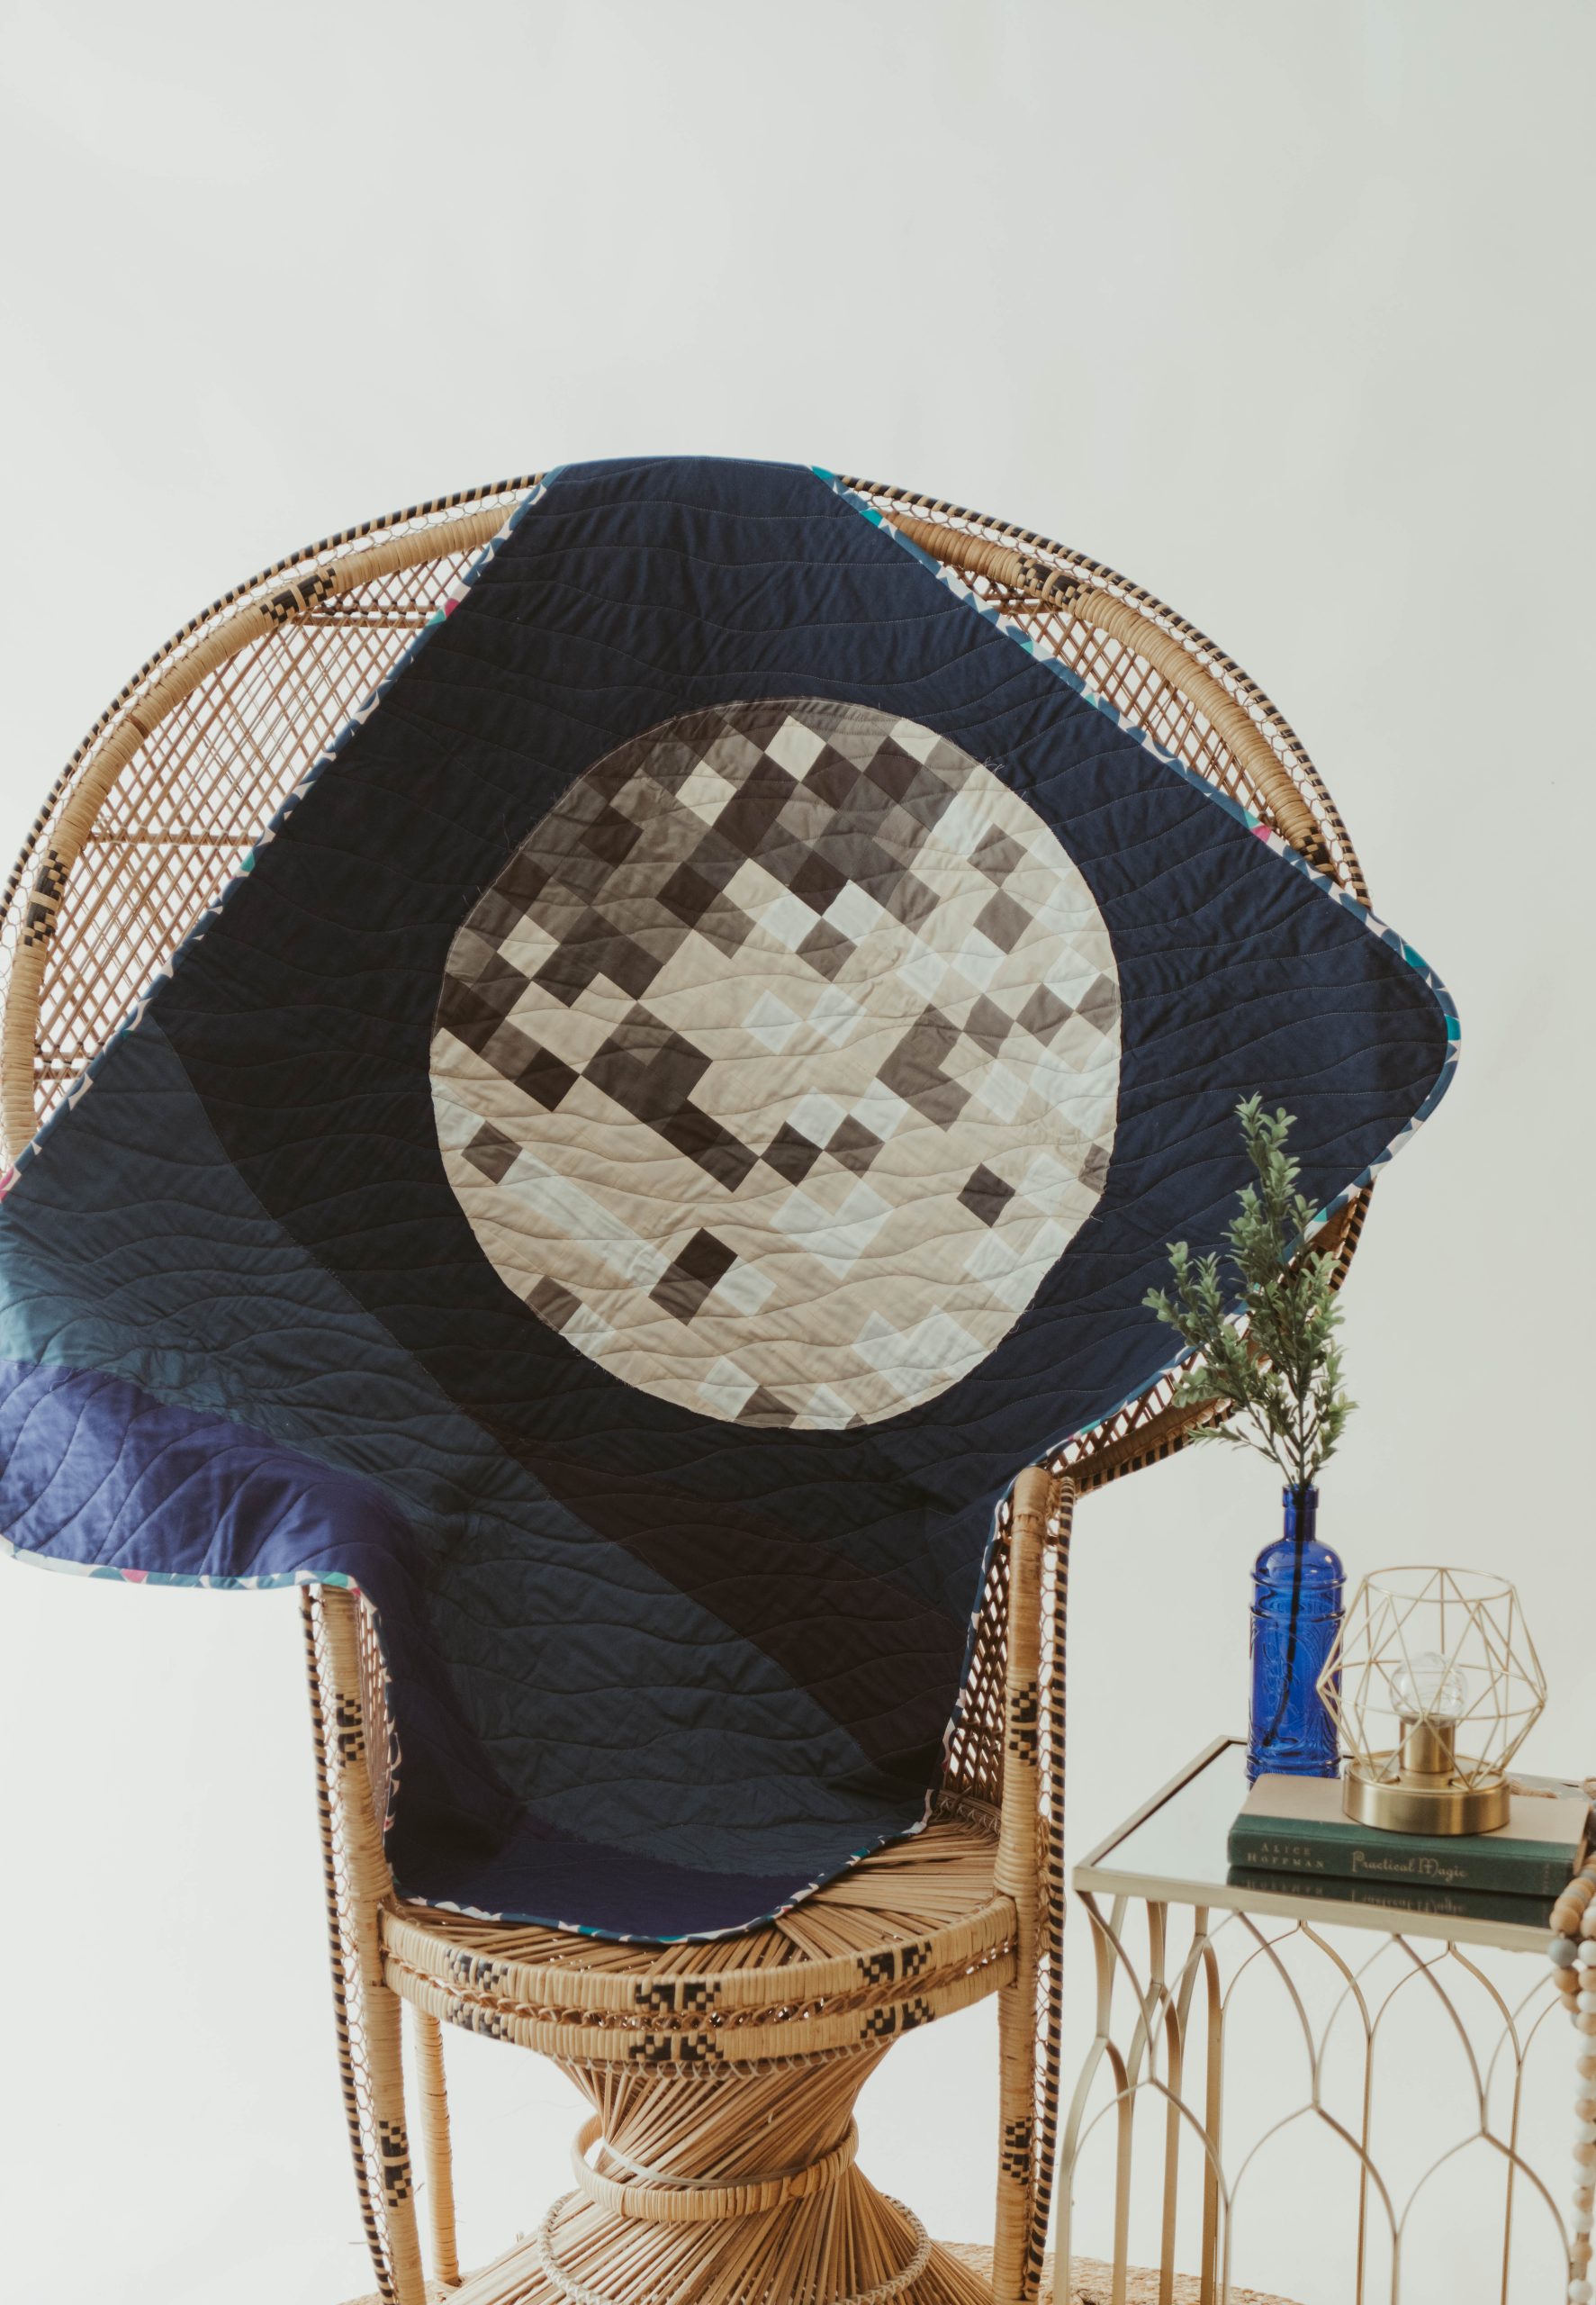
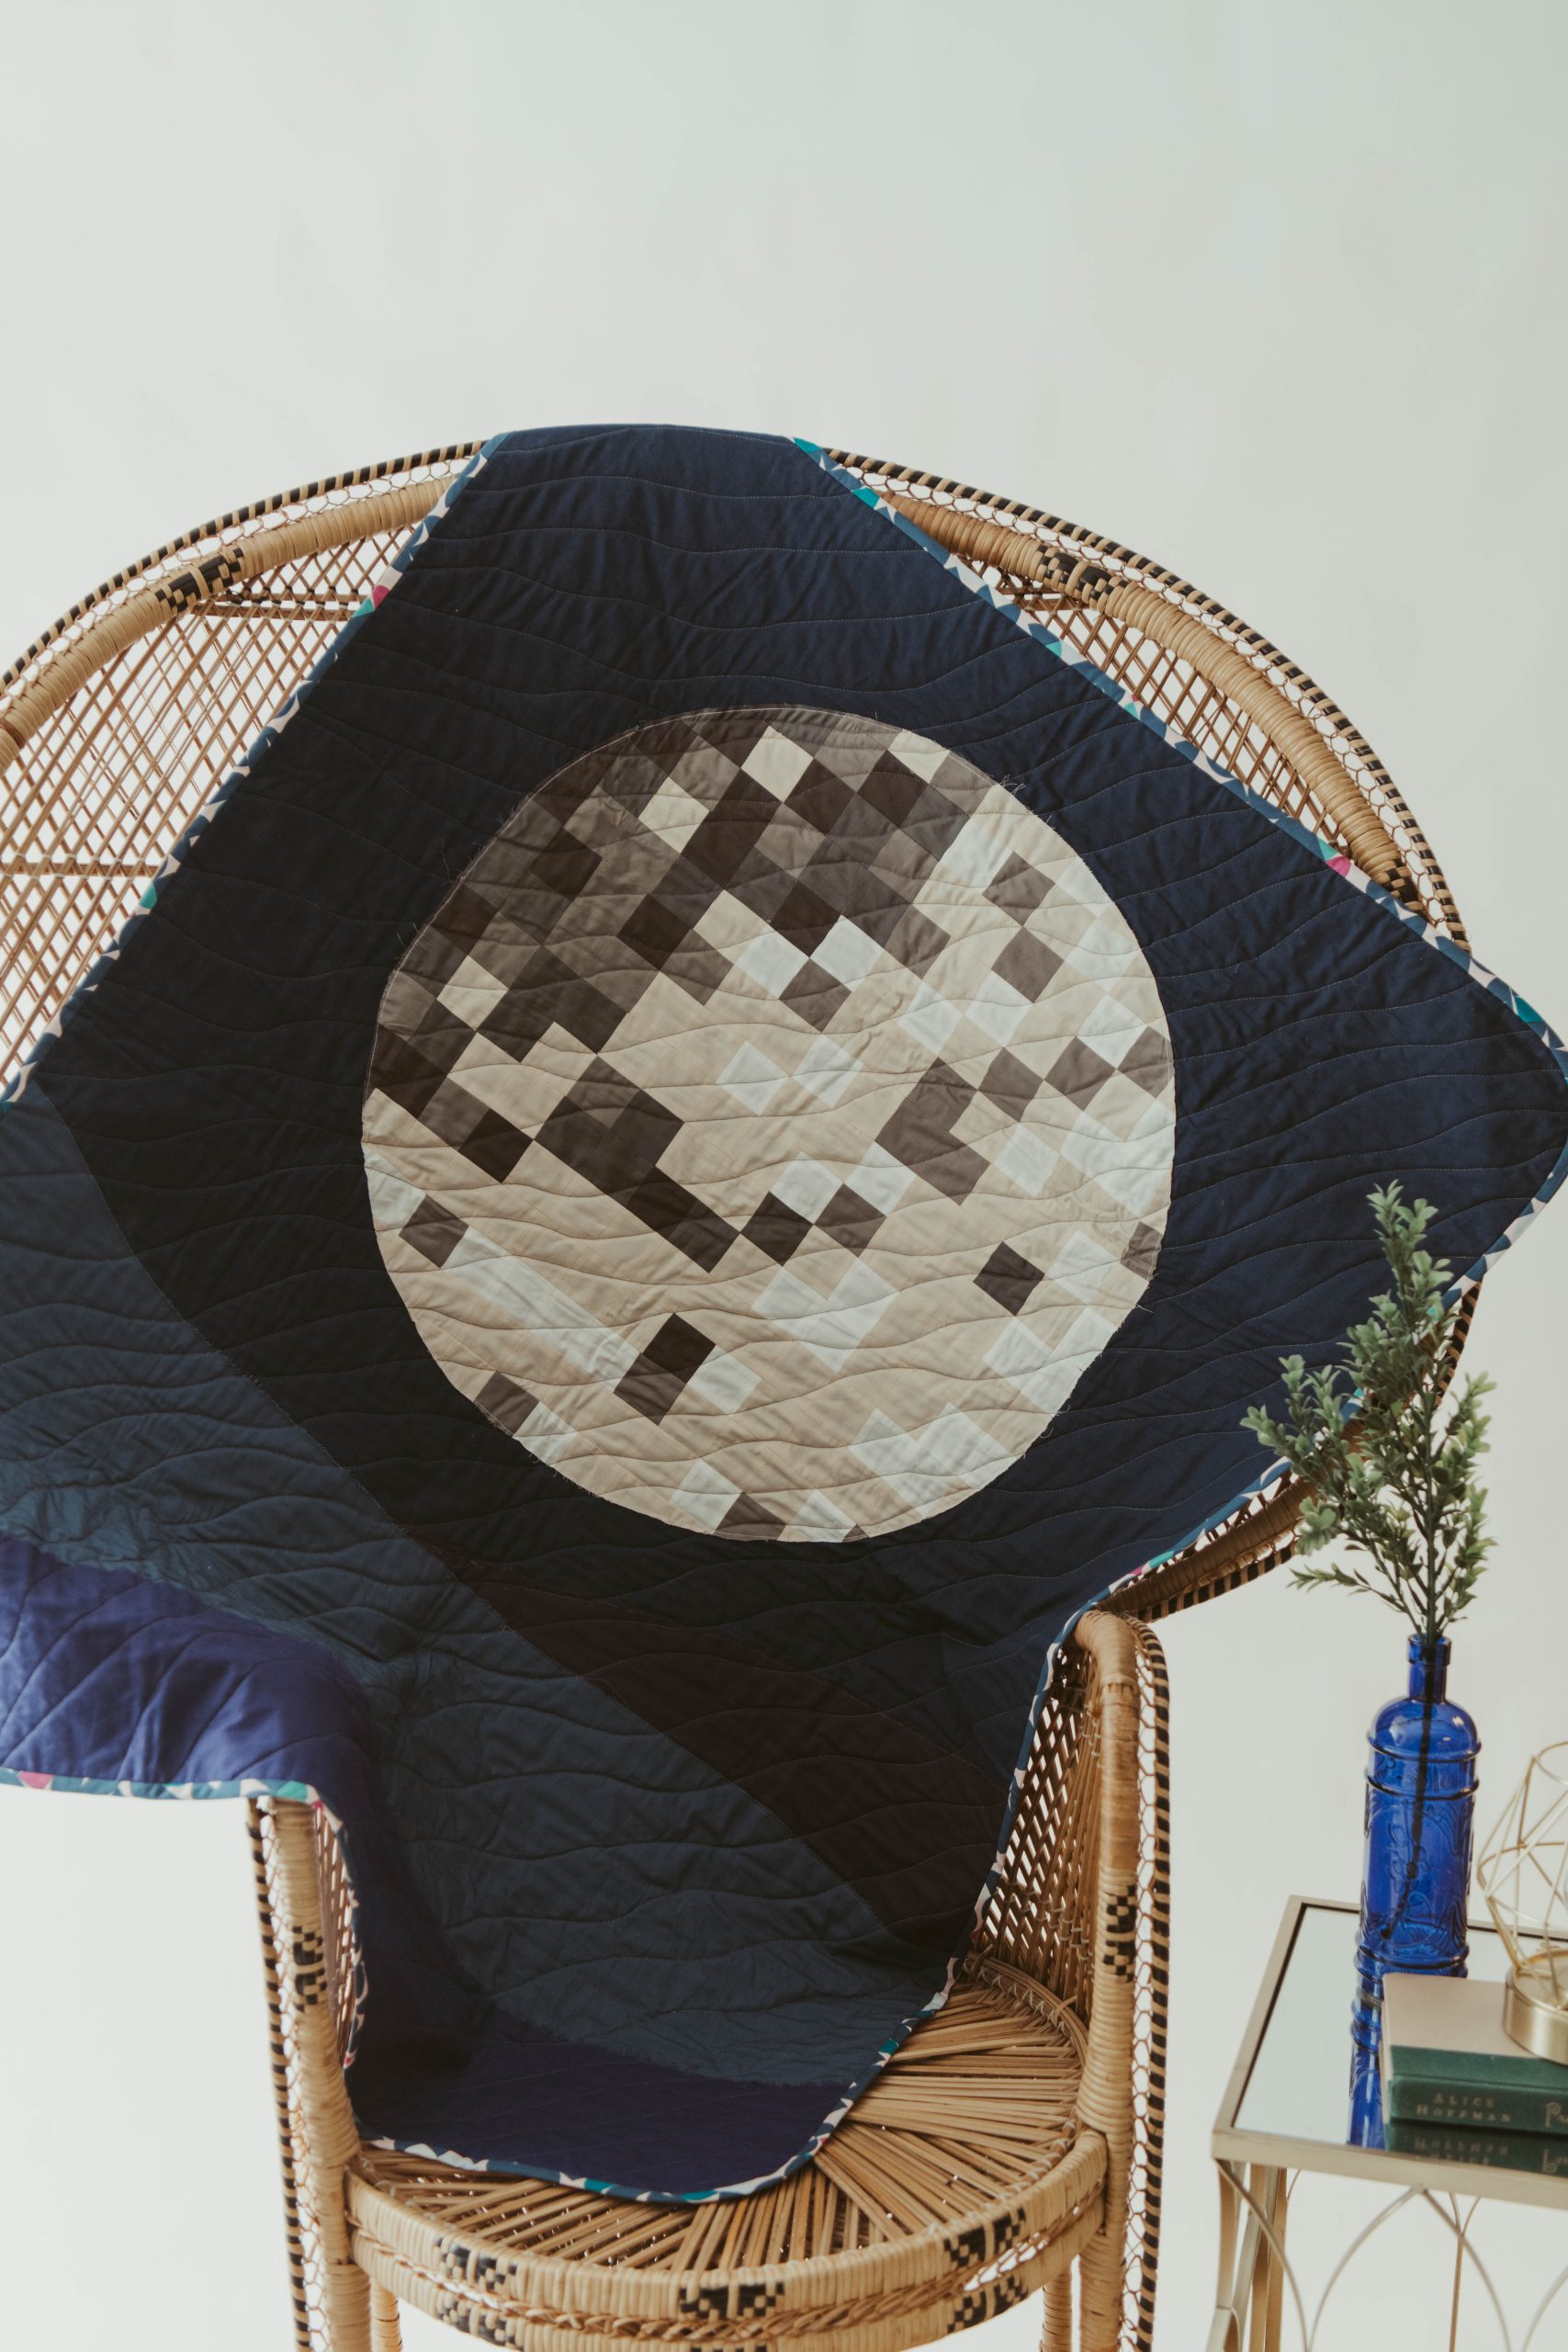
The full moon symbolizes transformation, so if you’ve been on the hunt for the perfect quilt project for the upcoming seasonal transition from summer to fall, you won’t want to miss this eye-catching throw quilt pattern. Consisting of a background of moonlit hills, this fall quilt pattern’s focal point is a radiant full moon made from fat quarters of steel, ivory and pale gray. If you’re already in the mood to start quilting for Halloween, then you won’t want to miss the utterly bewitching vibes in this quilt pattern.
Designer Note: Seam allowances are all 1/4” and have already been added.
Materials:
- Fabric:
- 1 yd. dark navy for the sky
- 1/4 yd. dark purple for the background hill
- 1/2 yd. dark steel blue for the middle ground hill
- 1/4 yd. medium purple for the foreground ground hill
- Fat quarter each of a selection of ‘moon colors’:
- White, dark cream, light grey, medium grey, dark grey
- 2 yds. coordinating print for the backing and binding
- Interfacing: 1 1/4 yds. #279 80/20 cotton mix batting (Vlieseline)
- Coordinating threads for all fabrics and trims
- Scissors
- Fabric markers
- Extra feet for your sewing machine (walking (dual feed) foot for example)
- PDF Templates – These are located at the bottom of this page. Please see printing instructions below.
PRINTING INSTRUCTIONS:
Note: To download the templates, click on the pattern download button at the bottom of the page. We recommend opening your pattern download using Adobe Acrobat.
Cutting Instructions:
From the sky color:
- 1 piece 37 1/2” wide x 33” tall for the sky
From the background hill:
- 1 piece 23” wide x 8” tall
TIP: The back, middle and foreground pieces will be shaped slightly to fit the space. But we begin with simple shapes.
From the middle ground:
- 1 piece 37 1/2” wide x 15” tall
From the foreground:
- 1 piece 37 1/2” wide x 7” tall
From the moon colors:
- 209 pieces measuring 2” sq. cut at random from all moon colors
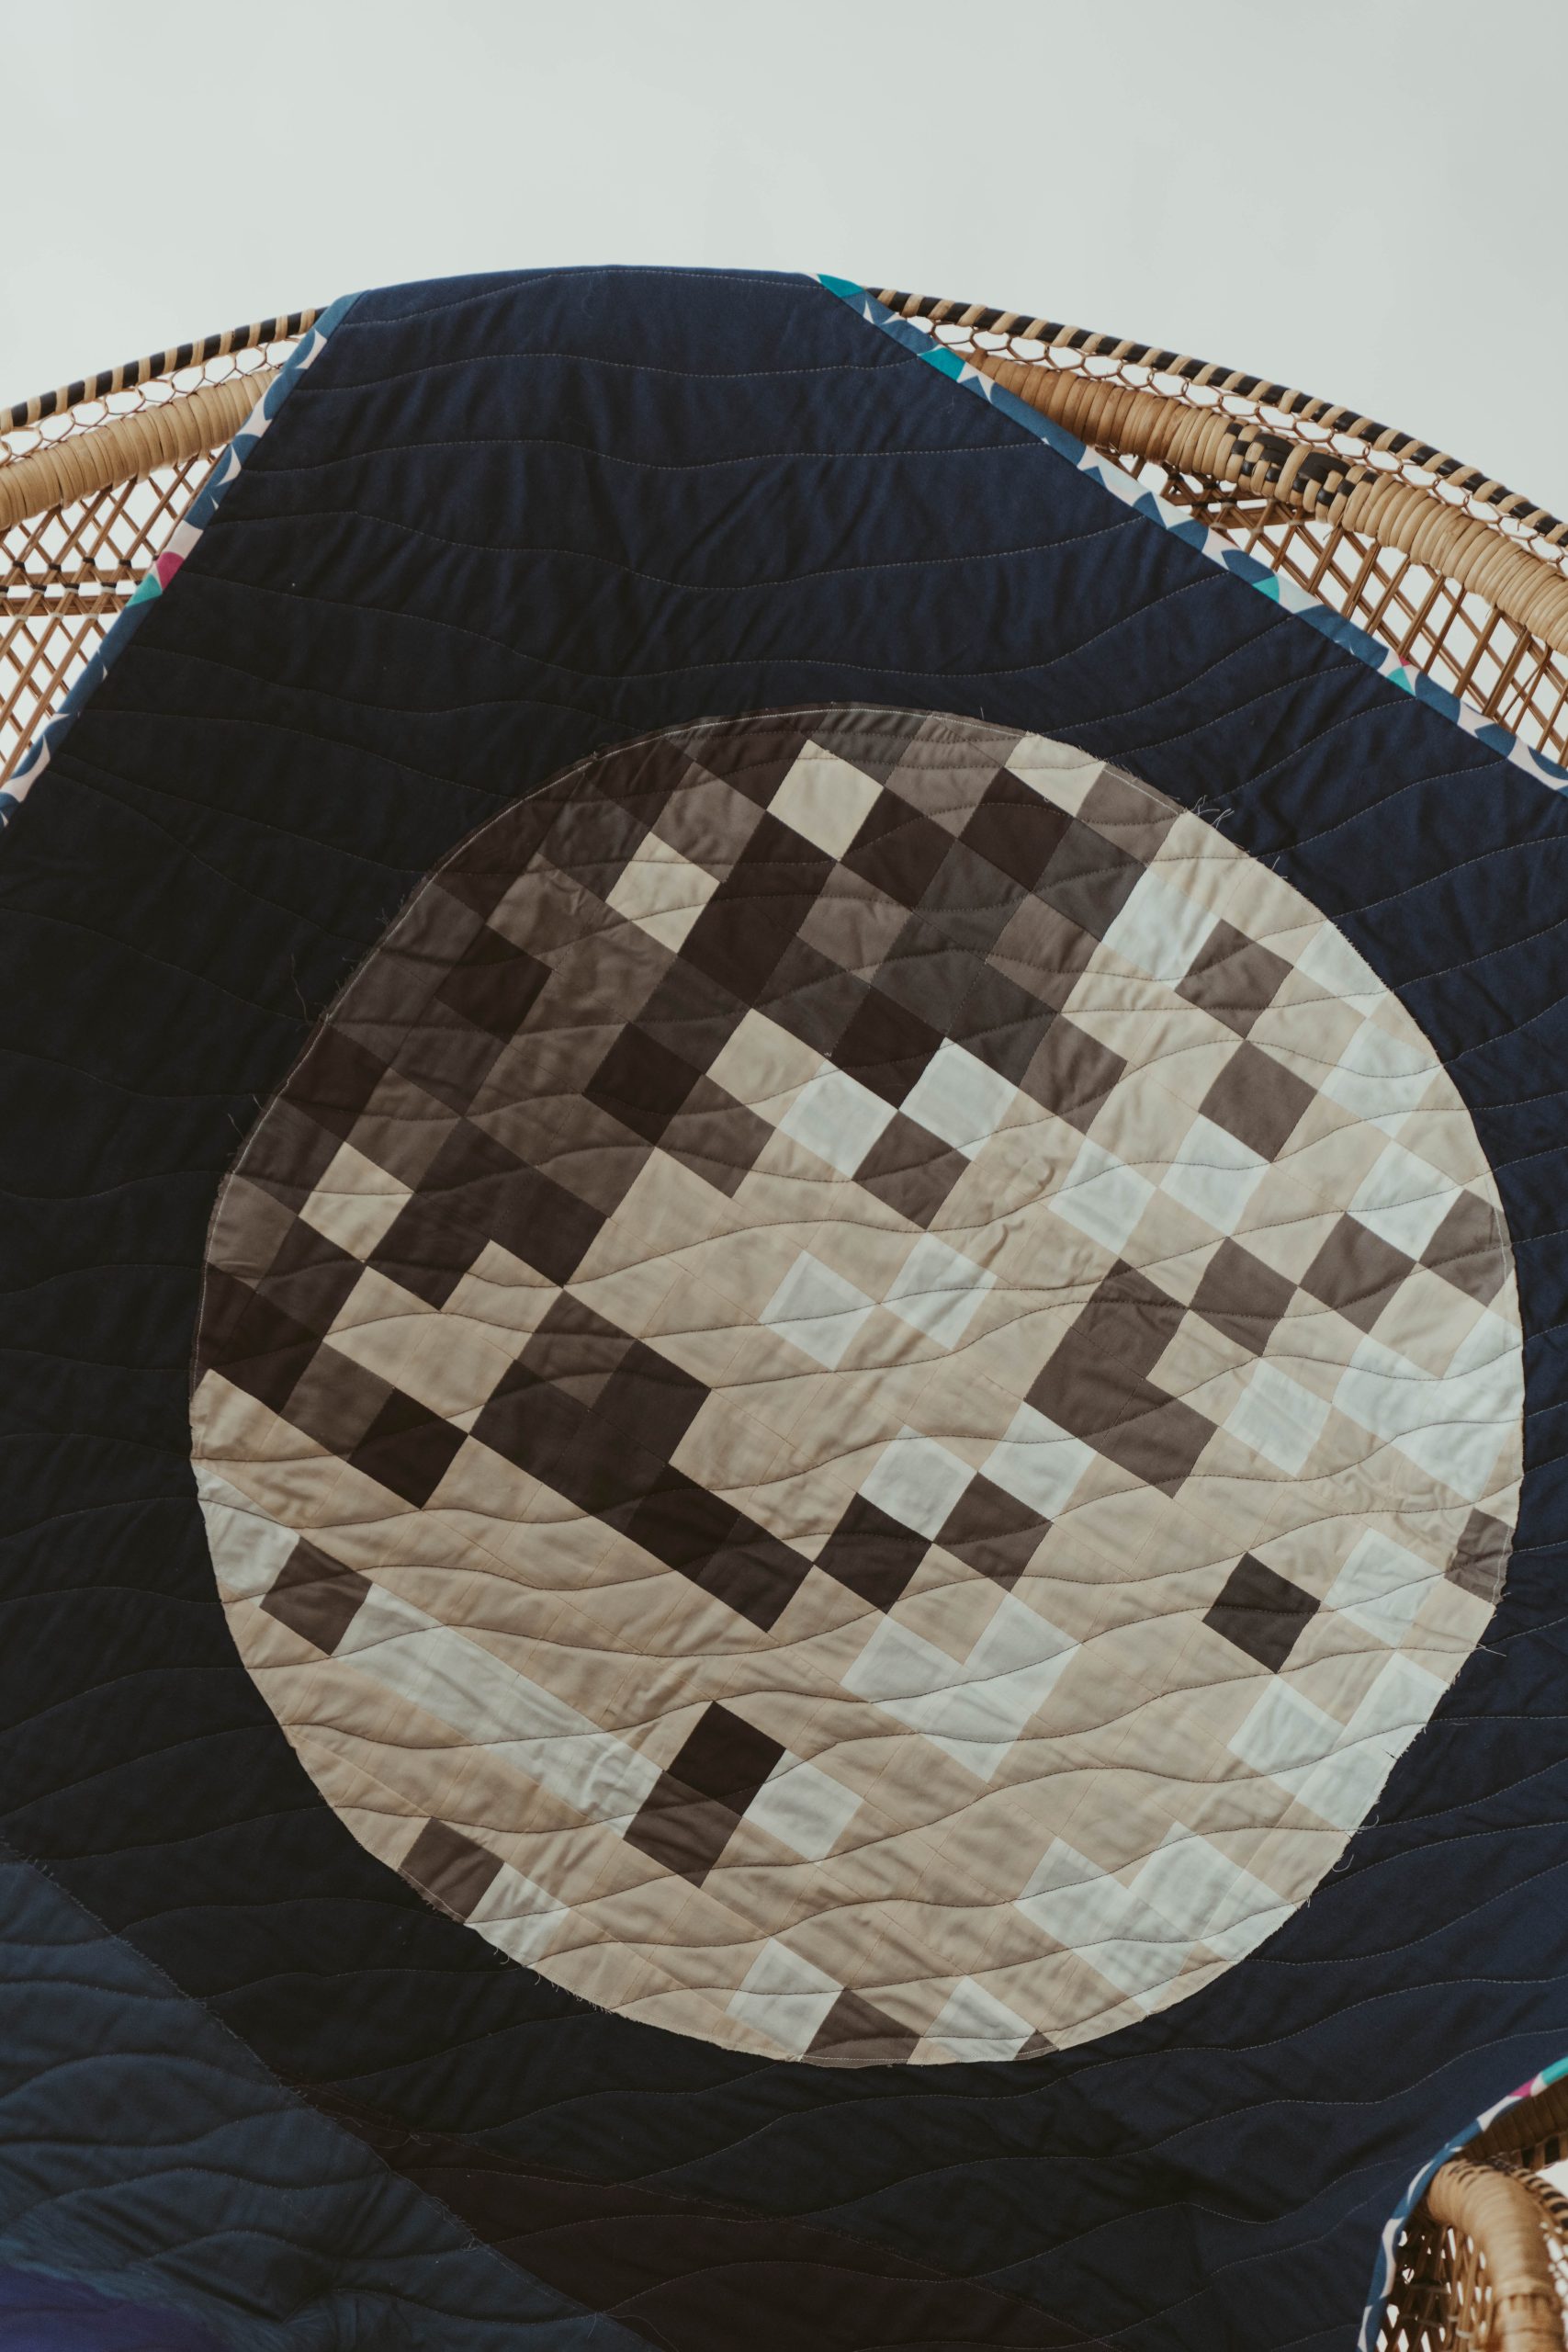
TIP: Bias your choices slightly towards the cream color to create extra ‘light’ in your moon and make it stand out against the night sky. The darker squares are used to suggest pixilated canyons on the moon surface.
From the binding and backing fabric:
- Bias cut tape 1 1/2” wide and join to make a continuous strip 176” long
- 1 piece 42” wide x 51” tall
From the interfacing:
- 1 piece 41” wide x 50” tall
Sewing Instructions:
CONSTRUCT THE BACKGROUND:
The background consisting of sky and a couple of moonlit hills is created in a fairly random way and it is appliquéd together using your favorite method. Some ideas for this might be a machine buttonhole stitch or free motion embroidery (the designer used the free motion option). There is some simple shaping to be done first.
- Working on the background hill, shape it into a left side of a triangle by finding the halfway point on the left hand side of the sky panel and marking it. Cut a gentle contour curve (no ruler needed, simply cut a gentle curve on the top edge) going towards that center point.
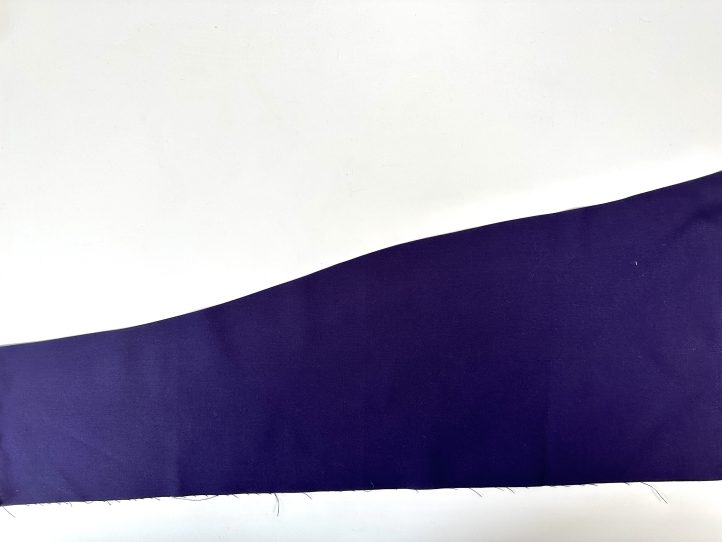
- Lay this rough triangle on the bottom right hand side of the sky so that all parts of the top edge are overlapping fabric. The contour that you cut will be on the top.
- On the bottom of the panel, trim level with the bottom of the sky panel.
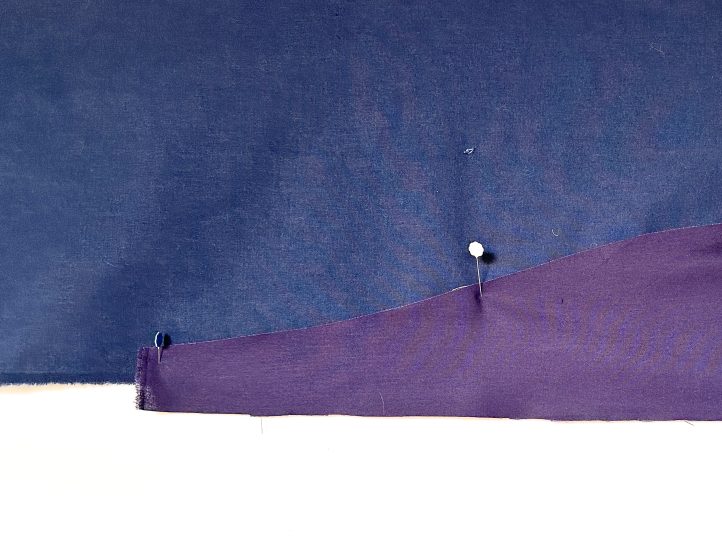
- Appliqué the top contoured edge using your chosen method. Underneath there will be some fabric that you can trim away and save for another project.
- The middle ground is shaped in a similar way but this time, working towards the right hand side.
- TIP: The only real ‘rule’ when doing this is to make sure that there are no raw edges of fabric sticking out and that every piece of fabric overlaps the others by at least 1/4”. Trim some of the excess from the back and put it aside for another project.
- Plan your contoured line across the top edge of the middle ground panel so that all of the previous raw edges and ends are covered by at least 1/4” of fabric.
- Lay the middle ground onto the bottom edge of the other two components, making sure that all of the raw edges are covered. Appliqué the top edge.
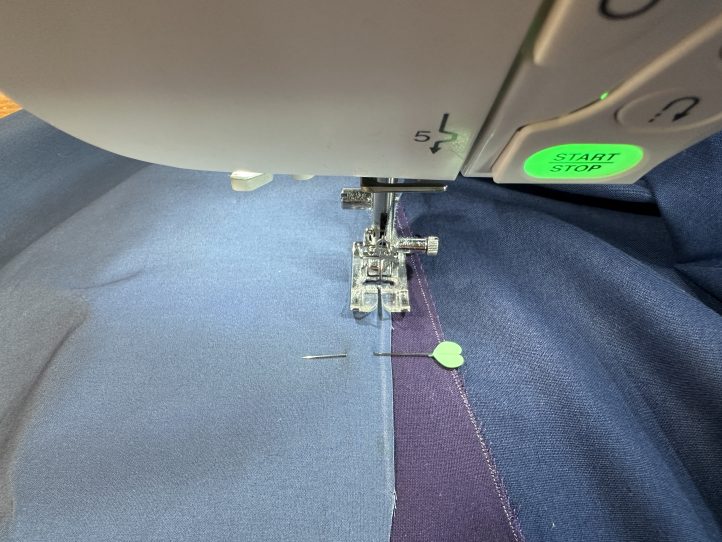
- The foreground is the easiest of all. Simply cut a gentle curve that stays quite straight across the fabric and appliqué it to the bottom edge of the middle ground.
- TIP: The bottom edge of this panel forms the bottom edge of the quilt and can be left as is.
- Press the completed background and put it aside.
THE MOON:
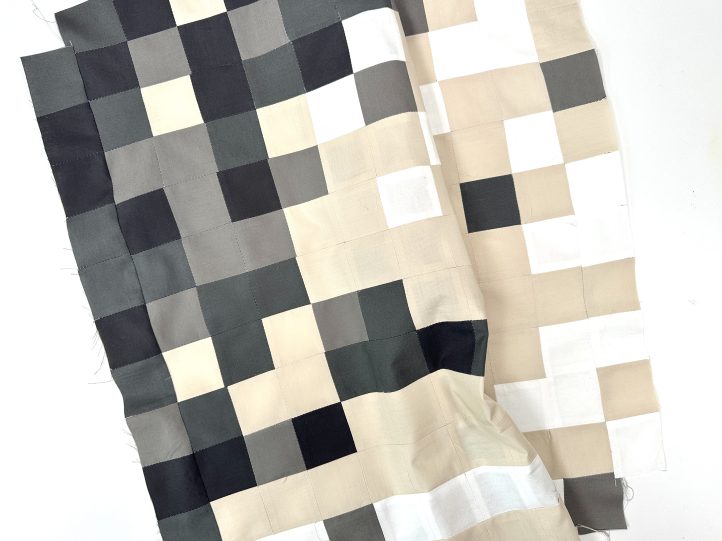
The moon is made up of random ‘pixels’ which are represented by squares of fabric and there is no real set-in-stone pattern for this. Group the lighter colors to the left hand side of the moon with the odd lighter squares thrown in. The squares will be attached in rows and then, cut into a circle at the end. To minimize waste, the first and last rows, and the ones on the sides are not complete.
As a general guide-
- Row 1: 9 squares mixed
- Press all of the seams open.
- Row 2: 11 squares mixed
- Row 3: 13 squares mixed
- TIP: It is a good idea to have a place where you can hang the moon up and view it from a distance so that you can see what is going on. This is not essential but it does help.
- Press all seams open and sew these three rows together centering them on the previous row, allowing the odd pixels to overhang on the end. Press again.
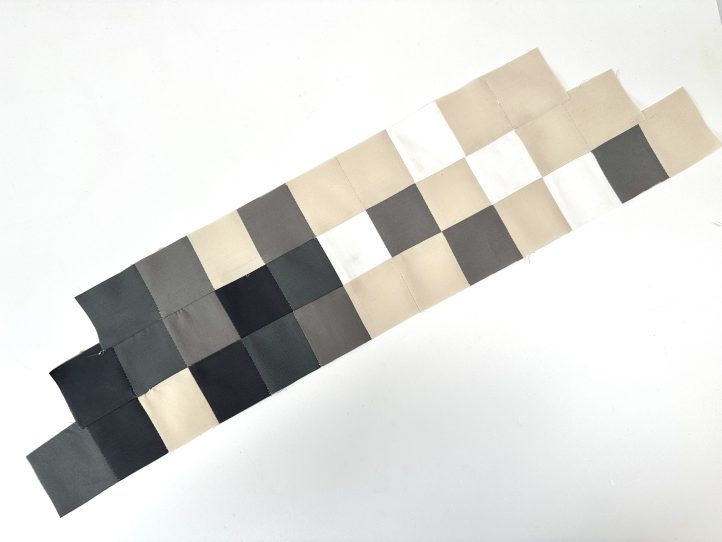
- Rows 4 to 12 are 13 mixed squares each, sewn together in a block.
- Rows 13 to 15 are the same as rows 1- 3 but mirror reversed.
- Make two more rows of 10 squares each. Group the lighter colors to the left hand side of the moon.
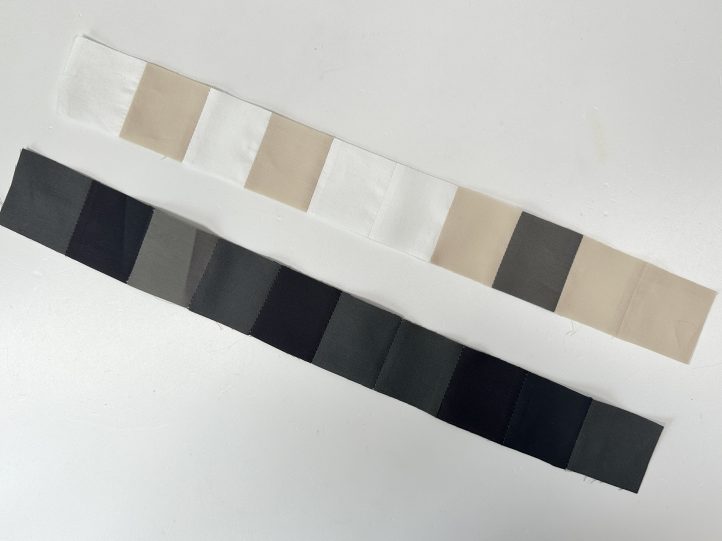
- These two go to the left hand side (the darker grey) and the right hand side (the lighter cream and white).
- When the moon is finished, press it well and fold in half and then in half again. Lay the full moon quilt template onto your quartered fabric with the point of the template in the folded corner.
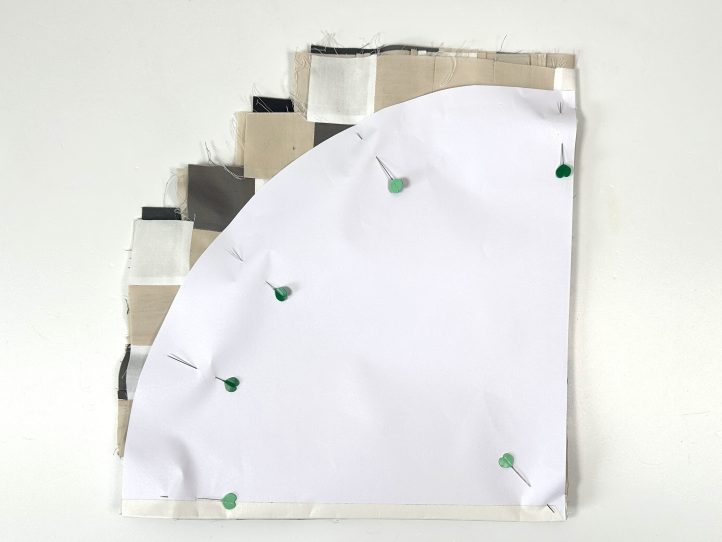
- Pin the template well and cut the moon disk out.
- Open the moon out and pin it onto your sky 4” down from the top and in the dead center. Appliqué the moon edge using your favorite method.
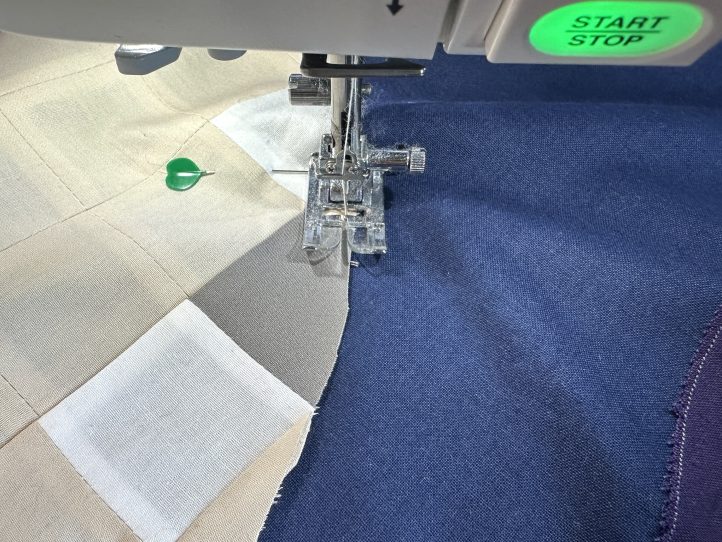
- TIP: Pin your moon really well from the center out in all directions. You could also hand or spray baste to keep it in place. It will be quilted in the final steps to keep it down.
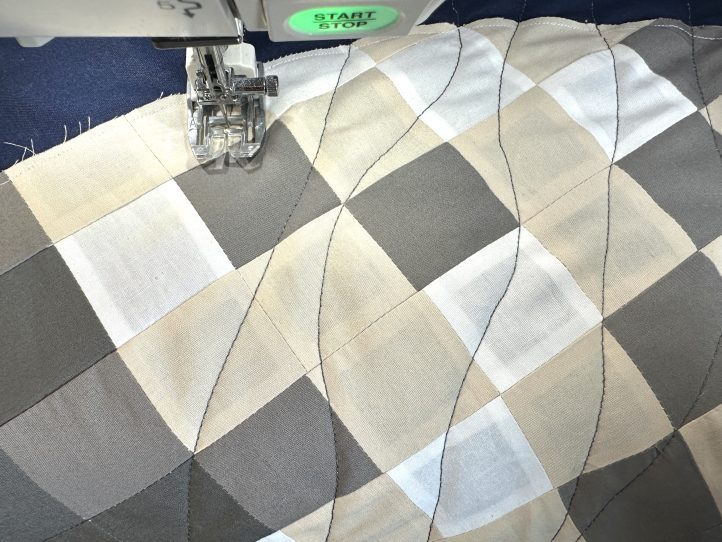
MAKING THE QUILT SANDWICH:
- Lay the backing fabric face down and center the interfacing on top of it. Place the pressed top onto the interfacing, right side facing up. Pin so that no movement is possible in any direction.
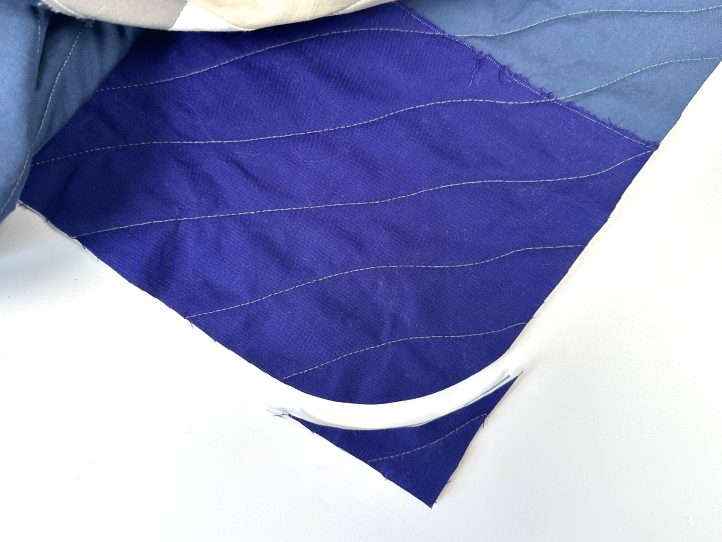
- Quilt with your favorite design. Debbie loves a random diagonal wave, which is really easy to do and perfect for this sort of quilt.
- Trim and square the quilt and round the corners with something suitable. The designer used an upturned coffee cup as a rule. Simply draw around the cup and cut it out.
- Bind the quilt using your preferred method.