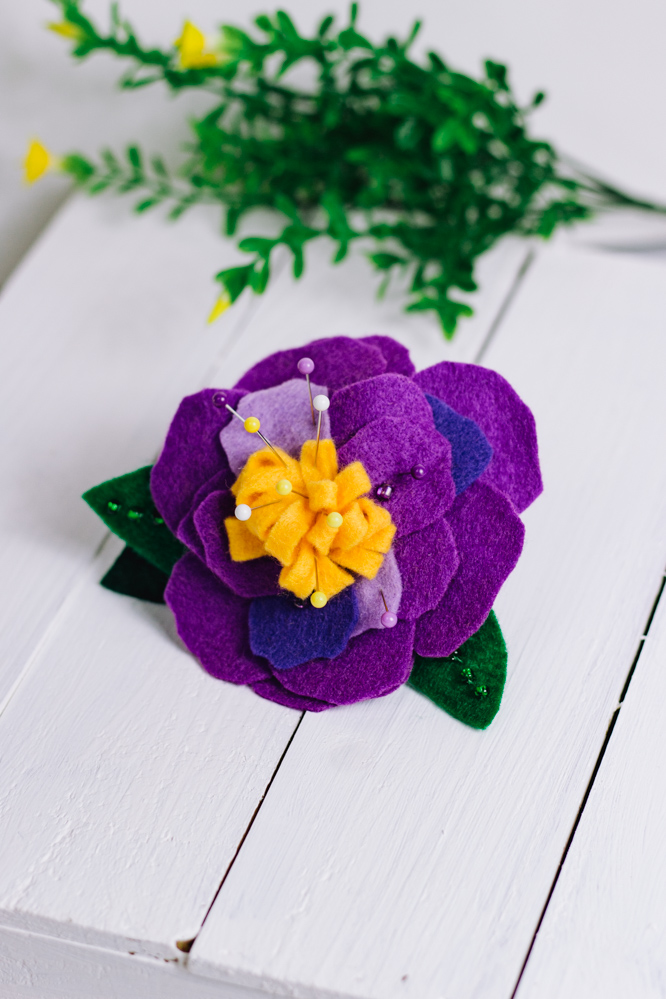
We firmly believe that you can never have enough cute pincushions, which is why we’re so excited to share this tutorial with you! Turn a few pieces of felt into a pincushion covered in delicate purple blossoms with this easy sewing project. Using hand sewing skills, you’ll learn how to stitch together an adorable pincushion in just a few hours. If you’re always losing your sewing pins, then you’ve got to add this project to your sewing room ASAP!
Time: 2 hours
Materials:
- Felt sheets (2 purple, 1 yellow, and a bit of green)
- All-purpose sewing threads (in colors that match the felt)
- Hand-sewing needle
- Polyester stuffing
- Seed beads (optional)
- Pencil
- Paper or thin cardboard (to make templates and sketches)
- Fabric scissors
- Paper scissors
- Thimble (optional)
- Pins
- Measuring tape or ruler
- PDF pattern
Sewing Instructions:
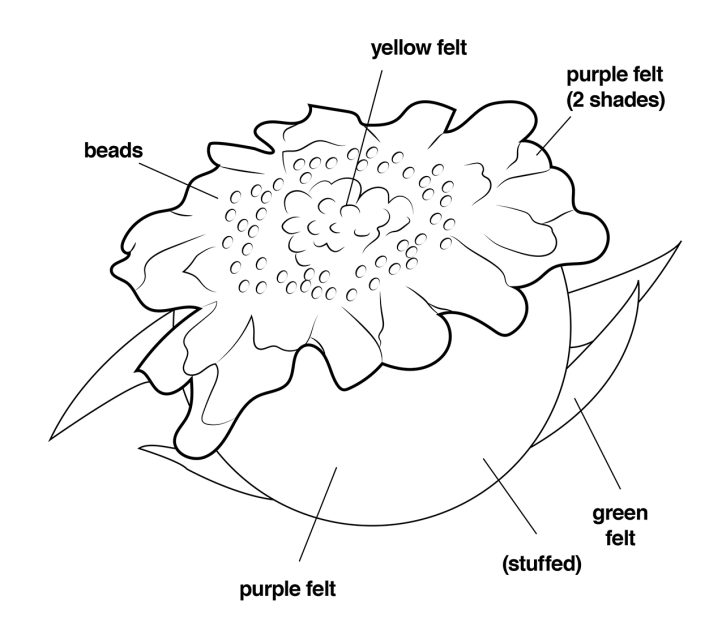
Note: Please use the following diagram for piecing together your pincushion.
- Start by drawing the pincushion’s template pieces onto your paper or cardboard. The pieces that should be cut out of the paper include:
- base (circle approx. 5” across)
- top piece (circle approx 3.5” across [this is to attach the petals onto])
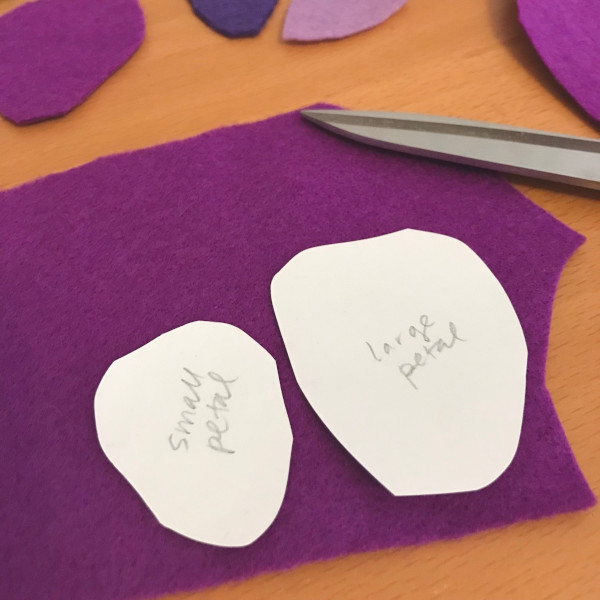
- small petals (1.25” long)
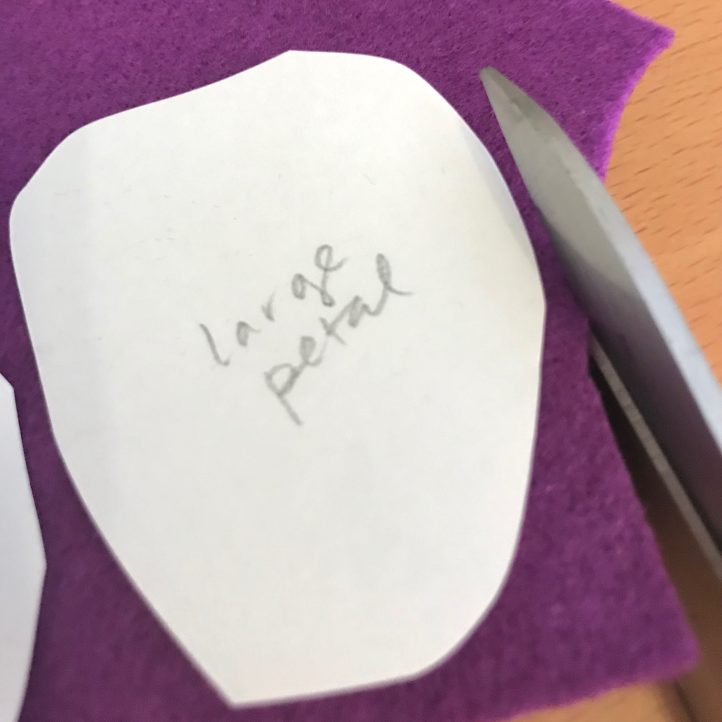
- large petals (1.75” long)
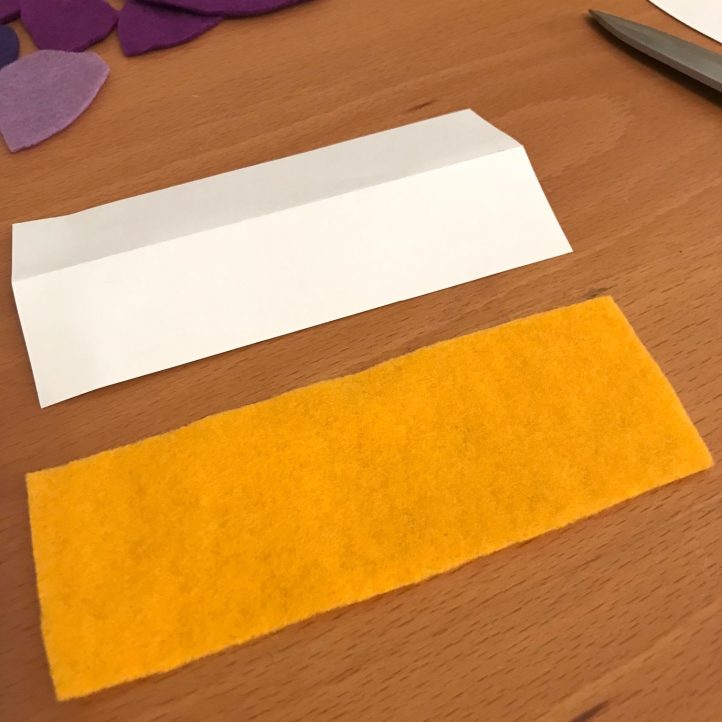
- center rectangle piece (about 5” by 1.5”)
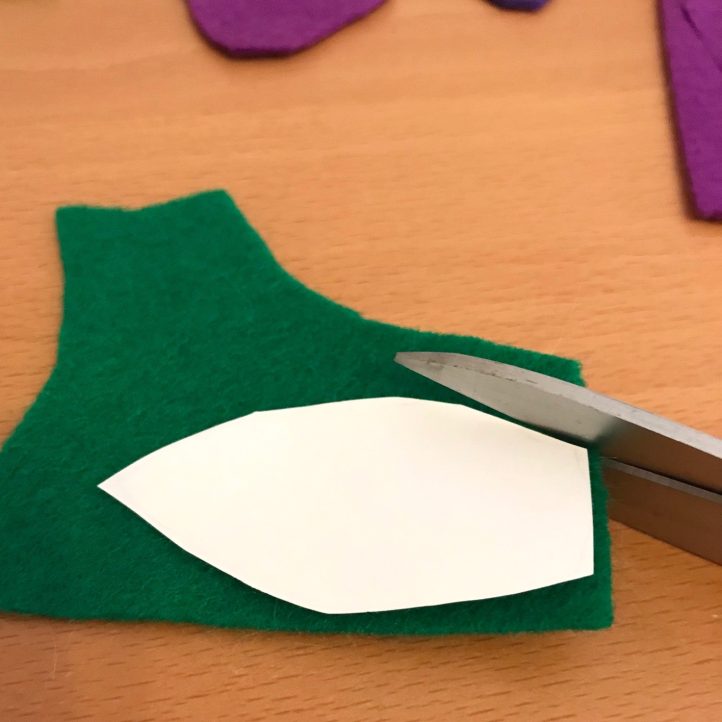
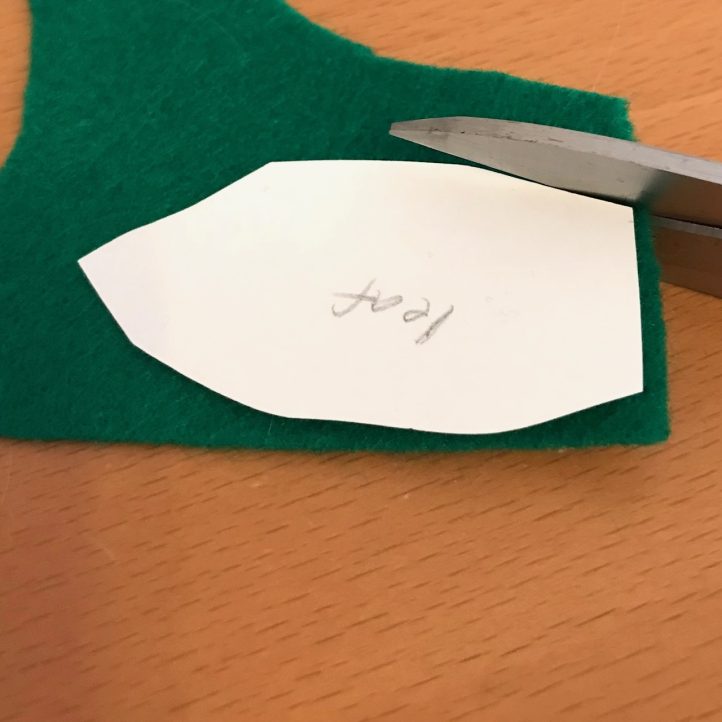
- leaves (2-2.25” long)
(all measurements are taken on the longest dimension unless otherwise marked)
- Label the templates by name with your pencil, then cut them out using paper scissors. Erase the pencil lines if desired.
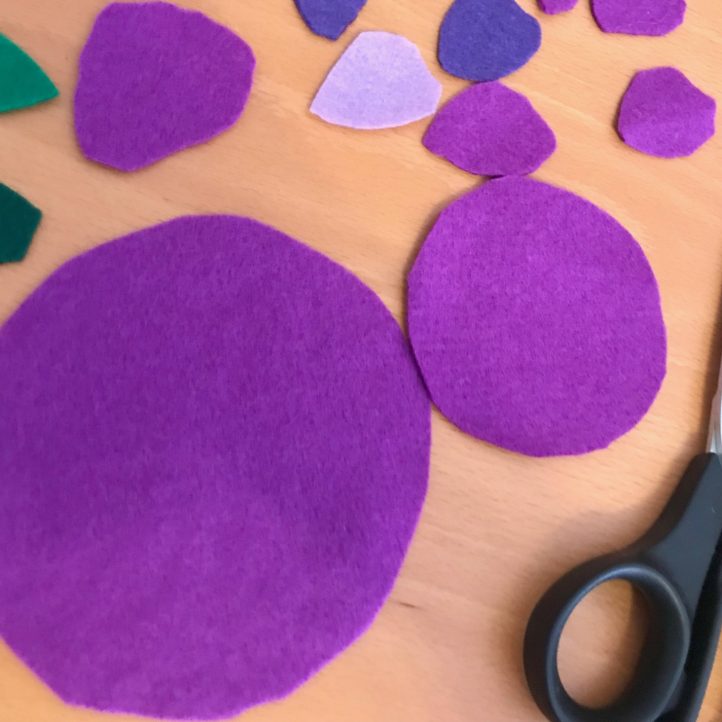
- Place the felt sheets onto your work surface. Use the templates to cut out the felt sheets of the following pieces:
- base (1 in purple)
- top piece (1 in purple)
- small petals (7-10 in purple)
- large petals (8-10 in purple)
- center rectangle piece (1 in yellow)
- leaves (2-3 in green)
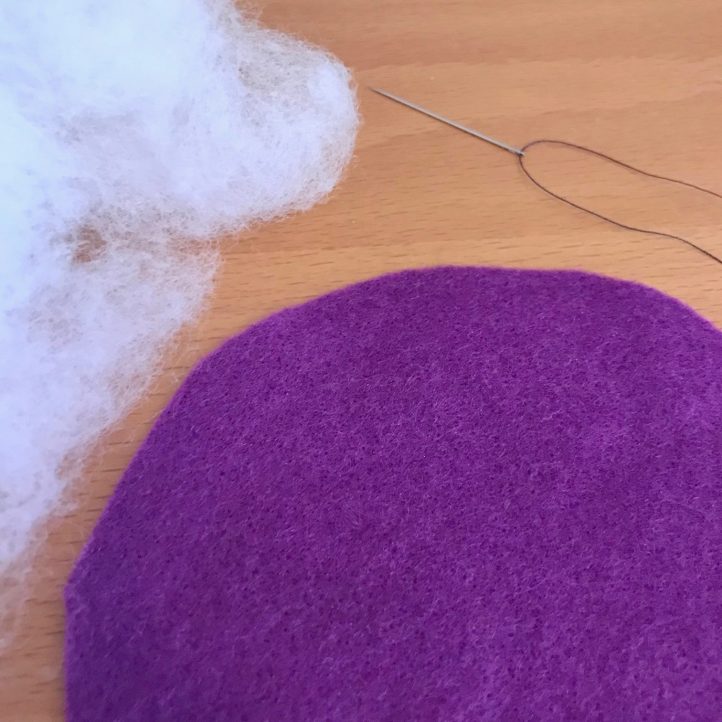
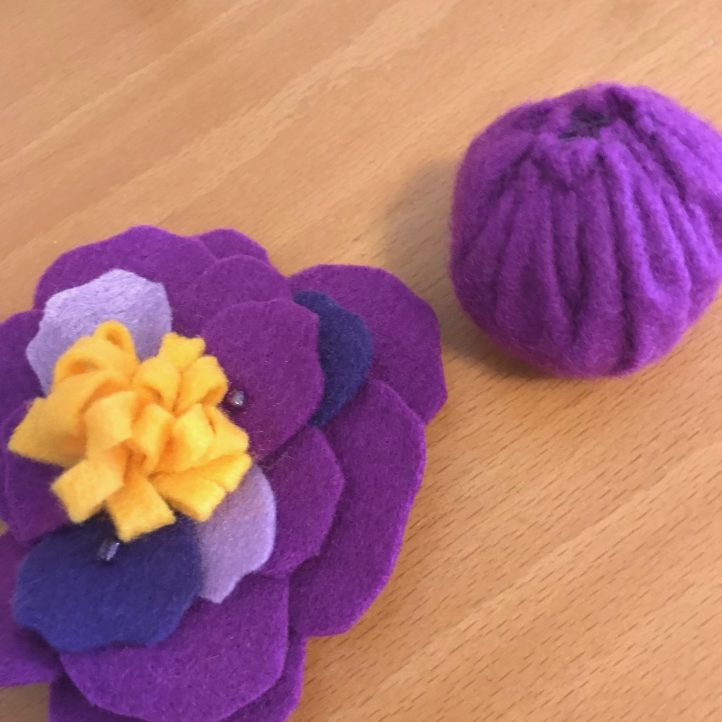
- Now it’s time to create the base of the pincushion! Place the purple base piece circle with the right side facing downwards on the table. Hand-sew around the edge of base with a wide basting stitch (double your thread for strength). This will be used to gather the shape into a pouch in the next step, so don’t tie it off (leave the thread and needle connected).
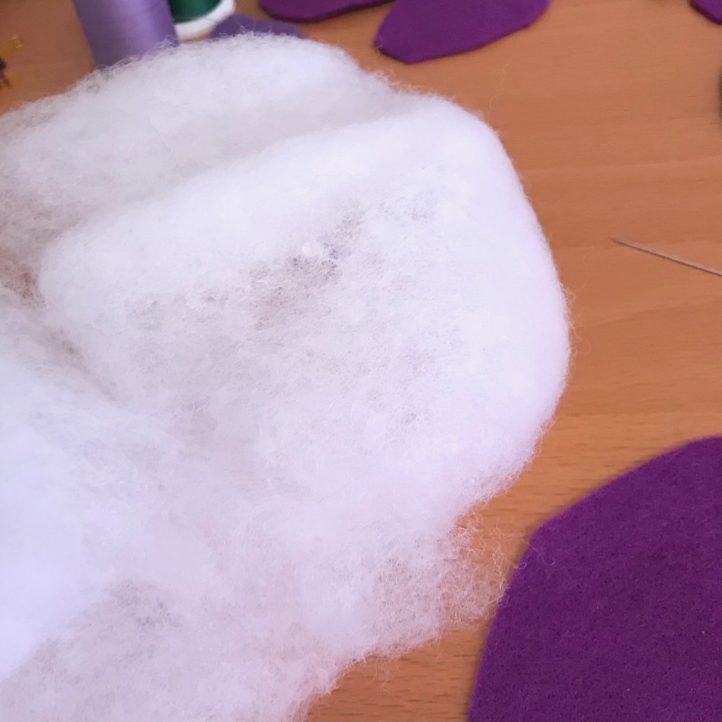

- Place the stuffing in the center of the base and pull gently to create a pouch shape. Move the gathering fabric along with your fingers so it is even.
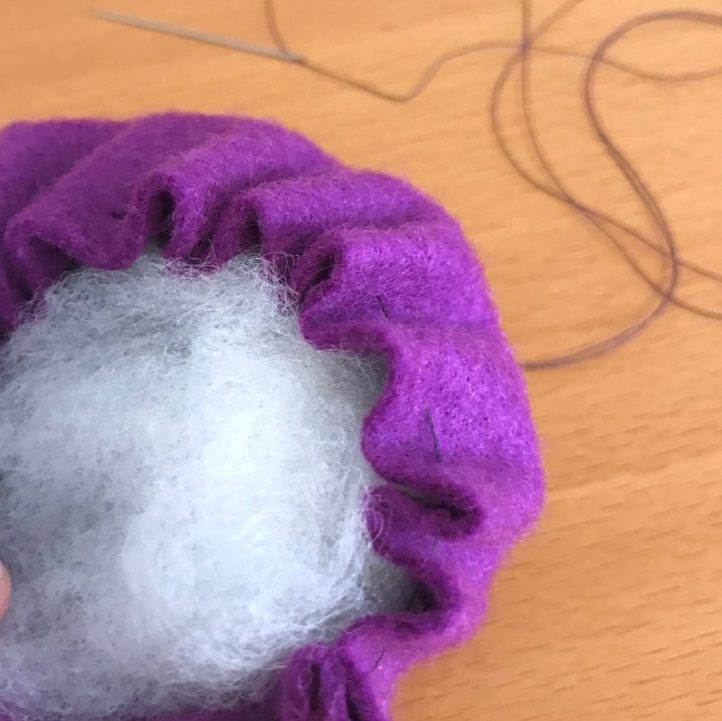
- Stuff the base with the polyester stuffing. Add a little bit at a time until it is slightly firm but not too hard.
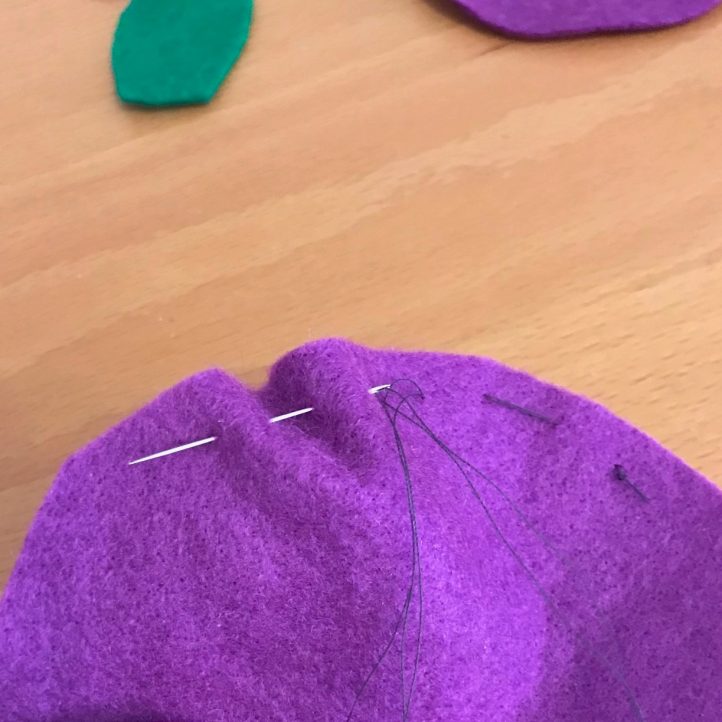
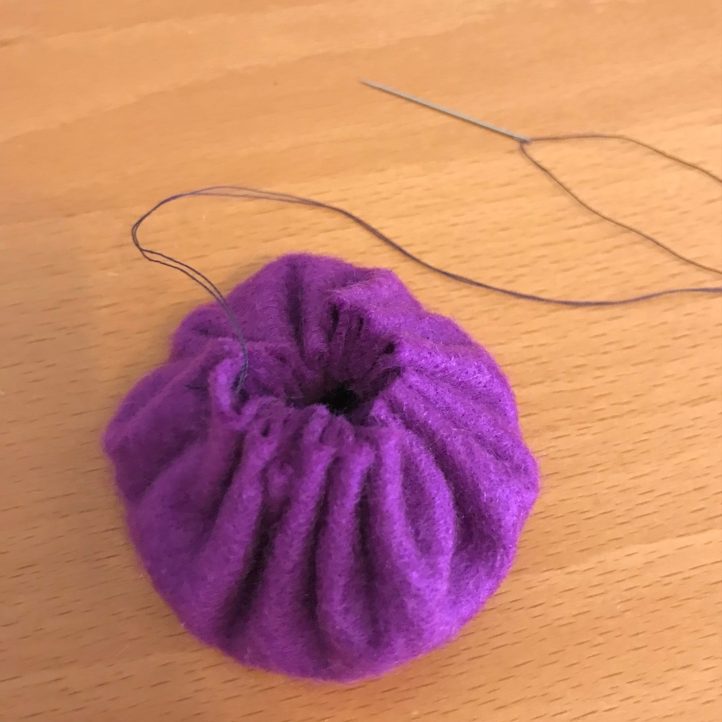
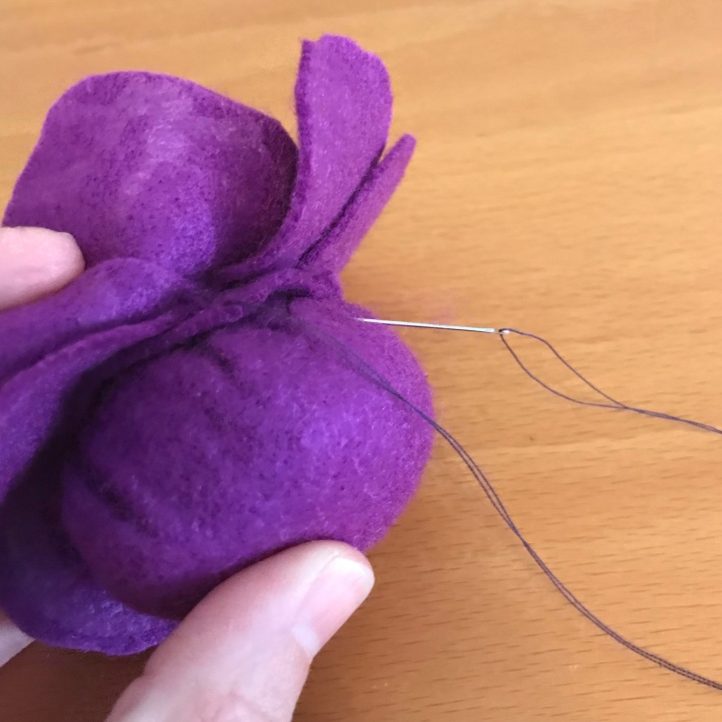
- Close the top of the pouch shape using the needle and thread. Pull the thread gently and stitch through opposite sides at the top until it is totally closed. Knot and tie off your thread.

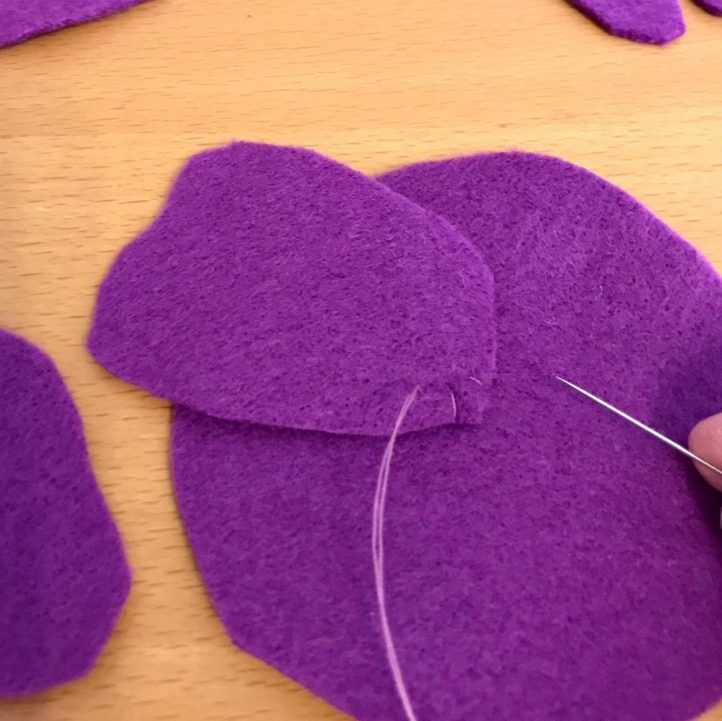
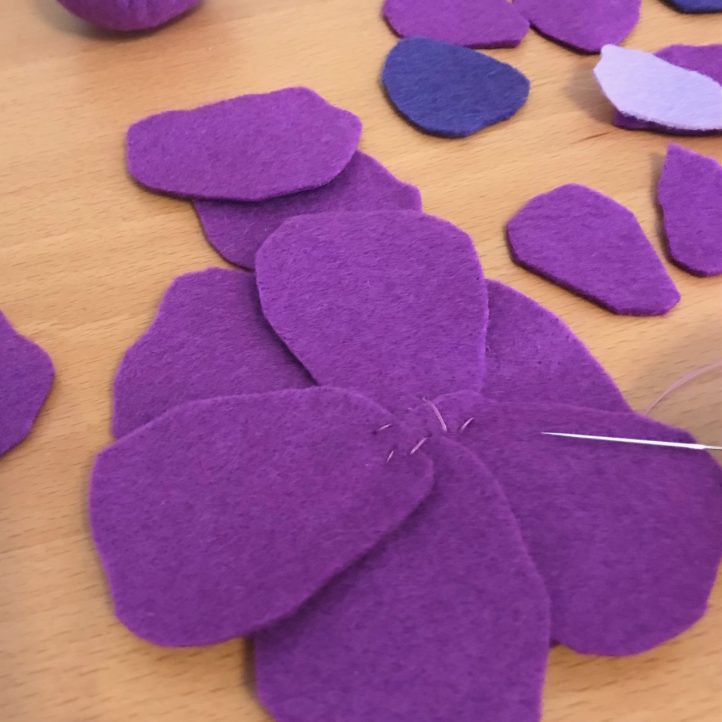
- Next, place the top piece on your table with the right side facing upwards. Create a single layer of petals by hand-sewing on the large felt petals in a circle. They should meet and be stitched right in the center. Overlap/stagger them slightly until the space is mostly filled in. Be sure to keep your stitches to the middle because this part will be covered later.
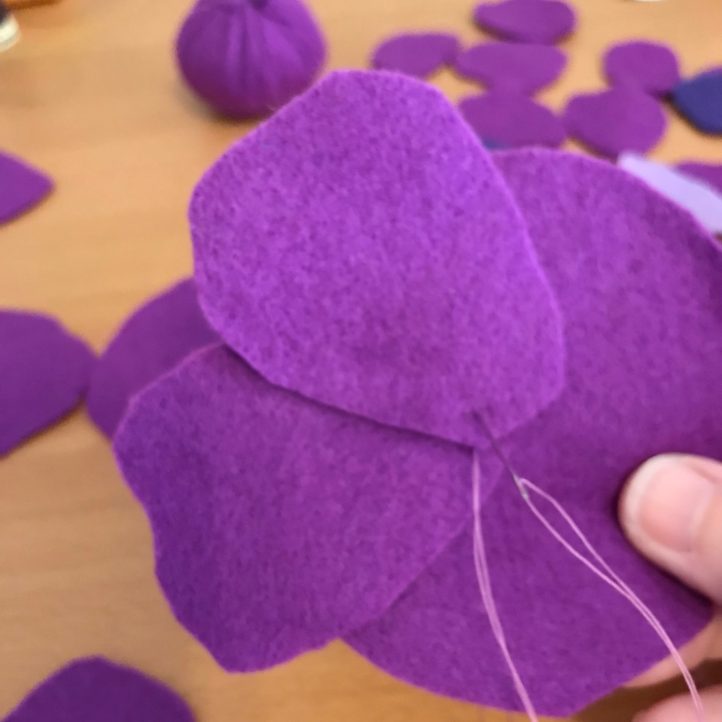
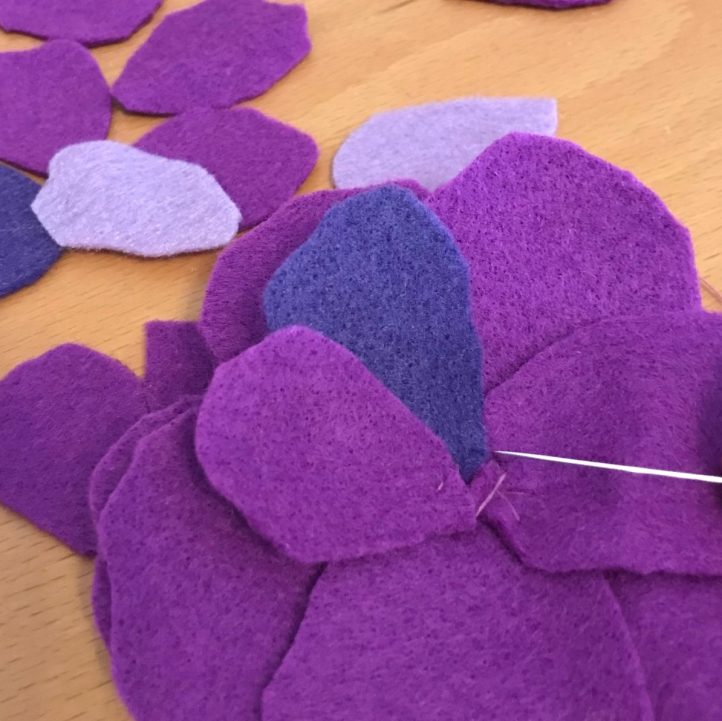
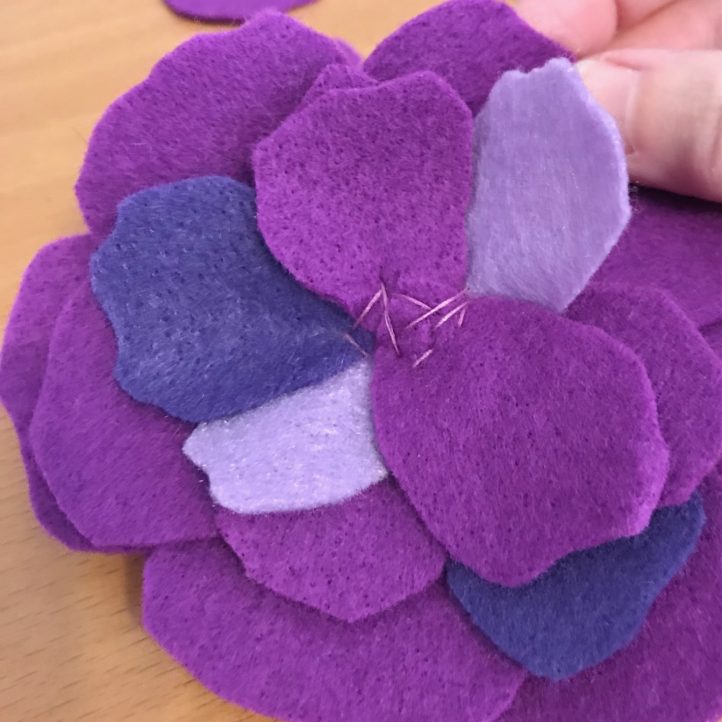
- The smaller petals can now be hand-sewn on top of the larger petals. If you want to add purple seed beads to some of the petals, this can be done now.
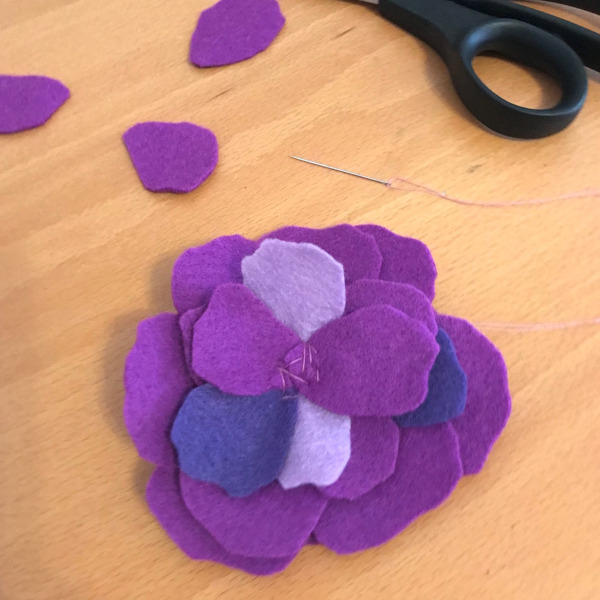
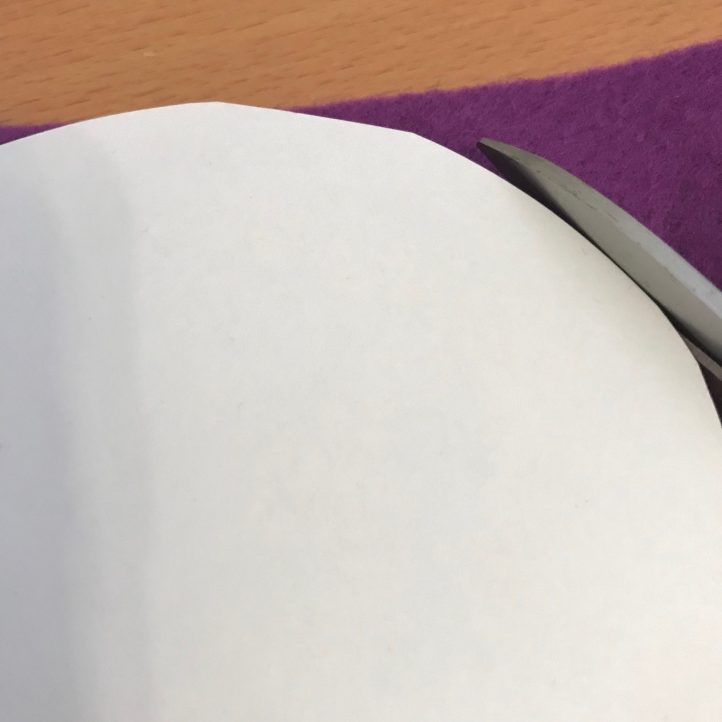
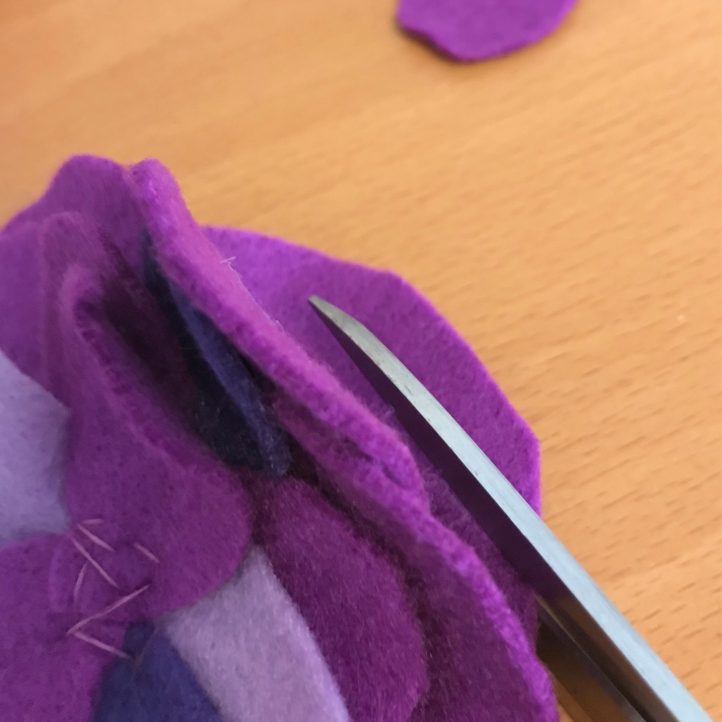
- Flip the piece with the petals attached over and slowly trim around the round shape the petals are attached onto. The goal is to remove the excess fabric so it doesn’t stick out or show. Be careful not to cut into the petals.
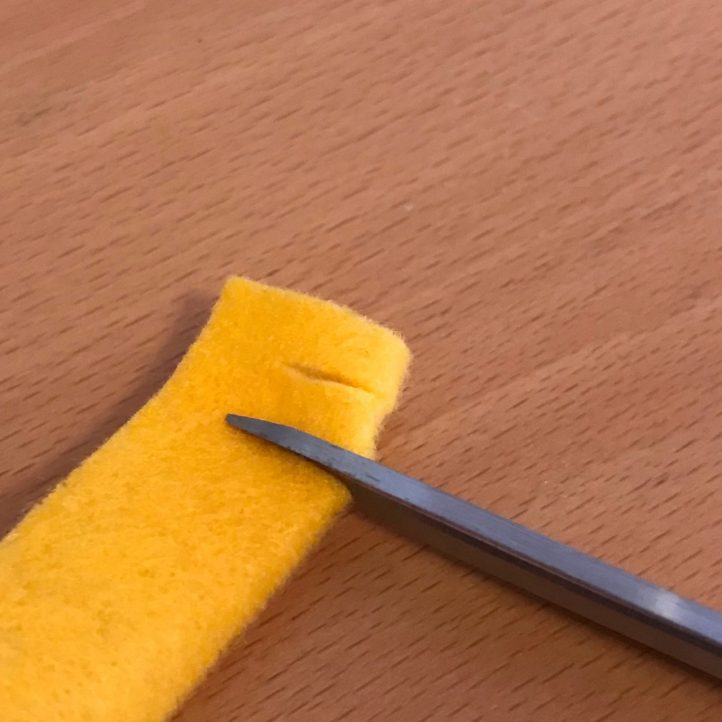
- Now the center of the flower pincushion can be created! The yellow felt rectangle will be used for this feature. Fold the rectangle in half lengthwise (pin if needed), then snip about 2/3 down from the center of the folded side.

- Loosen the cut areas a bit. Wrap the (still folded) yellow rectangle around itself to form a rounded shape of many loops.
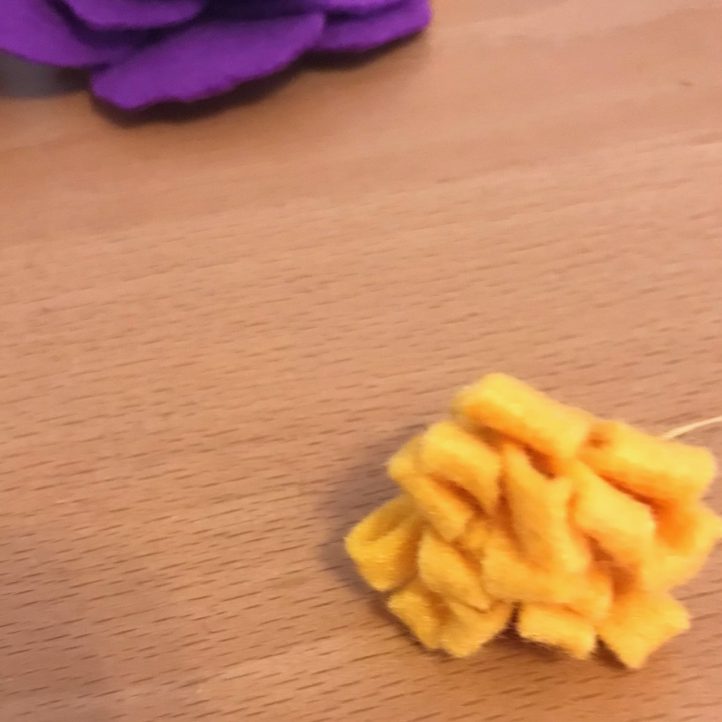
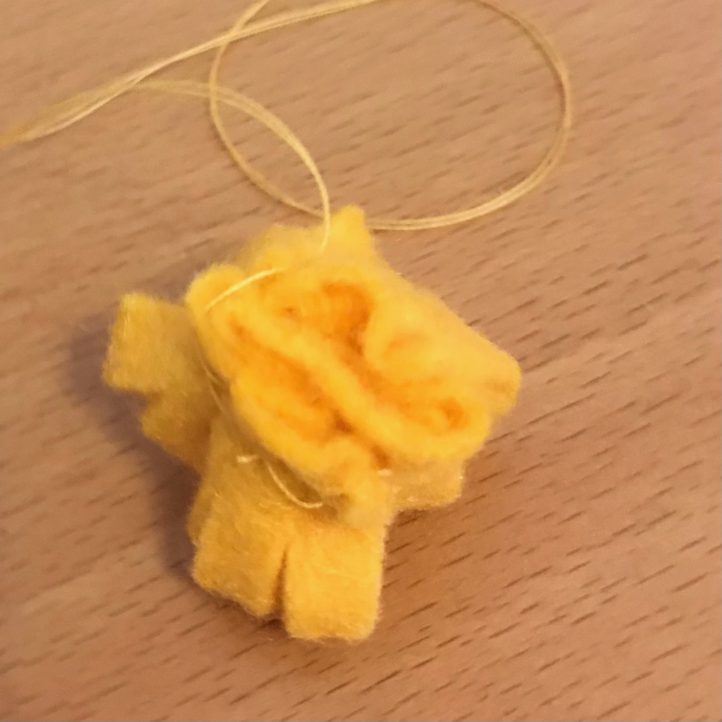
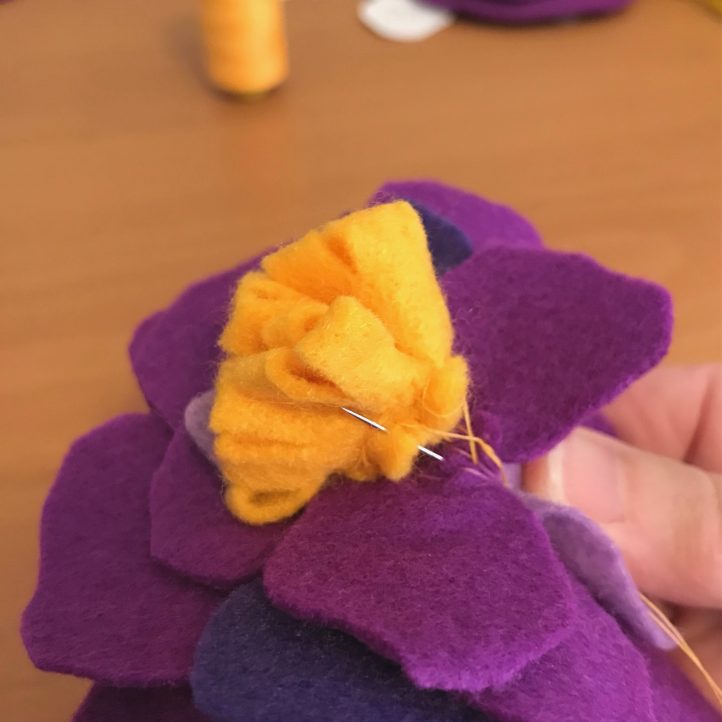
- Hand-sew the yellow center piece at the bottom sections to hold all sections together. Keep the thread attached so you can use it to connect this part to the base.
- Using the needle and thread, sew the yellow loopy center piece onto the middle of the purple petals. It should be securely attached, but try to hide the stitching as much as possible.


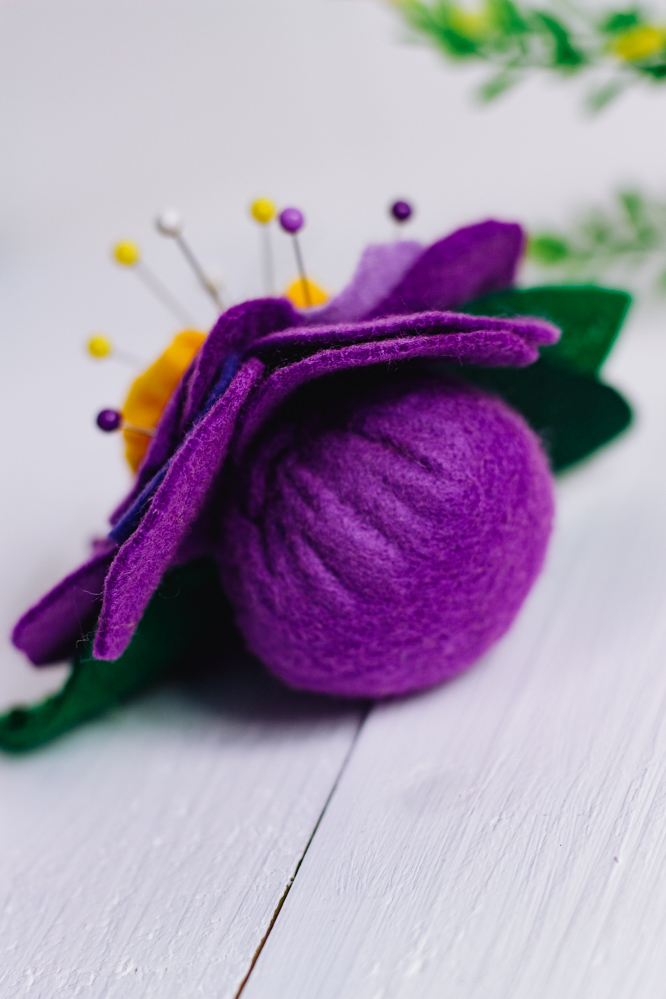
- Attach this large piece with the petals and center to the base of the pincushion. Sew it on discretely under the petals, securing it to the gathered part of the round base.
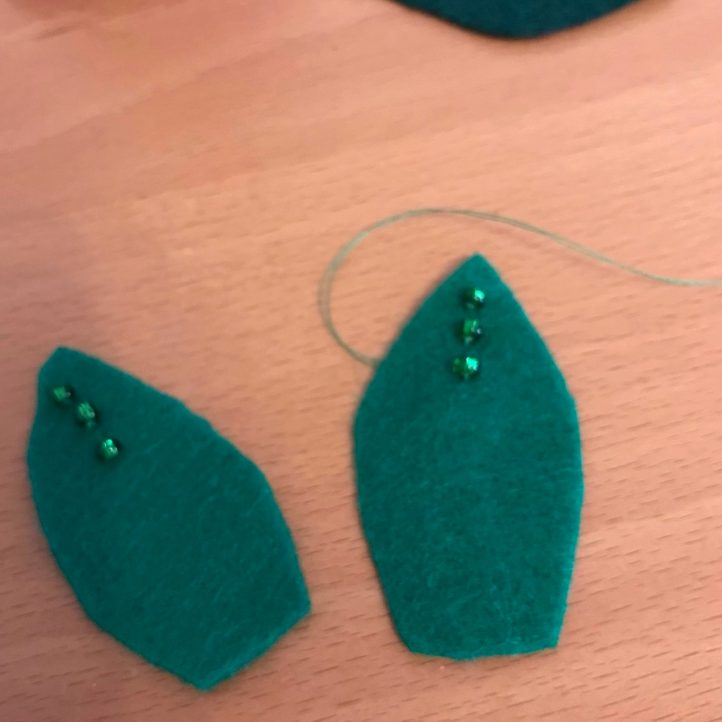
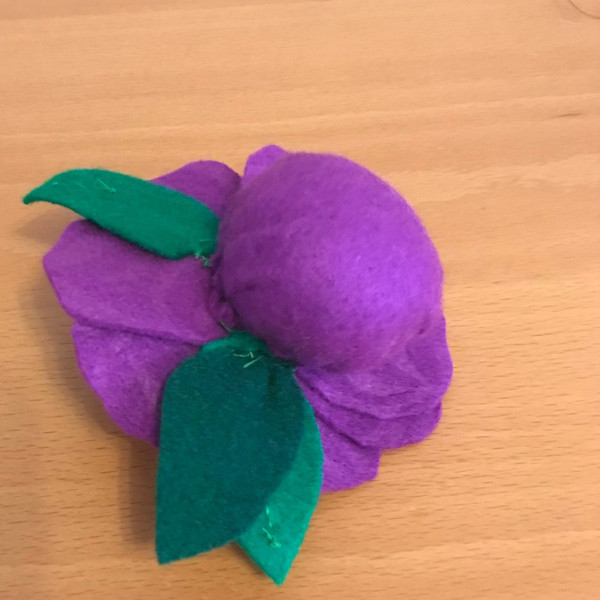
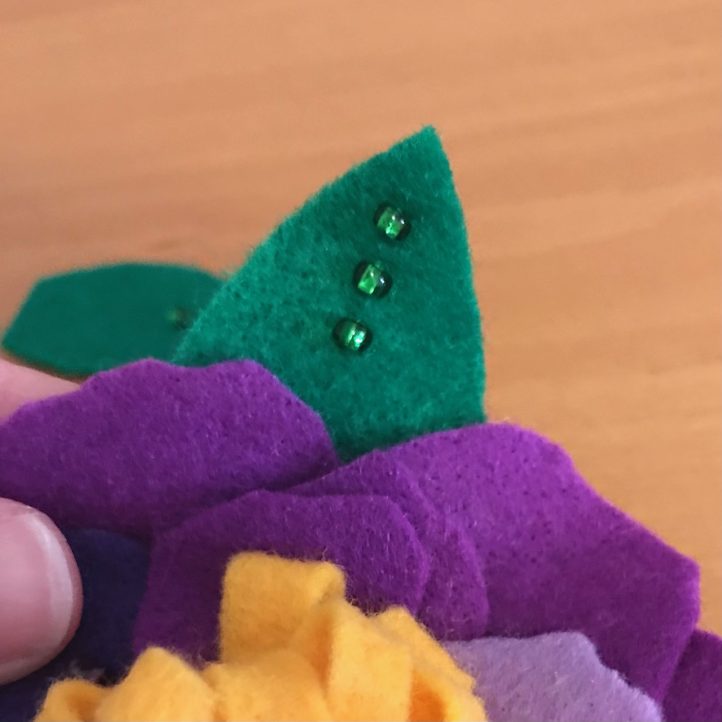
- The leaves can now be sewn on just behind the petals (so that they peek out on the sides). If you want to add a little more sparkle, seed beads can be hand-stitched onto the green felt before they are attached.
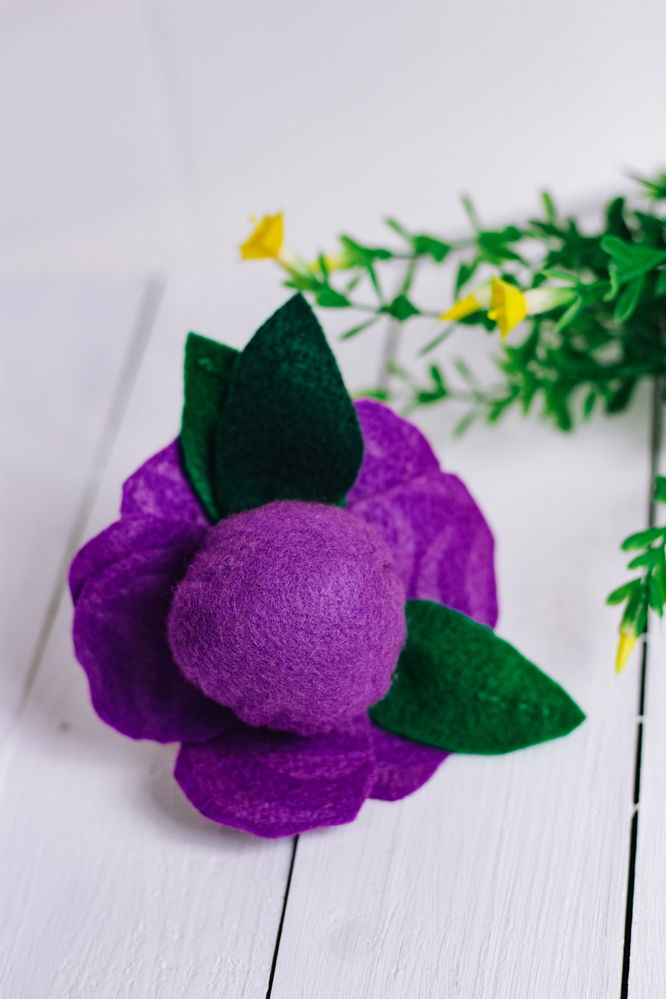
- Check for any loose pieces on the pincushion, and trim off excess threads. Enjoy your lovely new pincushion!
Love it. ALready made one.hank you.
Love it. ALready made one. Easy, to make. Awesome! Thank you.
Thanks so much for your kind comment, Linda! We’re so glad you enjoyed this pattern 🙂 – Ashley, We Like Sewing
Pincushion Diagram does not load
Hi Jen! Thanks for letting us know about this issue. We’ve moved the pincushion diagram to be included in the project instructions, so that readers can more easily access it. Please let us know if you have any issues viewing the diagram. Have a great day! – Ashley, WeLikeSewing
Thank you
You’re welcome, Jen! Have a great day! – Ashley, WeLikeSewing