All photos in this article are provided by the author.

If you’ve ever opened a beautifully made jacket or skirt and thought, “Wait… the inside is gorgeous,” you’ve met the Hong Kong seam.
This is the finish that takes a raw, fray-prone seam allowance and turns it into a clean, ribbon-wrapped interior—especially useful on garments that are unlined or only partially lined. It’s polished, practical, and surprisingly addictive once you get the hang of it.
A Hong Kong finish also shines on medium-weight fabrics—the ones that can feel too bulky for a full lining, but still deserve a tidy, professional interior.
What You’ll Need:
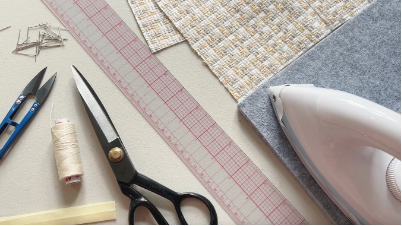
Aside from your sewing machine, gather:
- Bias tape or bias strips
- Matching thread (to your bias tape or fabric)
- Fabric to make a seam with (scraps are perfect)
- Straight ruler
- Pins or clips
- Iron and ironing board
- Thread cutters/snips
- Optional but highly recommended: a tailor’s clapper
TIP! This is a fantastic technique to practice on small squares first—two 6″ x 6″ pieces are plenty.
What Is a Hong Kong Seam?
A Hong Kong seam is a seam finish where you bind the raw edge of the seam allowance with bias tape. The goal is simple: prevent fraying and give your garment a clean, couture interior when you’re not using a full lining.
It can also be a style detail—especially if you choose a bias tape color that contrasts (or coordinates) in a satisfying way.
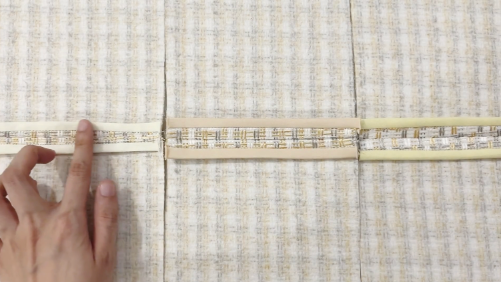
Bias Tape: Choose the One That Behaves
In your studio (or sewing drawer), you’ll typically encounter three “personalities” of bias tape:
- Lower-quality store-bought tape: Sometimes slightly see-through, sometimes too flimsy to sew without rippling.
- Self-made bias strips: Cut on the 45° angle from the grain line—perfect when you can’t find the right color in ready-made options.
- Higher-quality store-bought tape: Often the sweet spot—enough body to pin and stitch cleanly without fighting you.
Width matters. Your tape must be wide enough to fully wrap and encase the seam allowance edge. As a general guide, 1 1/4″ to 1 1/2″ wide bias strips work well for many garment seam allowances (adjust based on your seam allowance and fabric thickness).
How to Sew a Hong Kong Seam
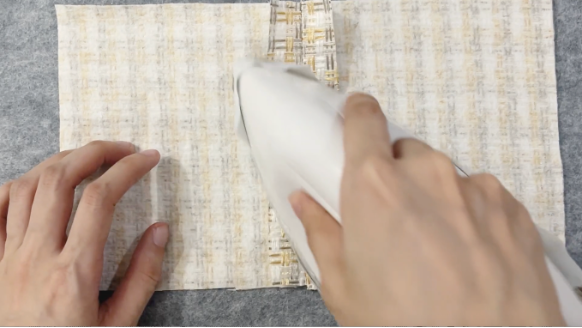
STEP 1: SEW THE SEAM AND PRESS IT OPEN
- Place two fabric pieces right sides together and stitch your seam.
- Press the seam allowance open so it lies flat.
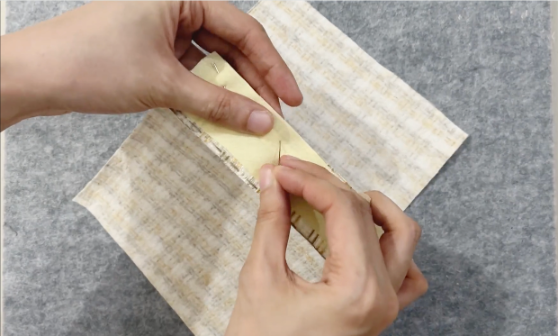
STEP 2: PIN BIAS TO ONE SEAM ALLOWANCE
- Identify the right side of your bias tape or strip.
- Align the raw edge of the bias with the raw edge of one seam allowance.
- Pin or clip along the length.
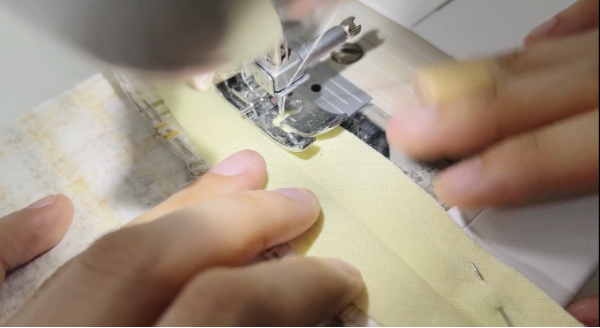
STEP 3: STITCH THE BIAS TO THE SEAM ALLOWANCE
- Stitch the bias to the seam allowance about 1/4″ from the raw edge.
- Backstitch at the beginning and end to lock it in.
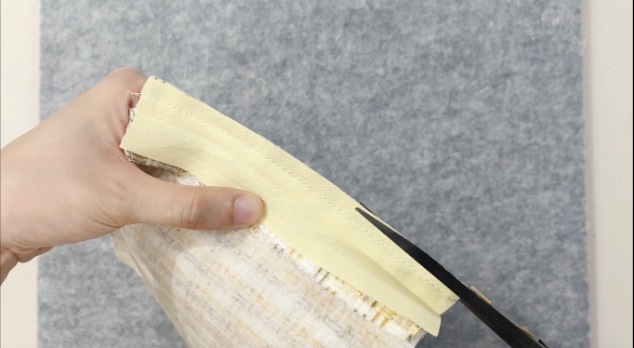
STEP 4: PRESS AND (OPTIONAL) TRIM FOR A FLATTER FINISH
- Press the bias away from the seam allowance so it relaxes and lies smooth.
- Optional: Trim about 1/8″ from the seam allowance edge to reduce bulk before wrapping.
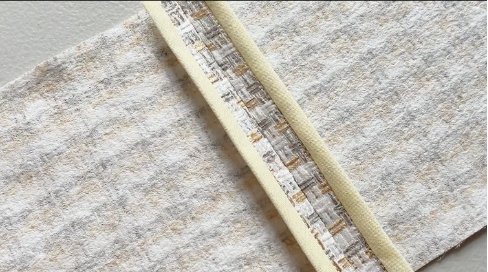
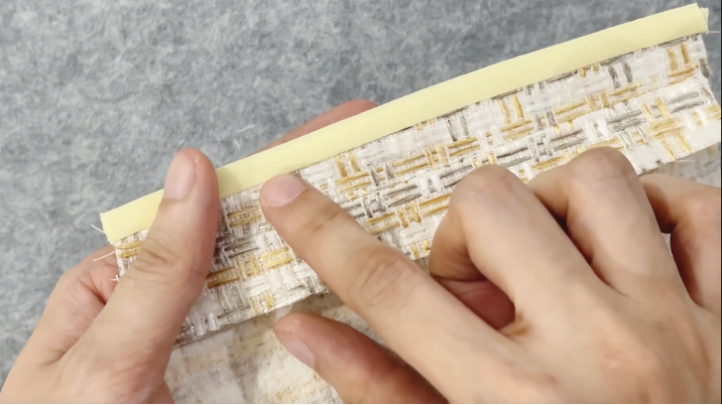
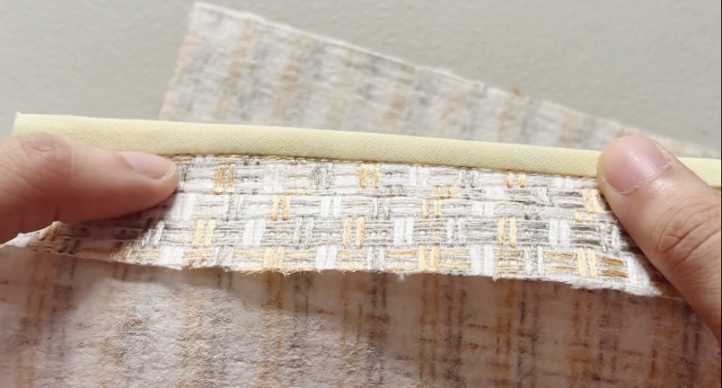
STEP 5: WRAP THE BIAS AROUND THE RAW EDGE
- Fold the bias over the raw edge to the underside of the seam allowance, encasing it.
- Press the fold so it holds its shape.
STEP 6: STITCH IN THE DITCH TO SECURE
- From the top side, stitch in the ditch—right next to the seam you made when you attached the bias—so the folded edge underneath is caught.
- Go slowly around any curves and backstitch at the beginning and end.
The Two Secrets to a Truly Beautiful Hong Kong Seam
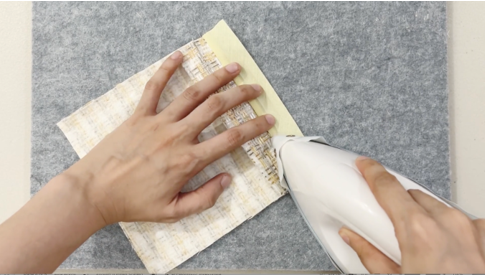
1. PRESSING AT EVERY STAGE
Pressing isn’t a “nice extra” here—it’s what makes a Hong Kong finish look couture instead of homemade.
- Press the seam open before you bind anything (flat seam allowances = flat binding).
- Press after stitching the bias on so the tape relaxes and behaves.
- Press after wrapping the bias to sharpen that clean edge before your final stitch.
TIP! Use a clapper to set the press. After steaming/pressing any seam you want crisp—especially the seam allowances you’re Hong Kong finishing—place a tailor’s clapper over the hot area for 5–10 seconds. It absorbs moisture and helps the seam cool perfectly flat (no puff, no ridge). Use it on side seams and any seams you bind with Hong Kong finishing.
2. THE RIGHT TAPE FOR THE FABRIC
If the tape is too flimsy, it can ripple. If it’s too thick, it can fight your curves. Aim for bias that holds its shape but still folds easily.
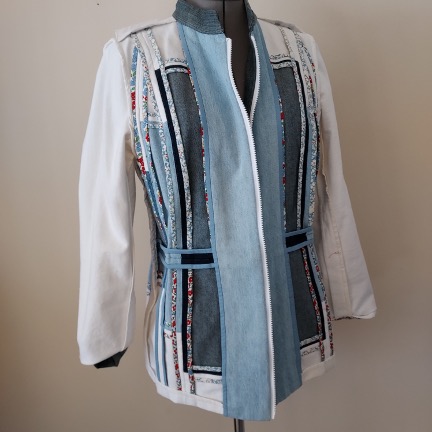
The Inside-Out Jacket — Wearable Fiber Art by Suanne Collins (seamstress). Hong Kong Finish artfully and perfectly executed.
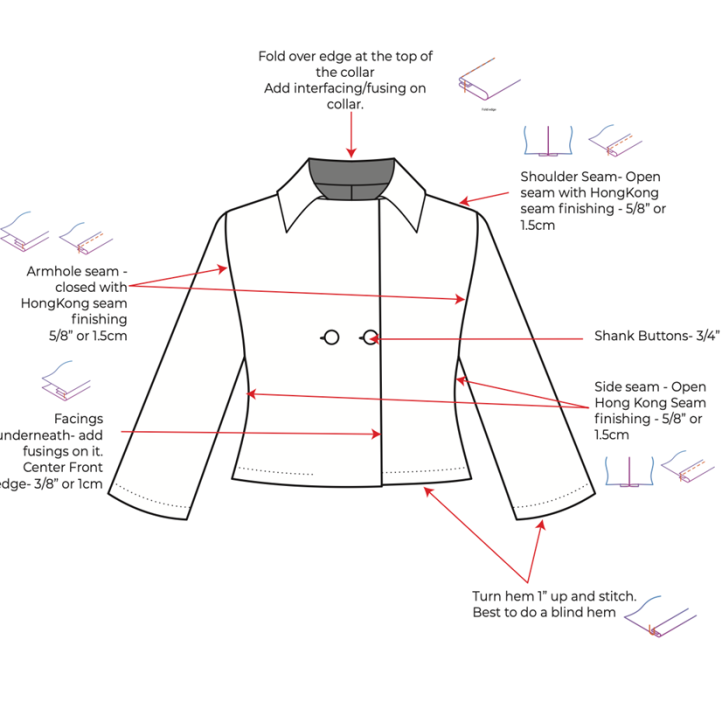
Where Hong Kong Seams Shine
- Unlined jackets and toppers
- Skirts with partial lining
- Trousers where you want a clean interior
- Any garment where the inside will be seen—or you just want that private luxury
Style note: Using a contrasting bias is a designer move—one of those hidden details that makes a garment feel high-end.
Practice tip: Try this a few times on scrap fabric. The finish improves dramatically with repetition, and your hands quickly learn the rhythm of stitch, press, wrap, and stitch again.
If you’d like to explore this finish beyond today’s article, you’ll also find the Hong Kong seam used within select construction steps in our Design Secrets year-long program—especially in Module 6: Camelot — The Poised and Polished Designer. The Camelot Skirt and Camelot Blazer patterns incorporate this technique in areas such as the side seams, where a clean, bias-bound finish makes an unlined interior look polished.
You can follow Sewing Pattern Secrets on Facebook here. Be sure to sign up for their newsletter, The Sewing Brew, by clicking here!