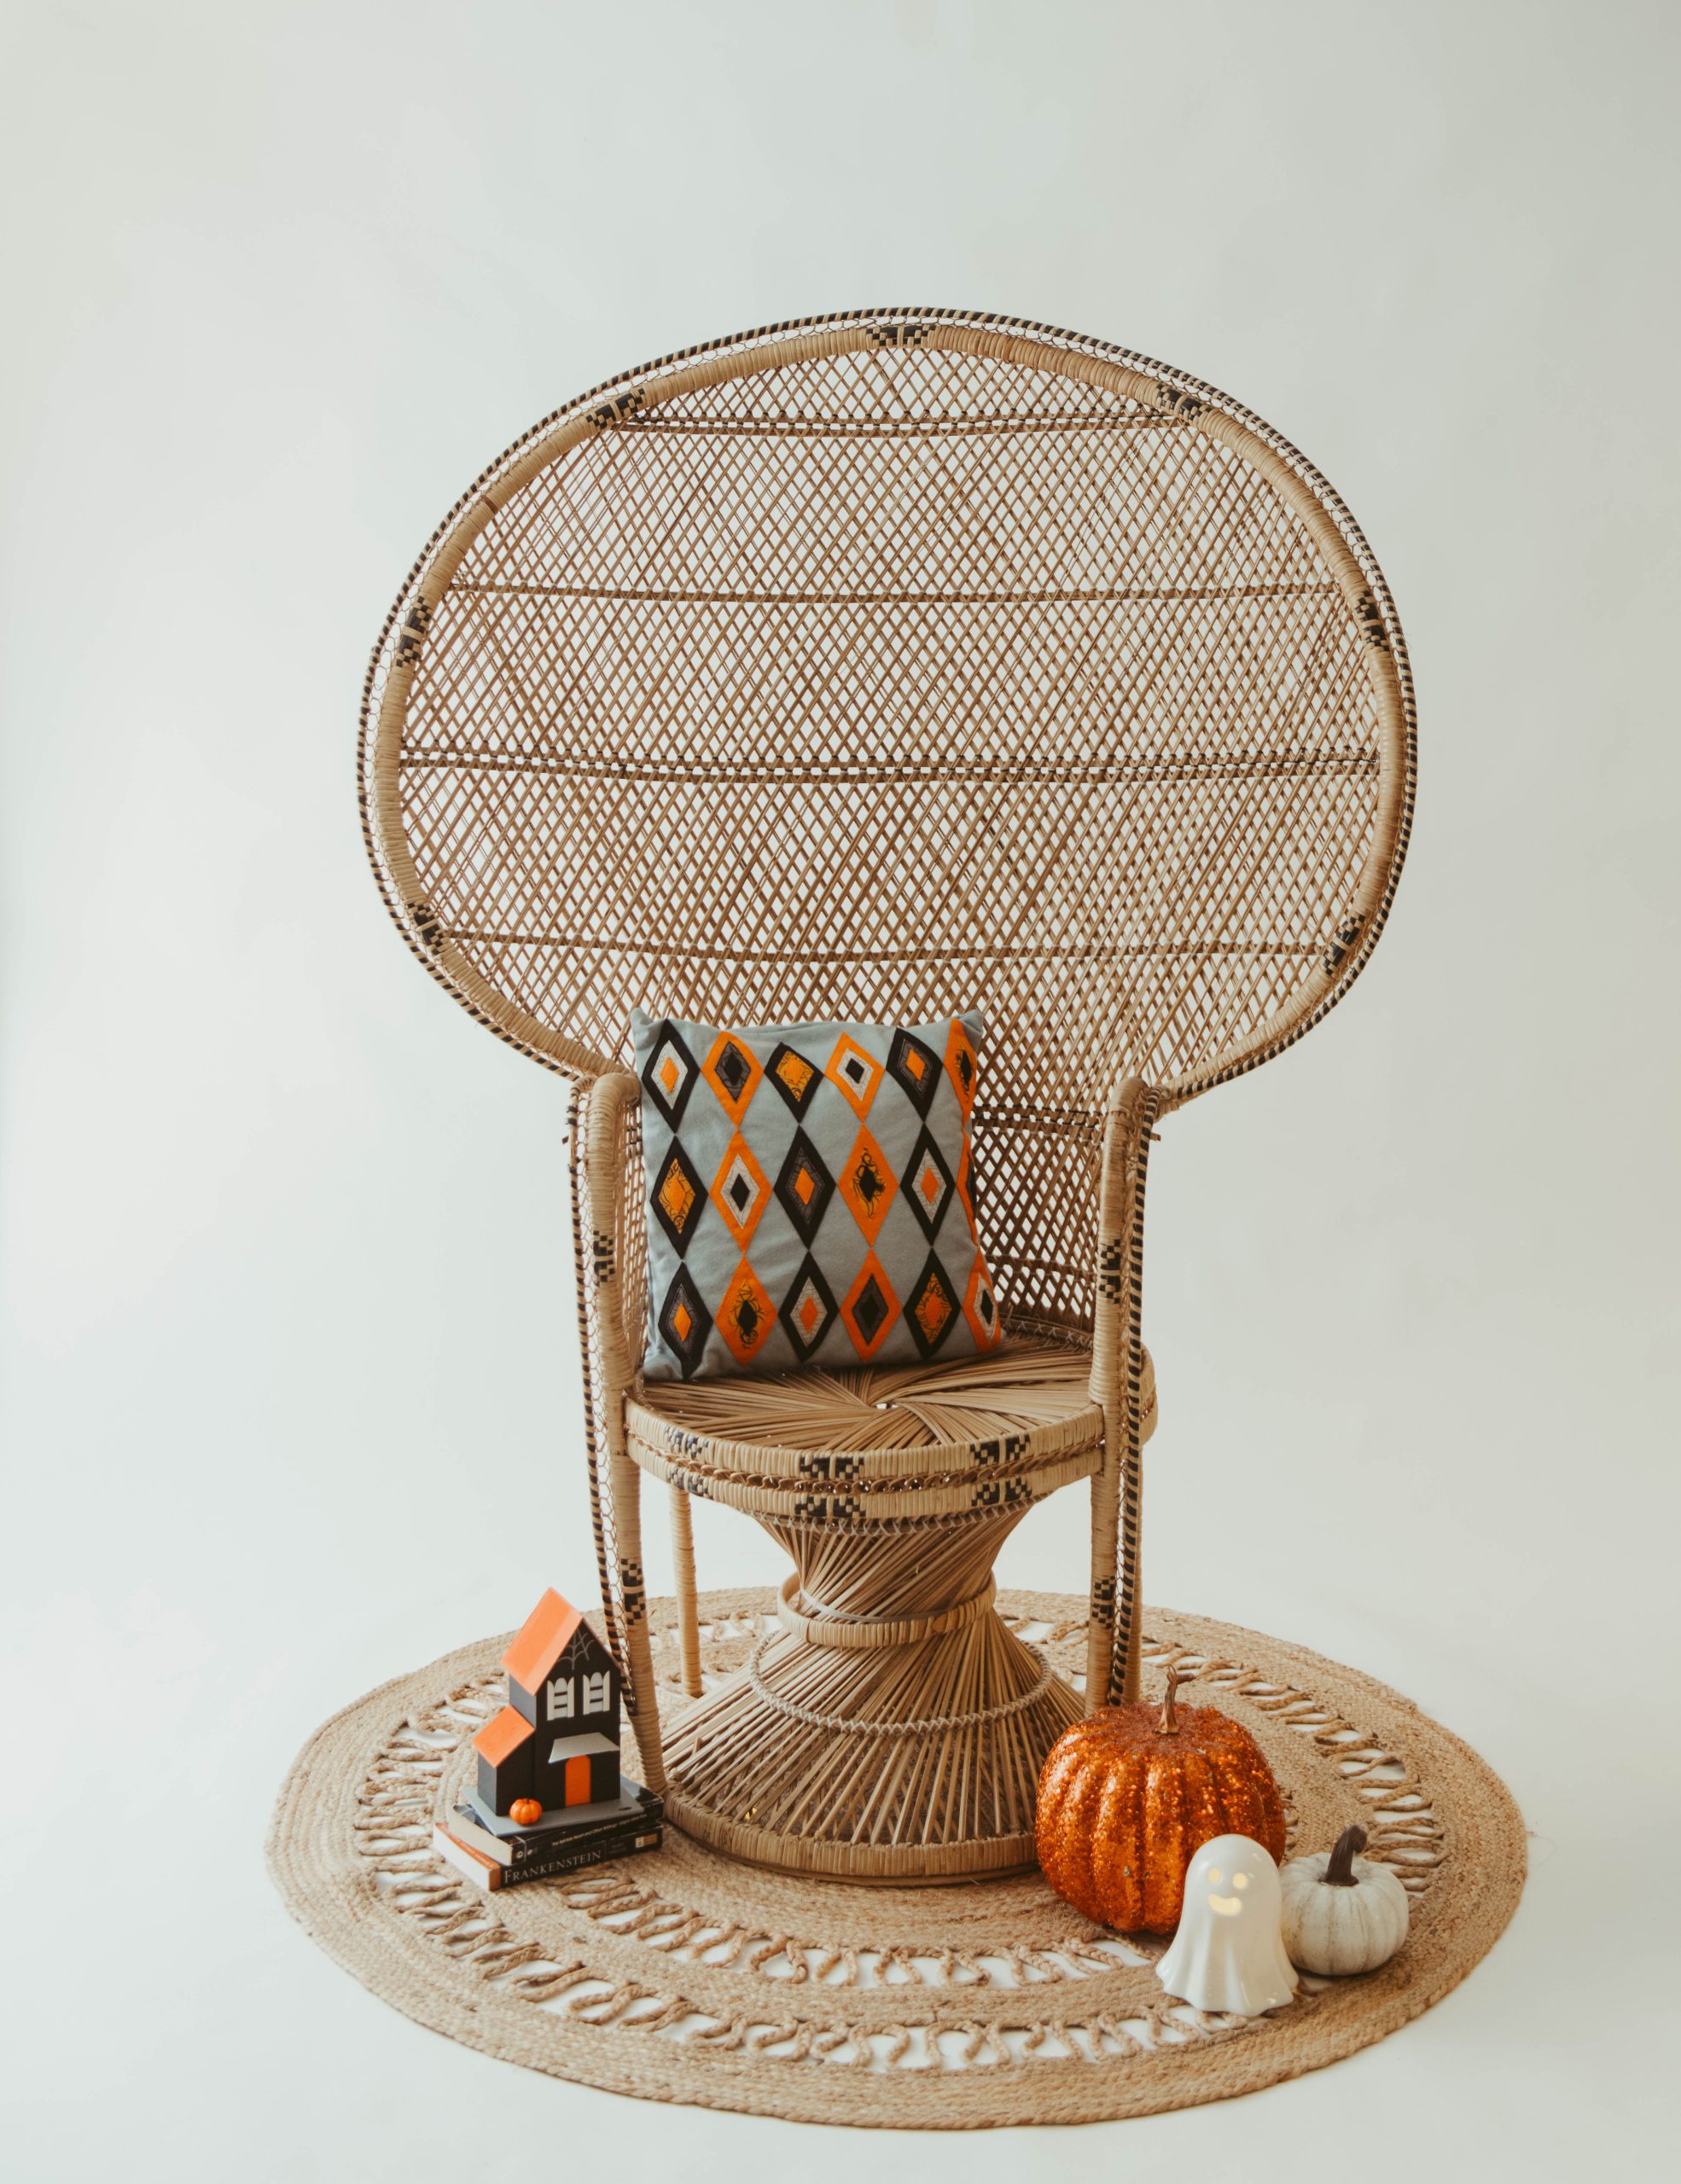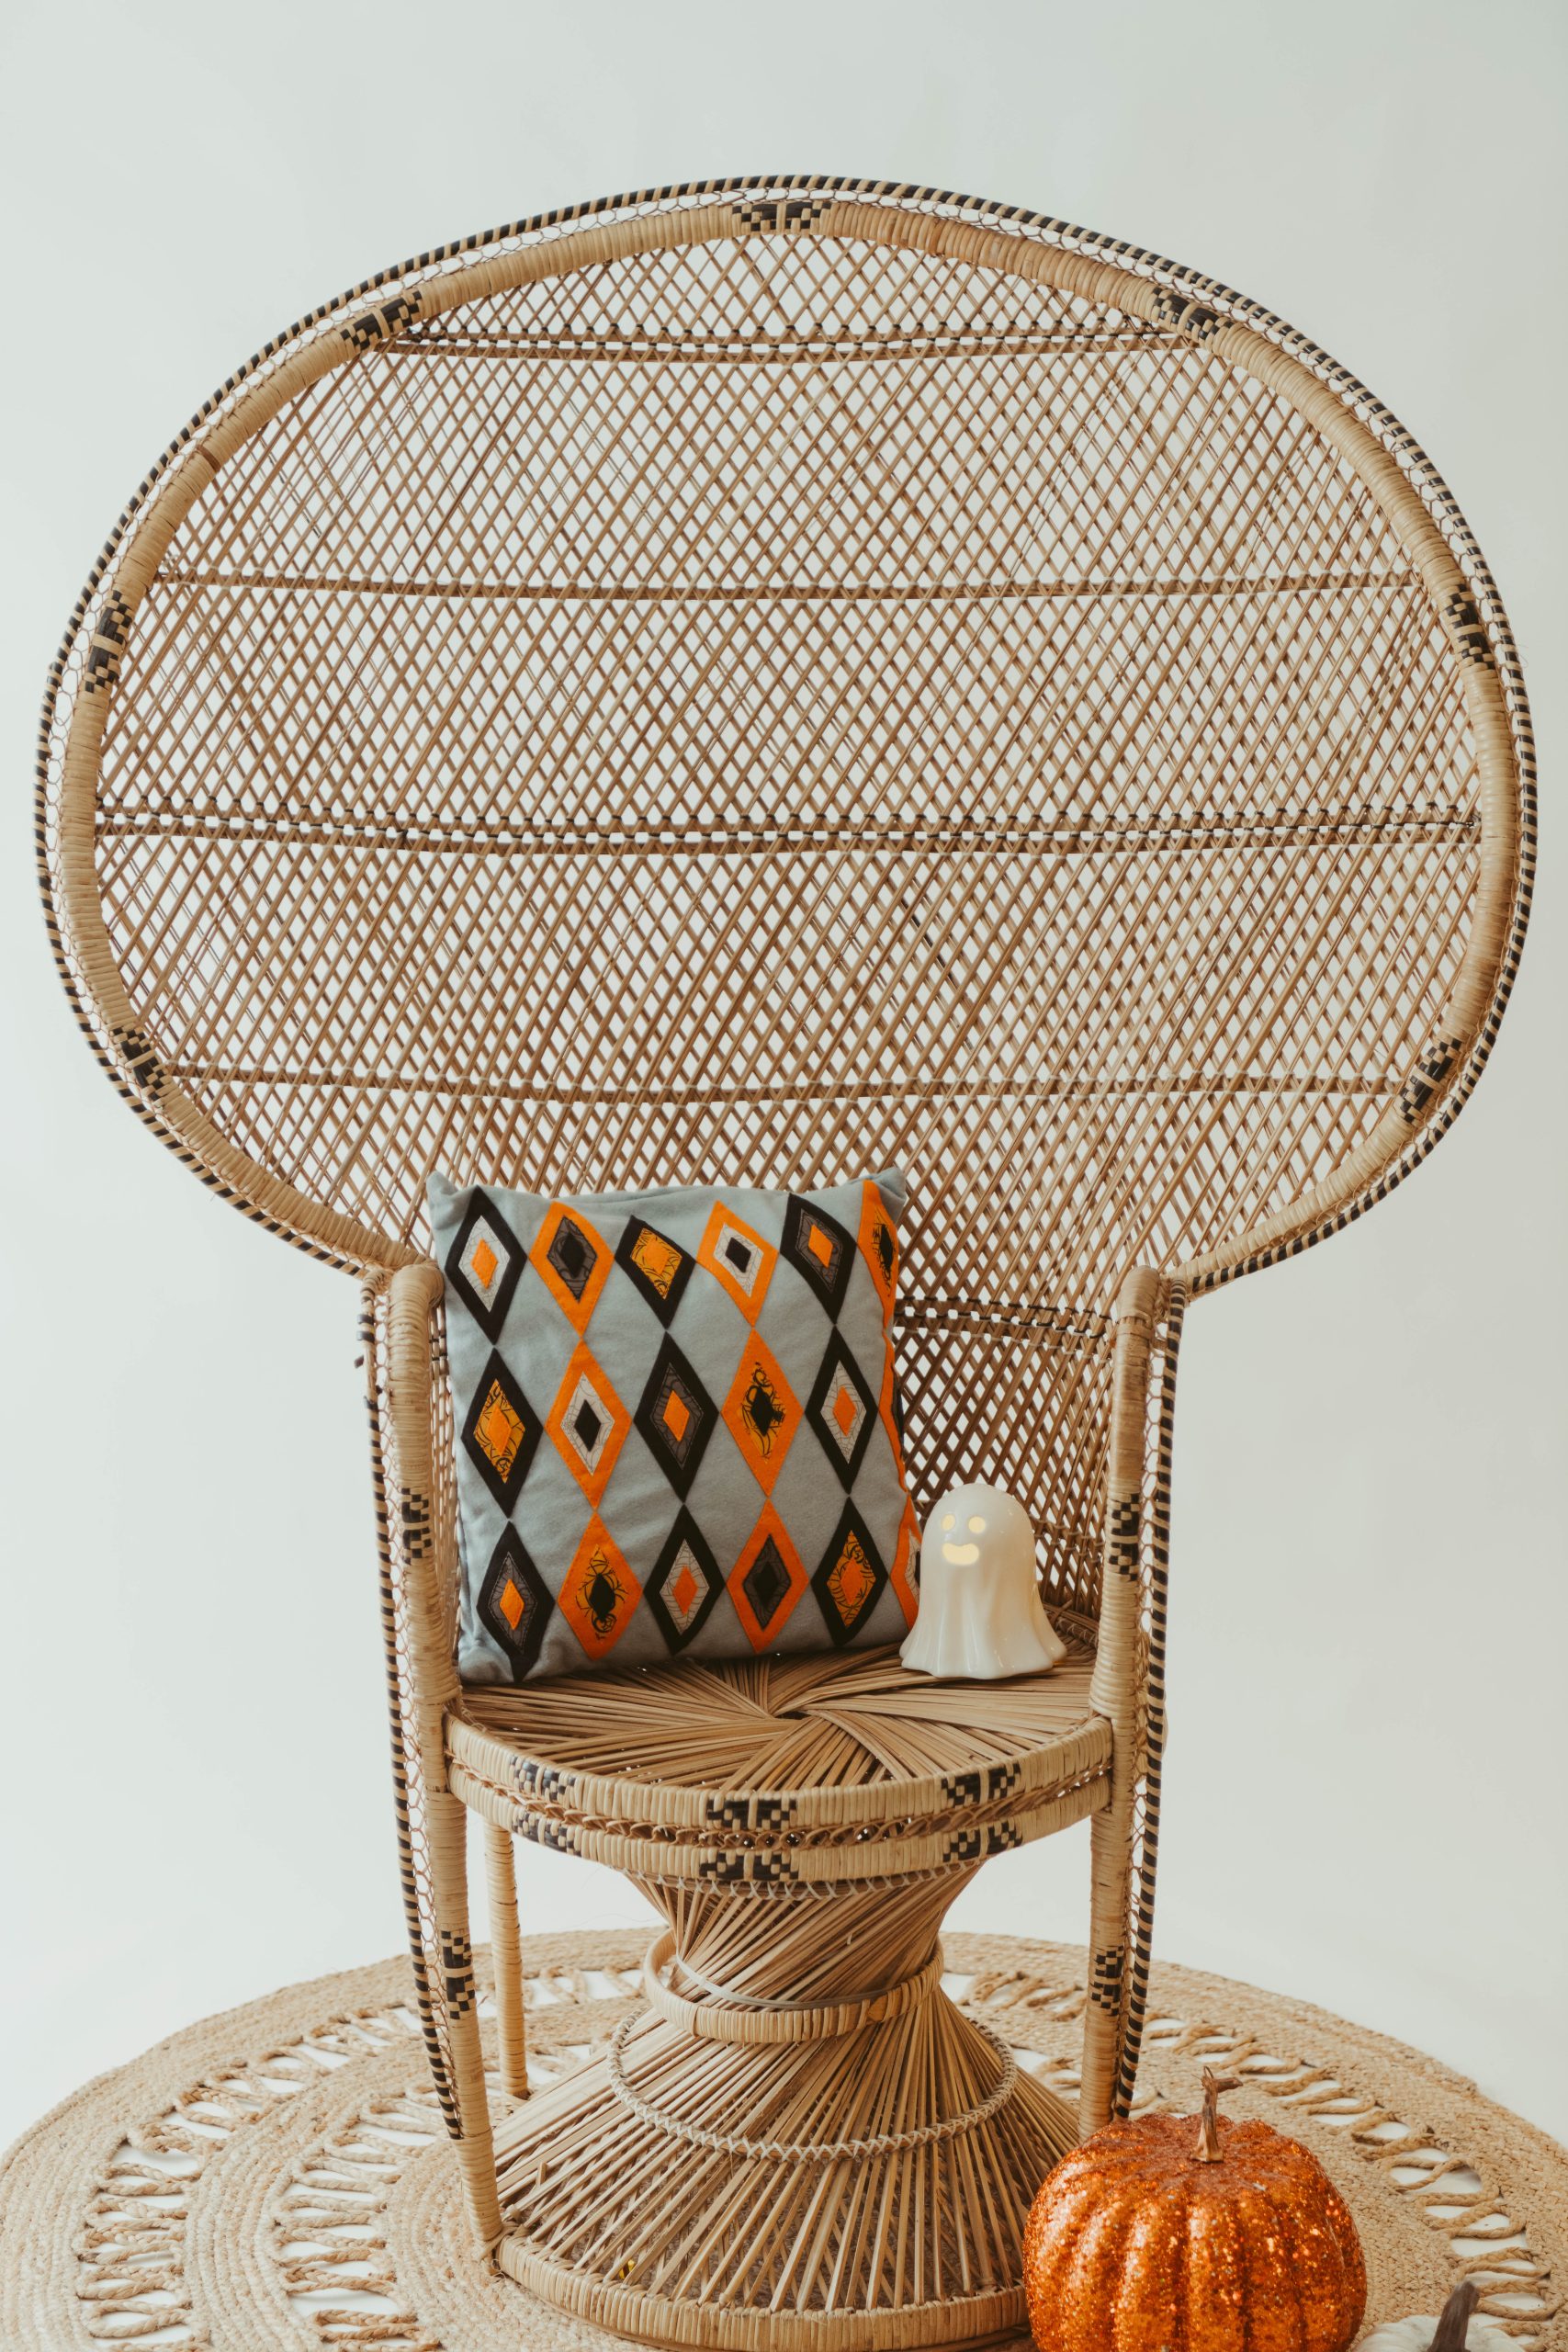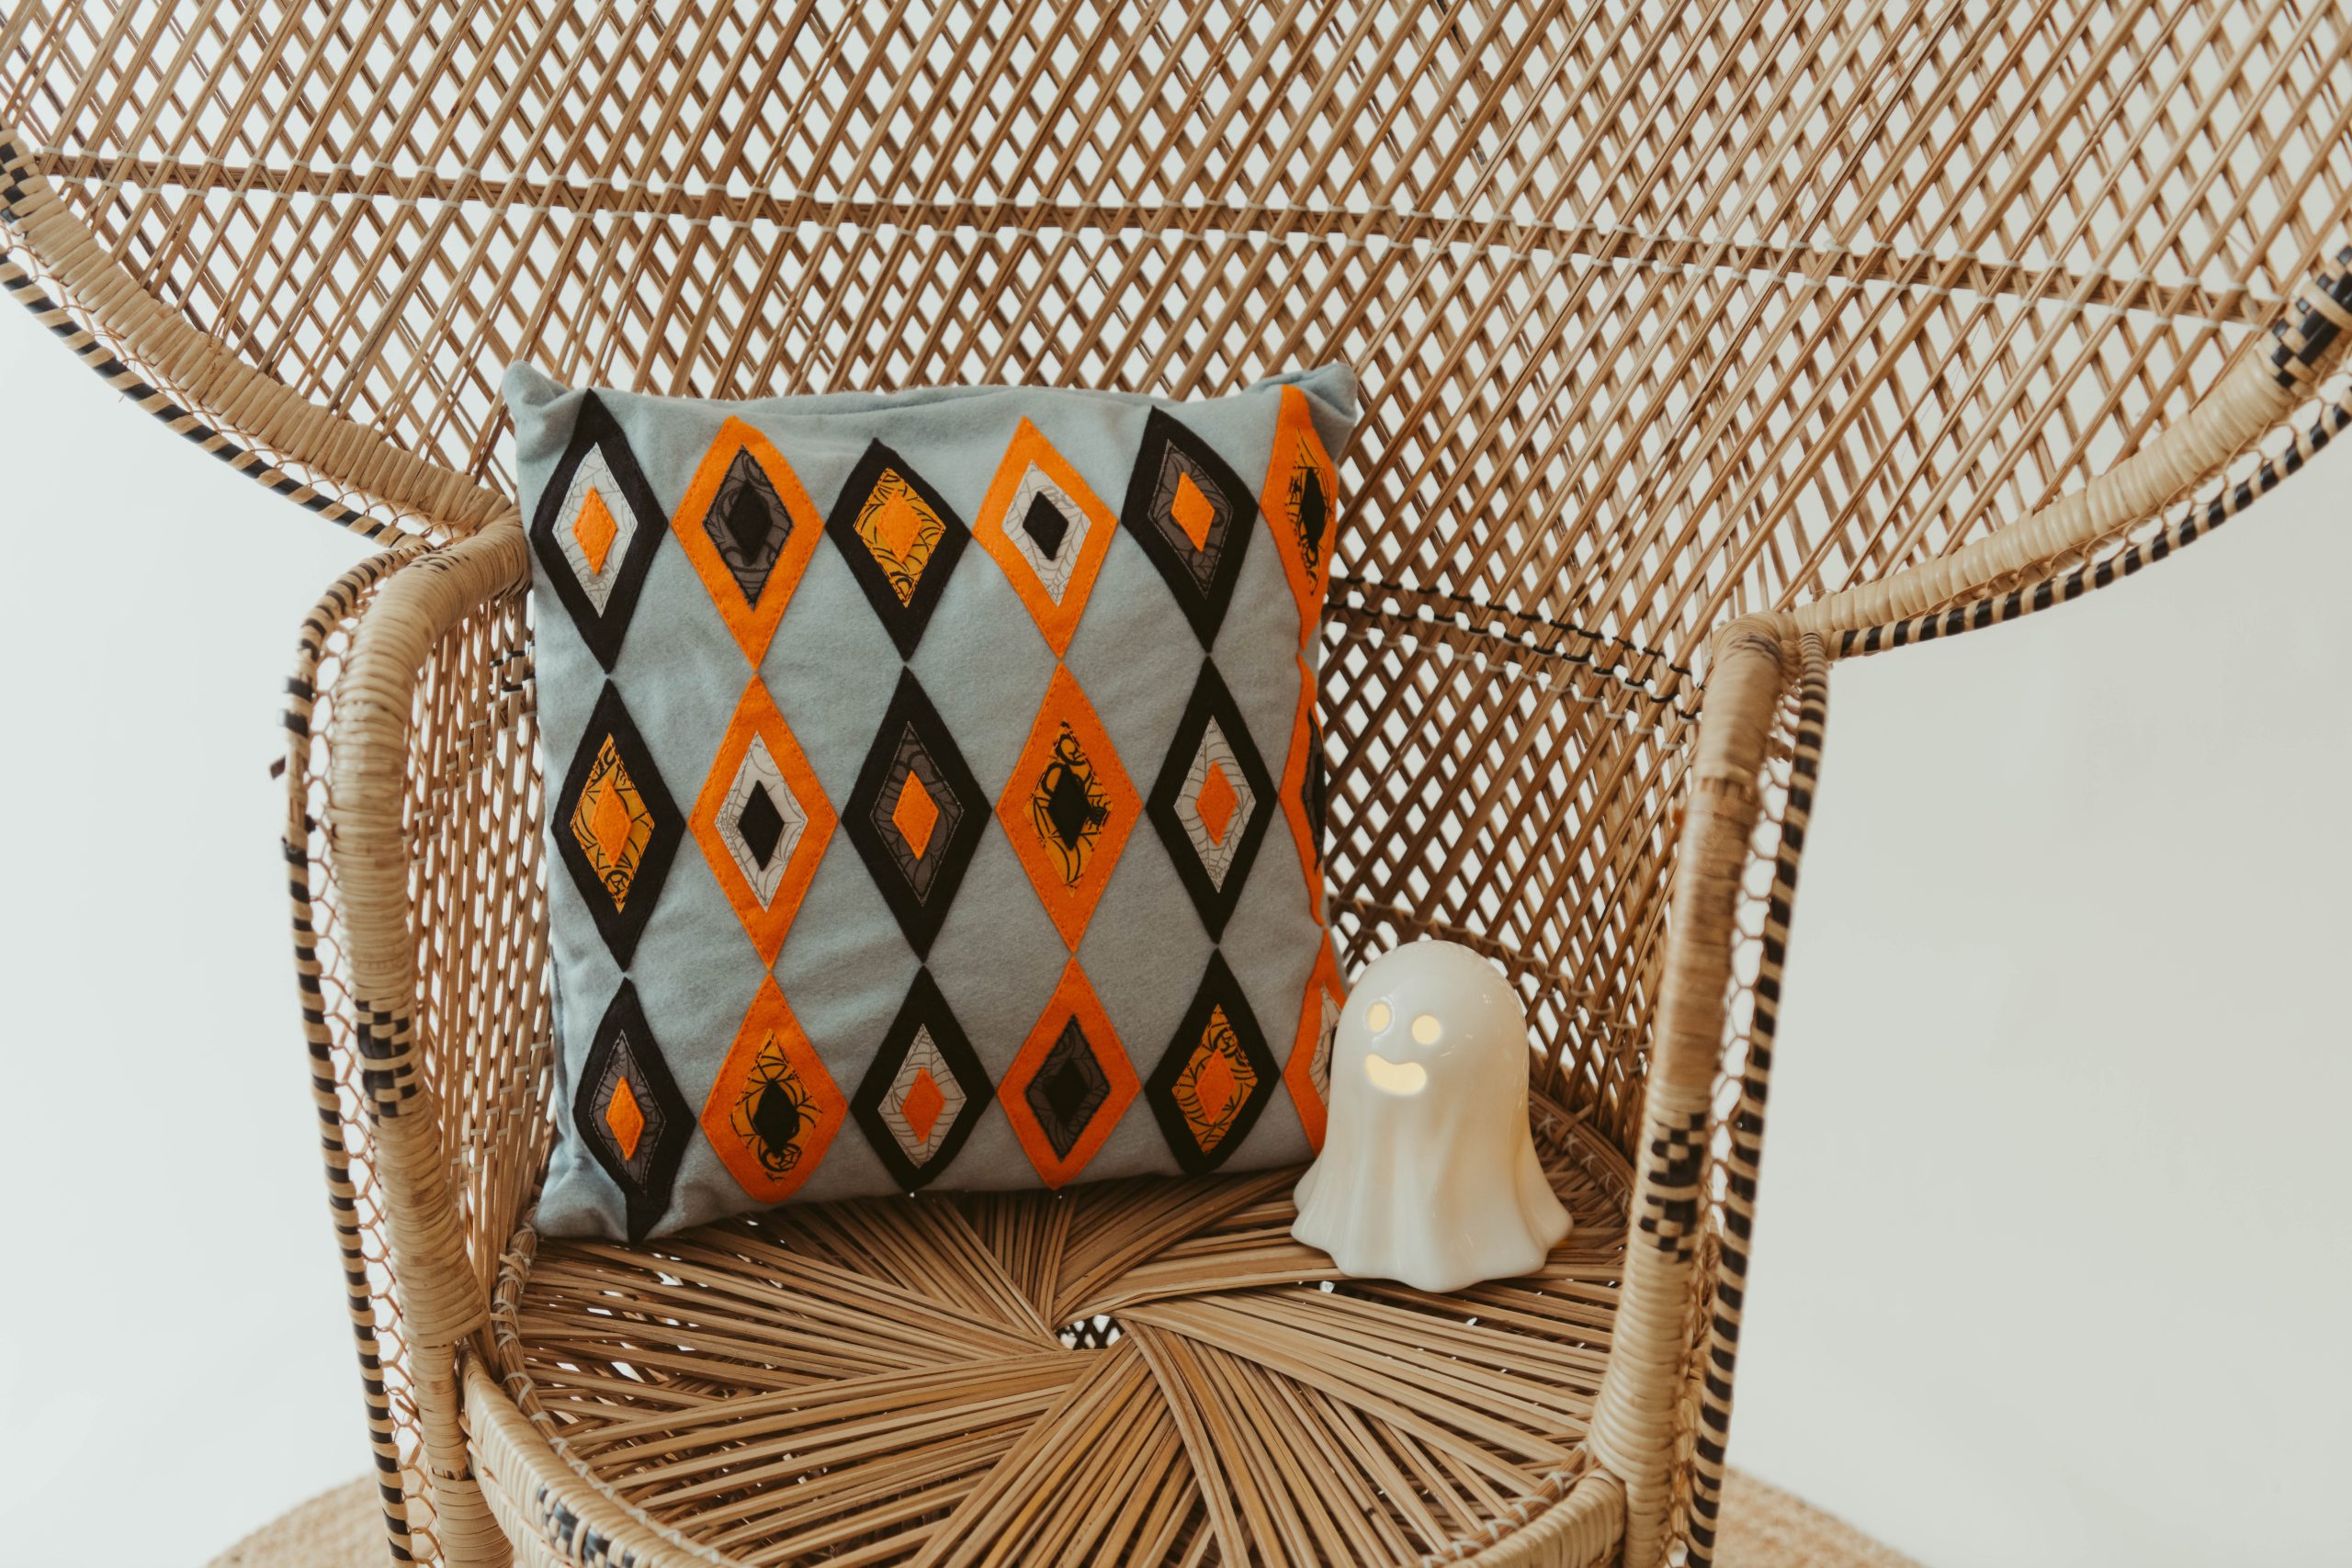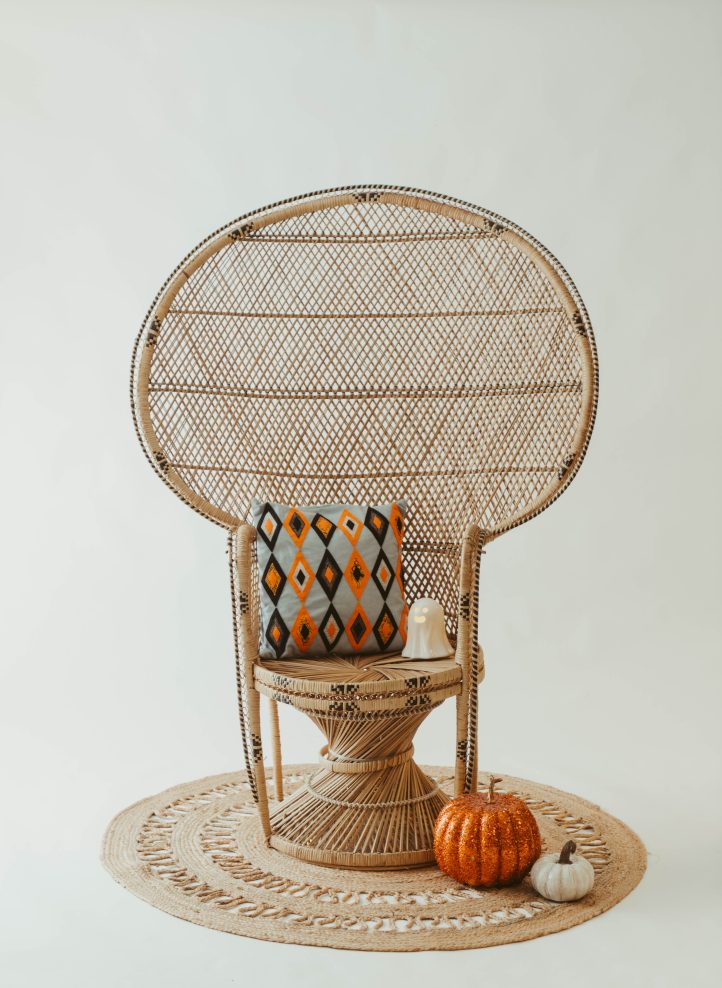
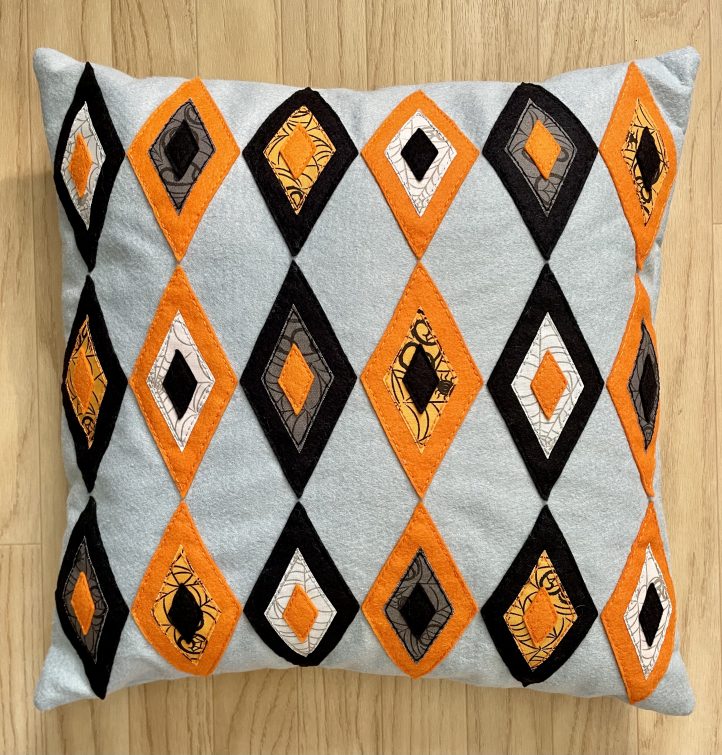
We absolutely adore the retro Halloween vibes in this wickedly playful throw pillow from Kathleen Berlew. Inspired by traditional 1940s harlequin patterns, this easy weekend sewing project finishes at a 16 1/2” square and is a darling way to dress up your couch or outdoor porch swing ahead of the spookiest night of the year. Break out your best Halloween cotton prints for this delightful fall sewing pattern.
Skill Level: Easy
Time: Weekend project
Finished Size: 16 1/2 inches x 16 1/2 inches
Designer Note: Stitch used: Backstitch.
Materials:
- Wool Felt: (Note: Wool Felt provided Commonwealth Felt [www.commonwealthfelt.com])
- 2 (17 inch x 17 inch) pieces gray (backing)
- 12 inch x 12 inch piece black
- 12 inch x 12 inch piece orange
- Cotton fabric:
- 6 inch x 8 inch piece off-white/gray spiderweb print
- 6 inch x 8 inch piece orange/black spiderweb print
- 6 inch x 8 inch piece gray/black spiderweb print
- Freezer paper (optional)
- Heavy-duty paper-backed fusible web
- Polyester fiberfill or pillow insert
- PDF Templates/Diagram – These are located at the bottom of this page. Please see printing instructions below.
PRINTING INSTRUCTIONS:
Note: To download the templates and diagram, click on the pattern download button at the bottom of the page. We recommend opening your pattern download using Adobe Acrobat.
Cutting Instructions:
CUT FELT:
Freezer paper method: Trace each applique from template (Note: This is located at the bottom of the page.) the number of times indicated below onto the dull side of freezer paper. With a hot, dry iron, press each template to the indicated color of wool felt. When the pressed pieces have cooled, cut the shapes on the marked lines and peel the paper backing away. (Note: Test iron on felt first; non-wool felt may melt under high heat.)
From black:
- Cut 9 A diamonds, 9 C diamonds.
From orange:
- Cut 9 A diamonds, 9 C diamonds.
CUT FABRIC:
Trace 18 B diamonds from the applique template onto the paper side of the fusible web, leaving at least 1/4” around each piece. Cut each piece out, leaving at least a 1/8” border beyond the marked lines. Following manufacturer’s instructions, use iron to fuse the fusible web diamonds to the wrong side of each of the print fabrics as indicated below. When cooled, cut out diamonds along marked lines.
From off-white/gray print:
- Cut 6 B diamonds.
From orange/black print:
- Cut 6 B diamonds.
From gray/black print:
- Cut 6 B diamonds.
Sewing Instructions:
Note: Refer to Diagram and Photos for appliqué assembly and placement.
- Peel paper backing from applique template B diamonds and center each, right side up, on a felt A diamond as indicated:
- 3 off-white/gray fabric diamonds on 3 black A diamonds
- 3 off-white-gray fabric diamonds on 3 orange A diamonds
- 3 orange/black fabric diamonds on 3 black A diamonds
- 3 orange/black fabric diamonds on 3 orange A diamonds
- 3 gray/black fabric diamonds on 3 black A diamonds
- 3 gray/black fabric diamonds on 3 orange diamonds
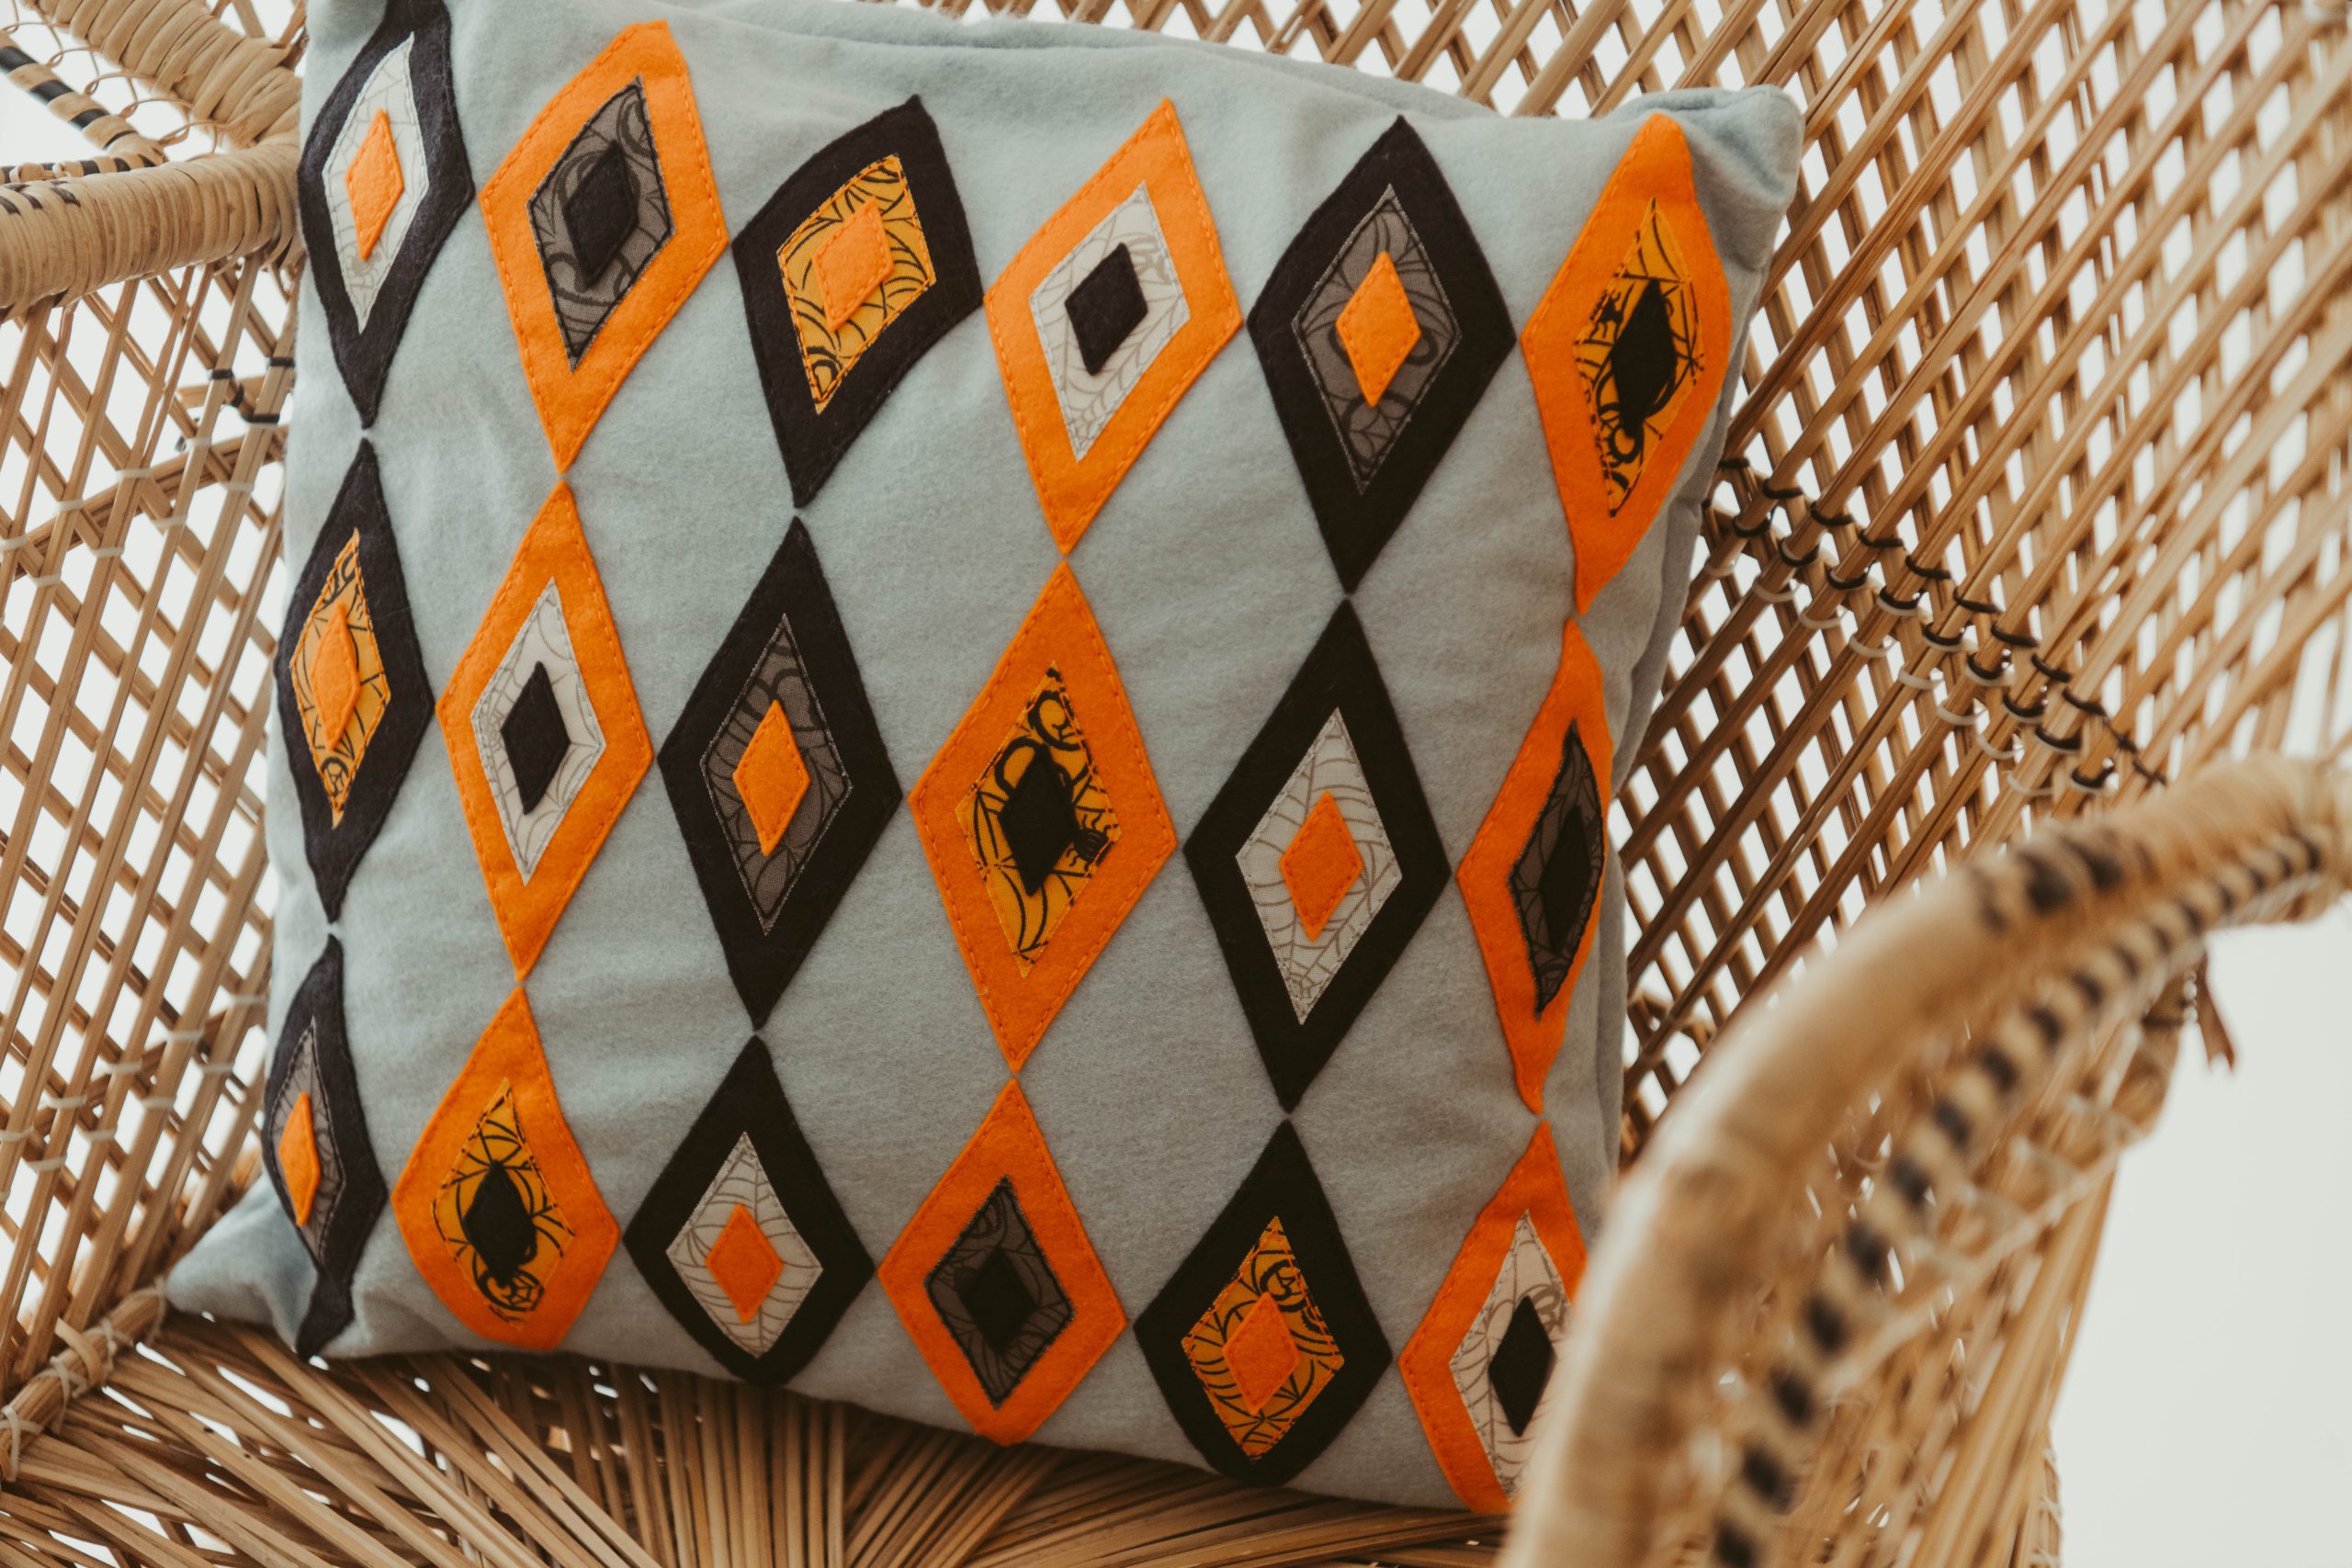
- With 2 strands of embroidery floss, backstitch each fabric diamond to the felt diamond as indicated, sewing approximately 1/8” from outer edge. Use gray floss for off/white gray fabric diamonds, orange floss for orange/black fabric diamonds, and black floss for gray/black fabric diamonds.
- Center an orange C felt diamond on each black appliquéd diamond and backstitch in place with 2 strands of orange floss, sewing 1/8” from outer edges. Repeat the process to sew a black C felt diamond on each orange appliquéd diamond with backstitch and orange floss.
- Arrange the appliquéd diamonds on one gray backing piece as shown in diagram and pin in place. Sew each diamond in place with 2 strands of matching floss, sewing 1/8” from outer edges.
- Place pillow front and back together, right sides facing. Sew pieces together with 1/4” seam, leaving opening at bottom for turning. Clip corners and turn to right side. Fill pillow with fiberfill or pillow insert and sew opening closed.