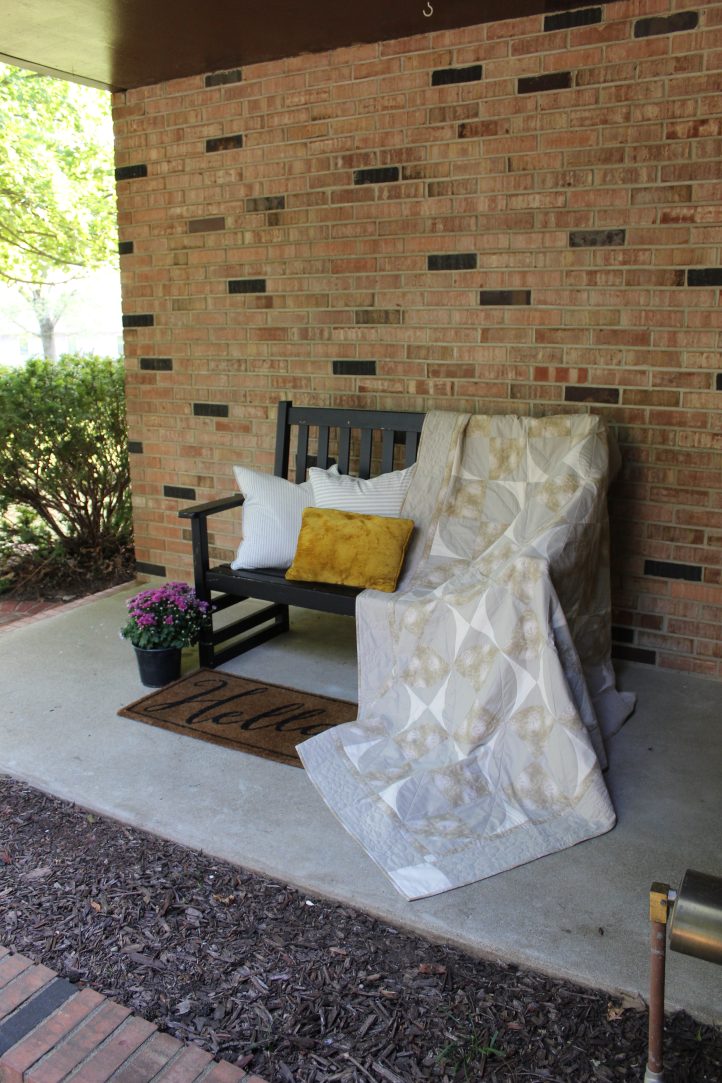
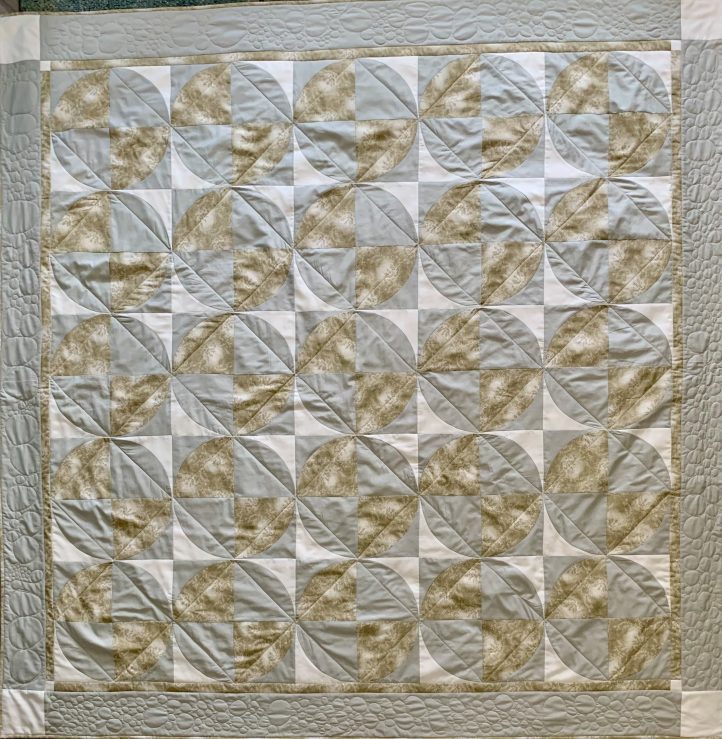
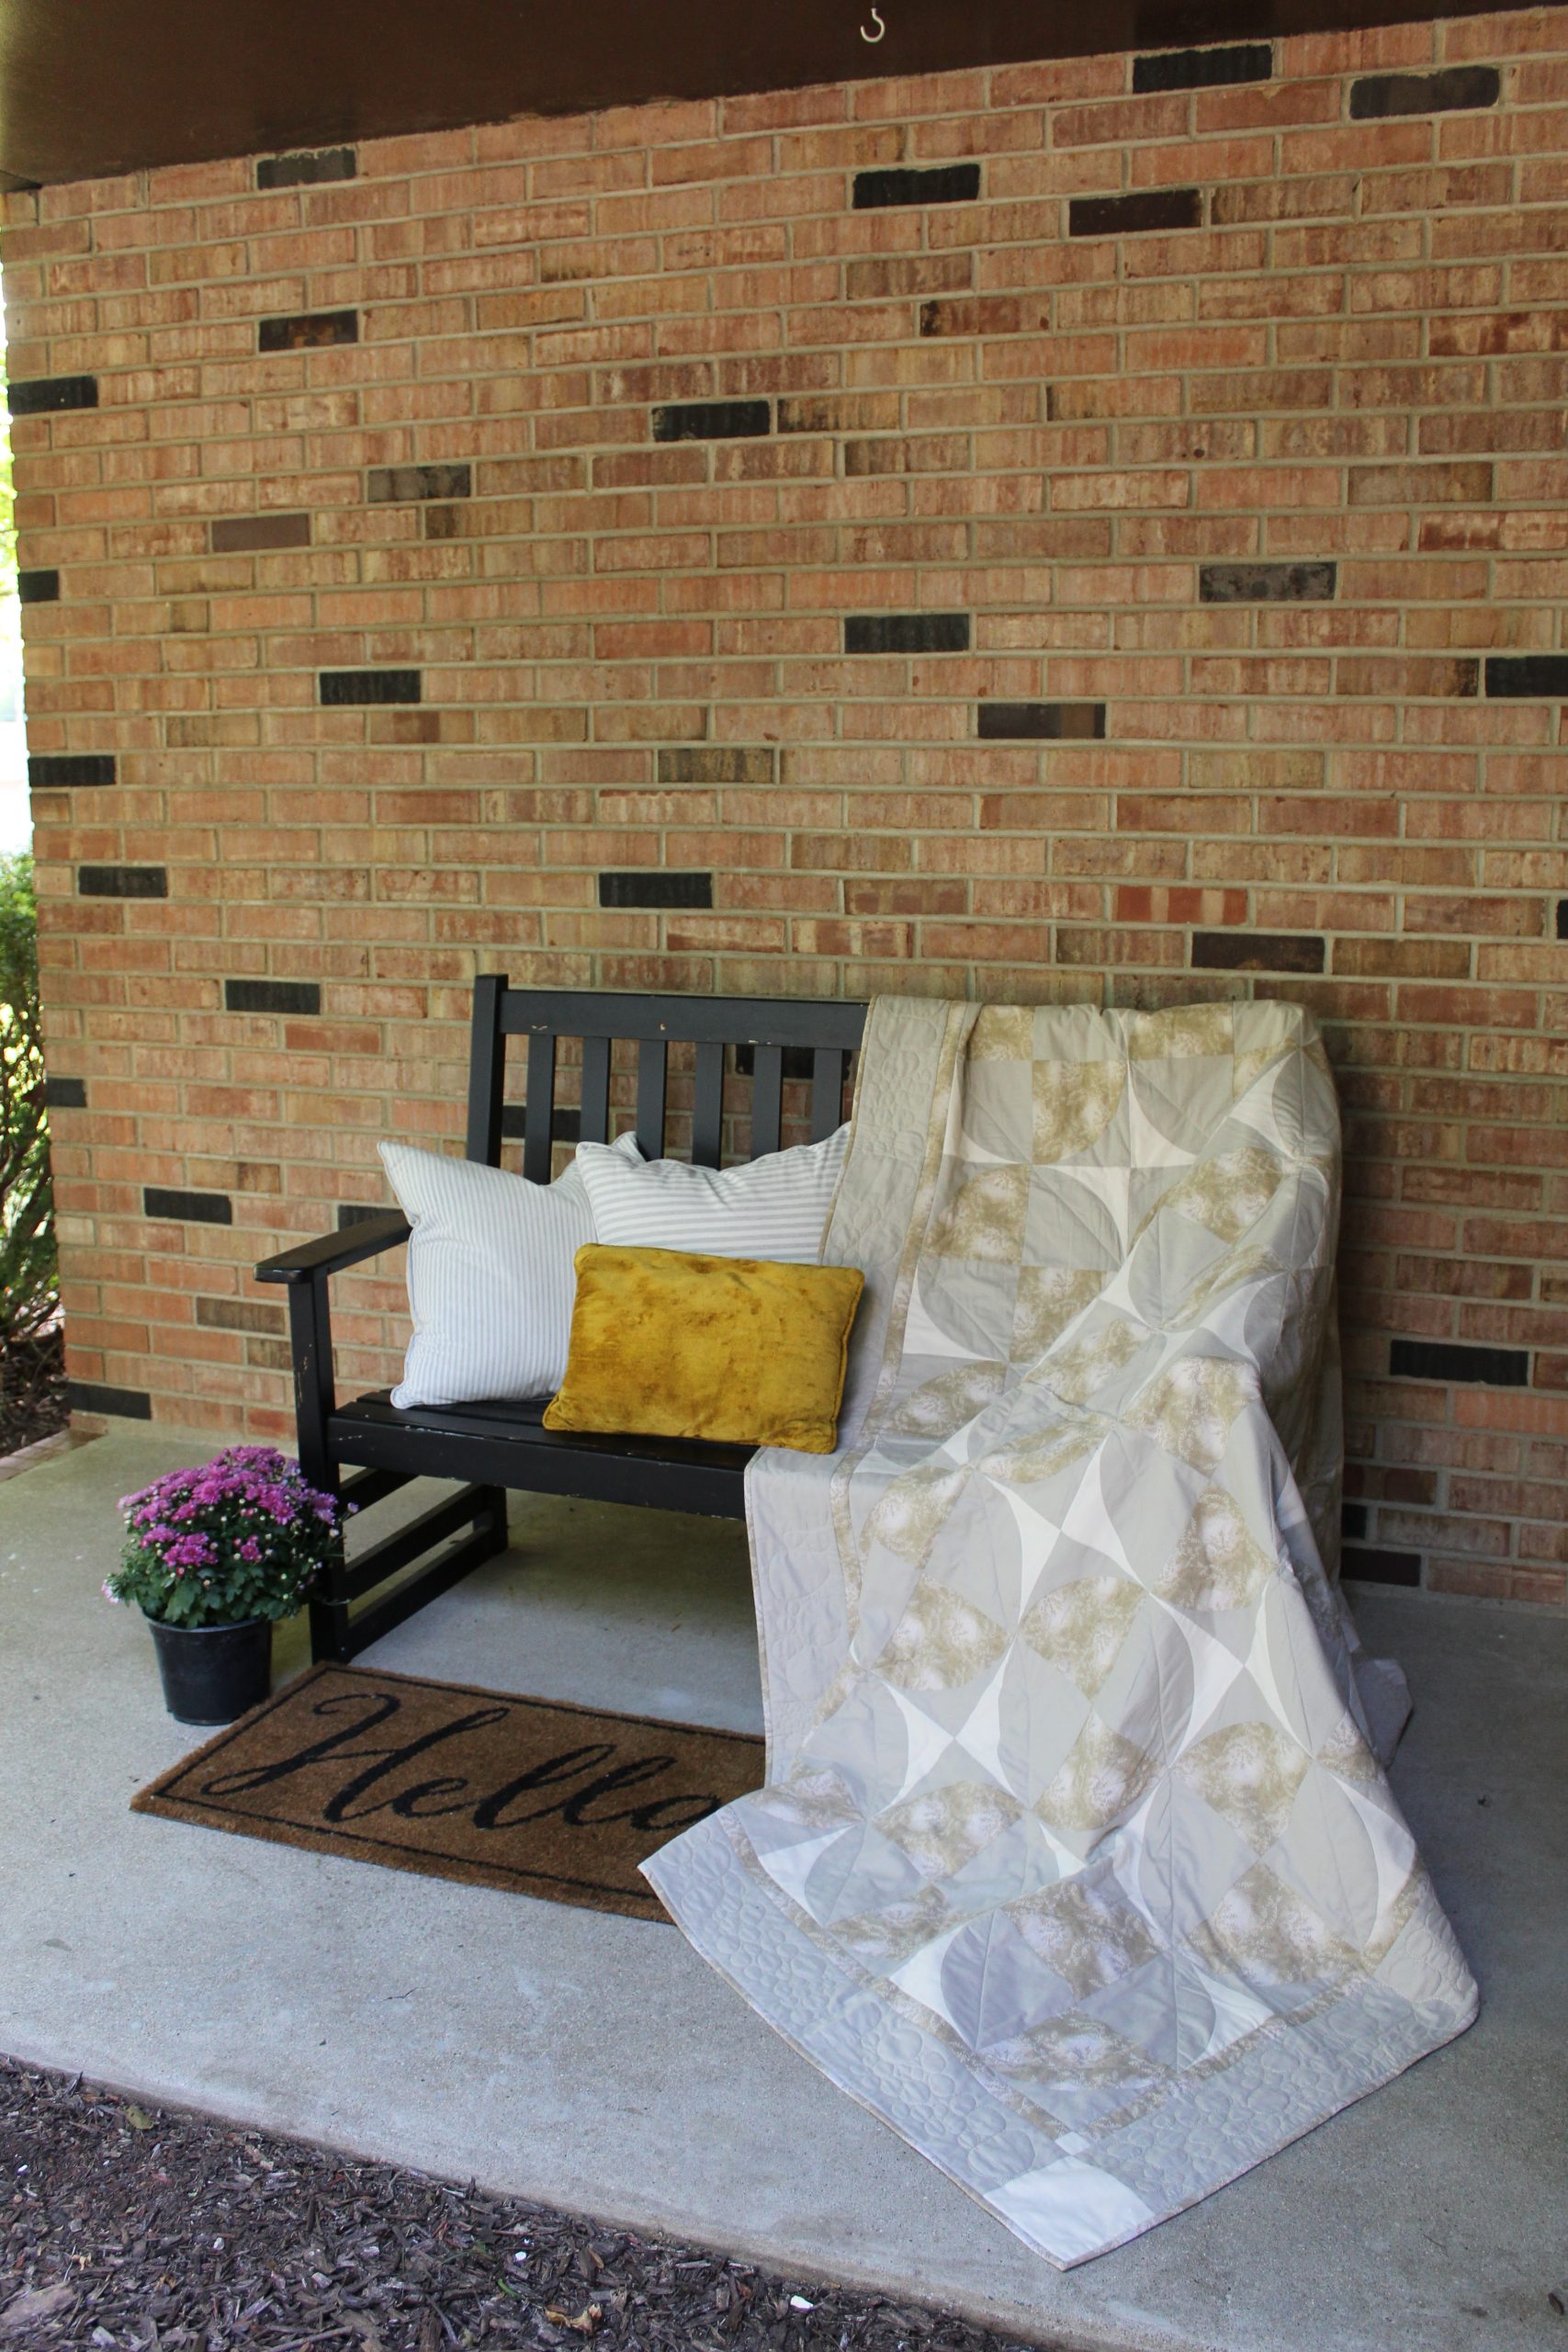
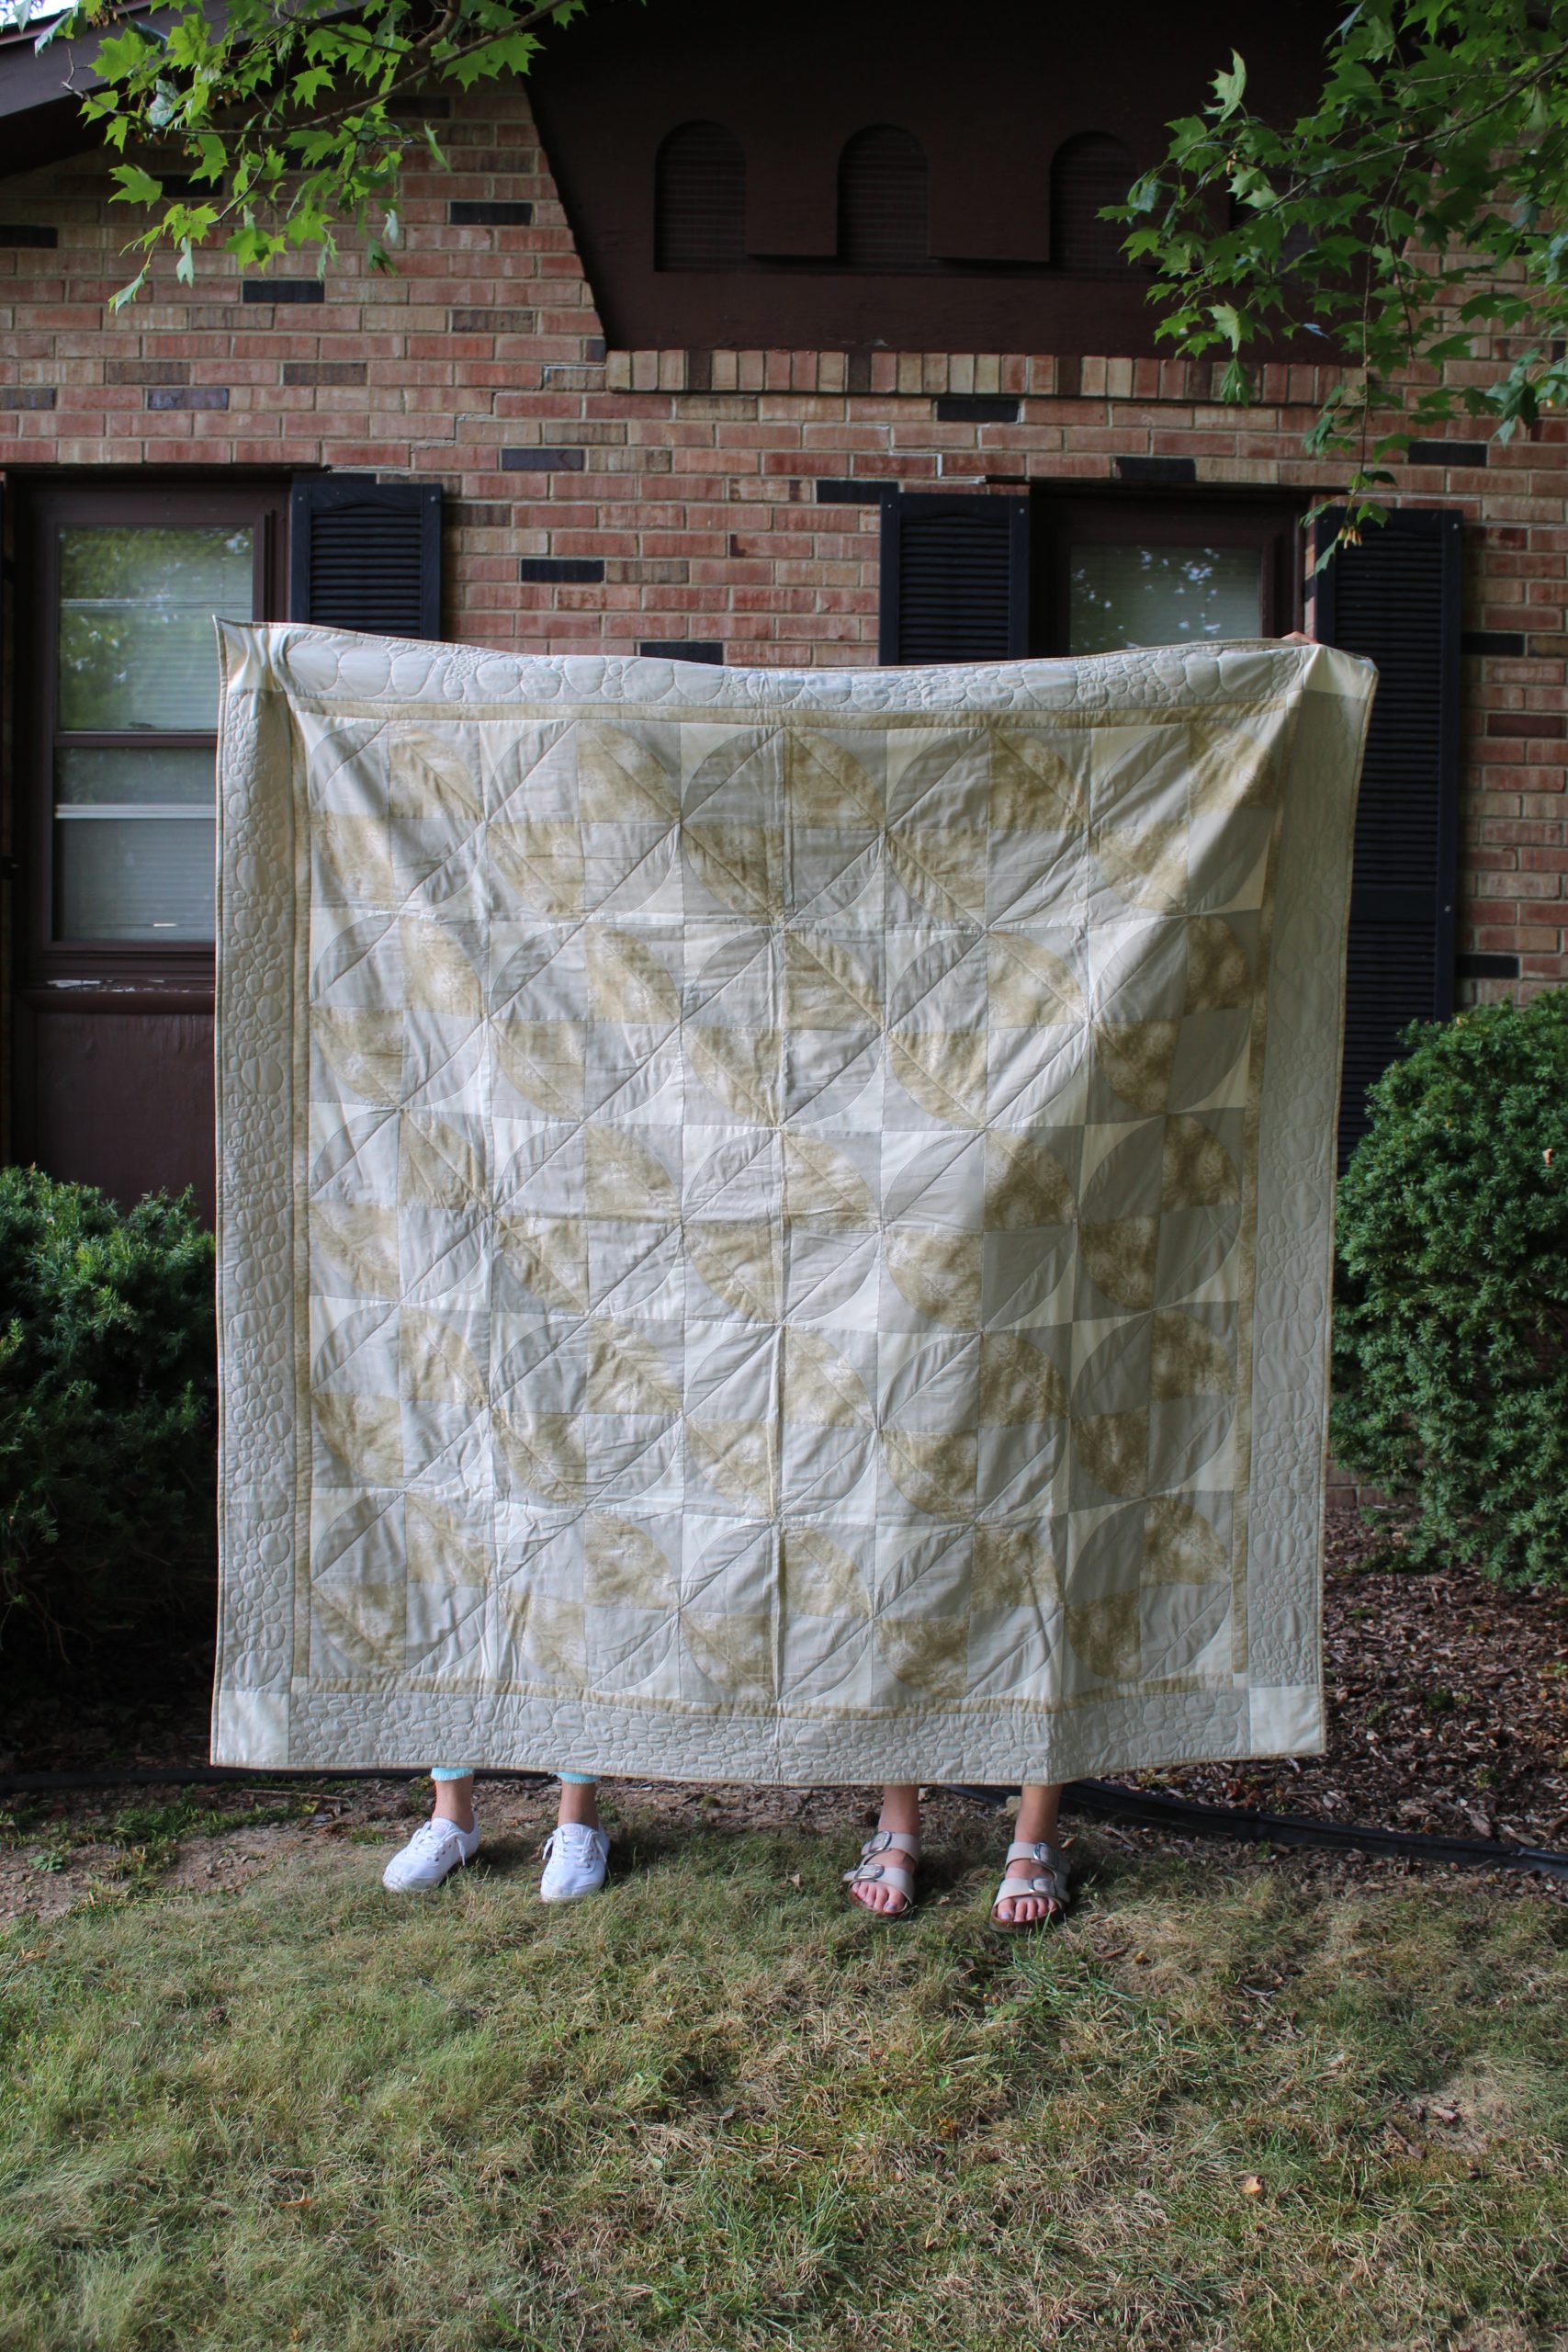
Design an elegant, minimalist quilt made in soothing shades of gold, silver and ivory with a new pattern from Zoe Ballard. Echoing the trend of early ‘90s color palettes, this large quilt pattern is a fantastic project for quilters who want to get comfortable quilting curves with its pattern of dual-colored circles. Finishing at 74” x 74”, this modern quilt pattern is completed with an outer border of tiny free motion circles that reflects the calm atmosphere created by this design.
Finished Size: ~74” x 74”
Designer Notes:
- 1/4” seam allowance used throughout.
- WOF – Width of Fabric
Materials:
- Fabric A (Gray) – 3 yds
- Fabric B (Beige) – 2 yds
- Fabric C (Ivory) – 1 1/4 yds
- ~78” square batting
- ~80” square backing
- PDF Templates – These are located at the bottom of this page. Please see printing instructions below.
PRINTING INSTRUCTIONS:
Note: To download the templates, click on the pattern download button at the bottom of the page. We recommend opening your pattern download using Adobe Acrobat.
Cutting Instructions:
Fabric A:
- 50 (fifty) patches from Template A
- 50 (fifty) patches from Template B
- Eight 5” x WOF strips (outer border)
Fabric B:
- 50 (fifty) patches from Template A
- Eight 1 1/2” x WOF strips (inner border)
- Eight 2 1/2” x WOF strips (binding)
Fabric C:
- 50 (fifty) patches from Template B
- Four 1 1/2” squares (inner border cornerstones)
- Four 5” squares (outer border cornerstones)
Sewing Instructions:
MAKING THE BLOCKS:
- Using the Fabric A Template A and Fabric C Template B patches, find the middle of each patch and pin with right sides together.

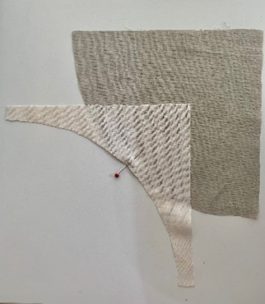
- Pin each side.
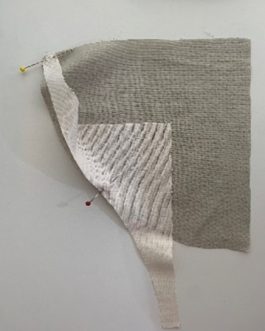
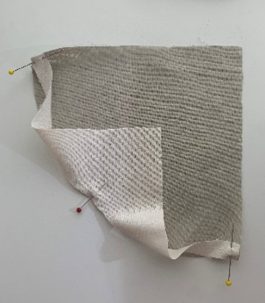
- Ease the fabric between the outer and middle pin (without stretching) and secure with more pins.
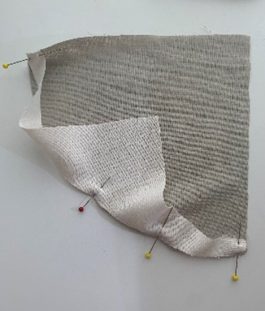
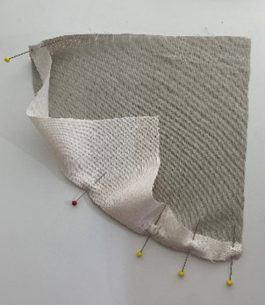
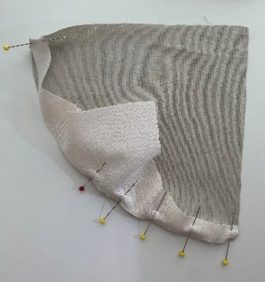
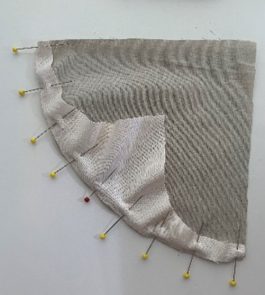
- Stitch with Template B on top.
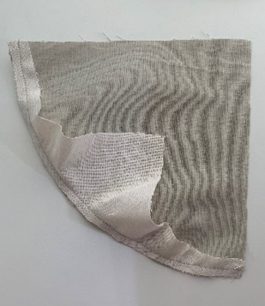
- Press towards Template B.
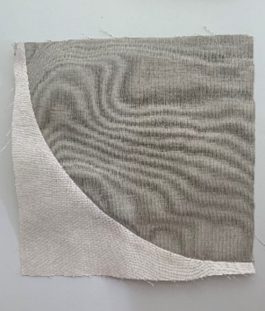
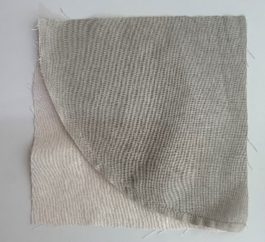
- Repeat for the Fabric B Template A and Fabric A Template B patches.
- Stitch the squares into pairs with Fabric A Template A on the left-hand side, matching the seam.
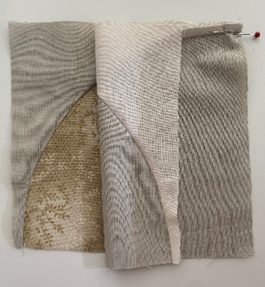
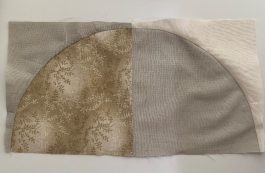
- Press the seams towards Fabric B Template A.
- Stitch the pairs into square nesting the seams. Press the seams one way.
MAKING THE QUILT TOP:
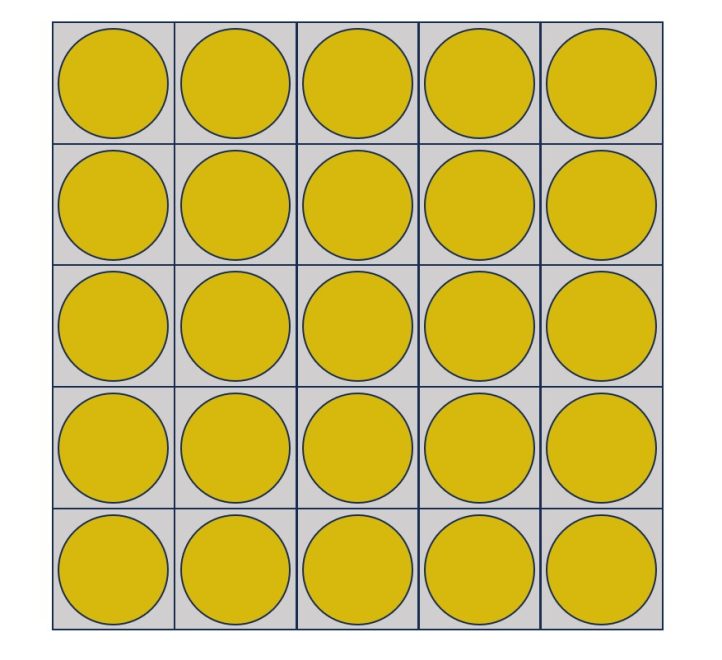
- With Fabric B Template B in the top left hand corner of each block, stitch the blocks into rows of five. Press the seams one way.

- Repeat to make 5 rows, pressing the seams of each row in opposite directions so the seams will nest.
- Stitch the five rows together and press the seams in one direction.
MAKING THE INNER BORDER:
- Measure the quilt top through the middle. Join and cut four 1 1/2” strips of Fabric B to that length (approximately 61”).
- With right sides together, stitch two borders onto opposite sides of the quilt top. Press towards the border.
- To the remaining borders, stitch one Fabric C 1 1/2” squares to the short end of each strip. Press towards the border fabric.
- With right sides together, stitch the two longer borders onto the opposite side of the quilt top. Press towards the border.

MAKING THE OUTER BORDER:
- Measure the quilt top through the middle. Join and cut four 5” strips of Fabric A to that length (approximately 63 1/2”).
- With right sides together, stitch two borders onto opposite sides of the quilt top. Press towards the border.
- To the remaining borders, stitch one Fabric C 5” squares to the short end of each strip. Press towards the border fabric.
- With right sides together, stitch the two longer borders onto the opposite side of the quilt top. Press towards the border.

QUILTING:
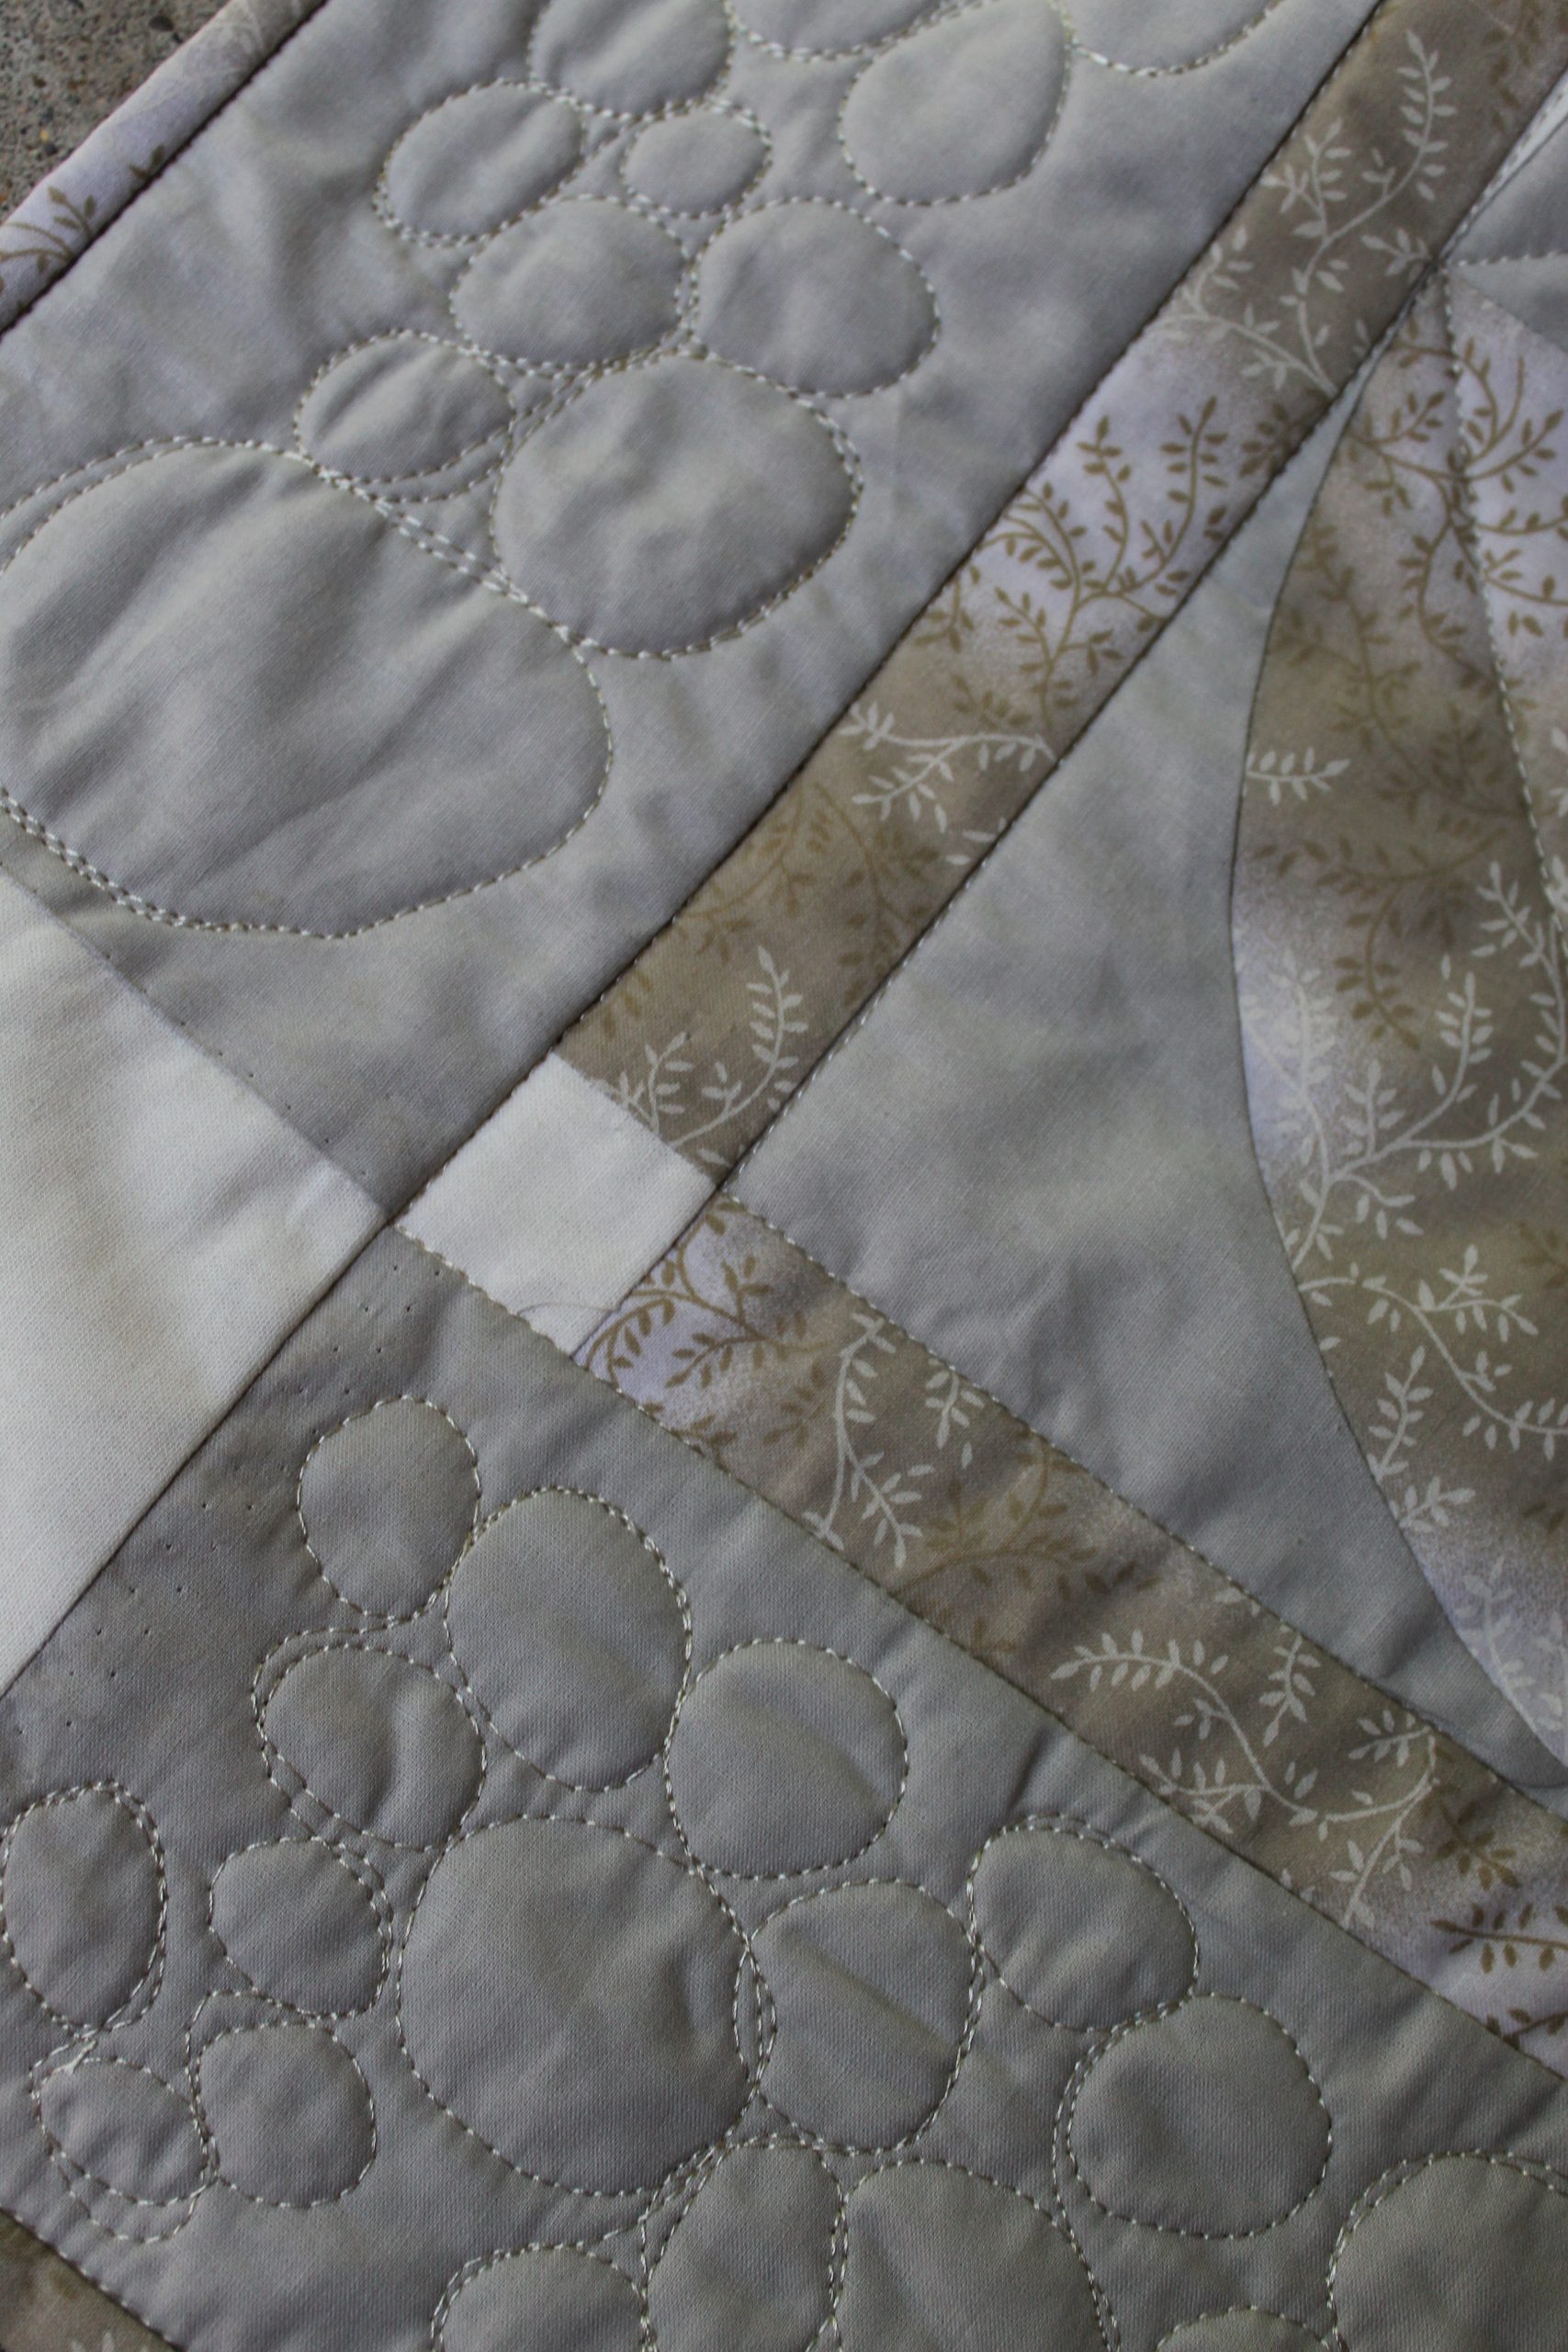
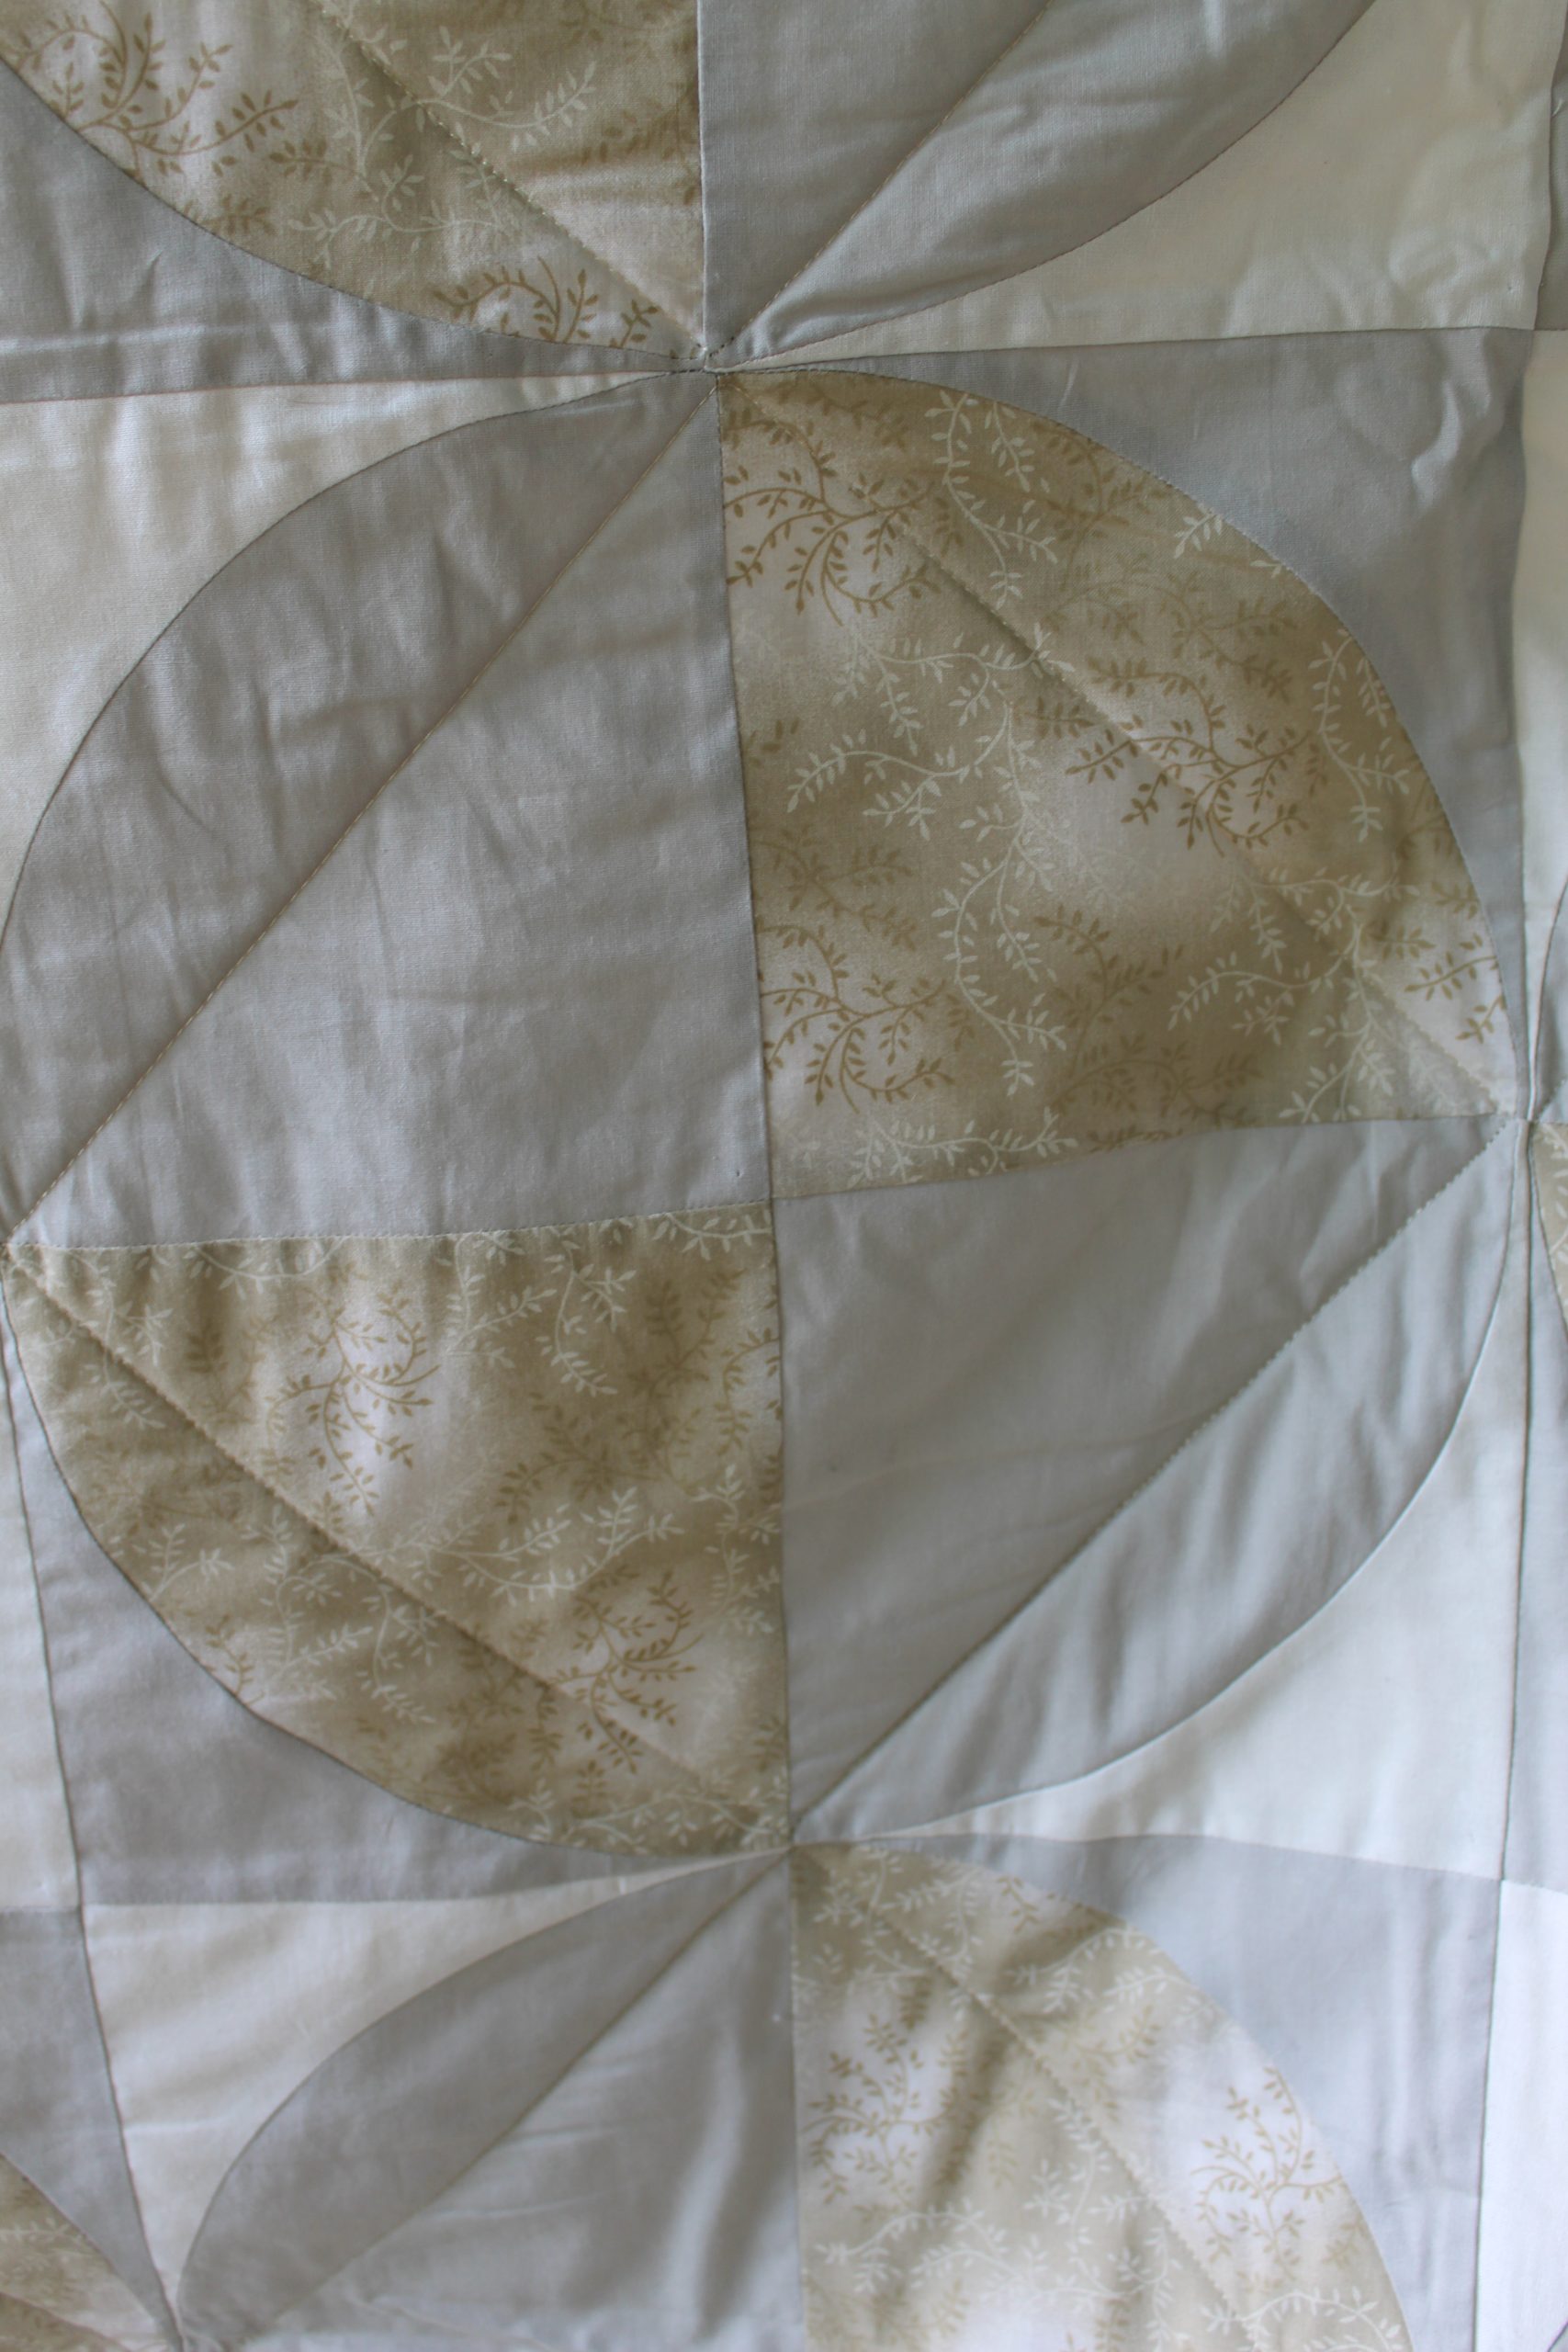
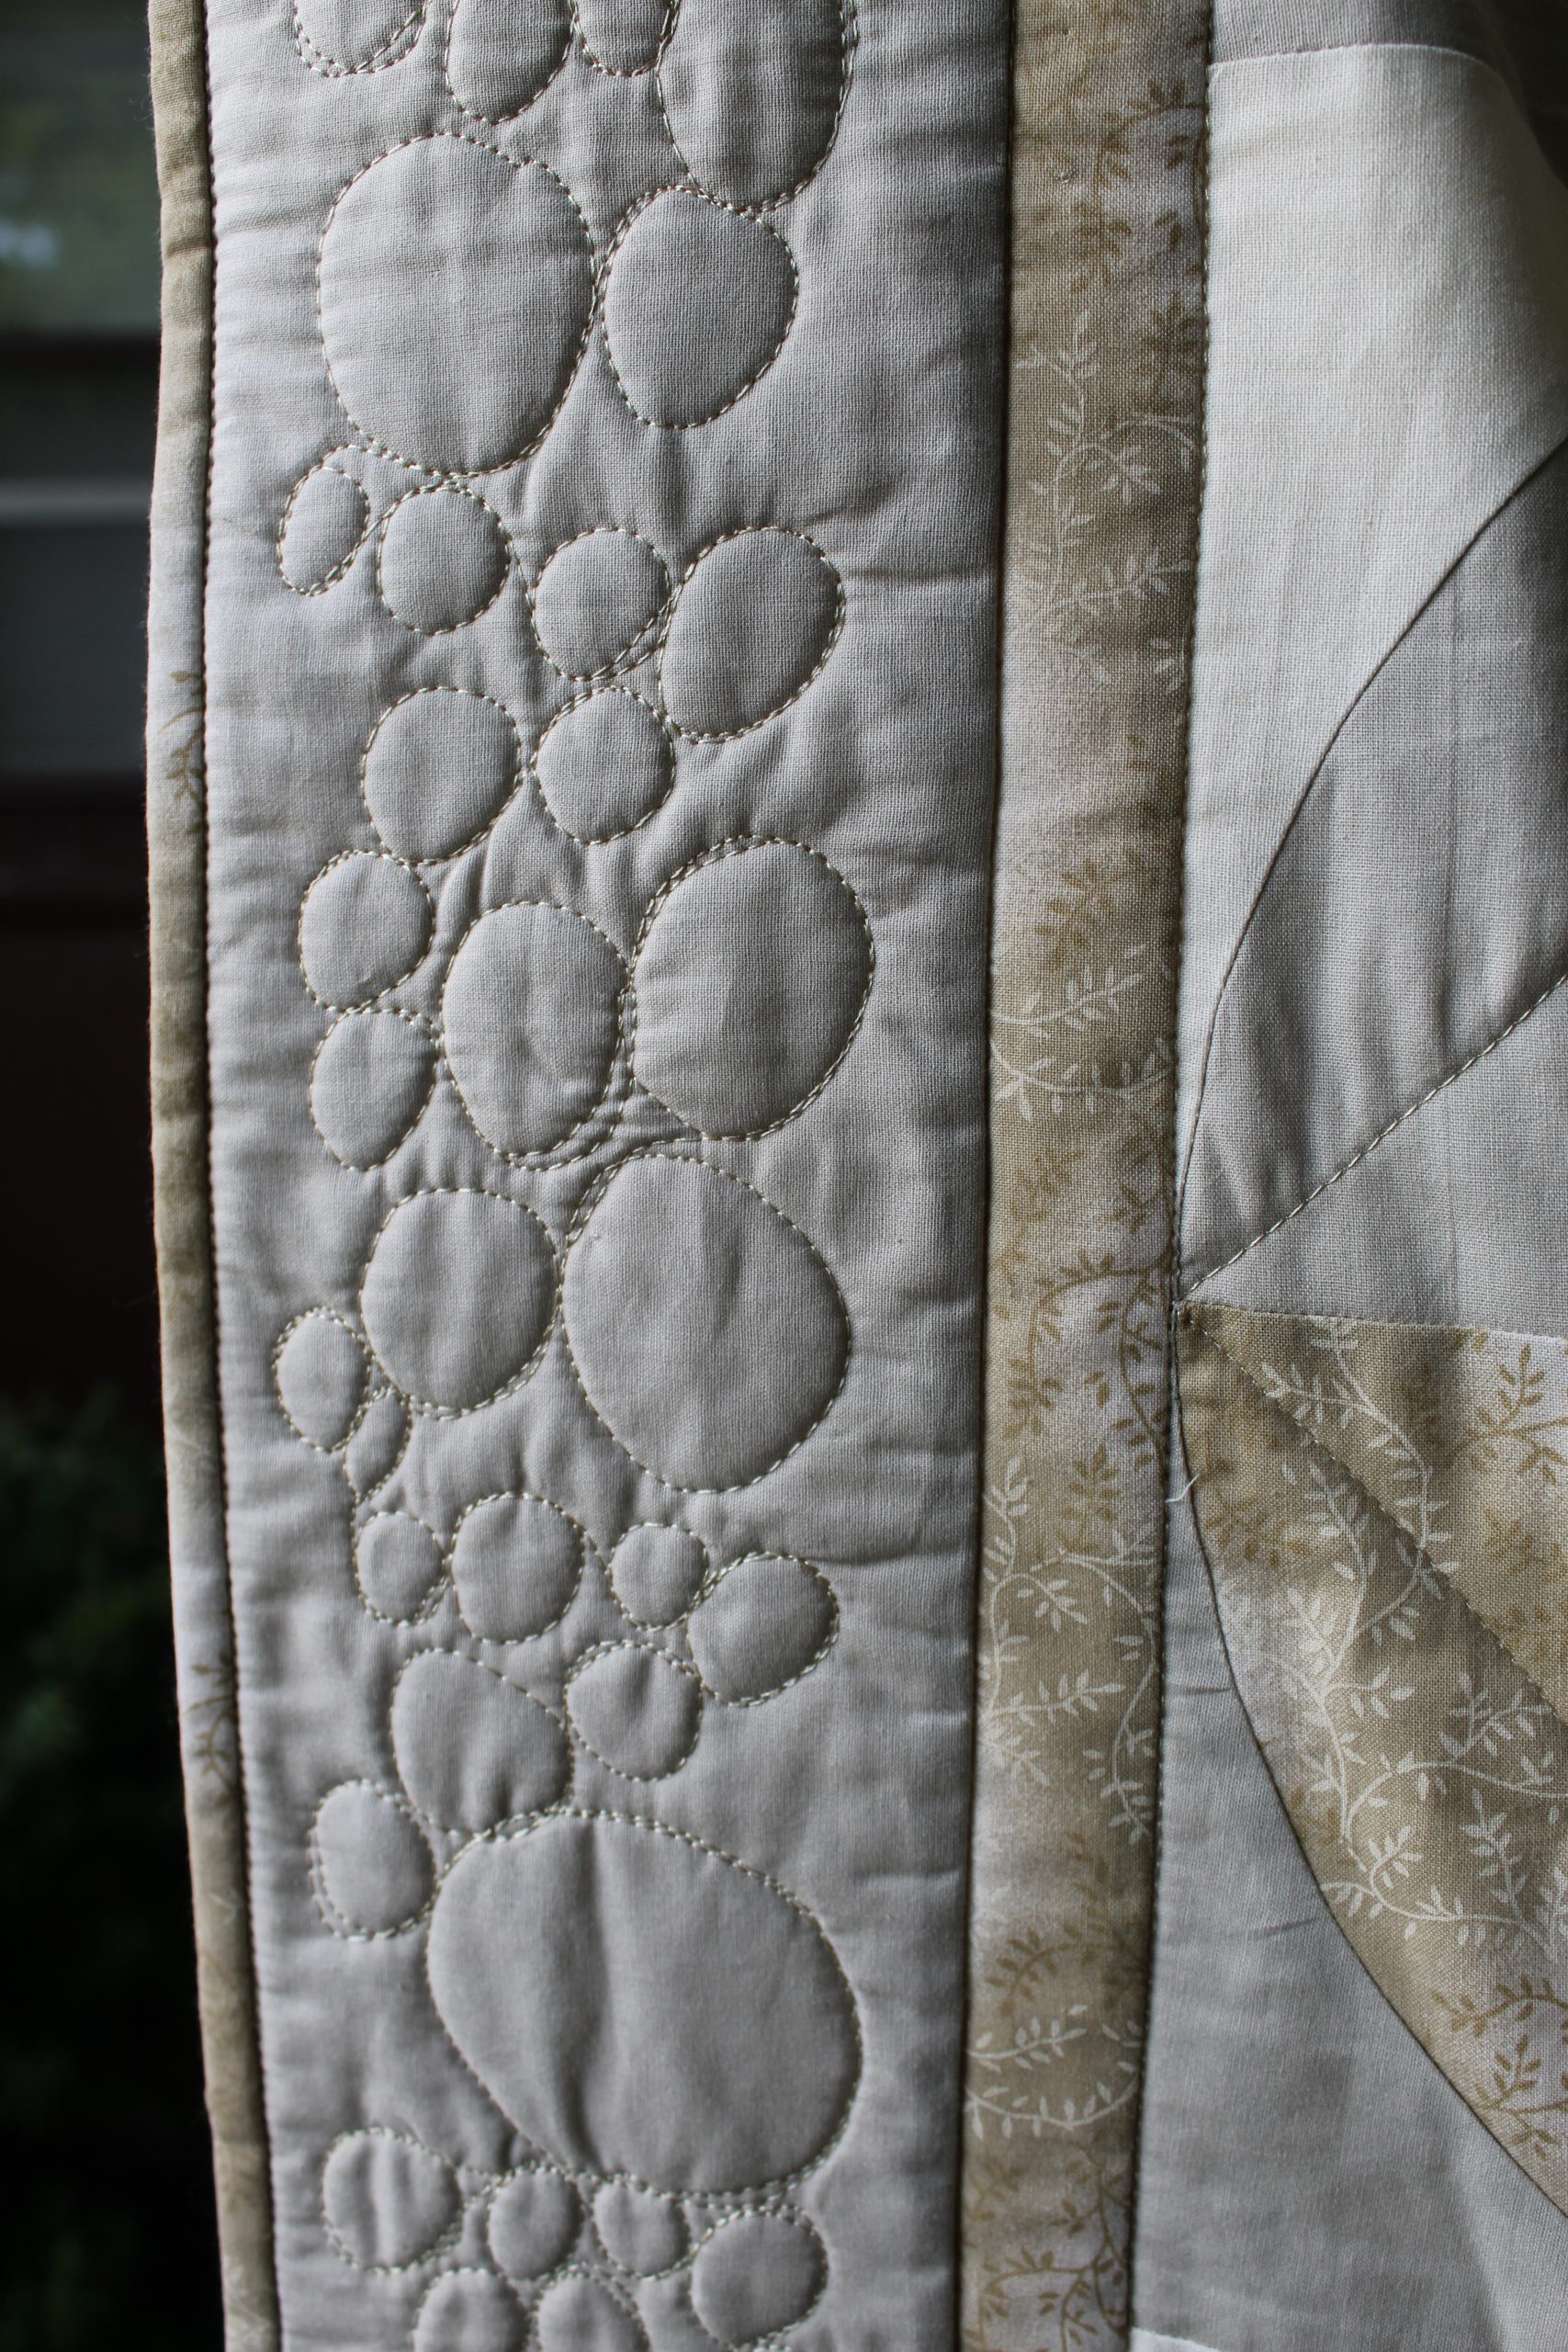
- Layer the backing, batting and quilt top and quilt as desired. Zoe quilted diamonds on the circles of each block by quilting from corner to corner through each square, and used free motion quilting to add circles to the outer border. She also stitched in the ditch on both sides of the inner border.
BINDING:
- Join the eight 2 1/2” Fabric B strips along the short ends to make the binding.
- Use the long length to double bind the quilt.

I adore this quilt pattern. I am going to make one for myself.
Thanks so much for your kind comment, Teresa! Have a great day 🙂 – Ashley, We Like Sewing