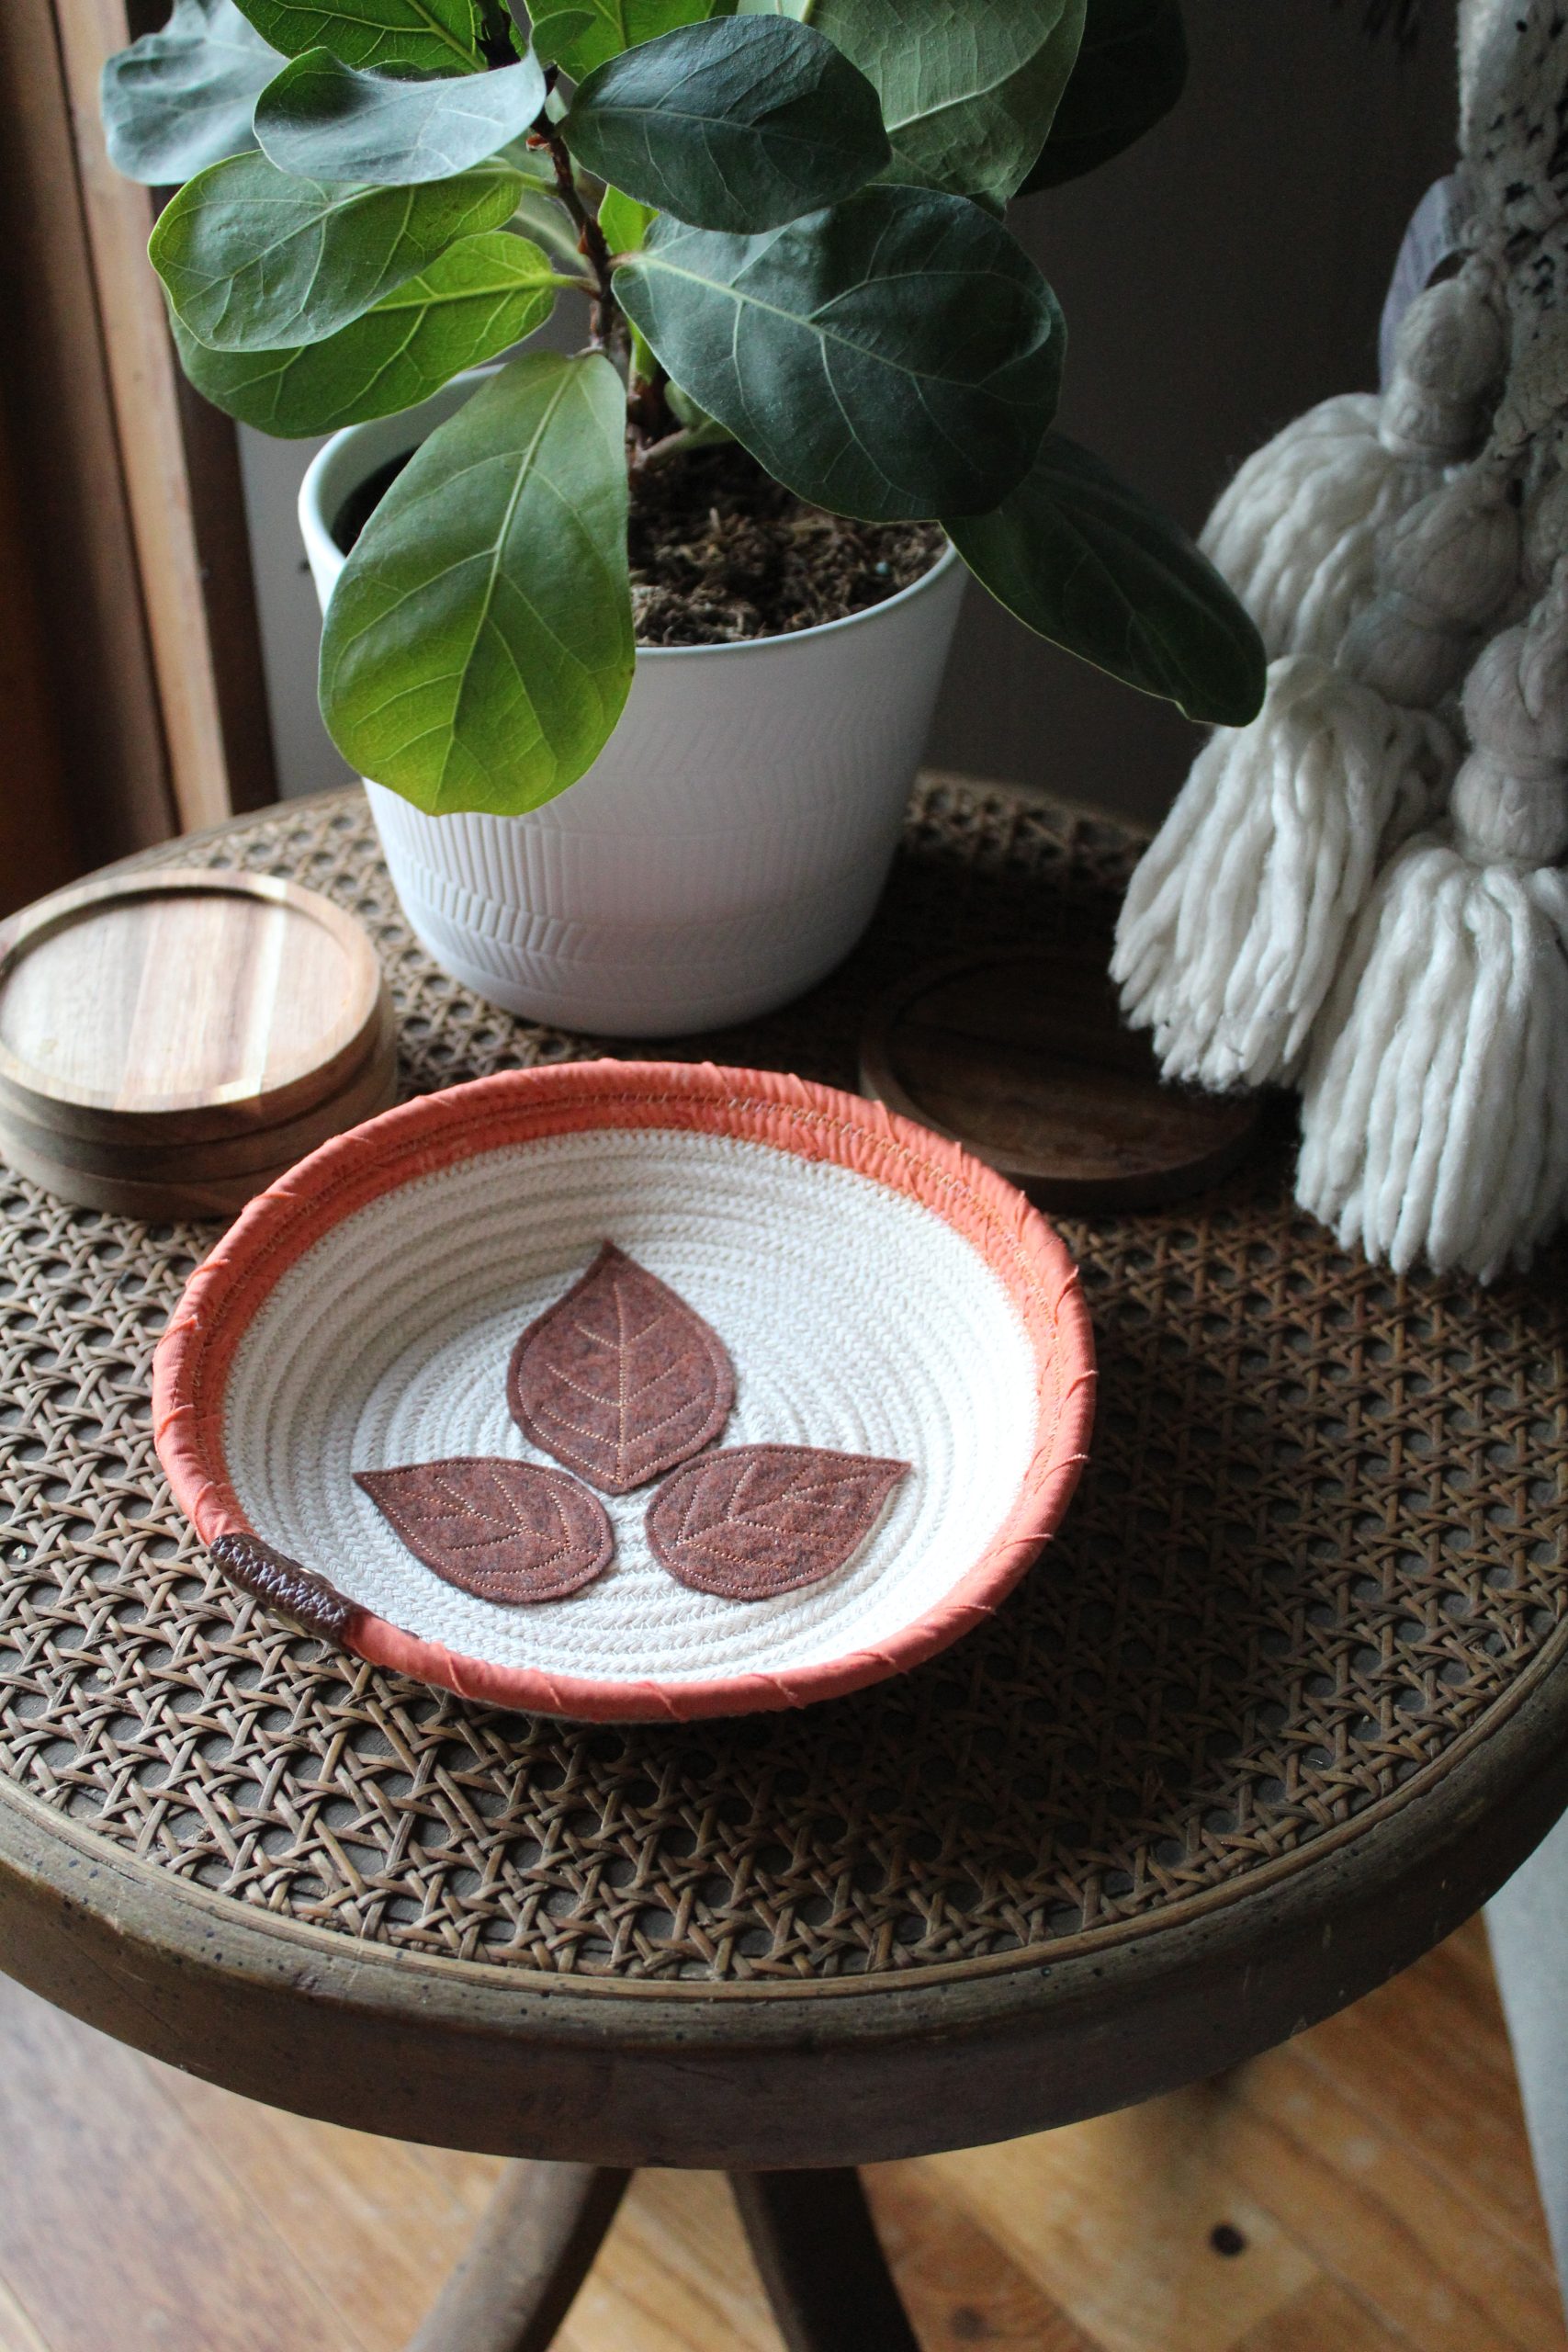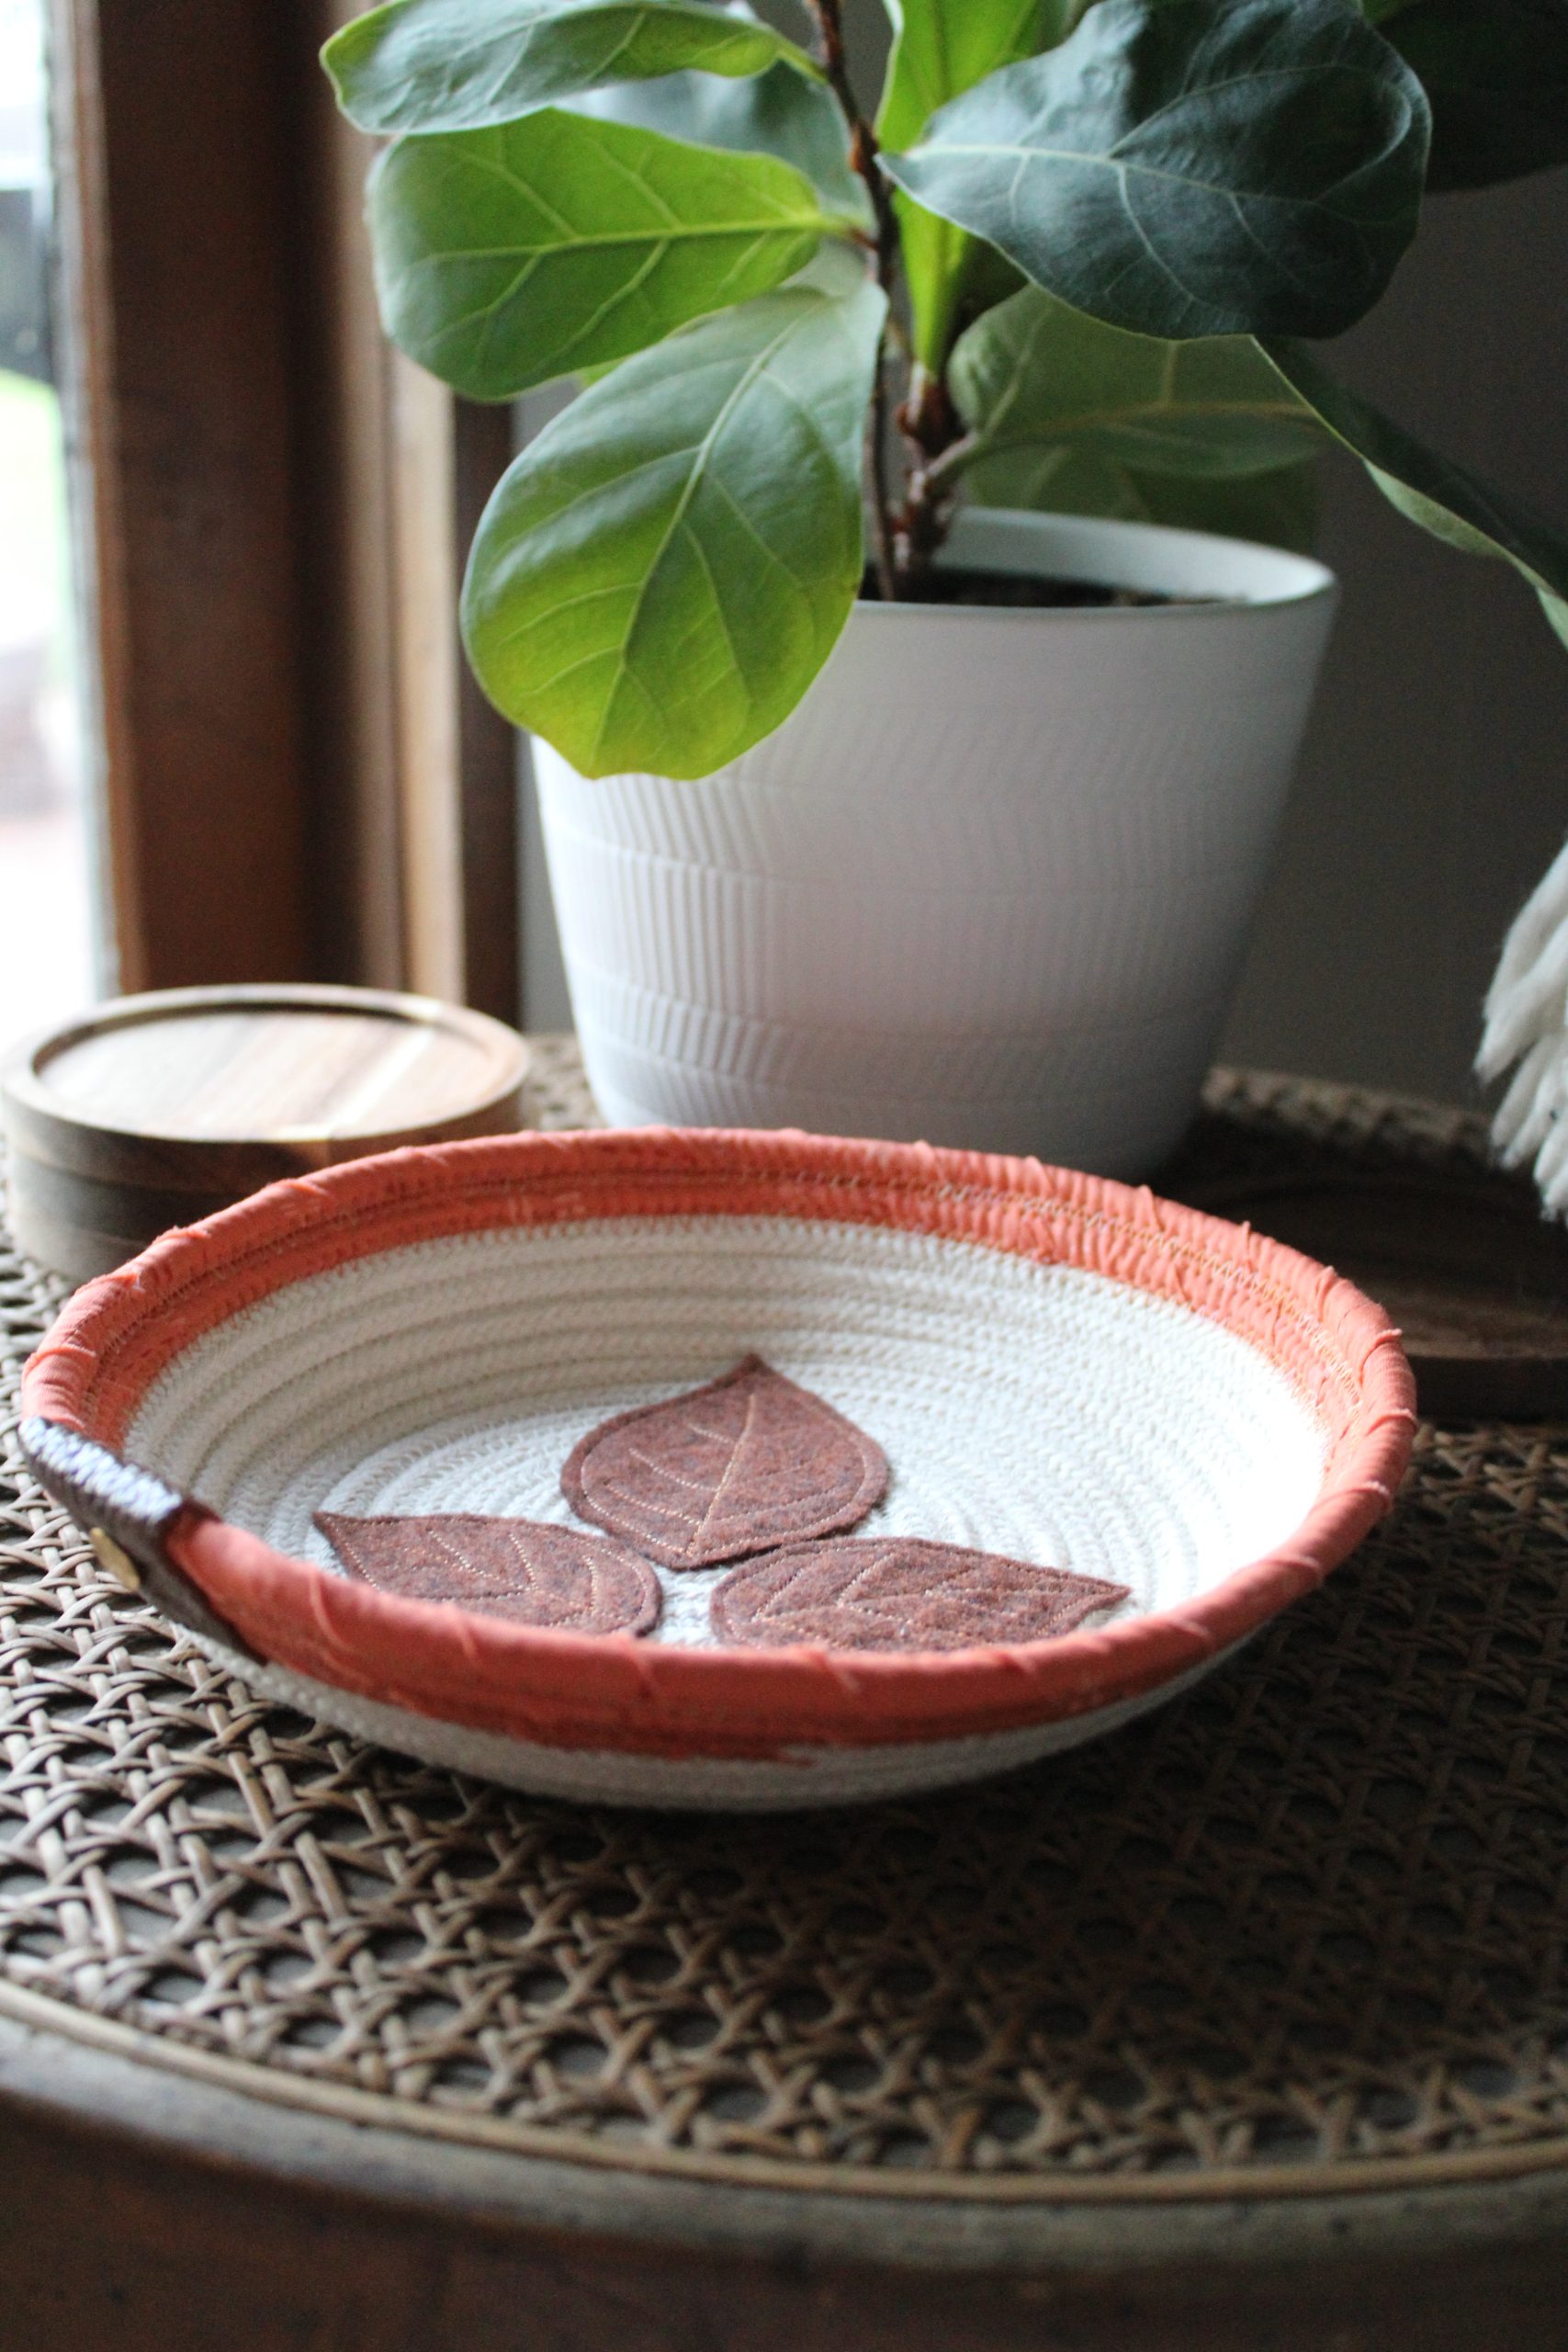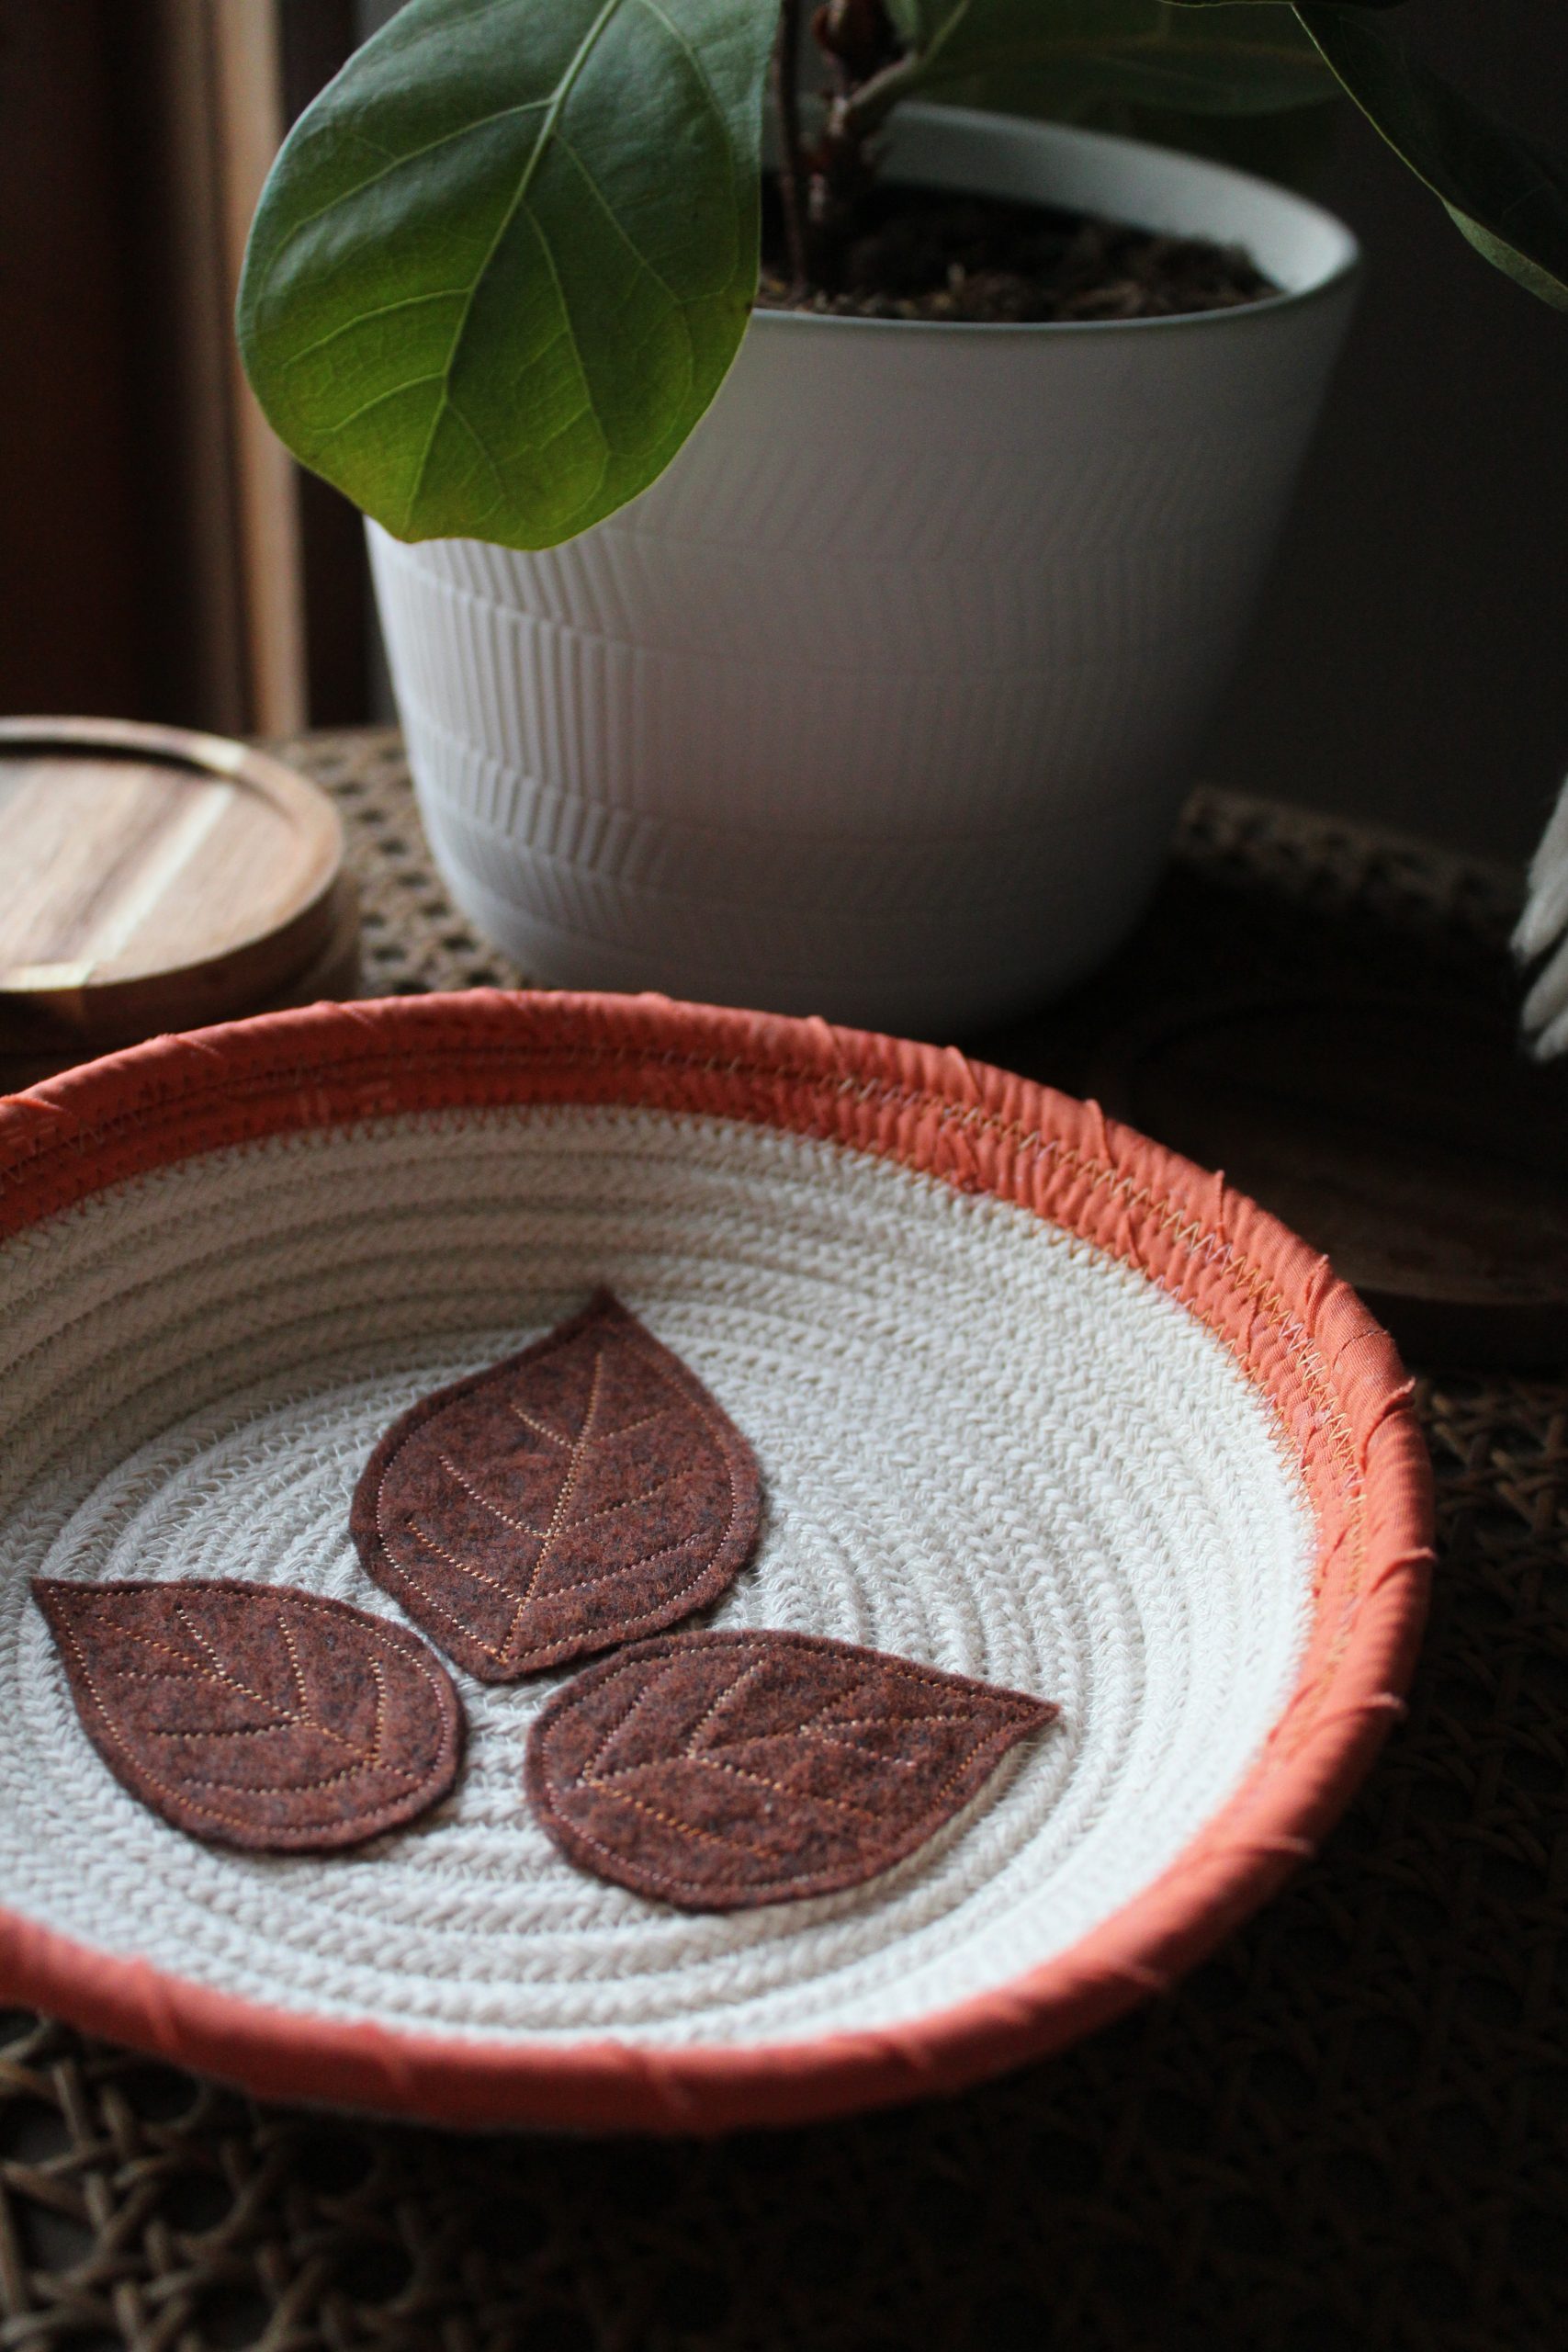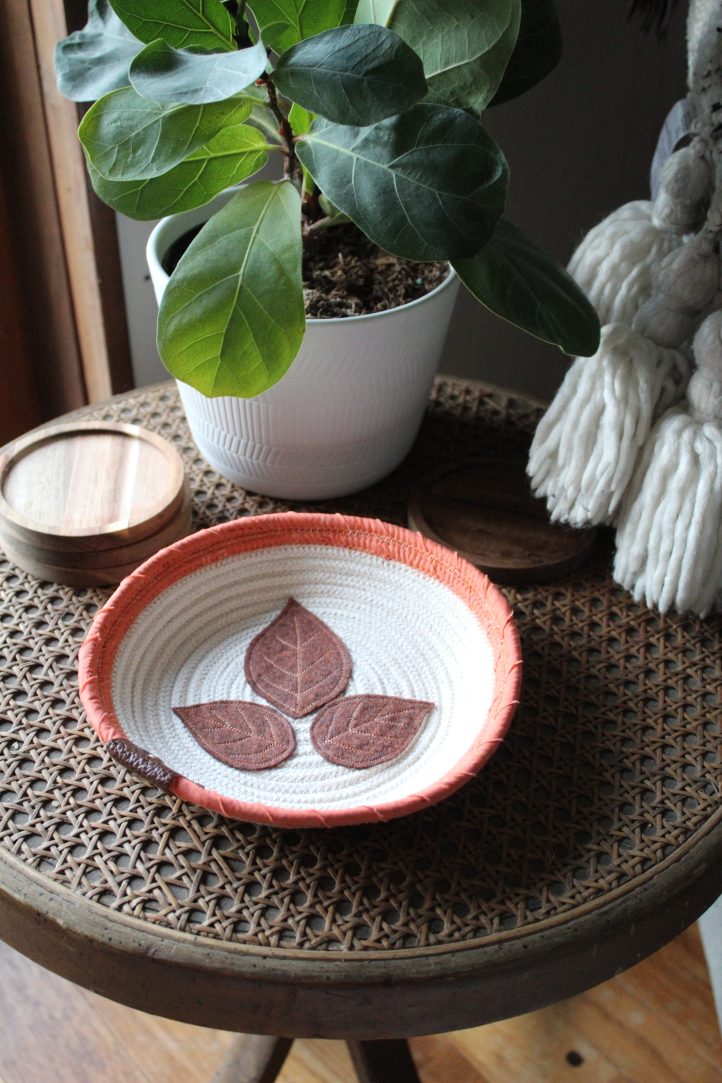
Give your foyer or coffee table a chic, autumnal touch with this decorative rope bowl from Debbie von Grabler-Crozier. Ideal for holding your keys, sunglasses or favorite jewelry, this fall sewing pattern uses cotton cord for the rope base of the bowl and is finished with a leather tab. The central focus of this pattern is the trio of wool felt leaves, which give this sophisticated design the illusion of falling fall foliage.
Materials:
- Fabric (Note: All fabrics are by Art Gallery Fabrics.):
- 1 fat quarter of fabric in a warm fall color. Debbie used fabric from the AGF Holiday Bundles Gratitude Edition.
- 5” square pure wool felt
- 6 1/2 yds. of 1/4” cotton cord
- Brown thread for the embroidery
- 3”sq. scrap of leather or vegan leather (hereafter, leather) for the tab
- 1 Sam Browne rivet aka Chicago screw
- Clear drying glue suitable for fabric
- Coordinating threads for all fabrics and trims
- Scissors
- Fabric markers
- Darning foot for your machine
- PDF Template – This is located at the bottom of this page. Please see printing instructions below.
PRINTING INSTRUCTIONS:
Note: To download the template, click on the pattern download button at the bottom of the page. We recommend opening your pattern download using Adobe Acrobat.
Cutting Instructions:
From the fabrics:
- Bias tape cut at 1 1/4” wide and joined to make a 62” strip.
From the wool felt:
- 1 fall leaf (This template is located at the bottom of the page.)
TIP: For now, do not cut the leaf out. Only draw it onto the felt. One simple way to do this is cut either the template or a copy of it and then draw around the leaf on the felt with removable marker.
From the leather:
- 1 piece 1 1/2” wide x 2 1/2” long for the tab
Sewing Instructions:
PREPARATION:
Make the Bias Tape:
- From your fat quarter of fabric, join the bias strips to make a continuous length of bias tape. Press the joining seams open. Trim any pieces sticking out at the joins.
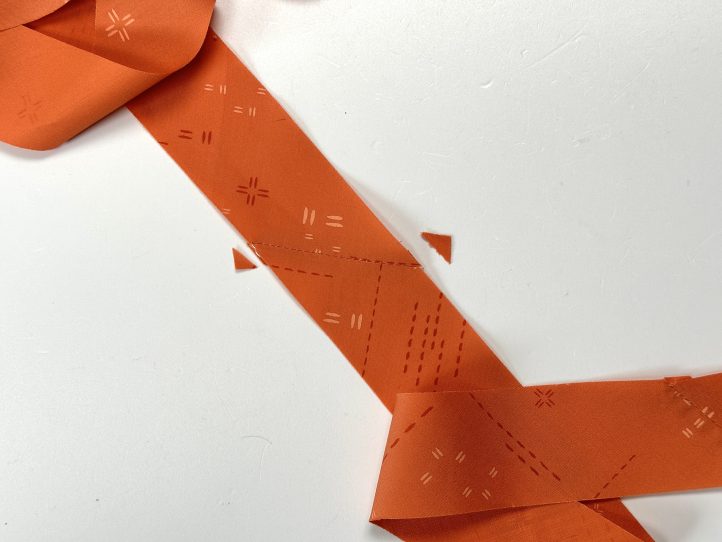
Image 1
Wrap the Cord:
- Use the glue to start the wrap on one end of the cord.
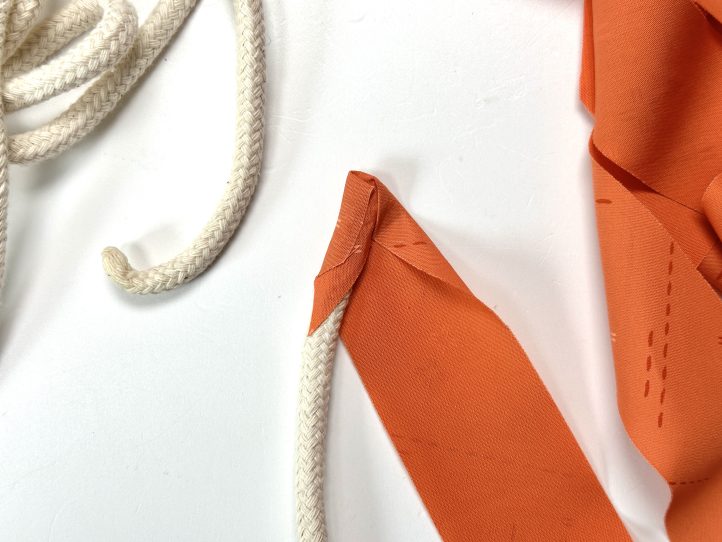
Image 2
- Continue wrapping the cord with bias tape on an angle, gluing lightly as you go.
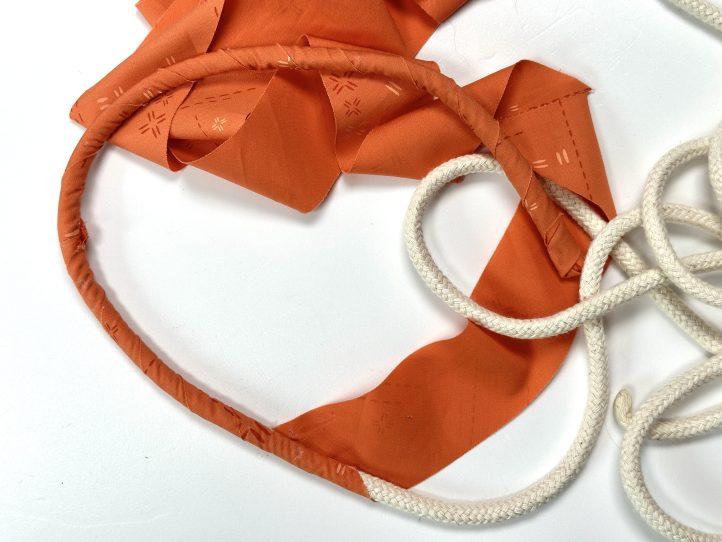
Image 3
- TIP: Don’t over glue. If it seeps through the fabric, it may stain it. You only need a small amount so that the bias tape stays joined to the cord.
- Allow the glue to dry.
Make the Fall Leaves:
- Set your machine up for free motion embroidery. Most modern machines can do this but do check your manual to see the specifics for yours. You will need to either drop the feed dogs or set the stitch length to zero. Thread with same color thread as you will use to stitch the wrapped part of the bowl (seen in Image 9 below) and use your darning foot.
- Stitch around the leaves just inside of the outline that you drew. Then fill in the details. Trim any threads away.
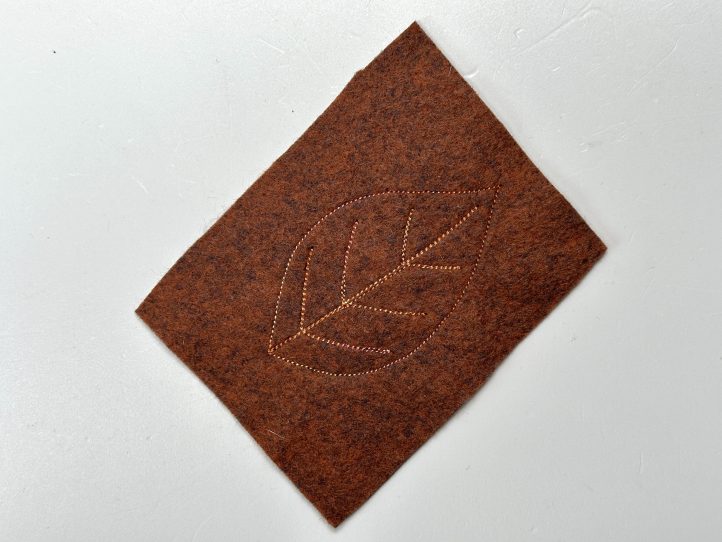
Image 4
- Cut the leaves out on your original line (about 1/8” out from the stitching).
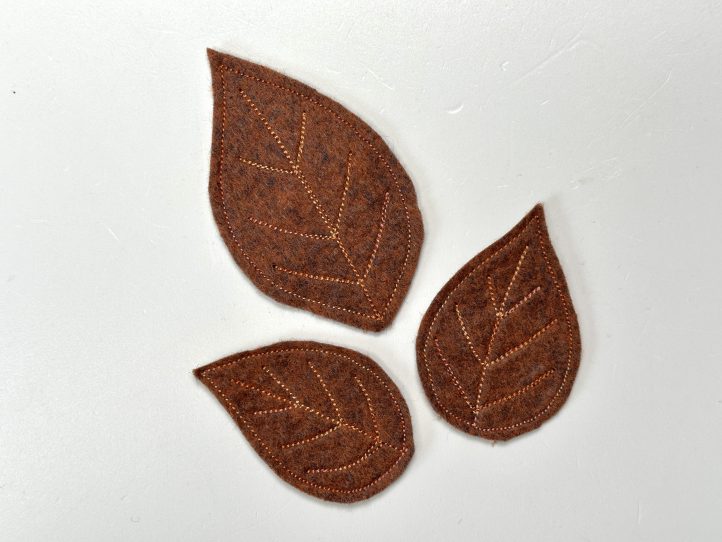
Image 5
Prepare the Tab:
- Fold the tab in half width-wise. Measure in 3/4” from the end and make a hole in the center, going through both pieces. When you open the tab out, there will be two equal holes.
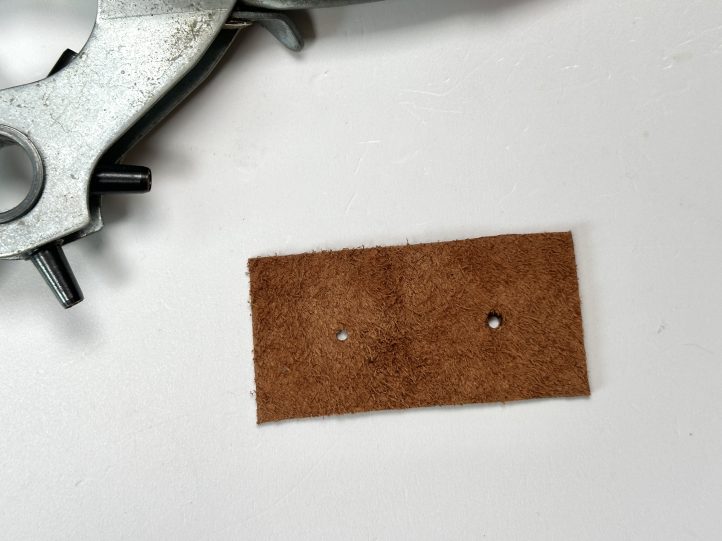
Image 6
- TIP: The shanks on Chicago screws can vary quite a bit. Check that the hole you make is big enough for the size of screw that you have.
MAKING:
- Start the center coil of your cotton cording using a zig-zag stitch wide enough to span both pieces of cord.
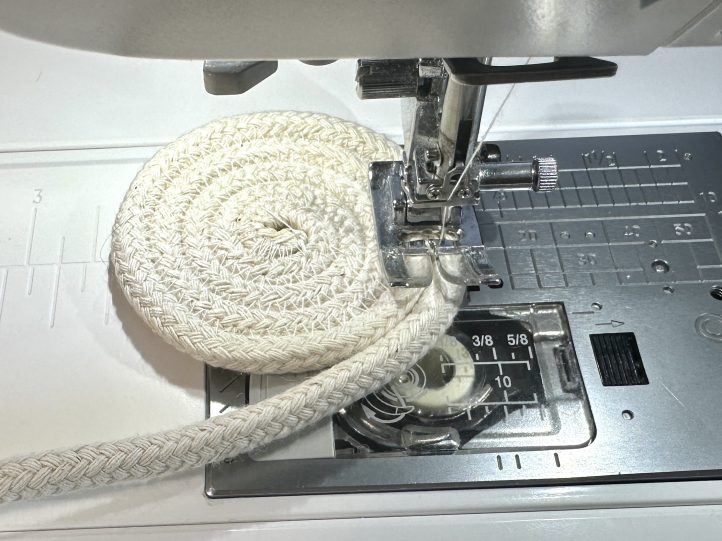
Image 7
- The starting end is the un-wrapped part of the cord.
- TIP: This gets MUCH easier as you go!
- Keep zig-zagging and allowing the stitch to grab two pieces of cord at a time as you build the base of the bowl.
- When your bowl base measures 5” wide, start building the sides by allowing the bowl to move up at an angle.
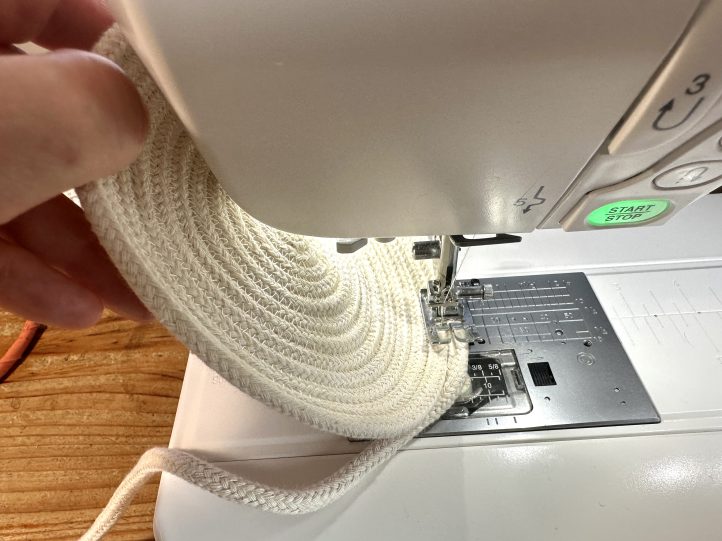
Image 8
- TIP: As you get to the wrapped part of the cord, it can be a good idea to swap thread color so that the stitches are less conspicuous.
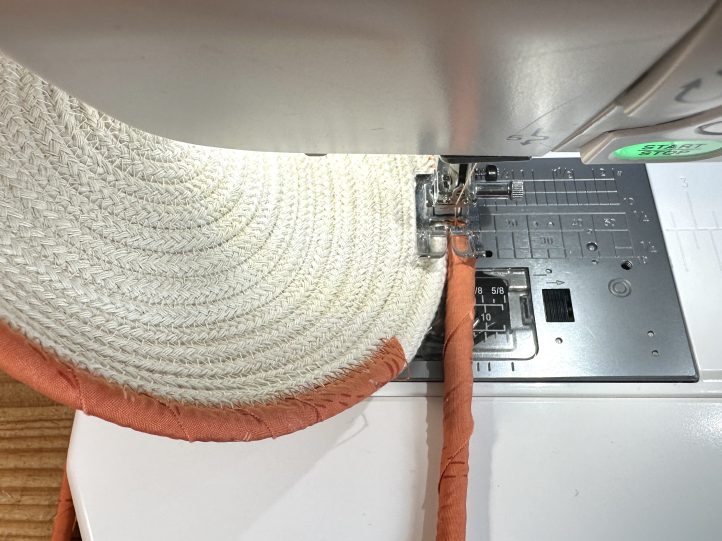
Image 9
- Keep going until the cord is all used.
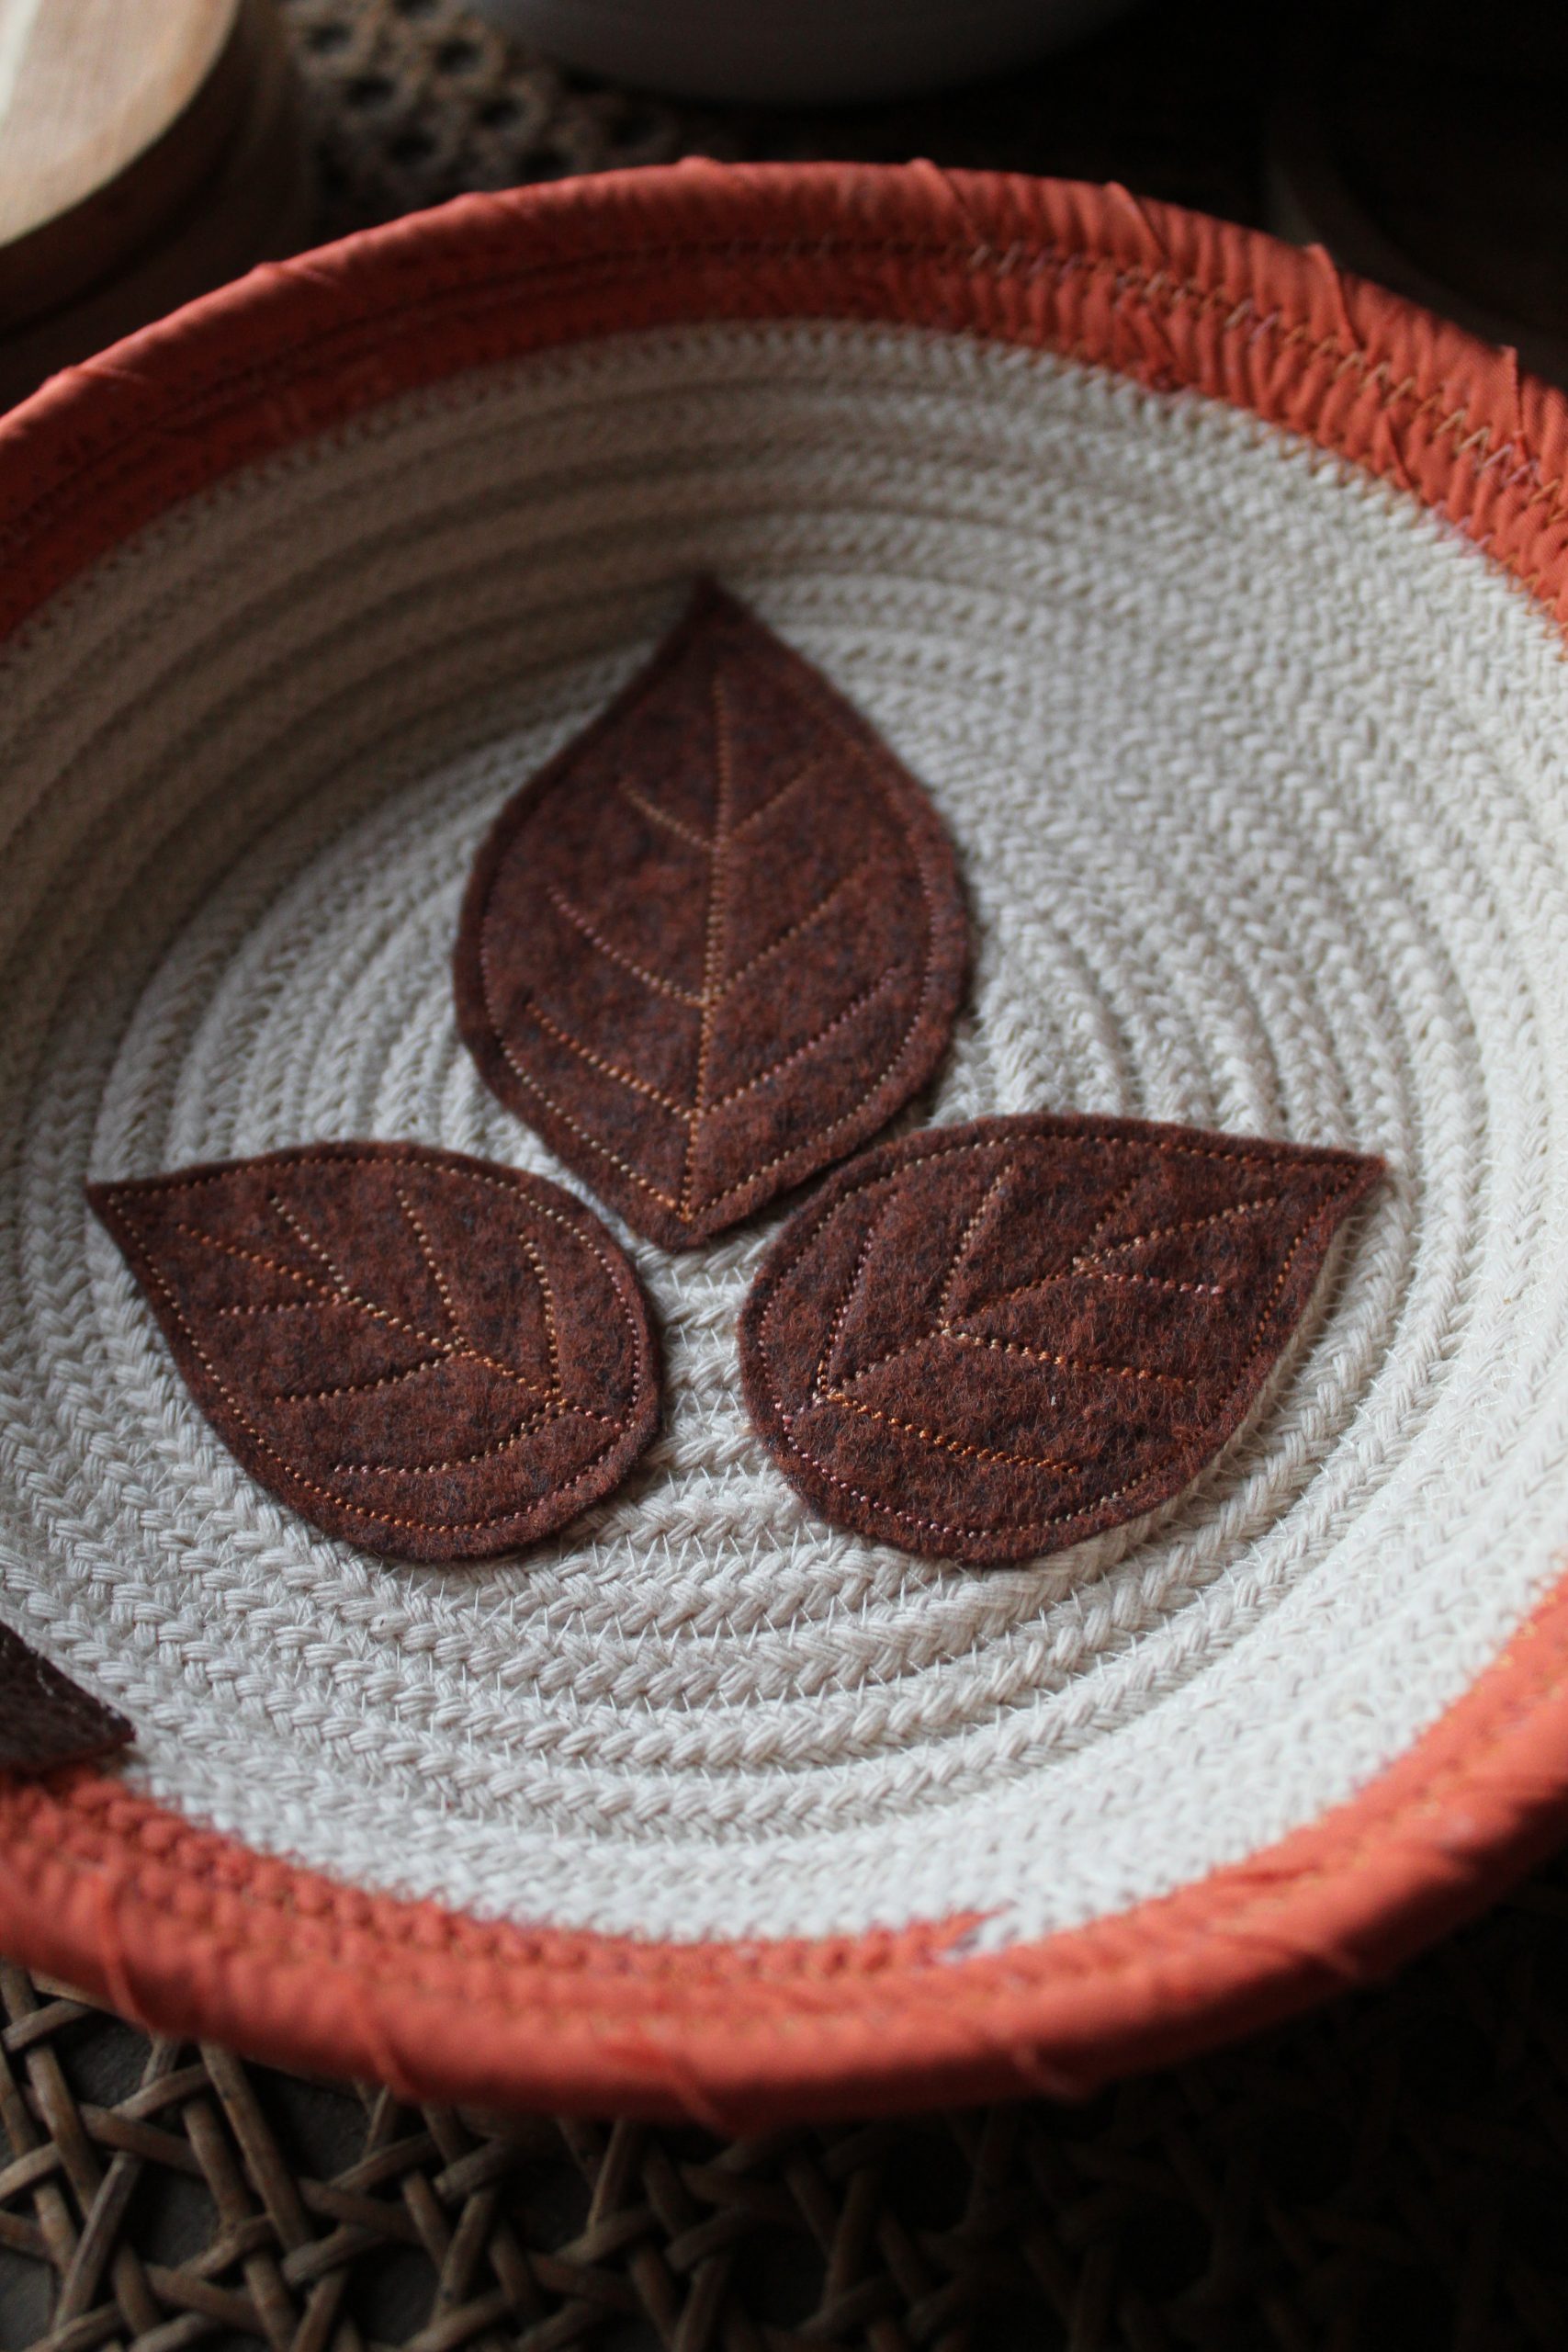
- Glue the felt leaves centrally to the base of the bowl and allow them to dry.
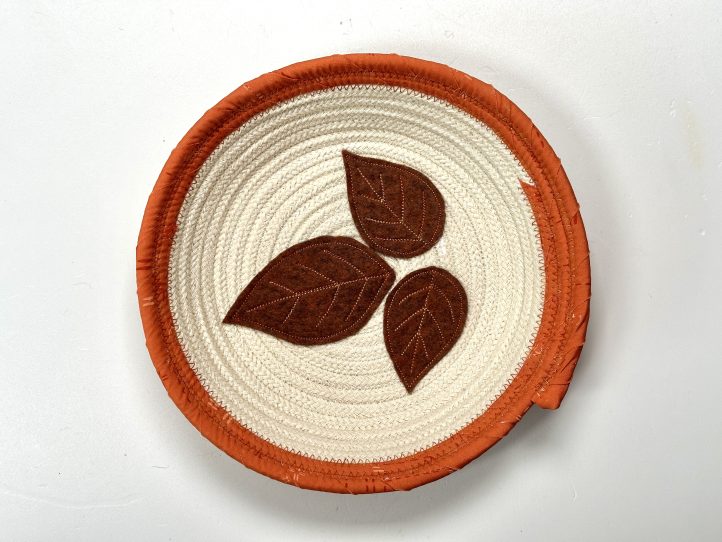
Image 10
- TIP: Put something heavy on top (a jar of food, for example) and it will dry flat. A round object like a jar will not distort the base of the bowl.
- Add the tab where the cord finishes at the top of the bowl, gluing it first and then adding the rivet.
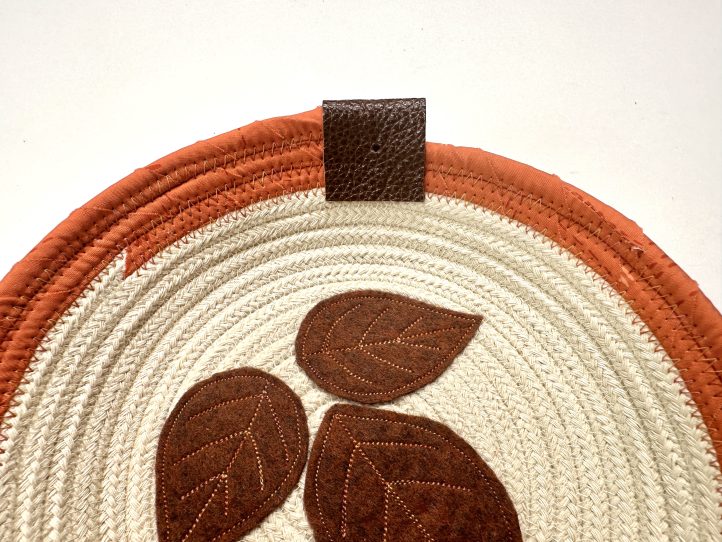
Image 11
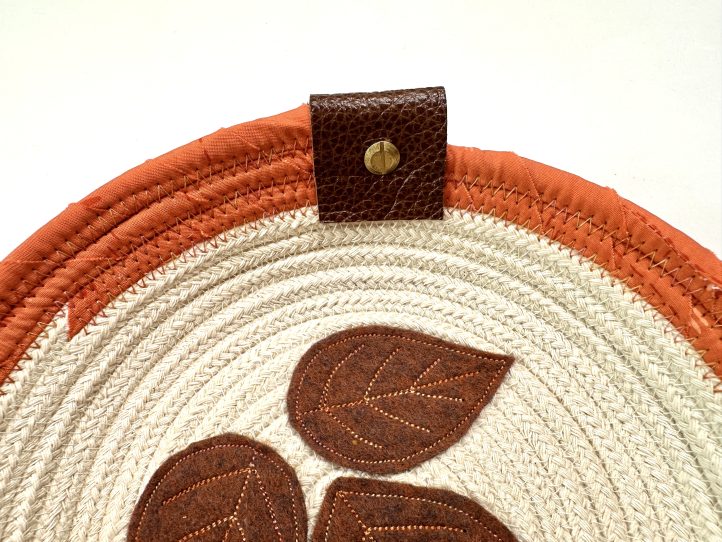
Image 12
- TIP: When you glue the tab on, make sure that the holes are lined up and consider poking an awl or a large darning needle through both to check and to make a hole through the cord to admit the rivet.
- TIP: Usually the screw side of the rivet is the ‘wrong side’ but the designer particularly likes that detail so she used it on the side of the bowl that you will see most often. The choice is yours!