Do you love creating unique clothing pieces or adding flair to items you already have in your wardrobe? If so, consider adding snaps to your items for functionality and style. By learning how to install snaps, you can take your sewing skills to the next level and create fashionable, practical garments.
In this guide, we’ll walk you through everything you need to know about snaps, from selecting the right type to installation techniques. So, whether you’re a seasoned sewing pro or a beginner, get ready to add snap-tastic flair to your wardrobe!
Adding snaps is simpler than you might imagine. They provide hassle-free closure and add a professional and neat finish. But first, let’s dive into what snaps are and the different types you can choose from.
What Are Snaps?

Photo provided by designer
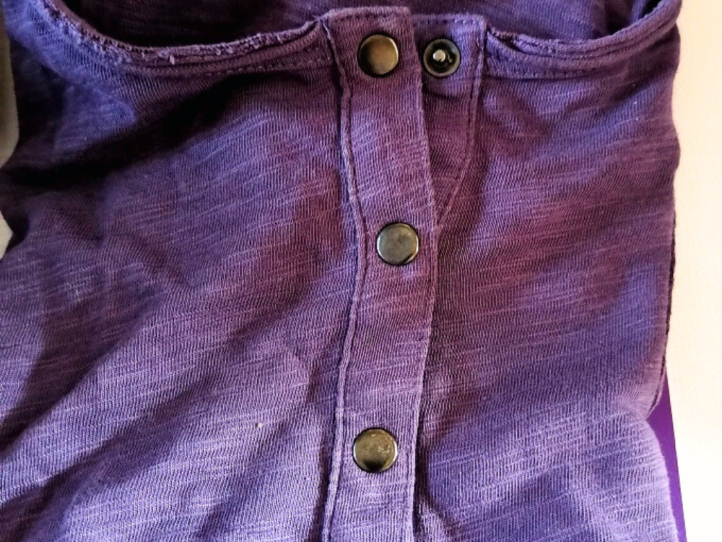
Snaps are nifty little fasteners that provide a secure and convenient way to join two pieces of fabric together. They consist of the socket (female part) and the stud (male part). They create a reliable closure when pressed together, making snaps ideal for various clothing applications.
Types of Snaps:
- Sew-On Snaps: These are traditional snaps you attach by sewing through small holes on the socket and stud. Usually metallic, they come in various sizes and are suitable for a wide range of garments.

Photo provided by designer
- Set-In Snaps: You attach the sockets and studs of these snaps with a tool. They come in metallic and plastic in various styles and colors. Your tool should come with instructions that you can follow to install your snaps.
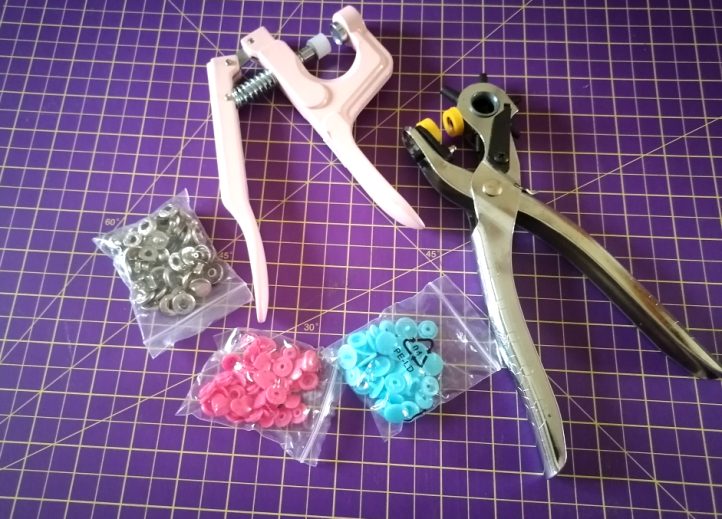
Photo provided by designer
- These types of snaps also come in kits with a selection of snaps and a tool for installation. The kit will have instructions to guide you through the installation process.
Gather your fabric and favorite snaps, and let’s dive in!
Materials:
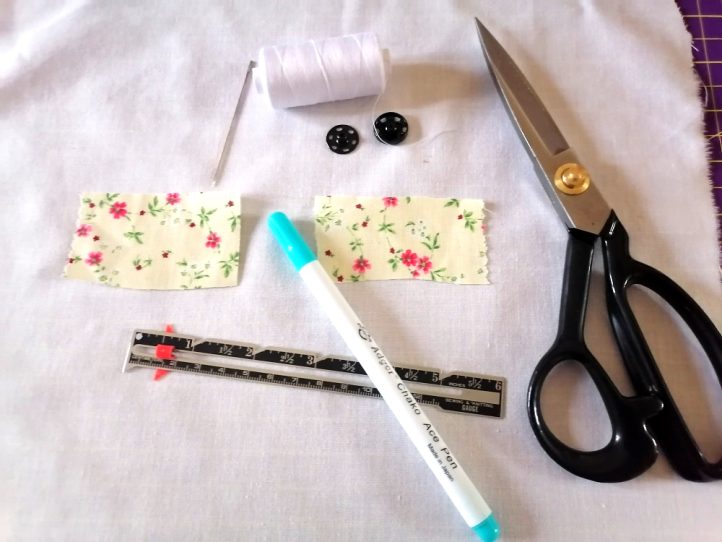
Photo provided by designer
- An item of clothing or the fabric to create your garment (ensure that your fabric is cut and ready for application of the snaps)
- Snaps (metal or plastic)
- Snap fastener tools
- Snap component attachments (sockets and studs)
- Fabric marker or chalk
- Ruler or measuring tape
- Scissors
- Pins
- Needle and thread
Choose the type of snaps you want to use depending on the fabric, garment style, and preferences. Snaps can be attached to various fabrics, such as cotton, denim, linen, and lightweight knits.
Instructions:
Plan Your Snap Placement:
- Before you begin, determine where the snaps will sit on your garment—for example, front closures, cuffs, or decorative accents. Think about functionality and aesthetics.
Mark the Snap Placement:
- Using your marking tool, make clear marks on both sides of the fabric where the snaps will be attached. For front closures, mark corresponding spots on both the left and right sides of the garment.
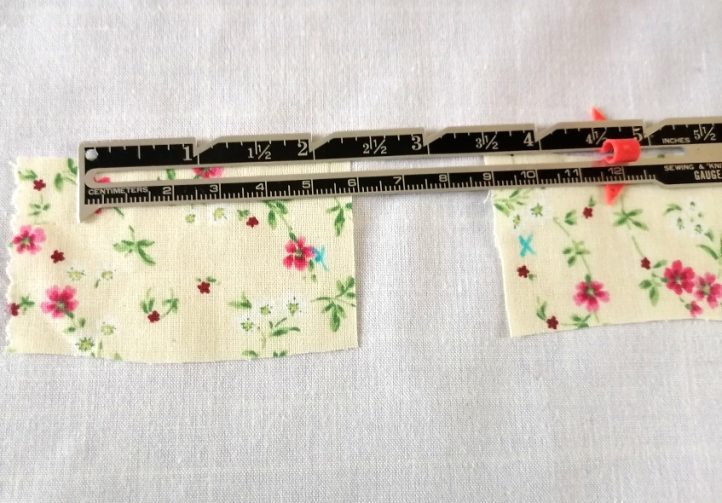
Photo provided by designer
- If you are using a Set-In Snap Kit, you need to pierce a hole where you have marked and follow the instructions provided with your kit.
Attach the Socket:
For sew-on snaps:
- Thread your needle and knot the end.
- Bring the needle up through the marked spot from the backside of the fabric.
- Place the socket over the mark and sew through the attachment holes several times to secure it in place. You can also use a pin to hold the socket in place while you sew.
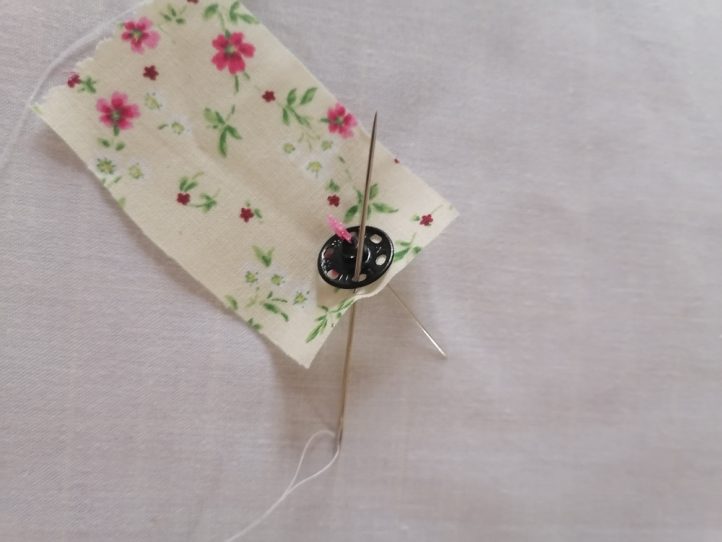
Photo provided by designer
- Knot the thread on the backside and trim the excess.
For Set-In Snaps:
- These snaps consist of four parts: two make up the socket piece, and another two make up the stud.

Photo provided by designer
- Separate the snap components and place the socket parts into your tool following the instructions.
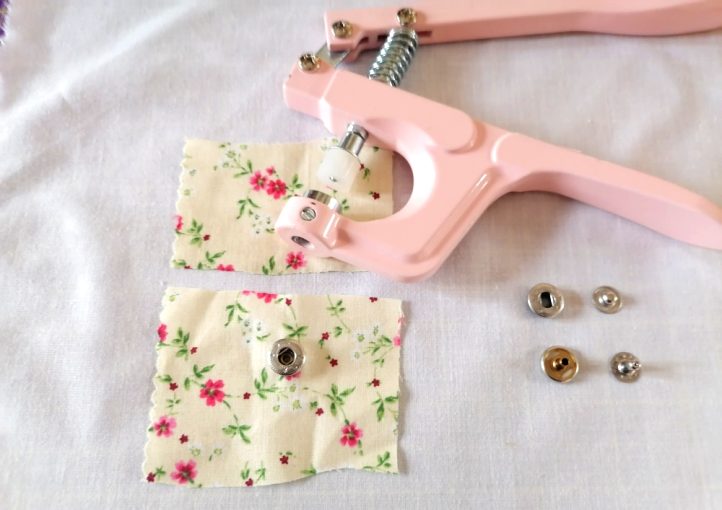
Photo provided by designer
- On the spot where you have marked, position and secure the socket on one side of the fabric using your tool.

Photo provided by designer
Measure and Attach the Stud:
For sew-on snaps:
- On the opposite side of the fabric, measure and mark the placement for the stud, ensuring alignment with the socket on the other side.
- Sew the stud in place using the same technique as the socket.
For Set-In Snaps:
- Place your stud on the other side of the fabric, align it with the socket, and secure it using your tool.
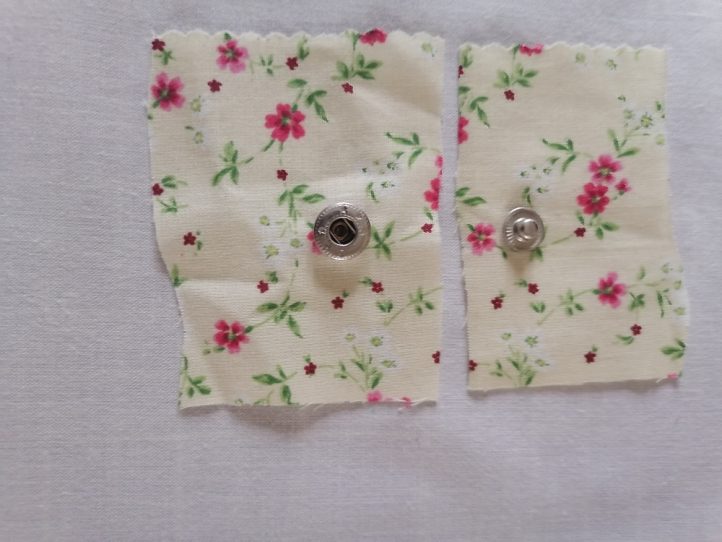
Photo provided by designer
Double-Check Alignment:
- Close the snaps to ensure they align perfectly. Adjust if necessary for smooth closure and check that they are not too loose and the fabric is not puckering.
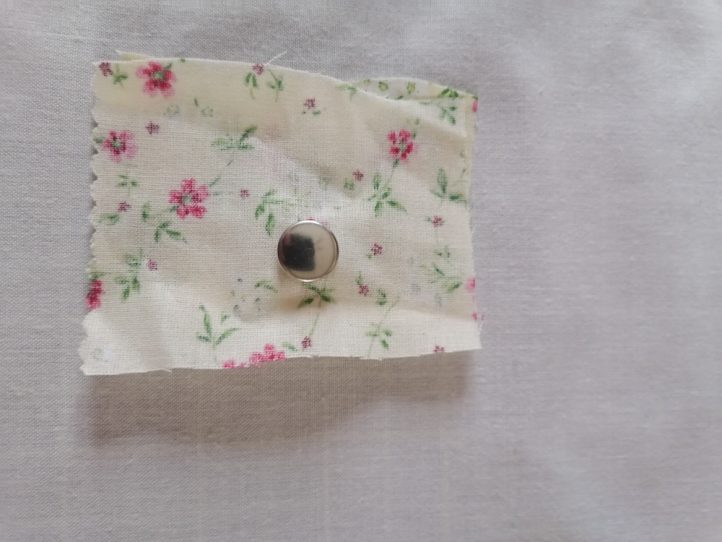
Photo provided by designer
Test and Enjoy:
- Test the functionality of your snaps by opening and closing them several times. Congratulations, you’ve just added a stylish and practical feature to your outfit!
I hope that you have mastered the art of adding snaps by following this guide. This skill opens up a world of possibilities for customizing, repairing, and enhancing your wardrobe. Adding snaps not only adds functionality but also lends a polished and professional finish to your garments. Precision is crucial whether you’re replacing a broken snap on a jacket, creating snap closures for a dress, or adding snaps for a unique design element. With this newfound expertise, you have the power to make your clothing more versatile and convenient. Snaps can transform an outfit, allowing you to experiment with different styles and closures.
Really great and easy to follow instructions. Thank you.