Many different kinds of garments – including pants, skirts, and even tops – have hems. These folded and sewn edges help finish an item of clothing cleanly, while also preventing fraying and wear over time. There are several options and techniques to choose from when shortening hems. Most involve a sewing machine, but there are hand-sewn hems as well. Here are some top tips for hemming success!
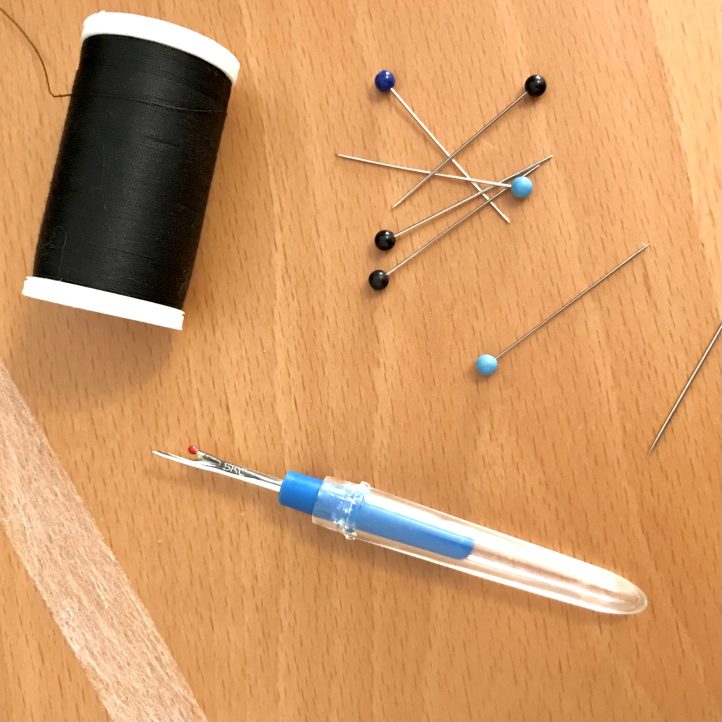
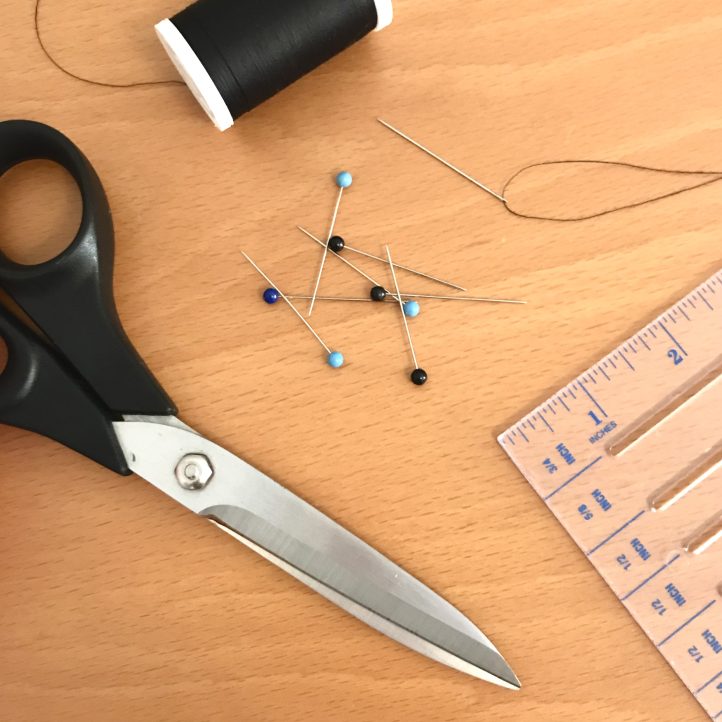
Recommended Materials:
- Fabric scissors
- All-purpose sewing thread
- Seam ripper
- Hand-sewing needle
- Pins
- Fusible hem tape
- Fabric chalk or removable pen
Before Shortening a Hem
There are a few basic tips to remember before you create a new, shorter hem.
- Unpick, clean up, and iron the existing hem (if there is one).
- Try on the garment and mark it with pins or chalk where you want the new hem. Double-check the measurements!
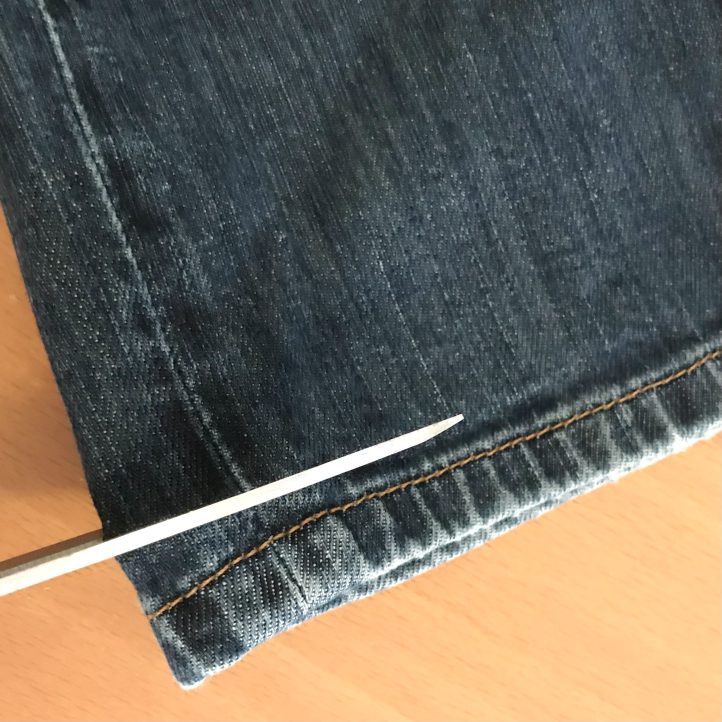
- Trim the cloth shorter along the hem using sharp fabric scissors.
- Choose a complementary thread color to match the fabric (unless it should contrast like on denim garments).
- Some hems are visible (or even contrasting to be obvious), while others are hidden. Hand-sewing generally works best for creating “invisible” hems.
- Work with the fabric turned inside-out on narrow areas like legs (cuffs) and the end of sleeves. It will be easier to sew this way.
- Most hems are known as “double fold” (the fabric is turned twice, which hides the raw edge), though some can just be “single fold.” This depends on the fabric type and tools available when hemming.
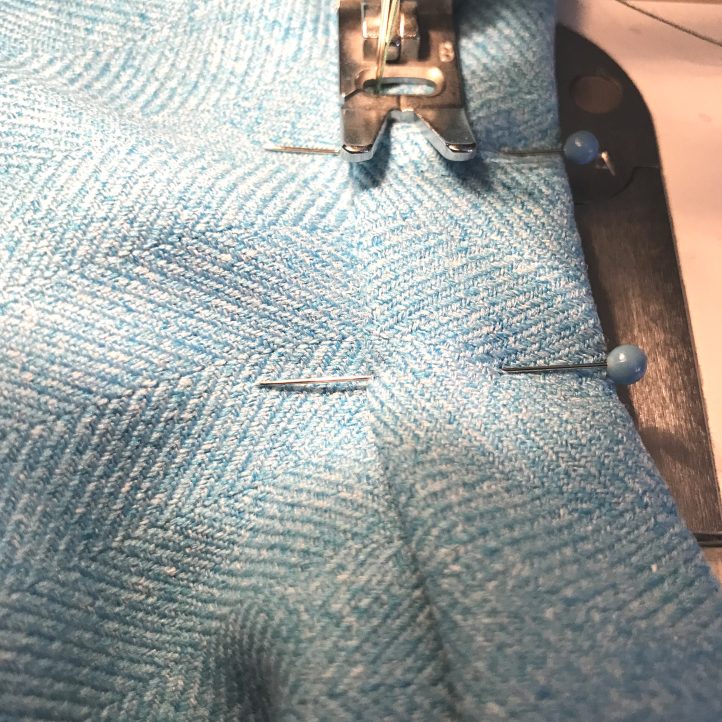
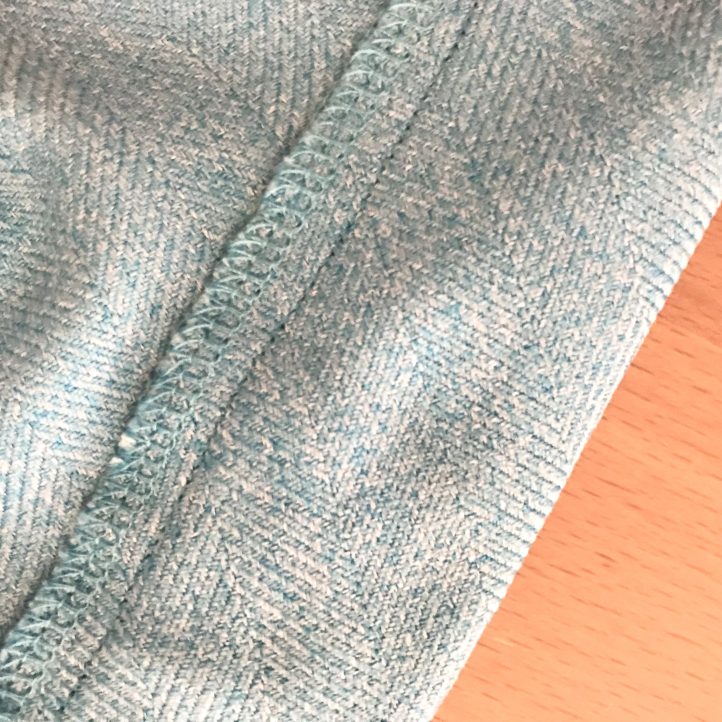
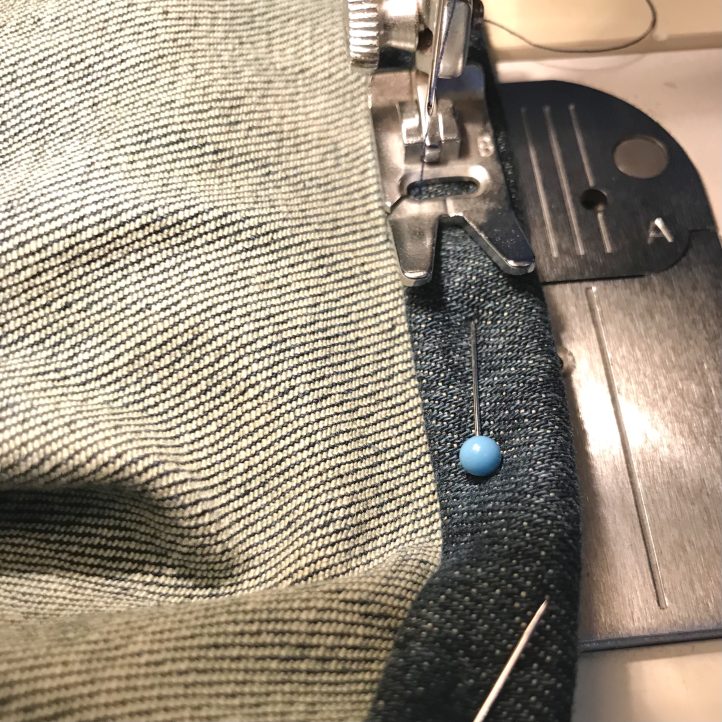
1. Hemming by Machine
The most common way to shorten or create a hem is to use a sewing machine. Clothing factories have specific equipment that just make hems, but a home sewing machine will also work! This is a visible hem as opposed to a hand-sewn hem that can be made to be hidden (more on that in the next section).
- Some sewing machines have special hemming settings or presser feet, so refer to your machine’s manual beforehand.
- Remove any loose threads or frayed fabric before starting the new hem. An iron can help take out any remaining wrinkles.
- Pin the new hem where you want it to be on the garment before sewing with a regular running stitch.
- Double-check measurements before sewing!

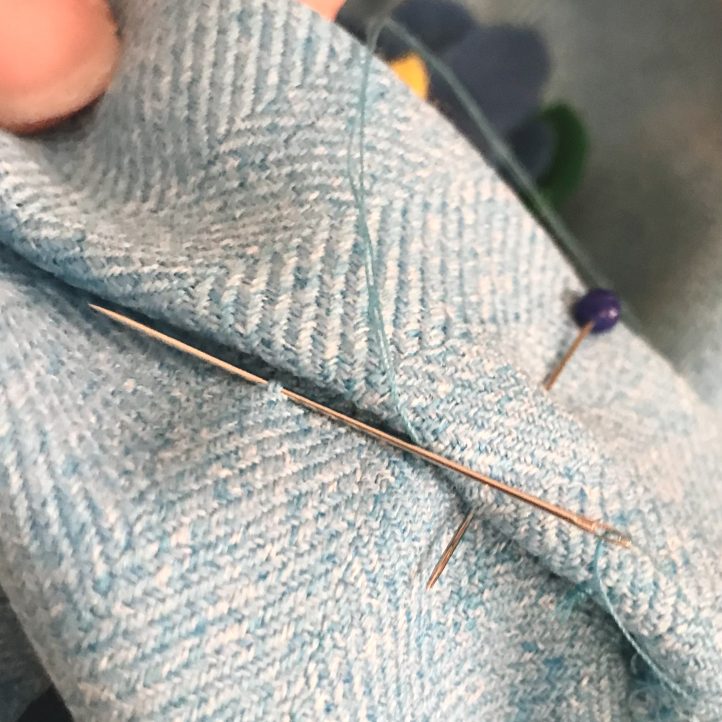
2. Hand-Sewn Hems
In some cases it’s better to sew the hem by hand with a needle and thread. Often a sewing machine isn’t available or the fabric is too delicate to run under a machine. Hand-sewing is also recommended for tailored garments that have the invisible hems mentioned earlier.
- Use the same process of trimming and cleaning up the raw edges and/or existing hem as you would before sewing it on a machine.
- Measure the hems precisely and iron if needed. Pin when working to keep it even.
- For an invisible hem, use a very gentle “slip stitch” that picks up only a few fibers at a time. This should be almost undetectable from the front of the fabric.
- Avoid all tugging or pulling at the thread and garment, or wrinkling and unevenness can occur.
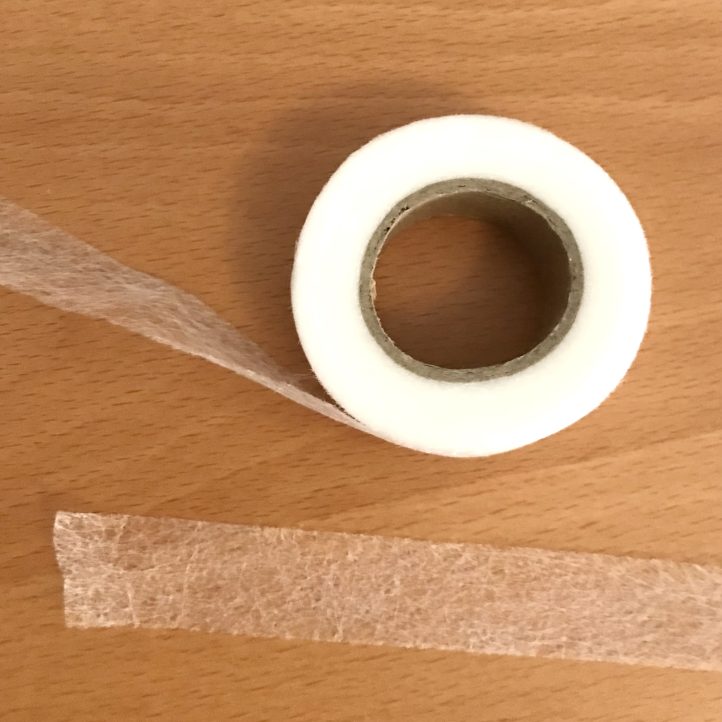
3. Using Fusible Hem Tape
Another idea for shortening a hem is to use fusible hem tape. This no-sew option allows for a quick, easy fix for hems. Fusible hem tape is a thin fabric strip that has a heat-activated glue on both sides. It’s sold in small rolls at craft and sewing shops.
- Clean up the existing hem just like in the other methods.
- Measure, fold, and press the raw edges with an iron before using the hem tape.
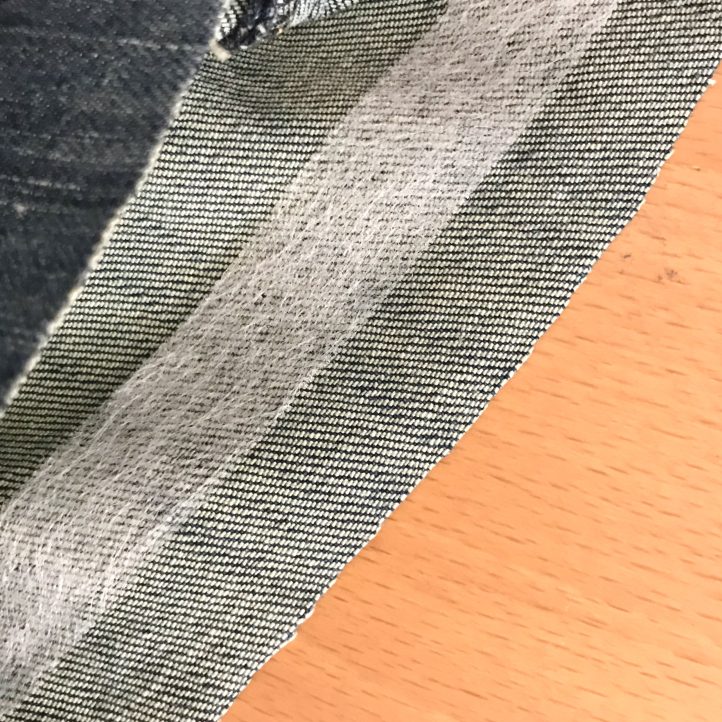
- Trim the hem tape to the size you need and place it between the layers (either single or double fold).
- Iron until the tape sticks to both sides, creating a hem. Avoid touching the iron directly to the hem tape.
- A test swatch before ironing can make sure the hem tape will work with the fabric type you are using.
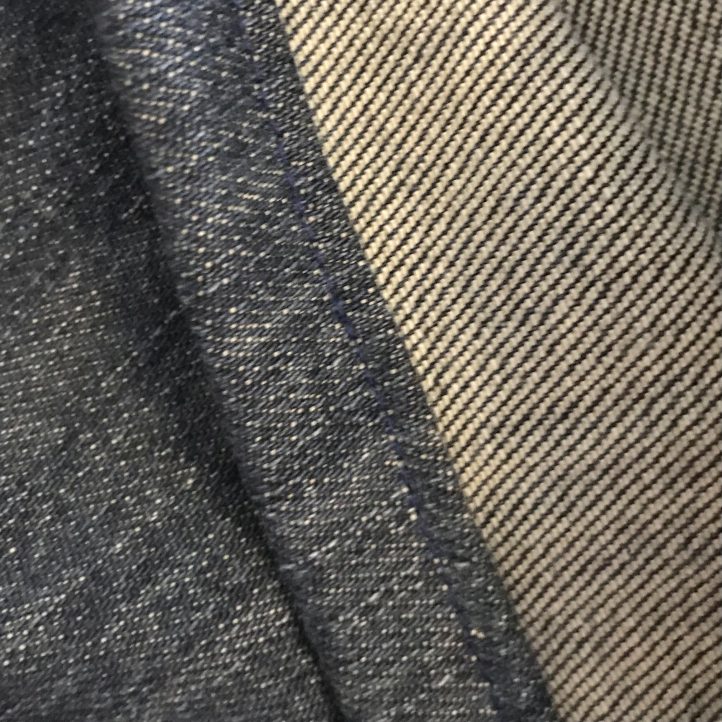
How to Hem Denim
There are several techniques to shorten the hems on the legs of denim. The most popular ways are: 1) keeping the original hem or 2) creating a new hem.
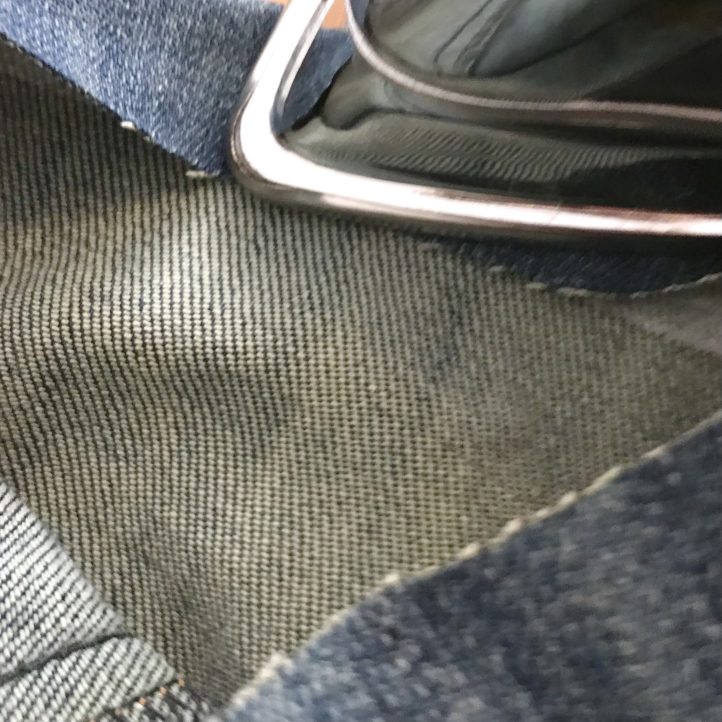
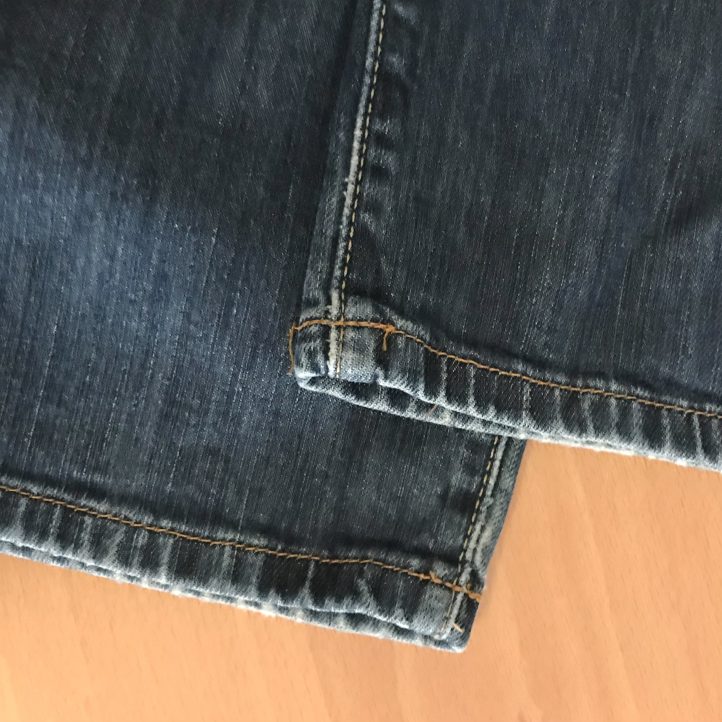
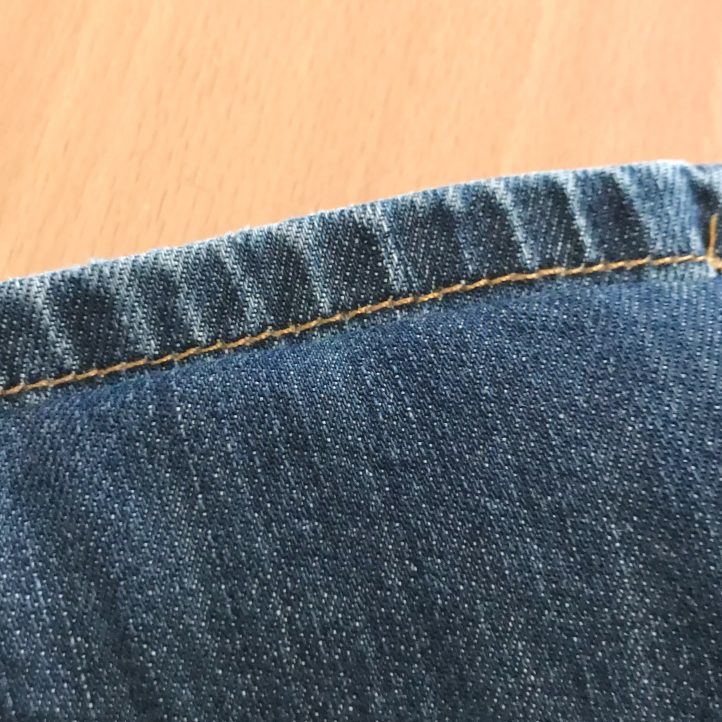
ORIGINAL DENIM HEM
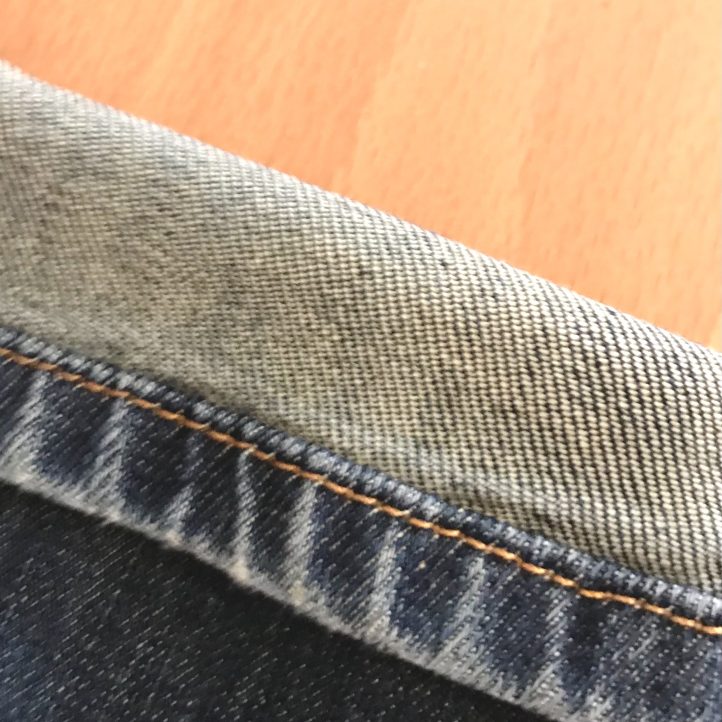
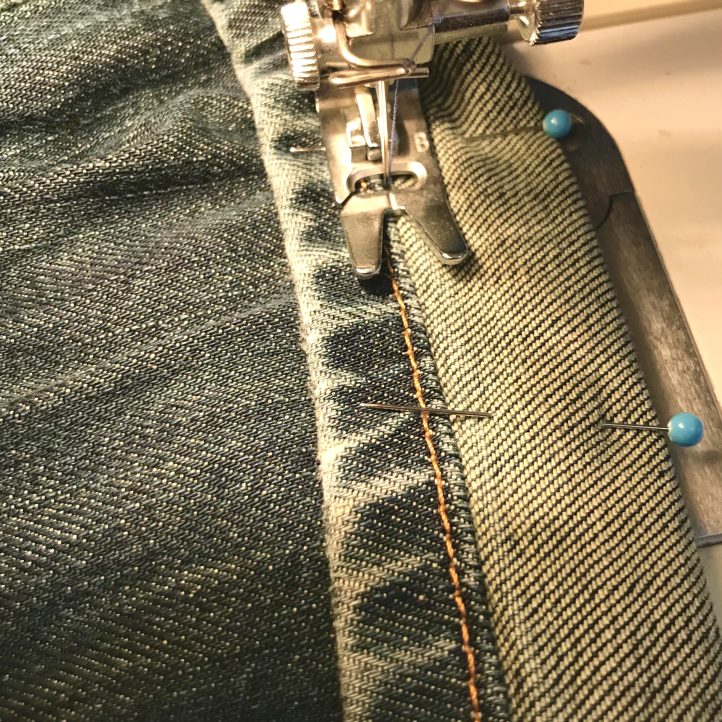
- An original hem shortening keeps the manufacturer’s finished hem.
- The excess length that will be removed is folded inside and the original hemline is sewn again.
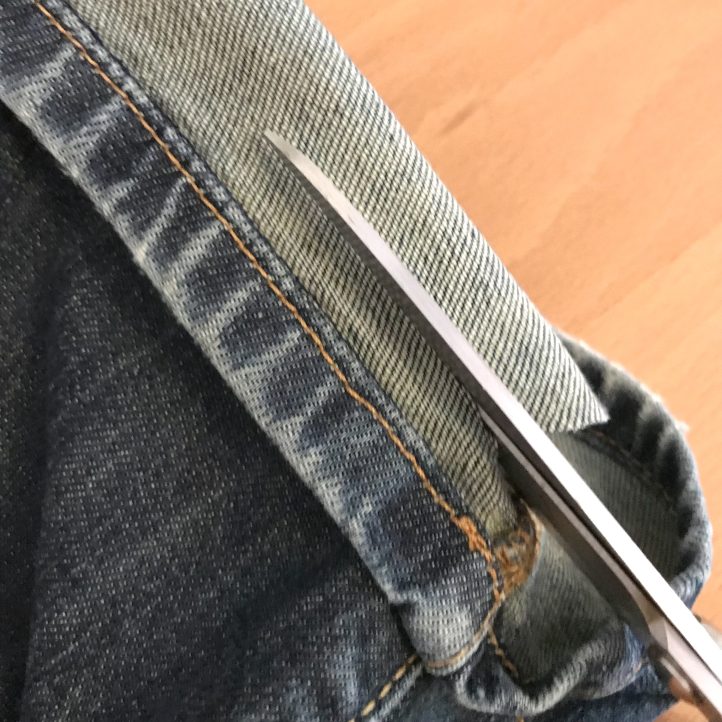
- This extra fabric inside the leg can either be left intact (and stitched down) or trimmed and then covered up inside the hem.

NEW DENIM HEM
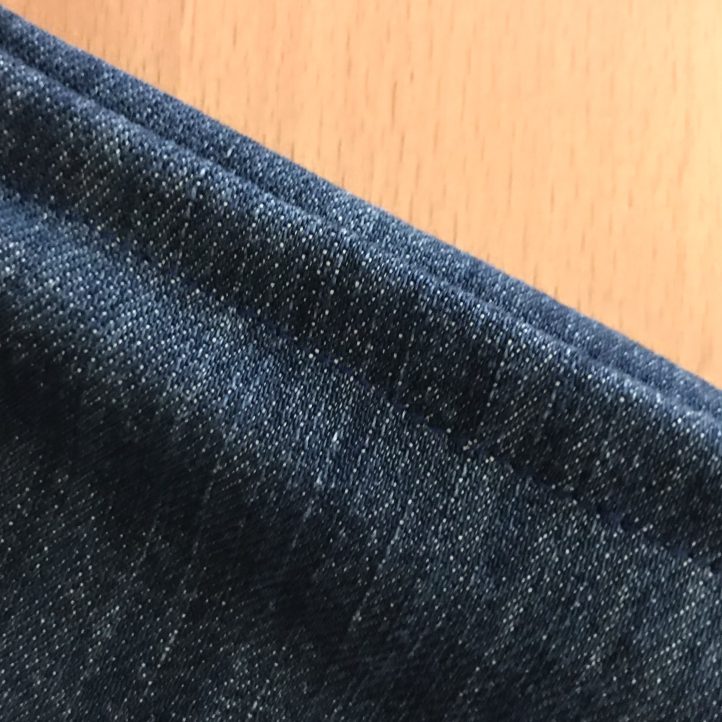
- If keeping the look of the original hem isn’t needed or desired, it can simply be trimmed, ironed, folded up, and sewn.
- It won’t look exactly the same as when the jeans were made, but this is a helpful method if the bottom hem is frayed or damaged or if you are short on time.
- Be sure to match the thread color and weight you are using to the existing thread on the jeans, or use a color that blends in so it won’t show.

Happy hemming!
Super tip on hemming Jeans with the original hem still in tact.. You learn something new everyday and I have sewing for 50 plus years…TY
Hi Marcia! So glad you enjoyed this article! You might enjoy our article on how to embellish denim from our April 2022 issue as well. Have a great day! – Ashley, WeLikeSewing