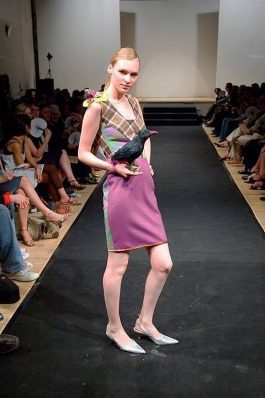
When learning dressmaking and tailoring, you might come across the term “princess seams.” This sophisticated style can often be seen on formal gowns, and is known to create a flattering and feminine silhouette. Princess seams consist of a long, continuous line that fits around the bodice. If you’ve been wanting to include princess seams in your garments and would like to know more about them, refer to this handy sewing guide for help!
What Is a Princess Seam?
Before learning how to sew a princess seam, let’s discuss the meaning of the term and when this kind of seam is used. Named for Princess Alexandra of Denmark, this style uses a long, curved shape to fit the top part of the body. Not to be confused with darts, princess seams are continuous from the shoulder to the waist. They can be found on both the front and back of the bodice in some garments, though they are only on the front in many cases.
Princess seams can begin either at the armhole or at the shoulder. The seam line fits closely at the bust, while allowing the fabric to flare outwards at the end of the seam (near the waistline). This provides a streamlined, elegant look often worn for special occasions. For this reason, wedding dresses frequently have princess seams.
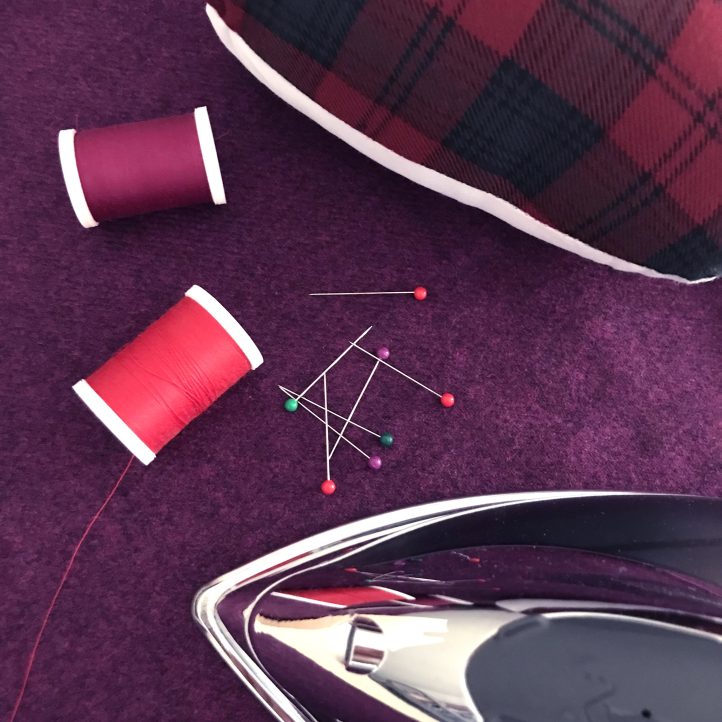
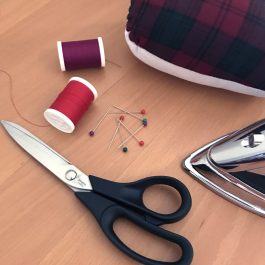
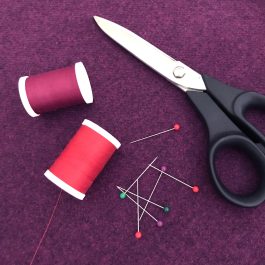
Materials:
- Fabric scissors
- Small scissors
- Pins
- Thread
- Clothing iron
- Tailor’s ironing ham (optional)
- Mannequin (optional)
Preparing to Sew
Organization and preparation are key when sewing princess seams. With such a precise seam line, an uneven measurement or mistake can be visible. Symmetry and balance should be considered when making the pattern, cutting the fabric, and sewing princess seams so they don’t pucker or wrinkle.
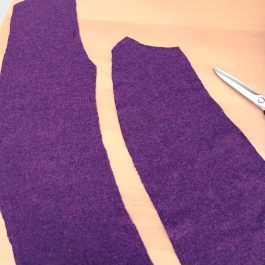
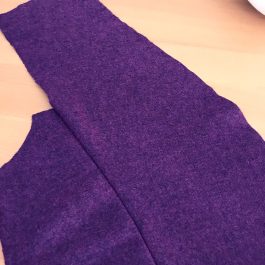
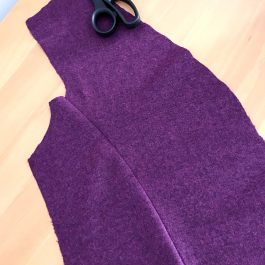
This type of bodice typically consists of three or four pattern pieces on the front and back: the middle panel(s) and two side panels. There will be four pattern pieces for the front if it opens or if the garment has a center seam. The seam allowance will usually be 5/8” (inch) but may vary based on your pattern.

A stay stitch is often made along the curved raw edges of the seam panels. This is recommended if the fabric might stretch out of shape during the process. The stay stitch can simply be a small machine stitch within the seam allowance area (to keep it invisible from the front of the garment).
Clipping
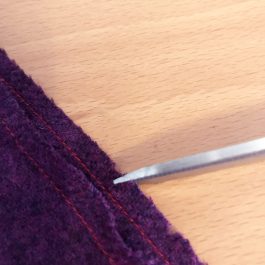
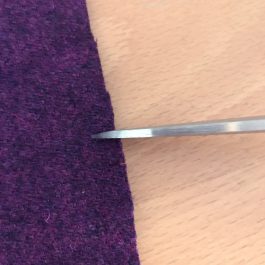
Sometimes (but not always!) the curves of the princess seams should be slightly clipped (after stay stitching). This is the case when the two pieces of fabric don’t line up well and there’s extra on one side. Generally, if the extra fabric is on a concave curve you clip straight in, and for a convex curve, cut small V-shaped triangles out. Use a small pair of sewing or thread-trimming scissors for this step. Like cutting notches, be sure to never clip very far inward or it could extend past the seam allowance. A lining inside the garment can hide these clips along the princess seams if needed.
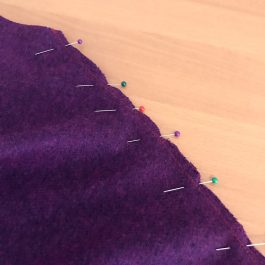
Marking Notches
Notches on patterns are very important when sewing princess seams. They have to be marked and then matched up exactly before sewing for the best fit. Mark them with a removable fabric pen, chalk, or by clipping with scissors. These notches should never be so deep that they extend past the seam allowance (which can leave holes along the seams).
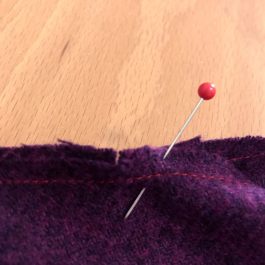
Pinning the Seams
Start this step by pinning the notches together along the seam allowance. Next, pin the ends together and then the straighter lines in the seam (so before and after the curves). After the straight sections are pinned, ease in the curved areas. Placing a pin in the middle of each section will allow you to evenly distribute the fabric along the seam. Readjust and re-pin if needed before you sew.
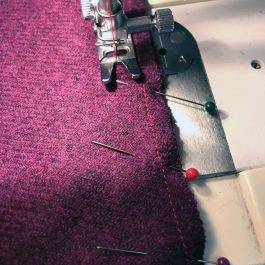
Sewing Princess Seams
Now the princess seams can be sewn! Take your time when machine sewing these, and periodically check for any wrinkles or gathering under the presser foot. The more accurate and even the pinning, the better the result will be when sewing. Backstitch at the beginning and end of the princess seams for security, and carefully trim all excess loose threads.
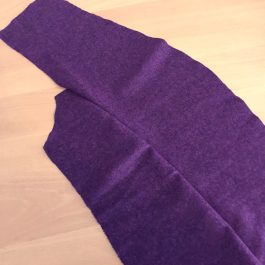
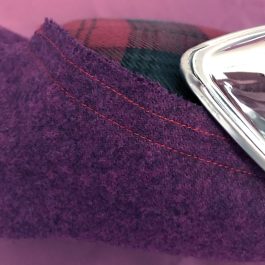
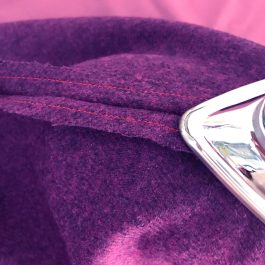
Pressing
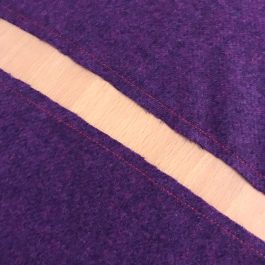
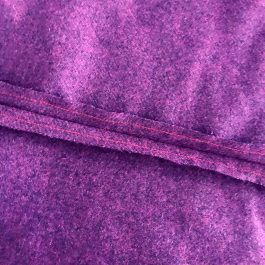
The final step of making princess seams is to press them for a clean finish. The seams should be ironed either open or to one side, depending on the pattern’s instructions, the bulk of the fabric, etc. Using a tailor’s pressing ham can make this ironing much easier, but if you don’t have one, a rolled-up absorbent towel can be used. The curved shape of the ham will fit the lines of the princess seams when ironing.
Enjoy your beautiful new princess seams!